Eastwood
100 kW
- Joined
- Jan 13, 2021
- Messages
- 1,479
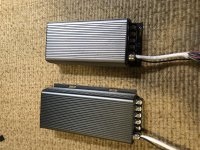
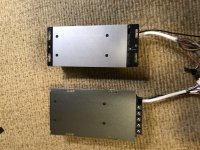
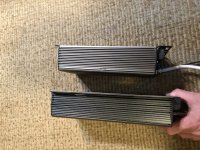
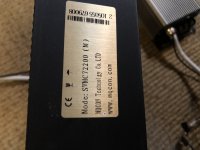
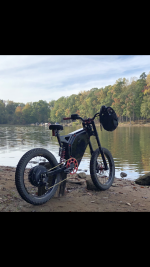
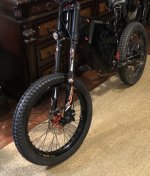
More pics
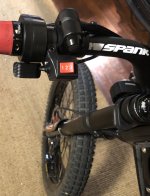
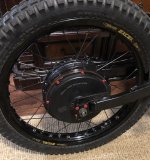
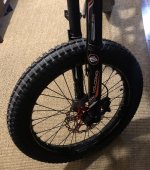
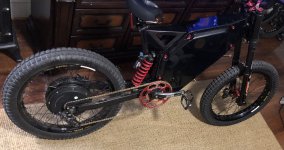
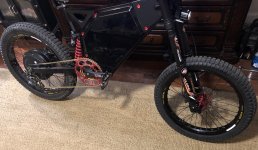
For the derailer I used a small piece of cable to hold it in line for my single speed 16 tooth. Works great! Plus it has a clutch so it’s easy to switch the chain on the 3 different chain rings but typically I leave it in the large/58T so I can pedal at 20+ miles per hour.
For the derailer I used a small piece of cable to hold it in line for my single speed 16 tooth. Works great! Plus it has a clutch so it’s easy to switch the chain on the 3 different chain rings but typically I leave it in the large/58T so I can pedal at 20+ miles per hour.
Attachments
-
 B674E812-7BDA-40CC-8AC1-6D0CC23699A9.jpeg292.6 KB · Views: 1,611
 -
 11327CF1-D1C8-45C6-9132-DF569A873179.jpeg269.8 KB · Views: 1,611
 -
 A58C9B78-9A50-48C6-9FF8-2A46D7BE6EE0.jpeg305.1 KB · Views: 1,612
 -
 1B05F491-0BBA-44A3-9DB0-A00DA86BB577.jpeg399.7 KB · Views: 1,608
 -
 5F0F9415-553B-4BB9-A19B-9DF4CCAD29E0.jpeg280 KB · Views: 1,607
 -
 3727275F-3EAD-43F6-B372-6F5F50CB4074.jpeg339.5 KB · Views: 1,606
")