
Hi All,
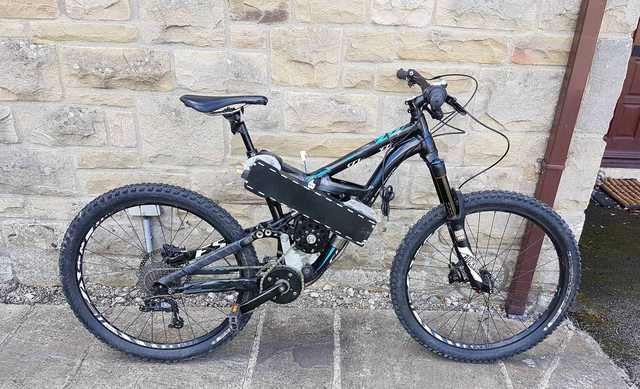
Just wanted to contribute something with a few words and pictures of my cyclone 3000w/ specialized enduro 2014 build. Thanks to everyone for their forum contributions and ideas - I'm definitely standing on the shoulders of giants.
I have a ktm 2 stroke enduro motorcycle which I love to ride but hate spending money on, repairing and hauling across the country to designated riding areas. I thought a combination of the cyclone kit and a decent enduro mtb might give me many of the benefits of ktm ownership with fewer headaches. It's far exceeded my expectations and I'm extremely happy with how it turned out.
Just some thoughts (in no particular order).
The bike handles quite nicely, I tried to centralise the extra weight and the mid drive nature helps with this (i think) .
It's a wheelie monster, much closer to my ktm than a shop bought ebike.
Additional weight of the battery and motor is about 10kg.
The battery does not get in the way while riding.
I went with an enduro rather than downhill bike as enduro geometry is designed for all terrain not just downhill
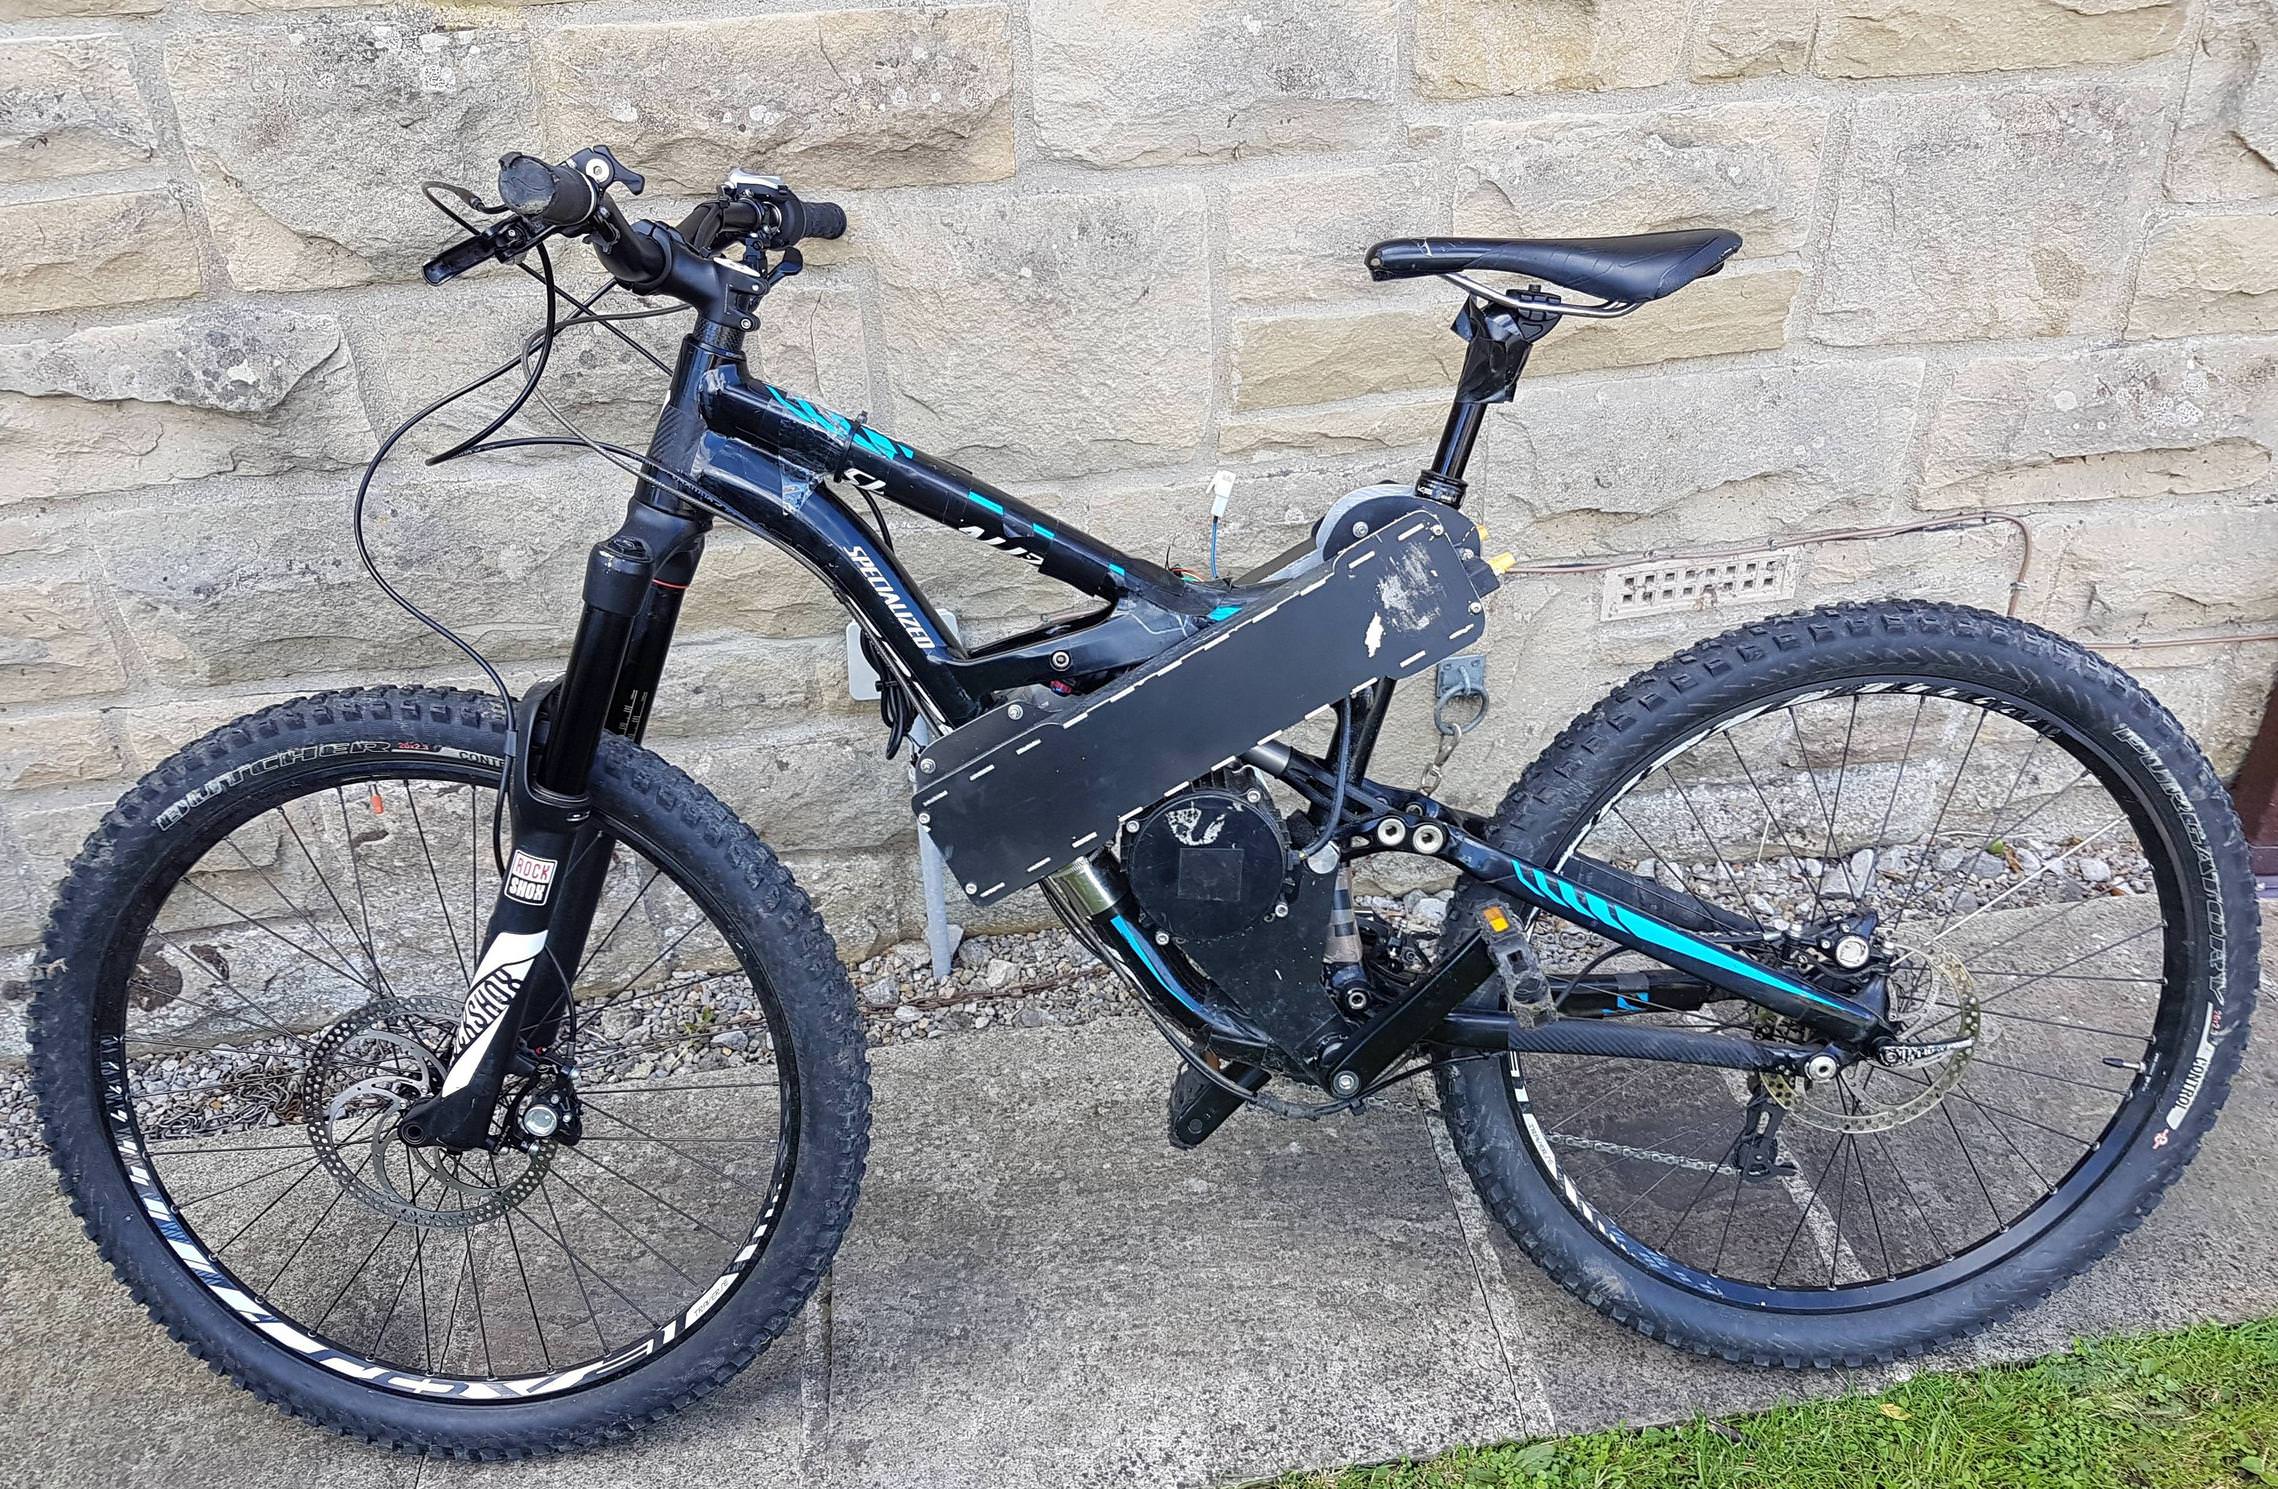
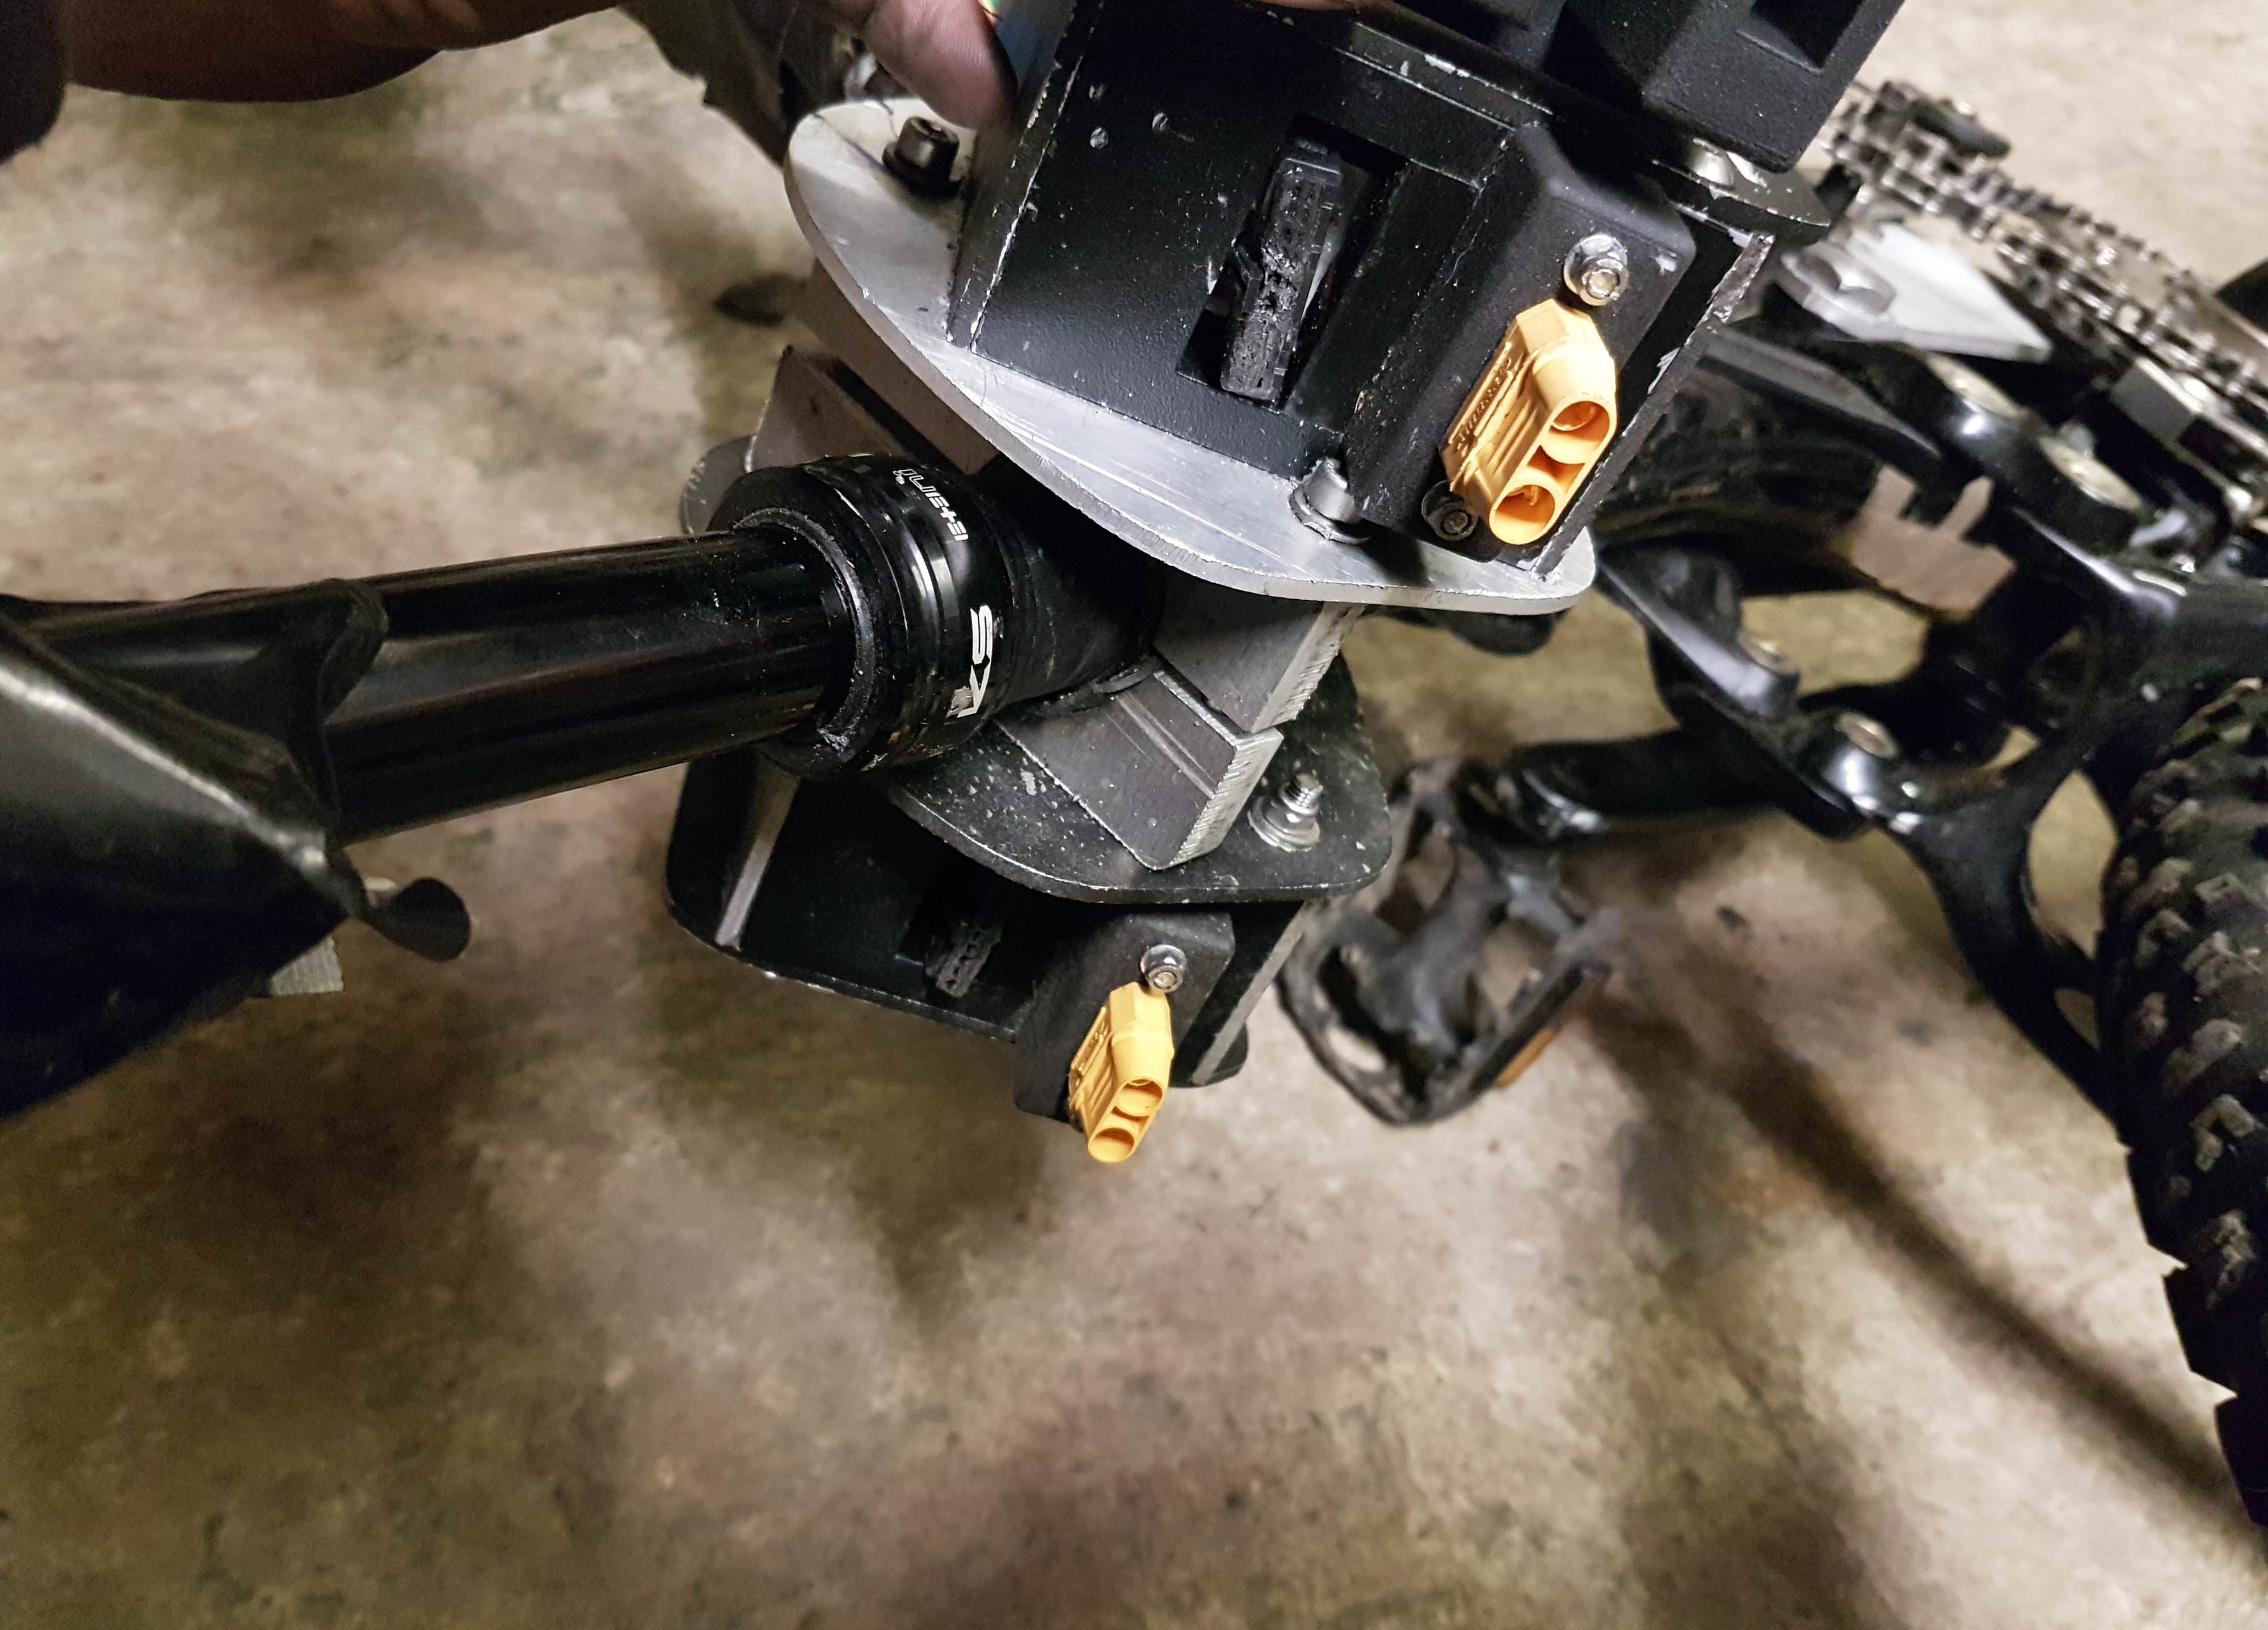
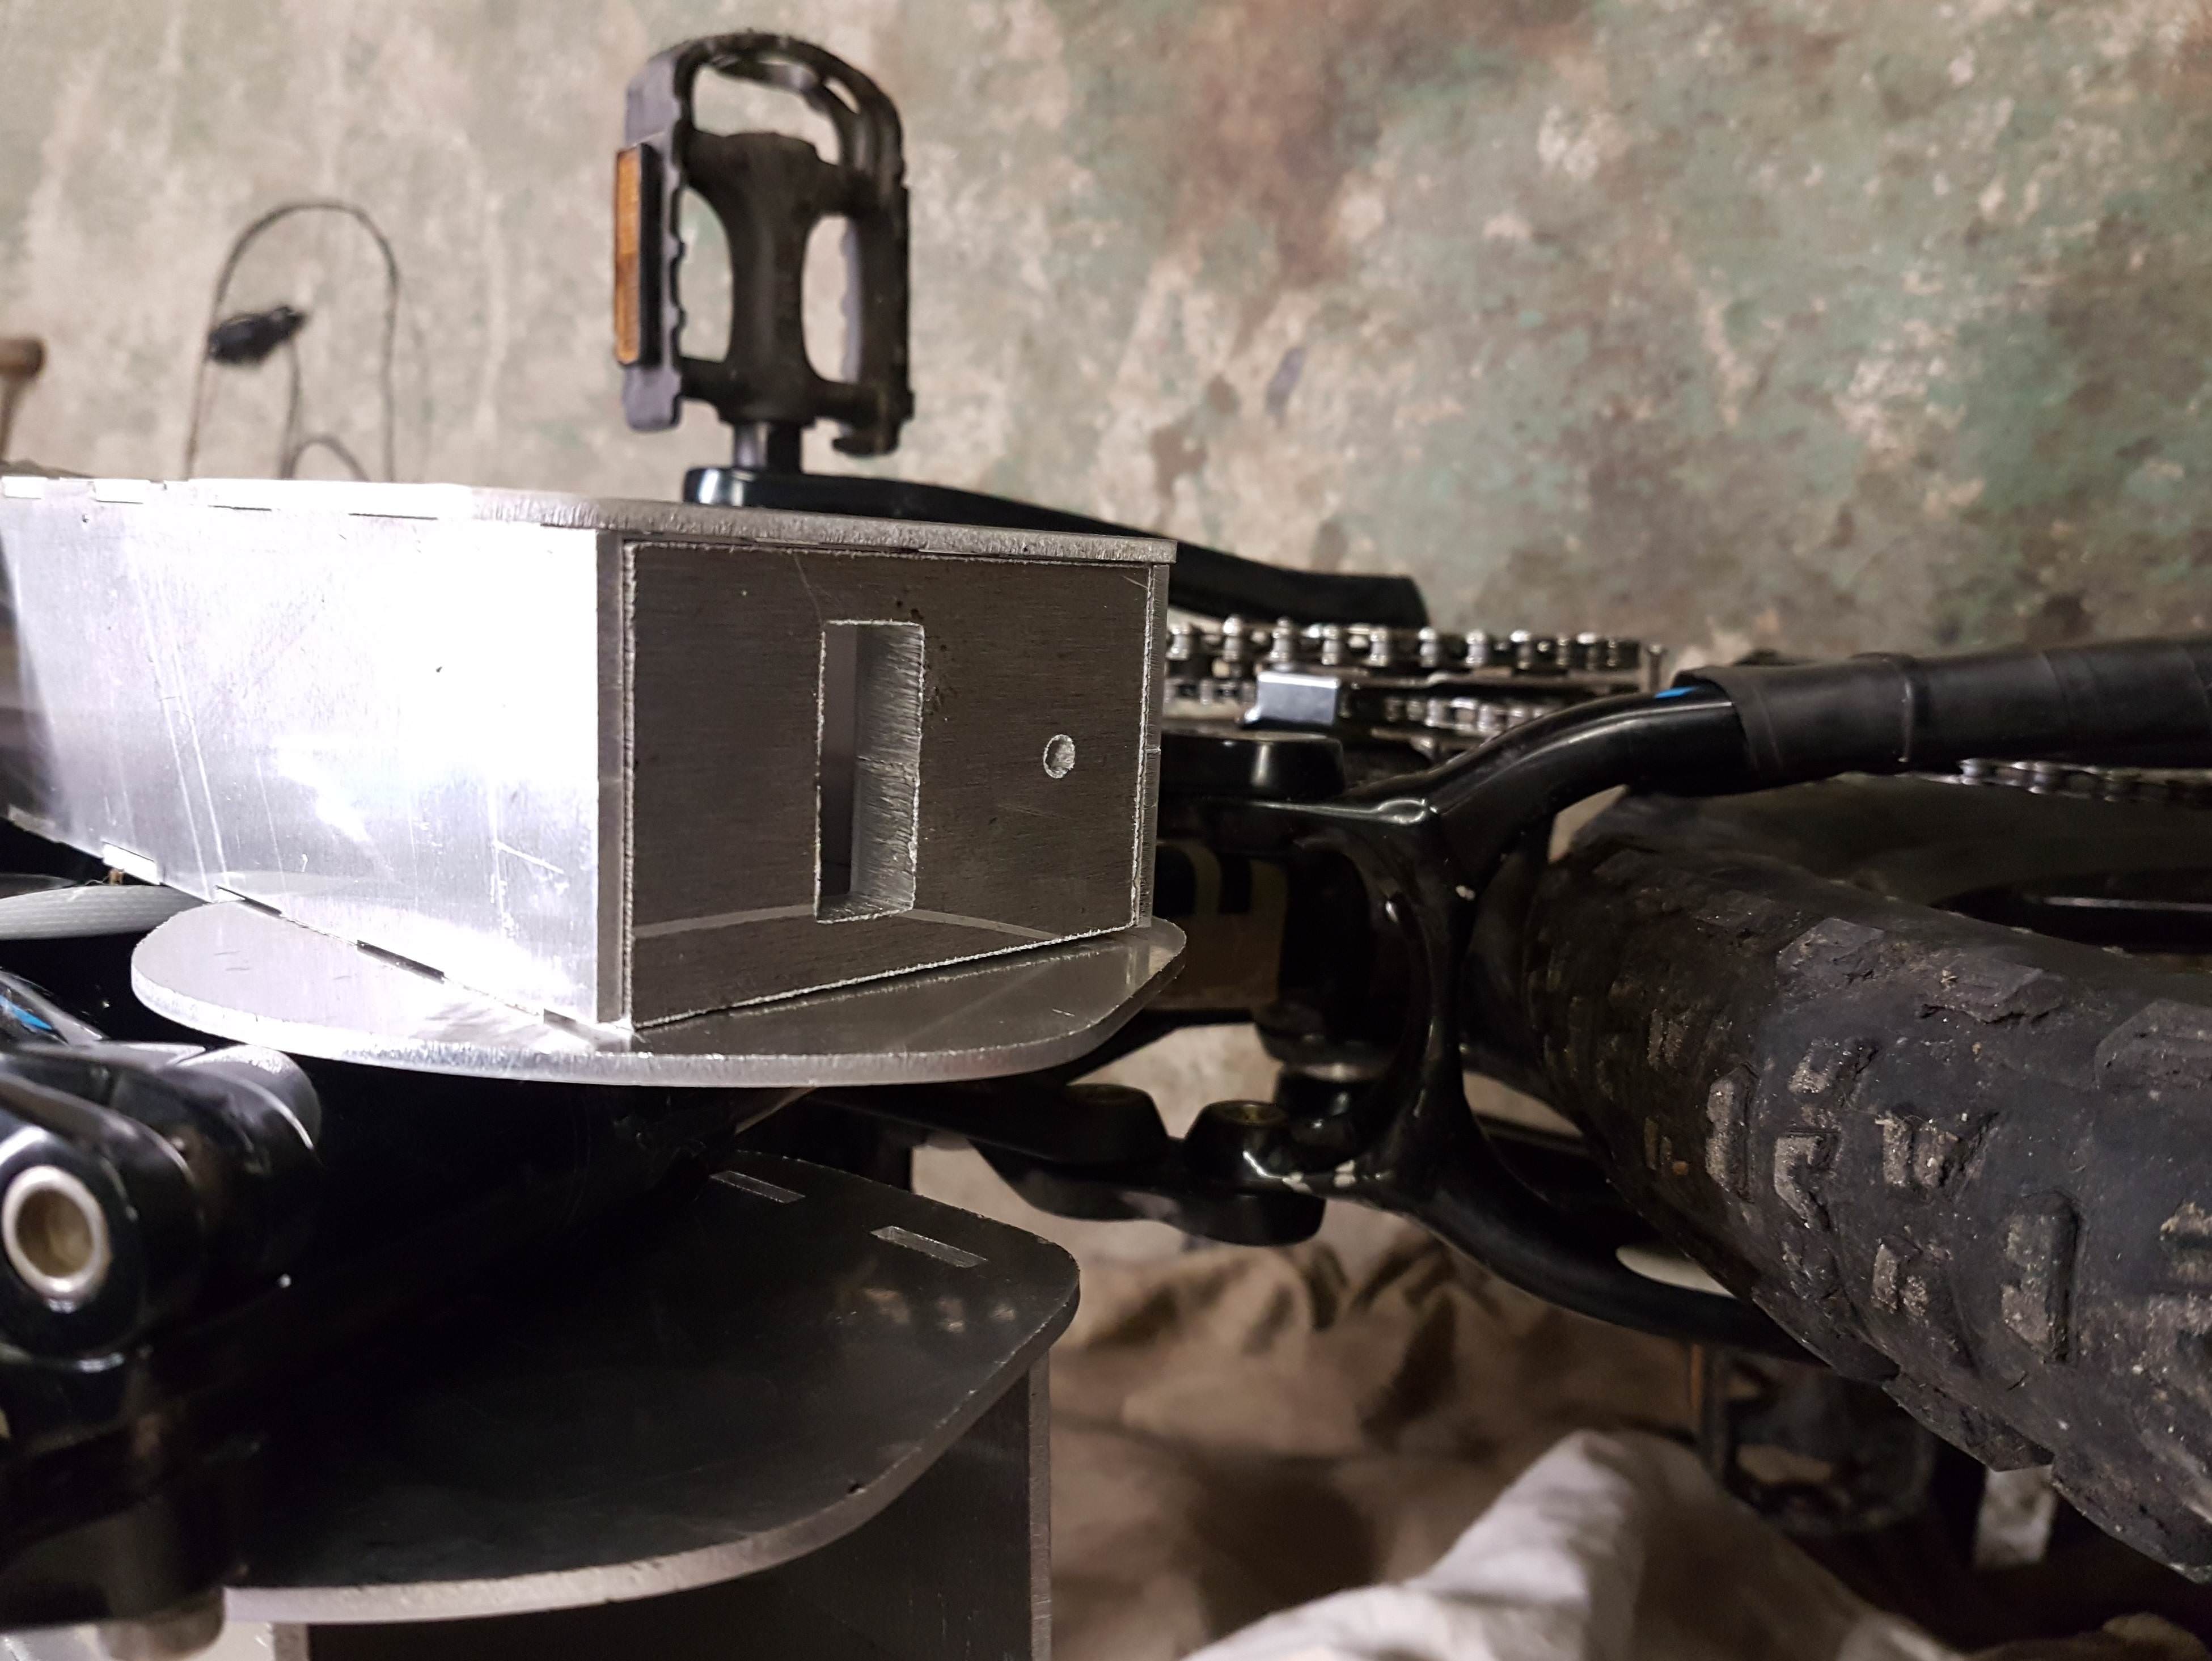
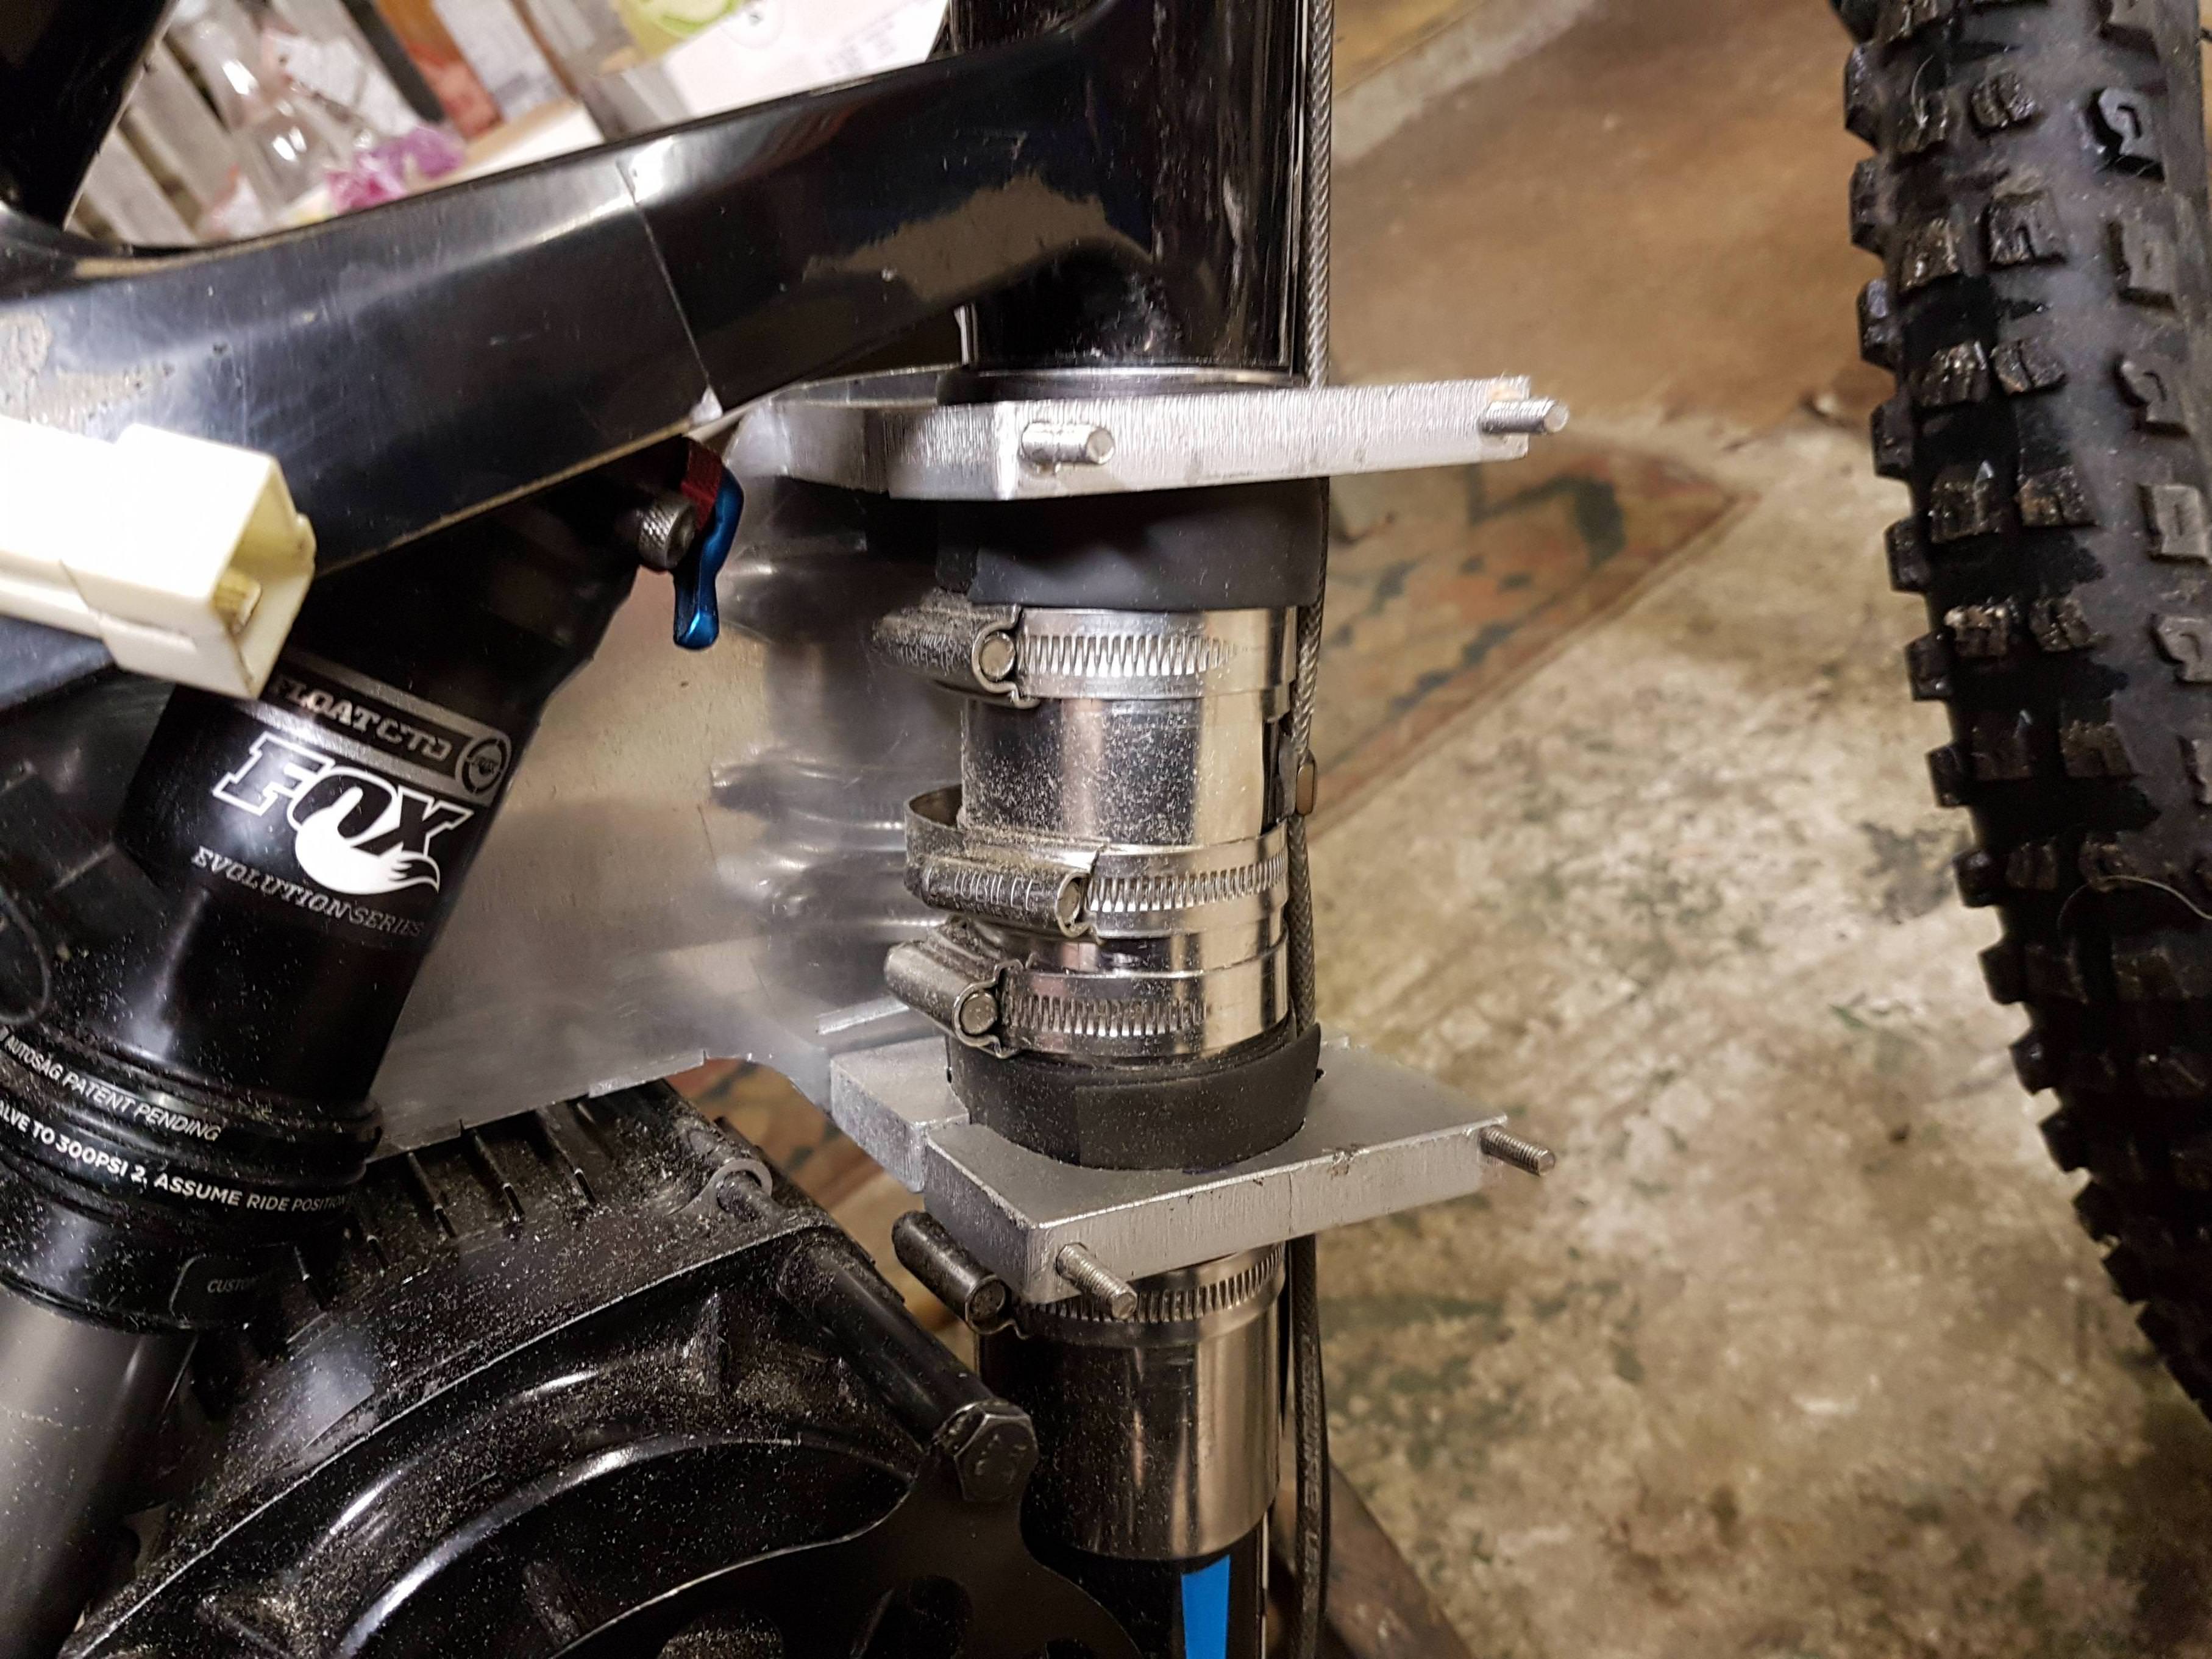
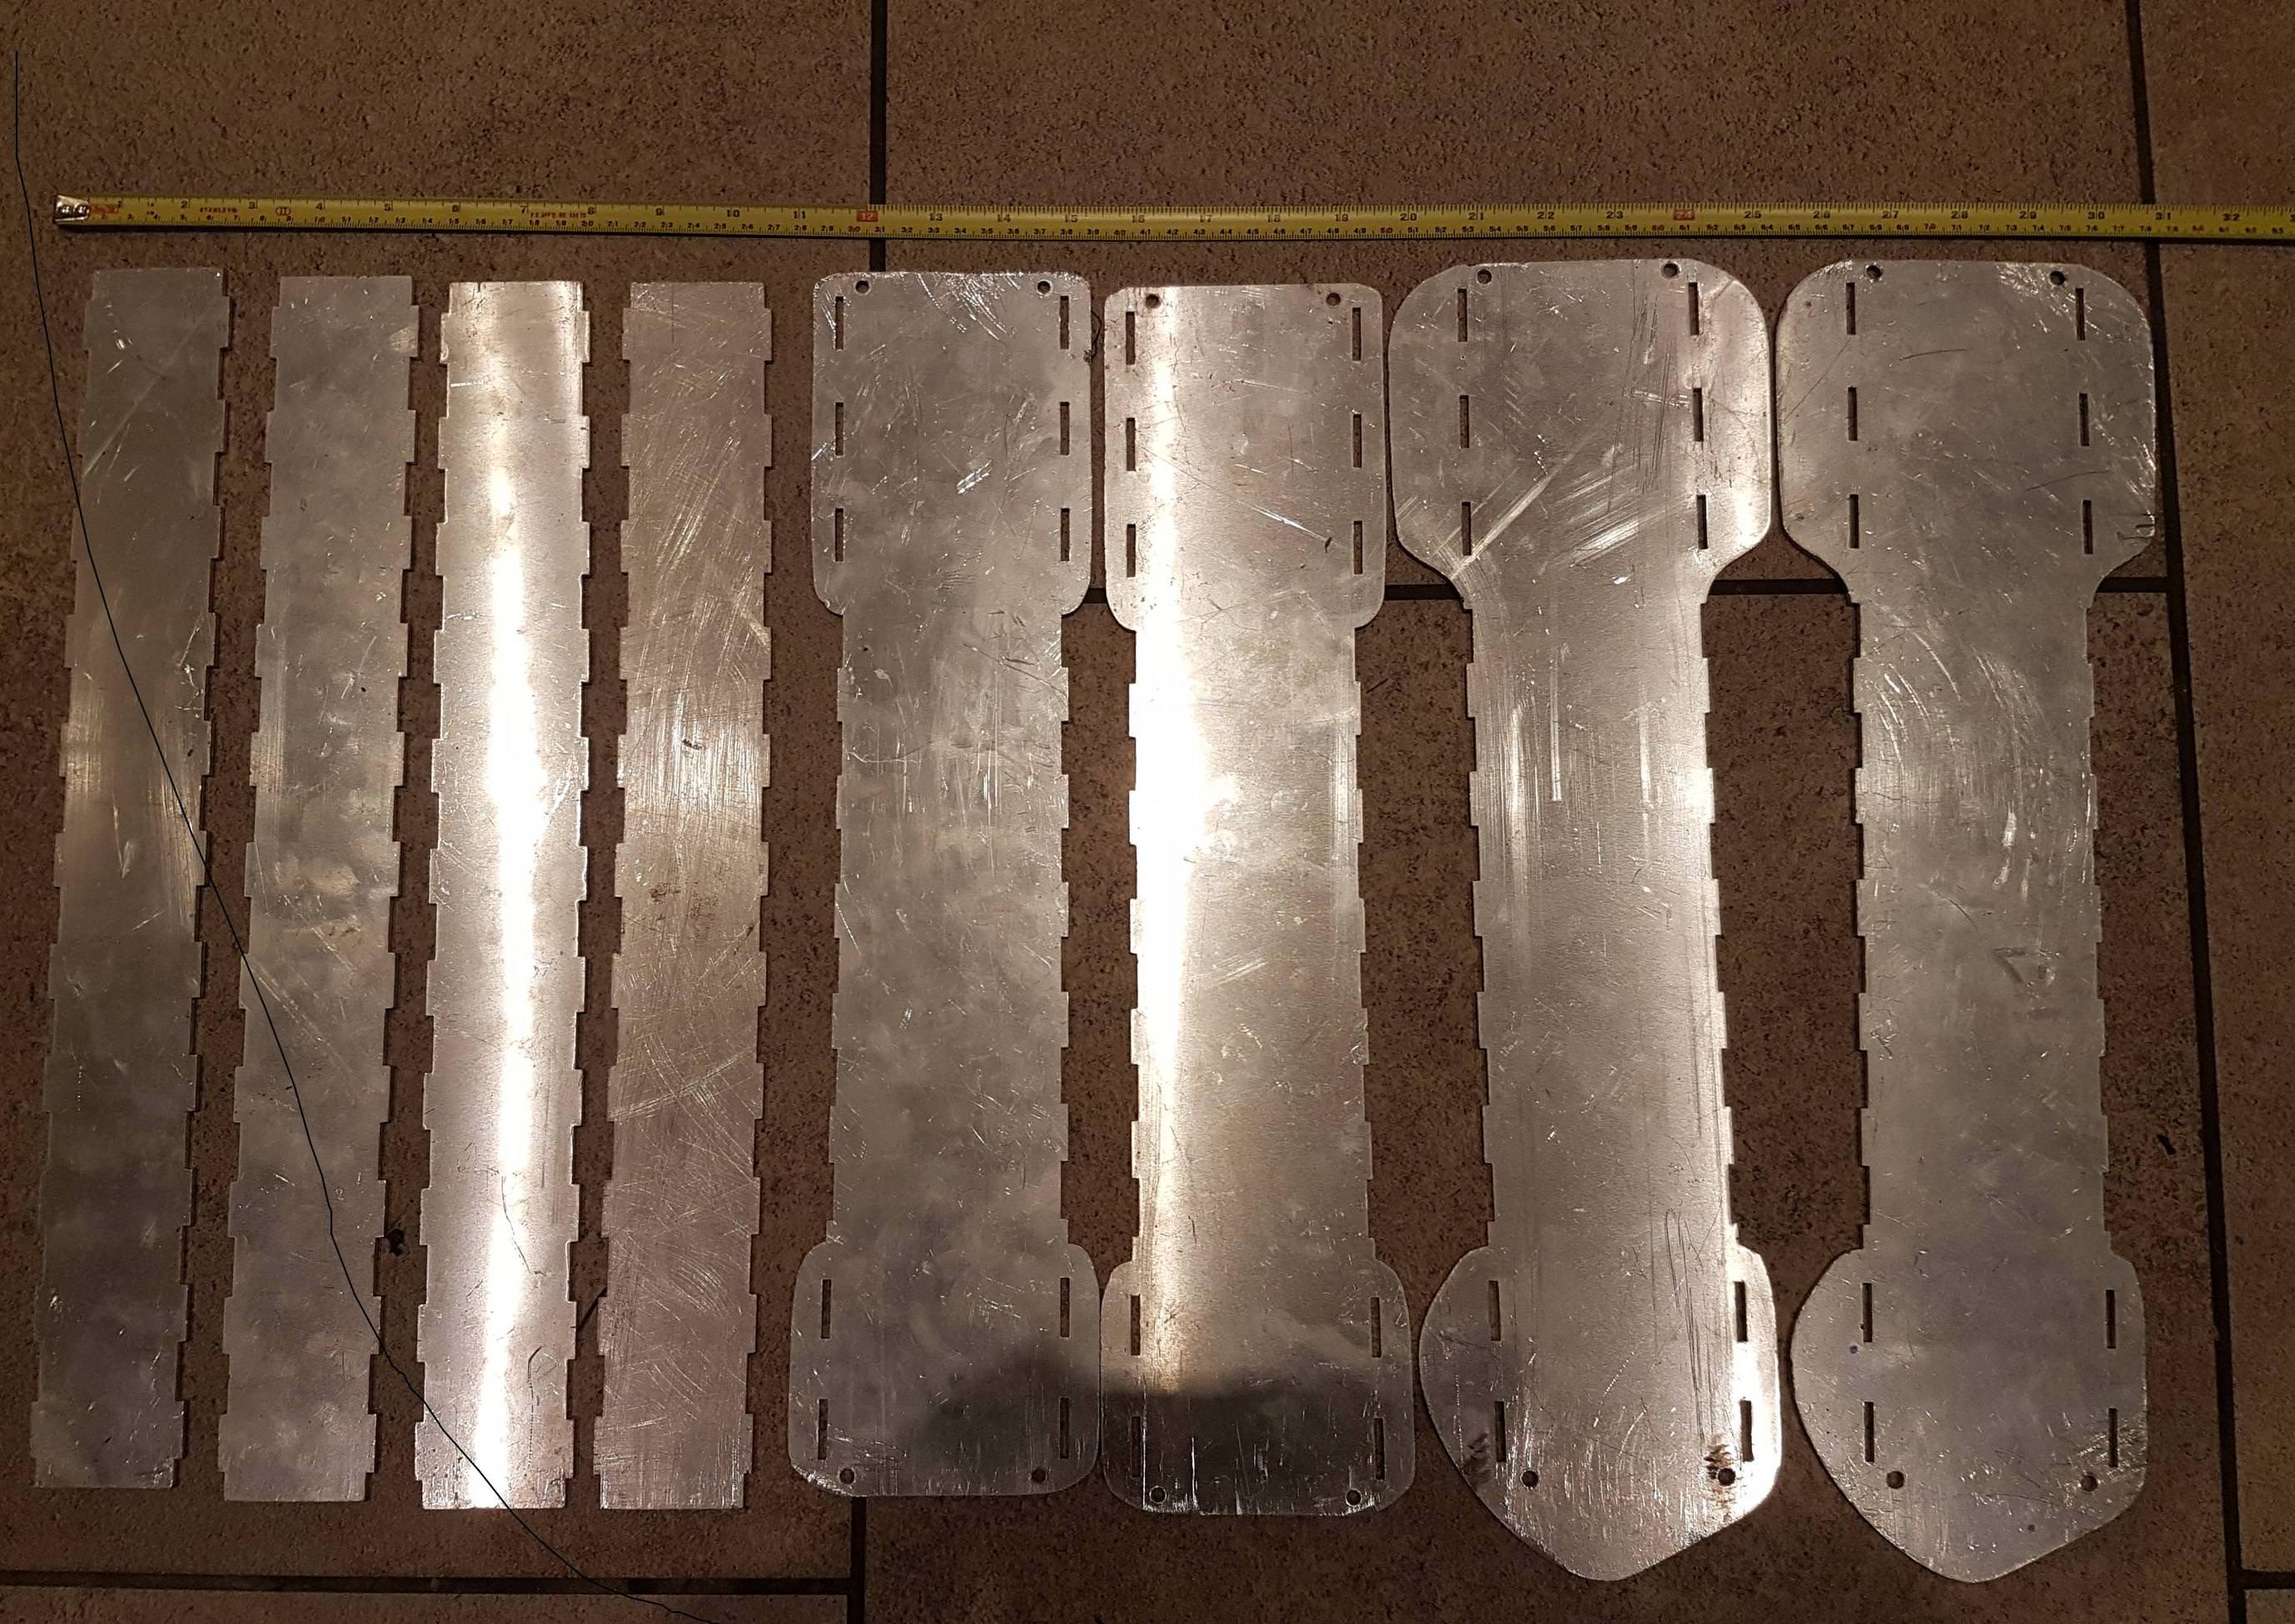
I used inkscape to design the battery case and motor mount which were laser cut from 3mm and 5mm thick aluminium.
The motor mount is attached to the bottom bracket and rear shock mounts. I used longer bolts, the suspension works fine and the mount seems very solid.
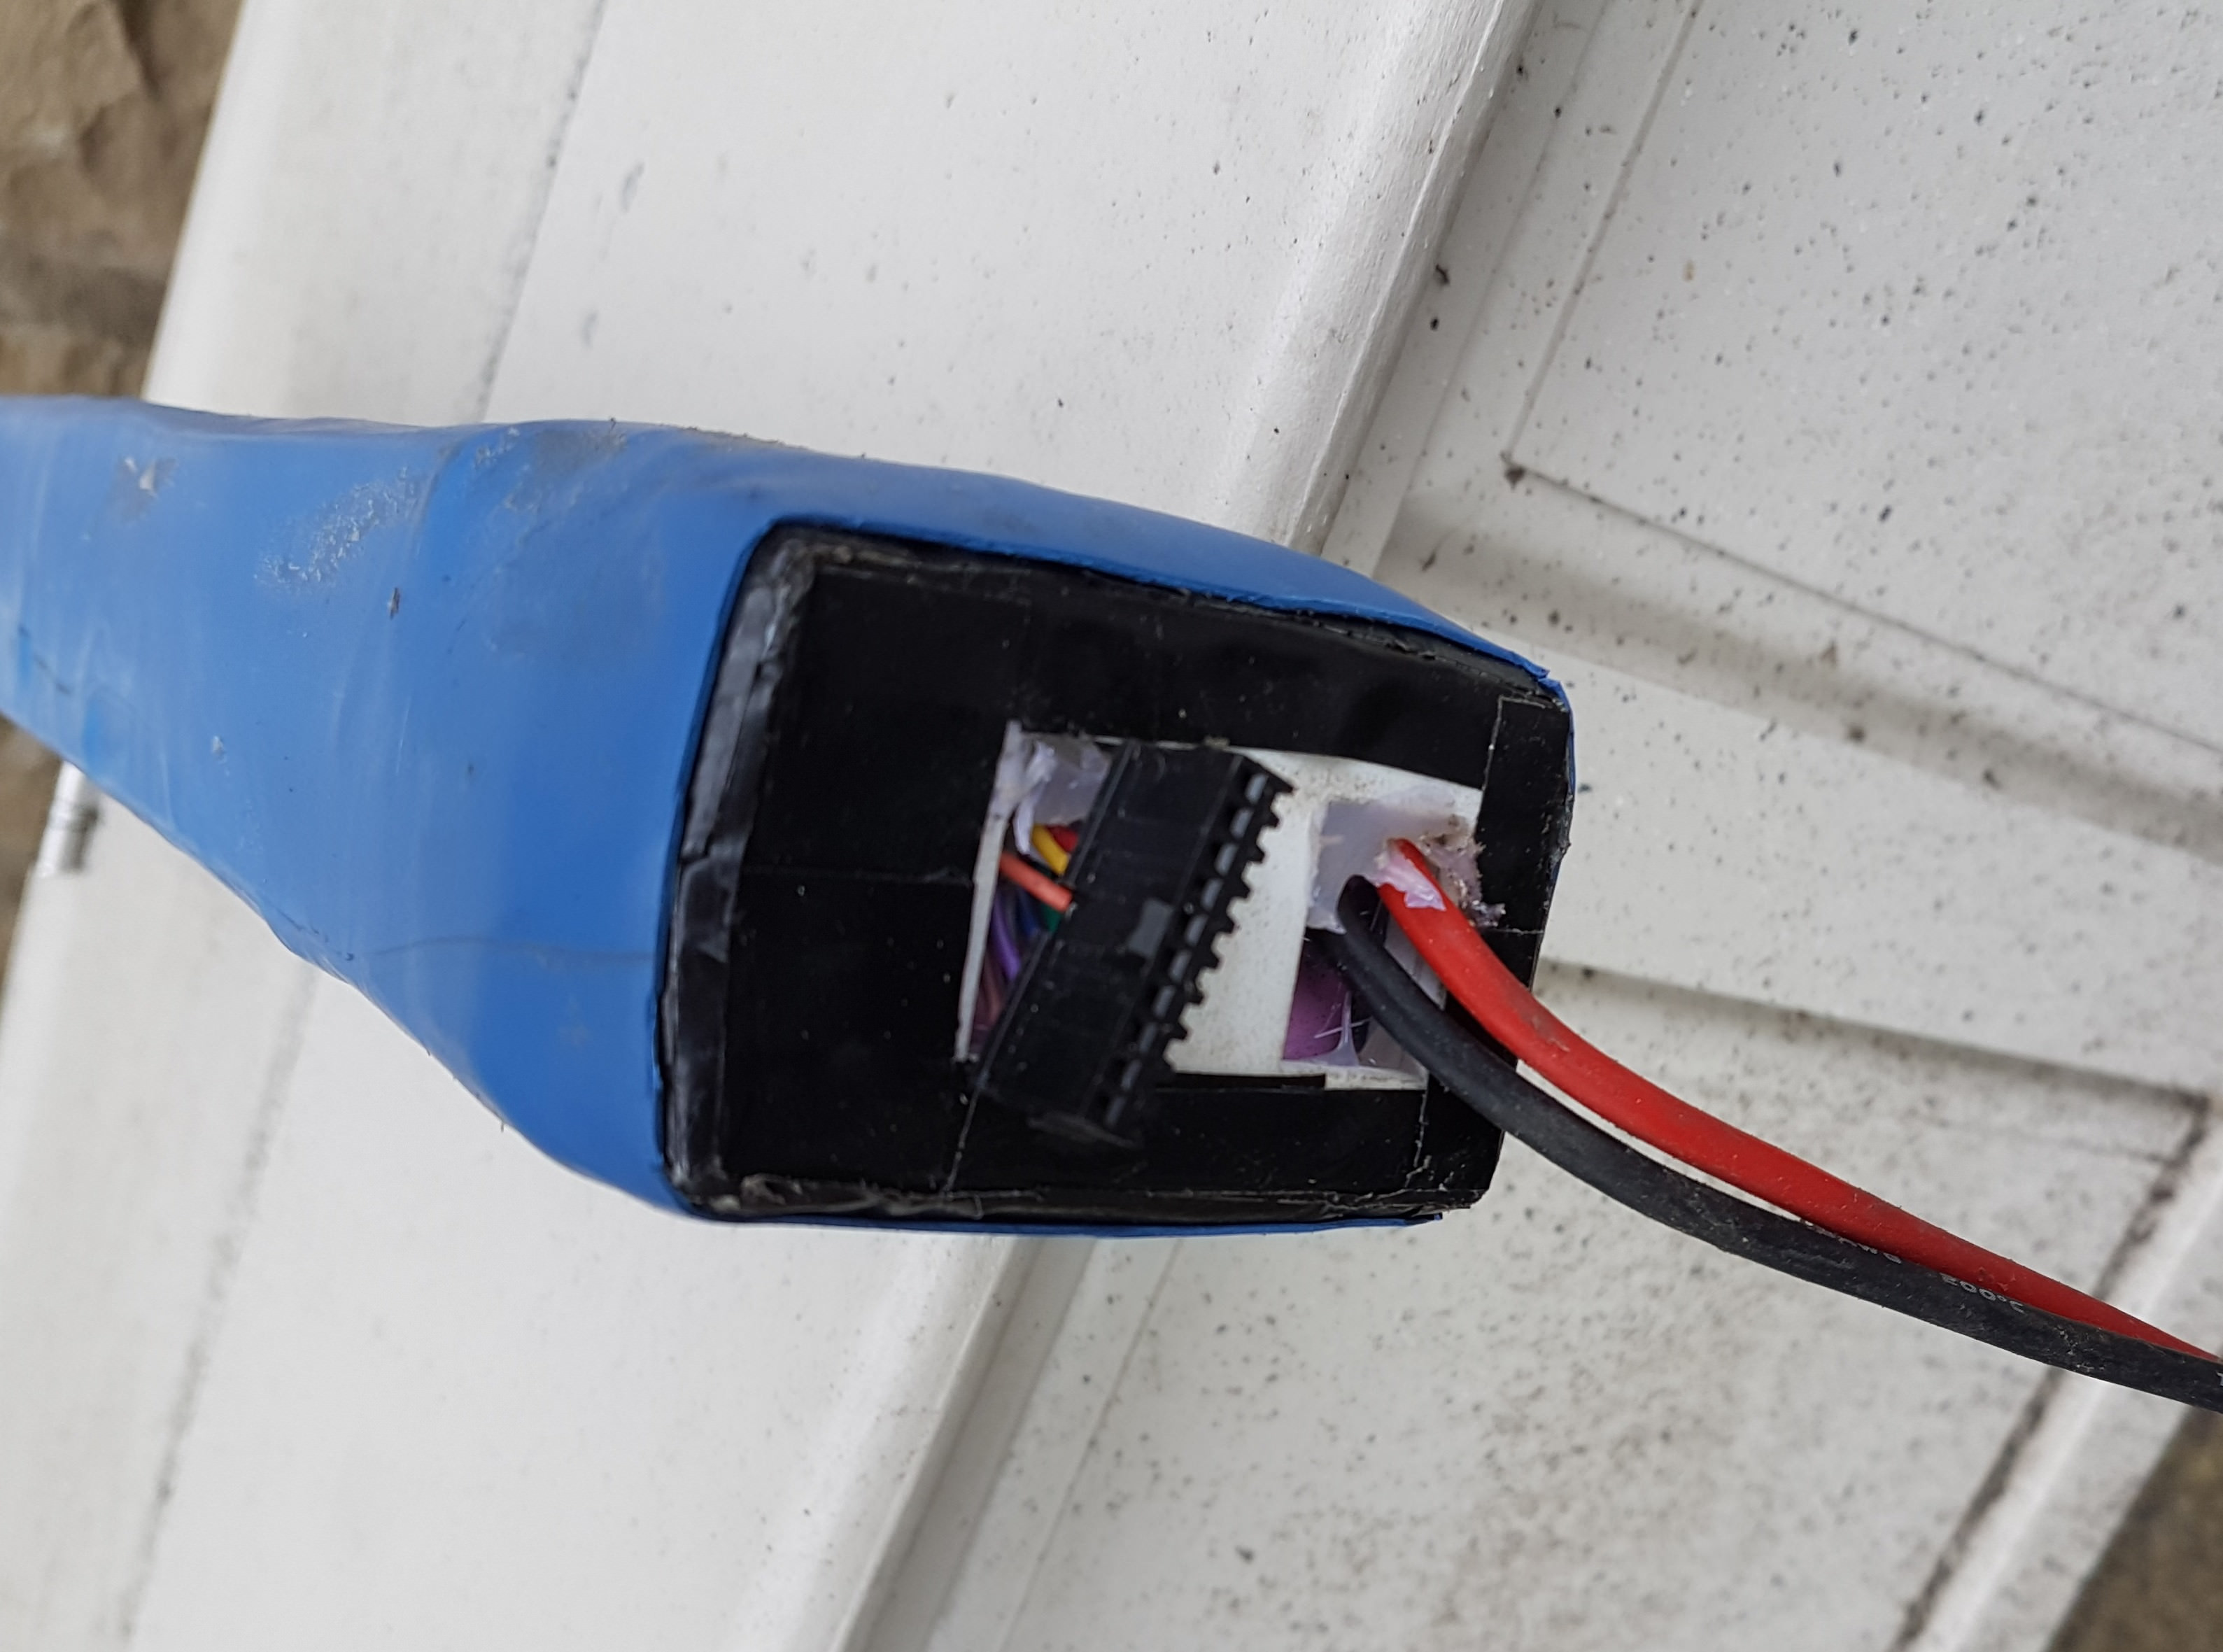
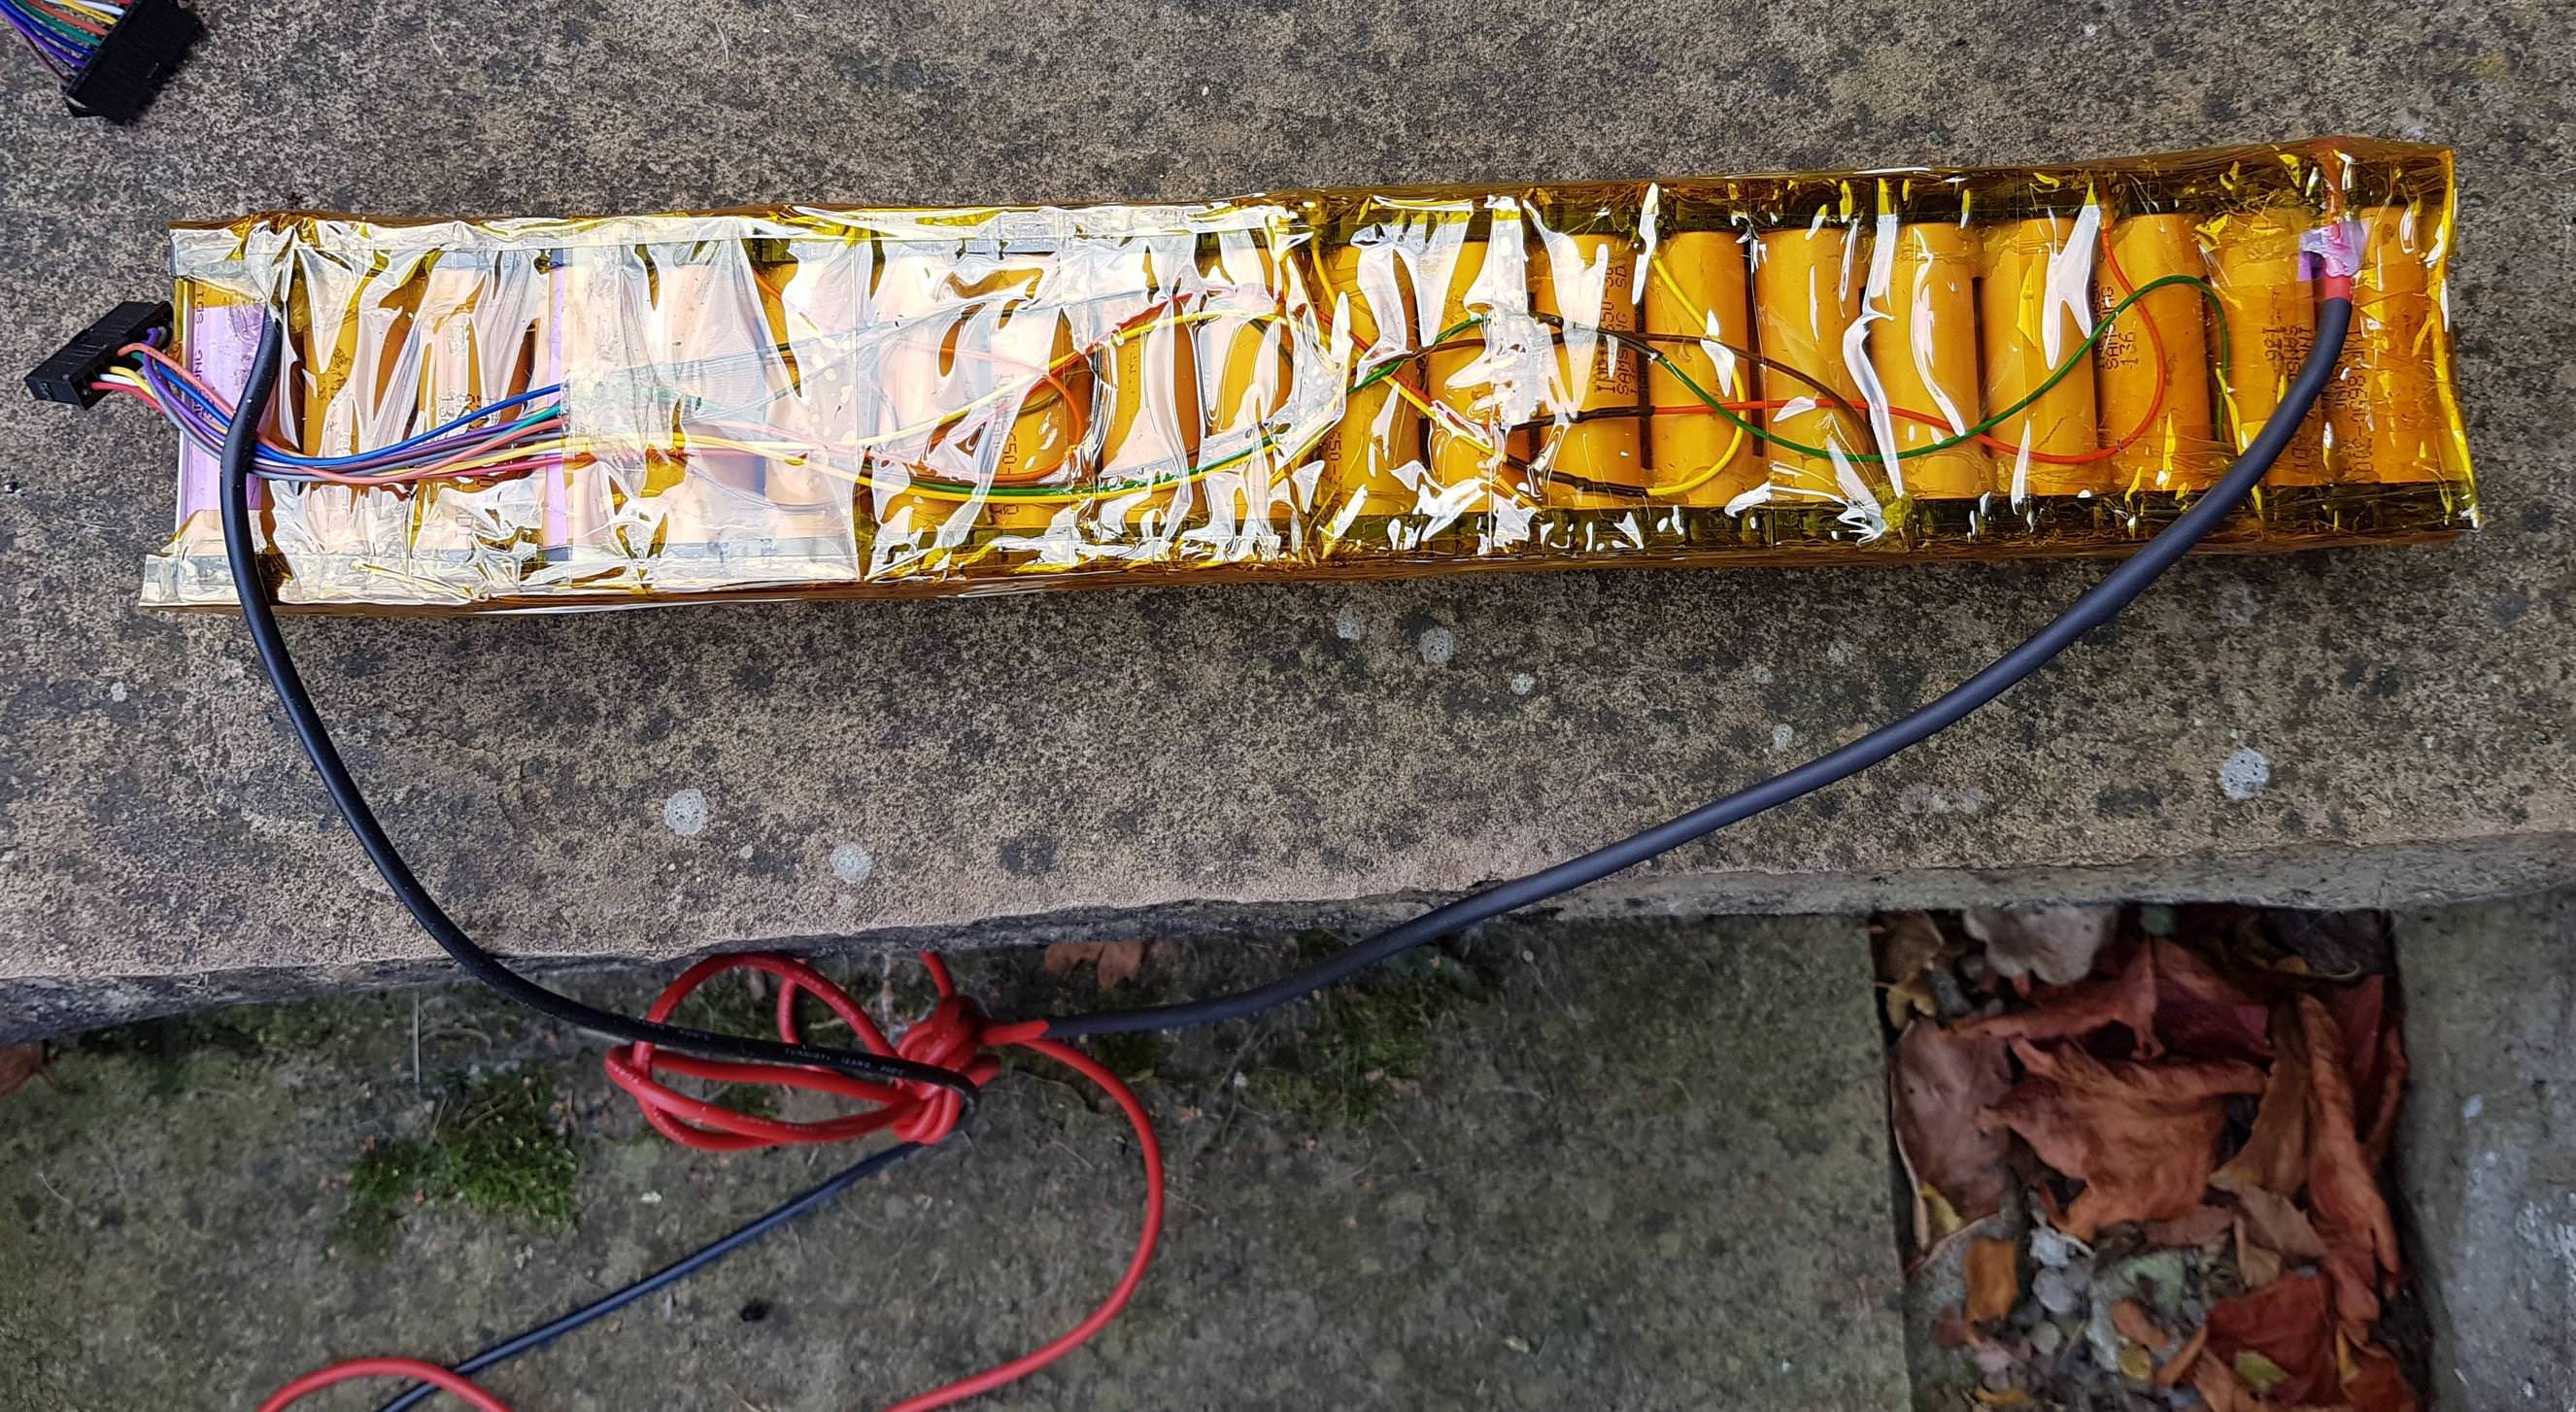
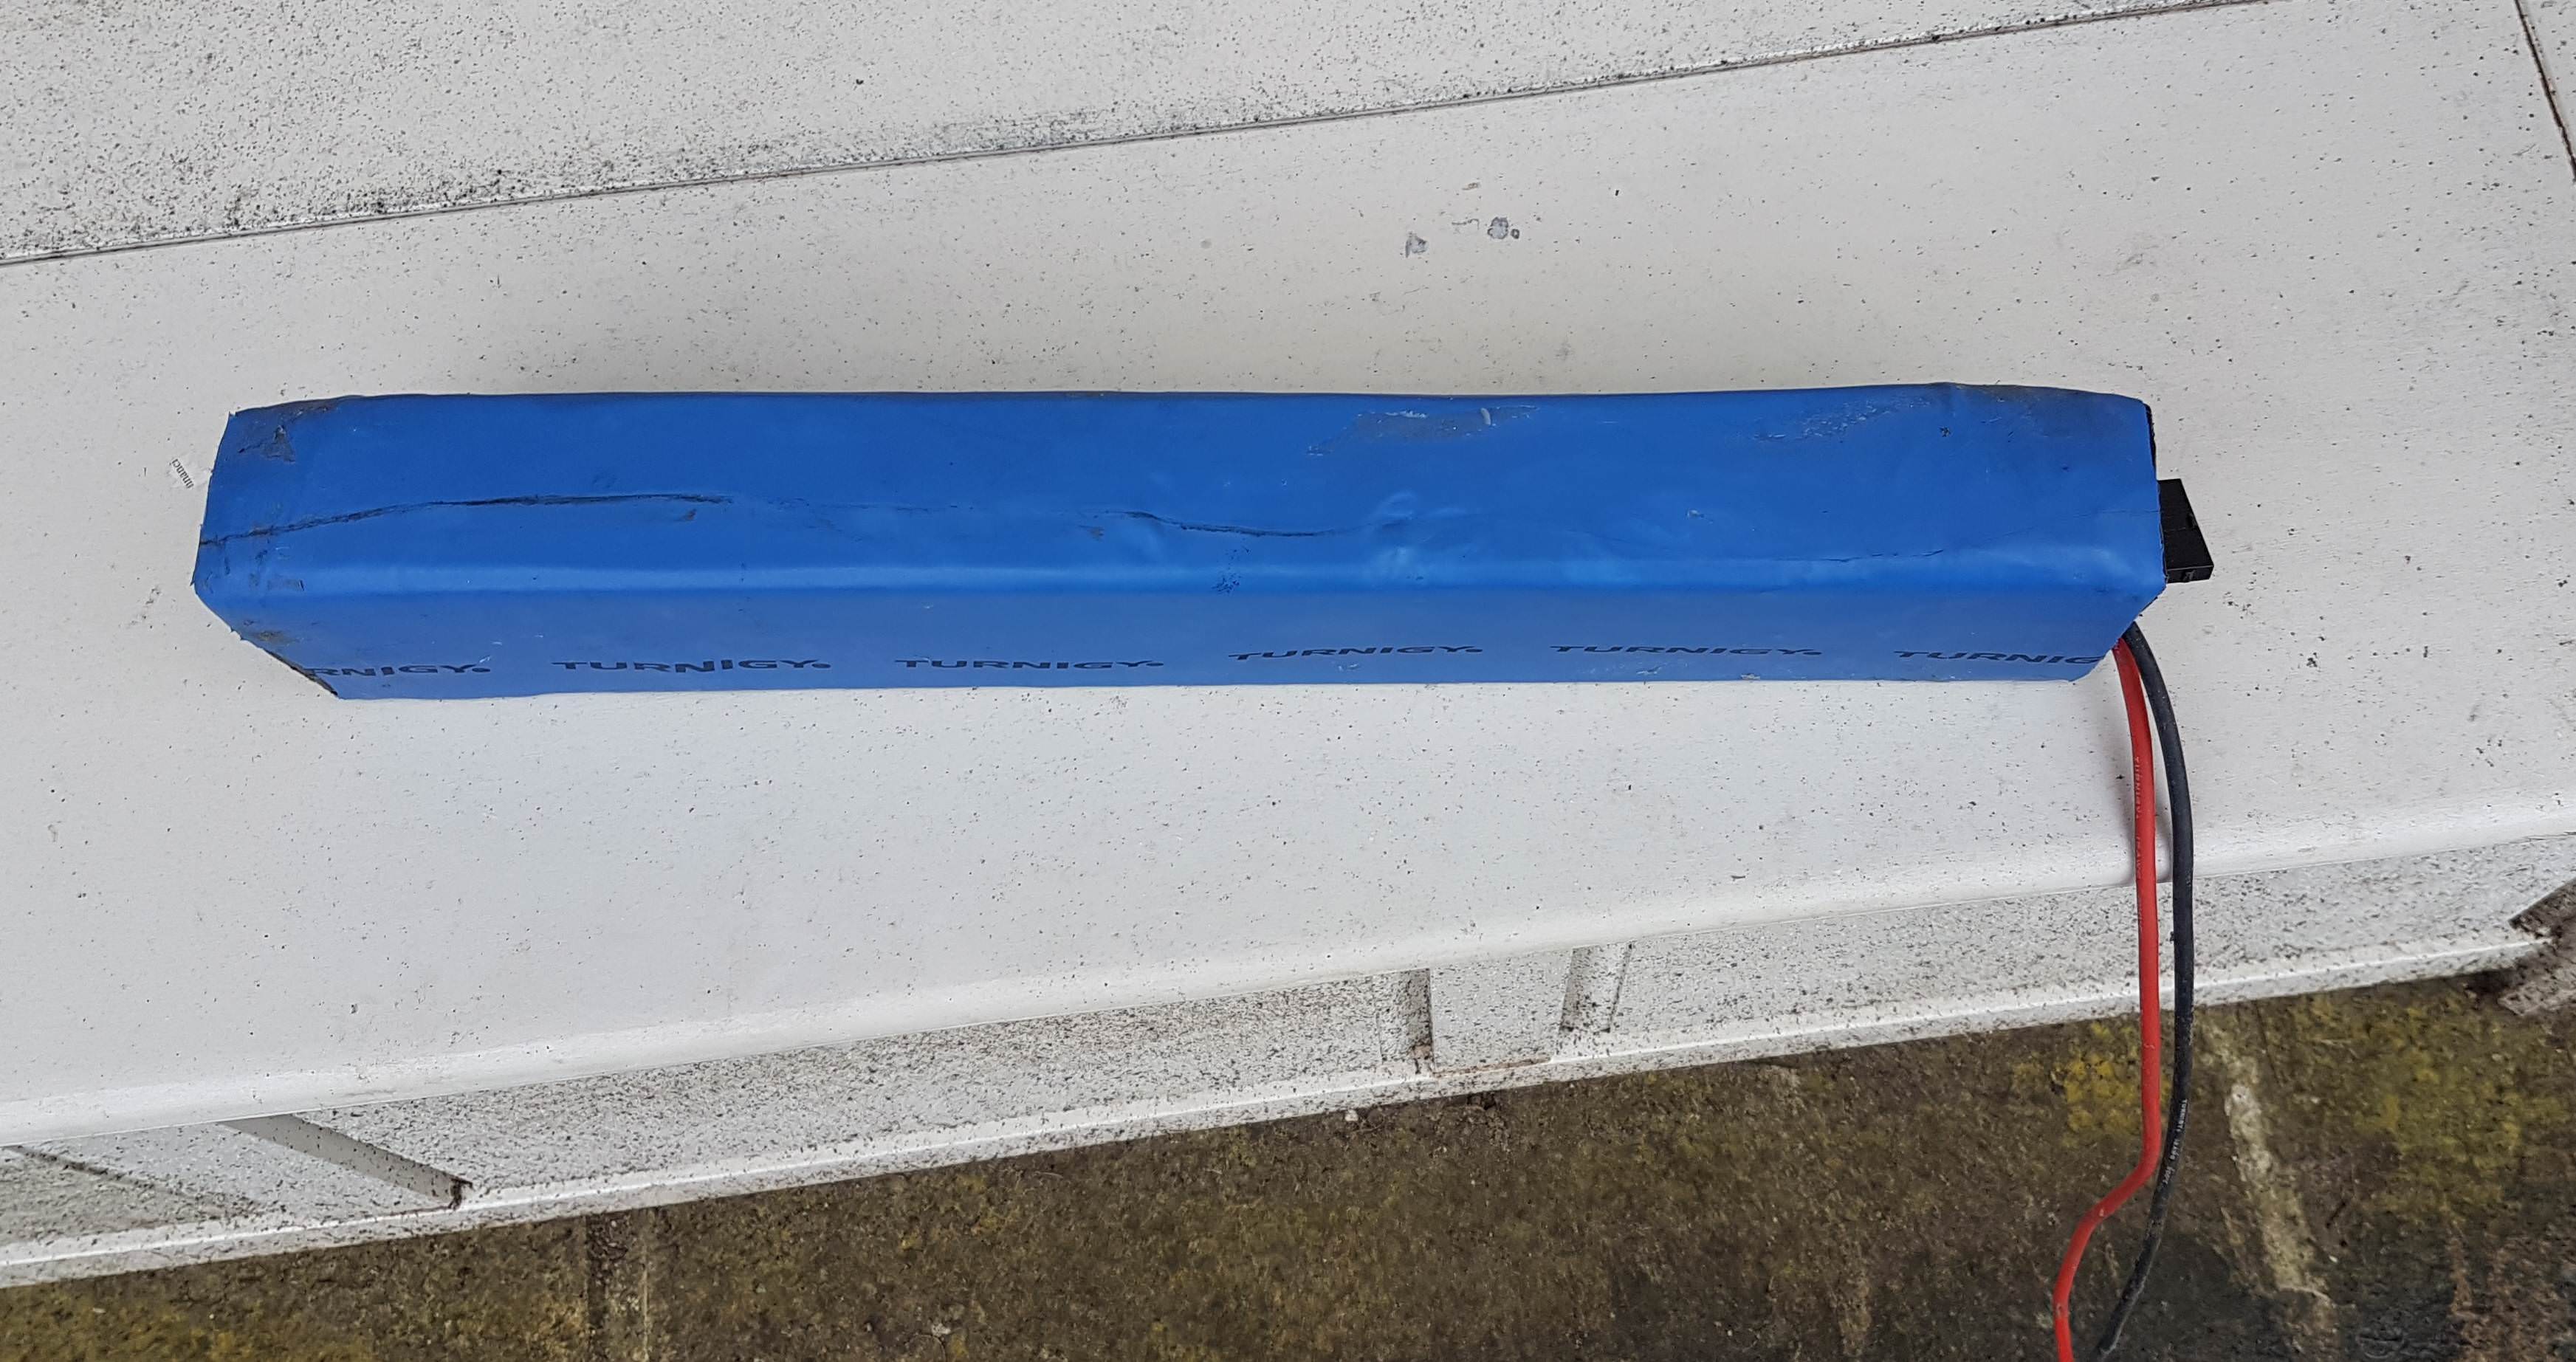
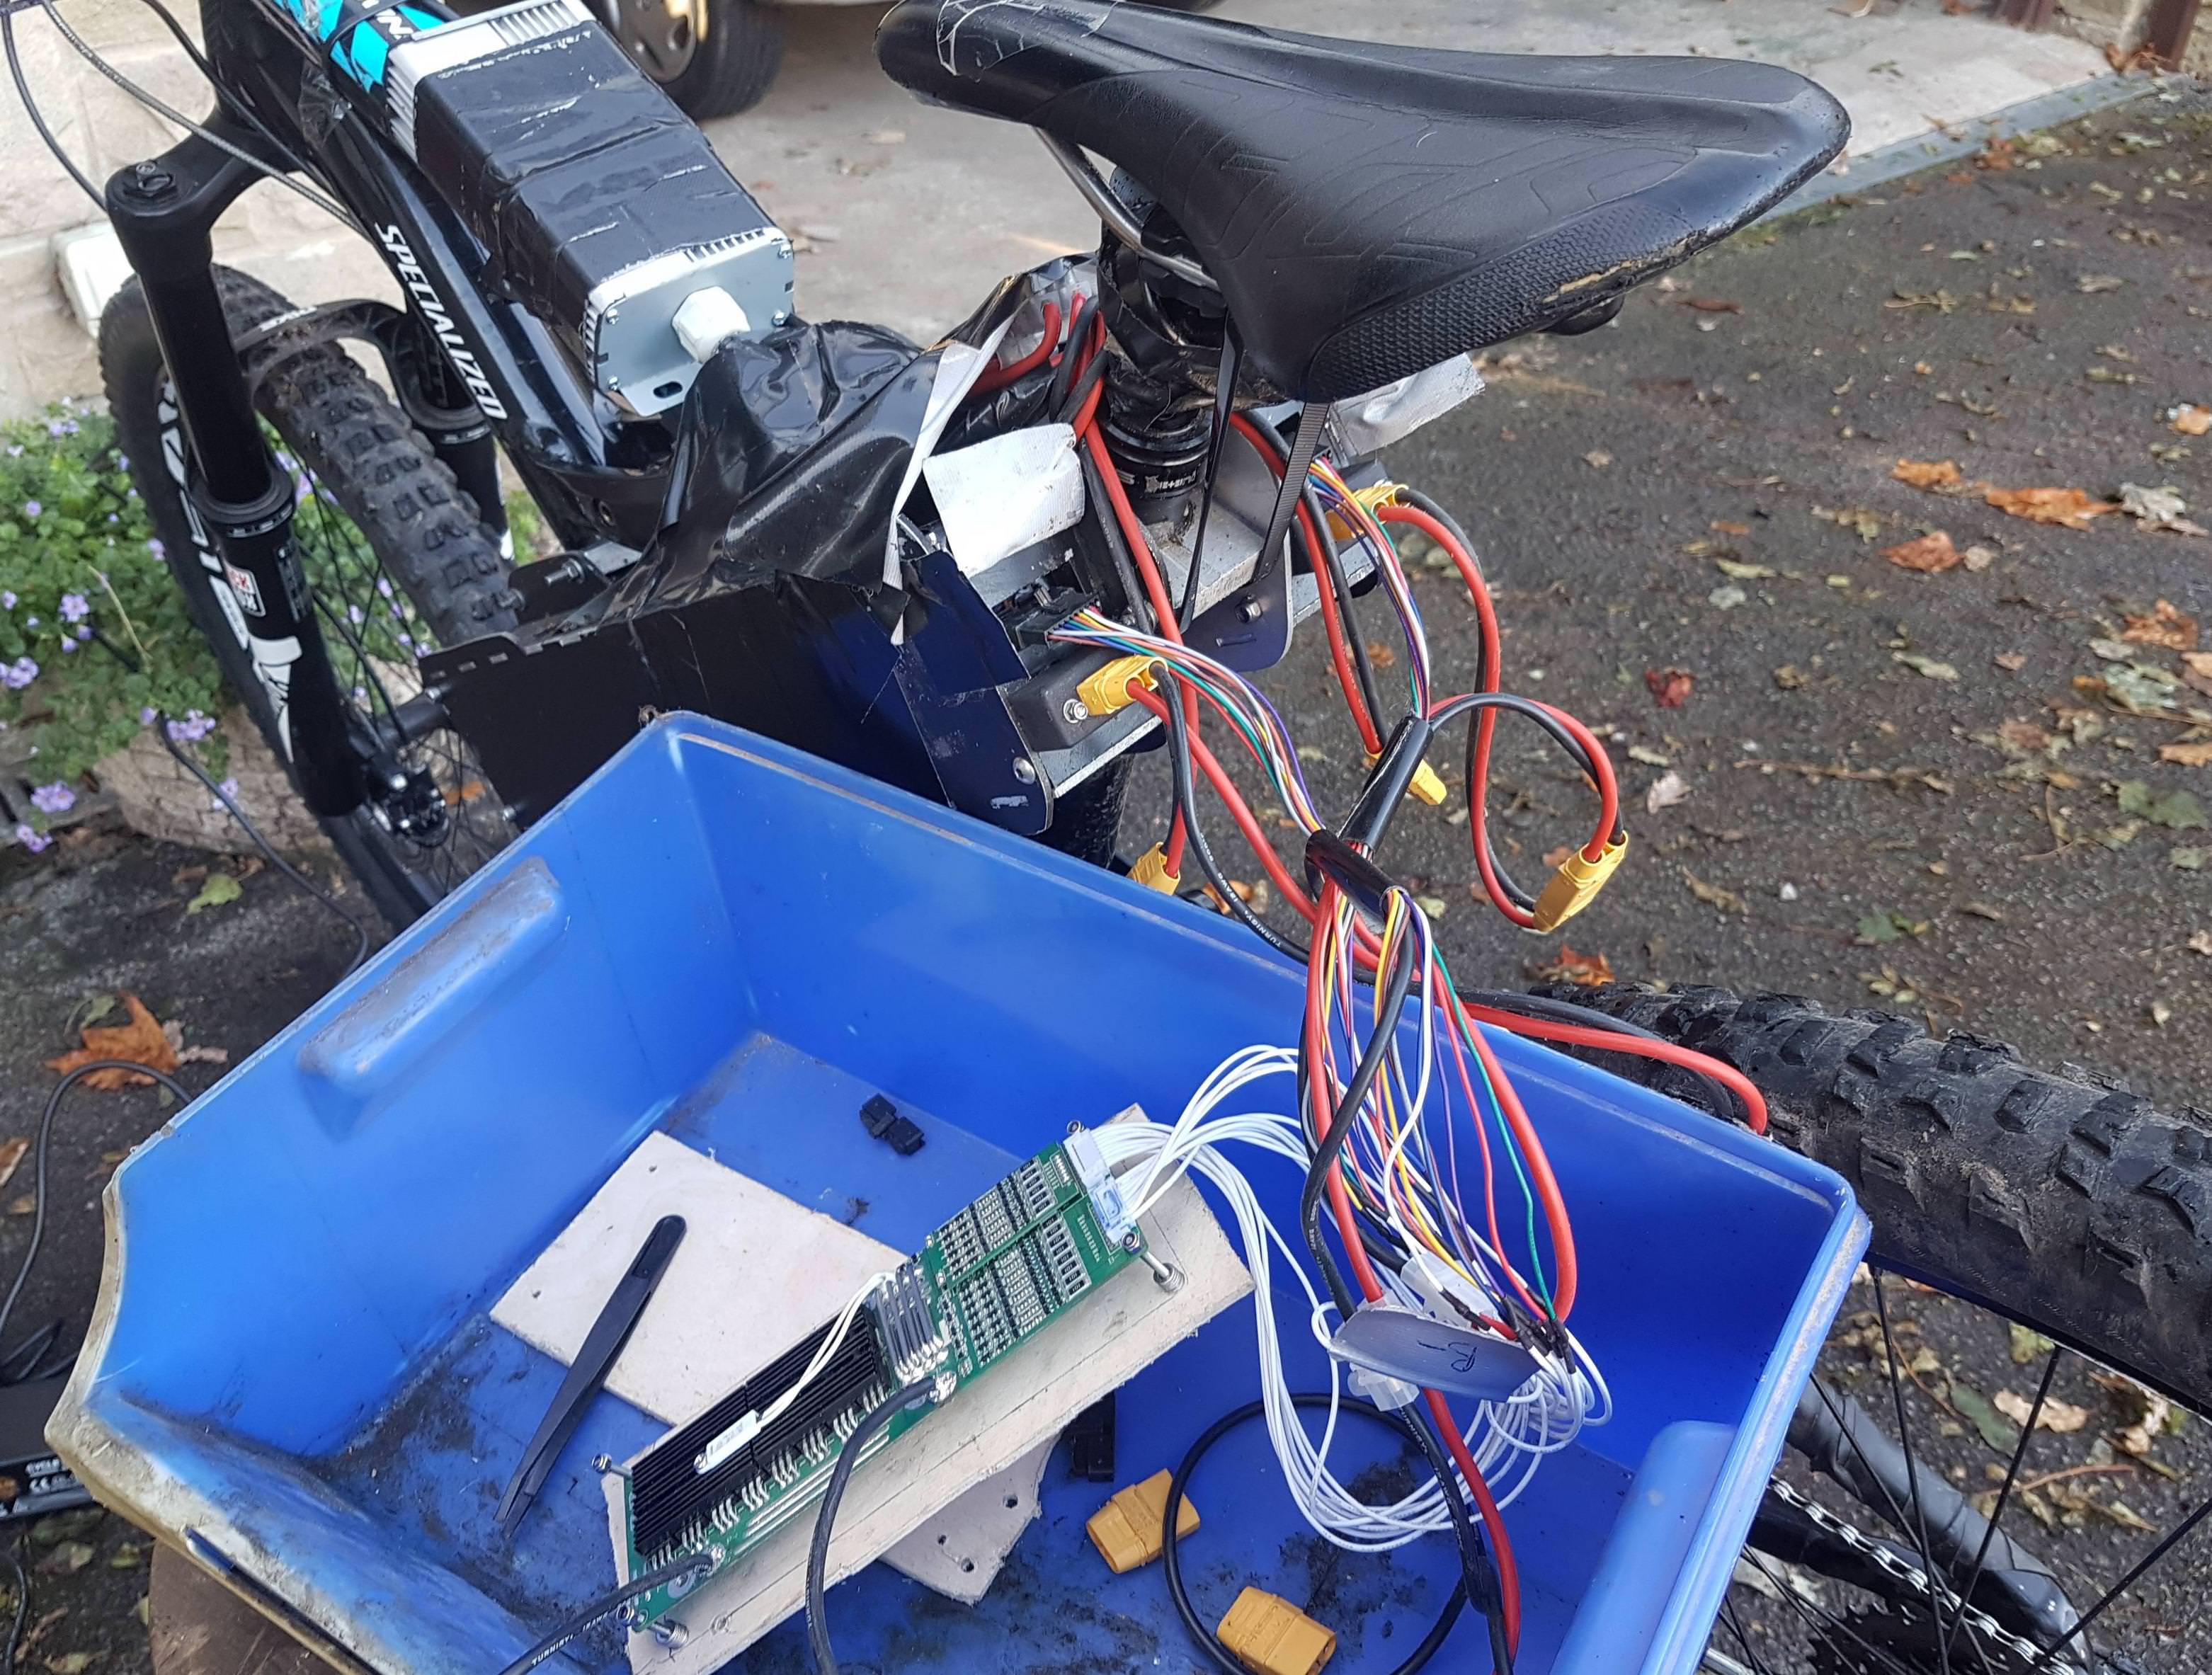
The battery contains 80 samsung 18650 30Q cells running at 72v nominal - it lasts somewhere between 1 and 2 hours .
I used an arduino based spot welder to weld the nickel strips together on the battery.
There is no BMS (battery management system) on the bike due to lack of space but I use one while charging.
The bike does not live in the house - fire risk!
I added an anti chain suck extension to the motor bracket since these photos were taken.
Next job is to experiment with different controllers.
Regards
Mark
PS I few visuals....
I found the following youtube link which gives a good indication of what it's like to ride. Its not my build but it has similar specifications.
[youtube]RlKElZ4KANM[/youtube]
Here are some pictures I took ......

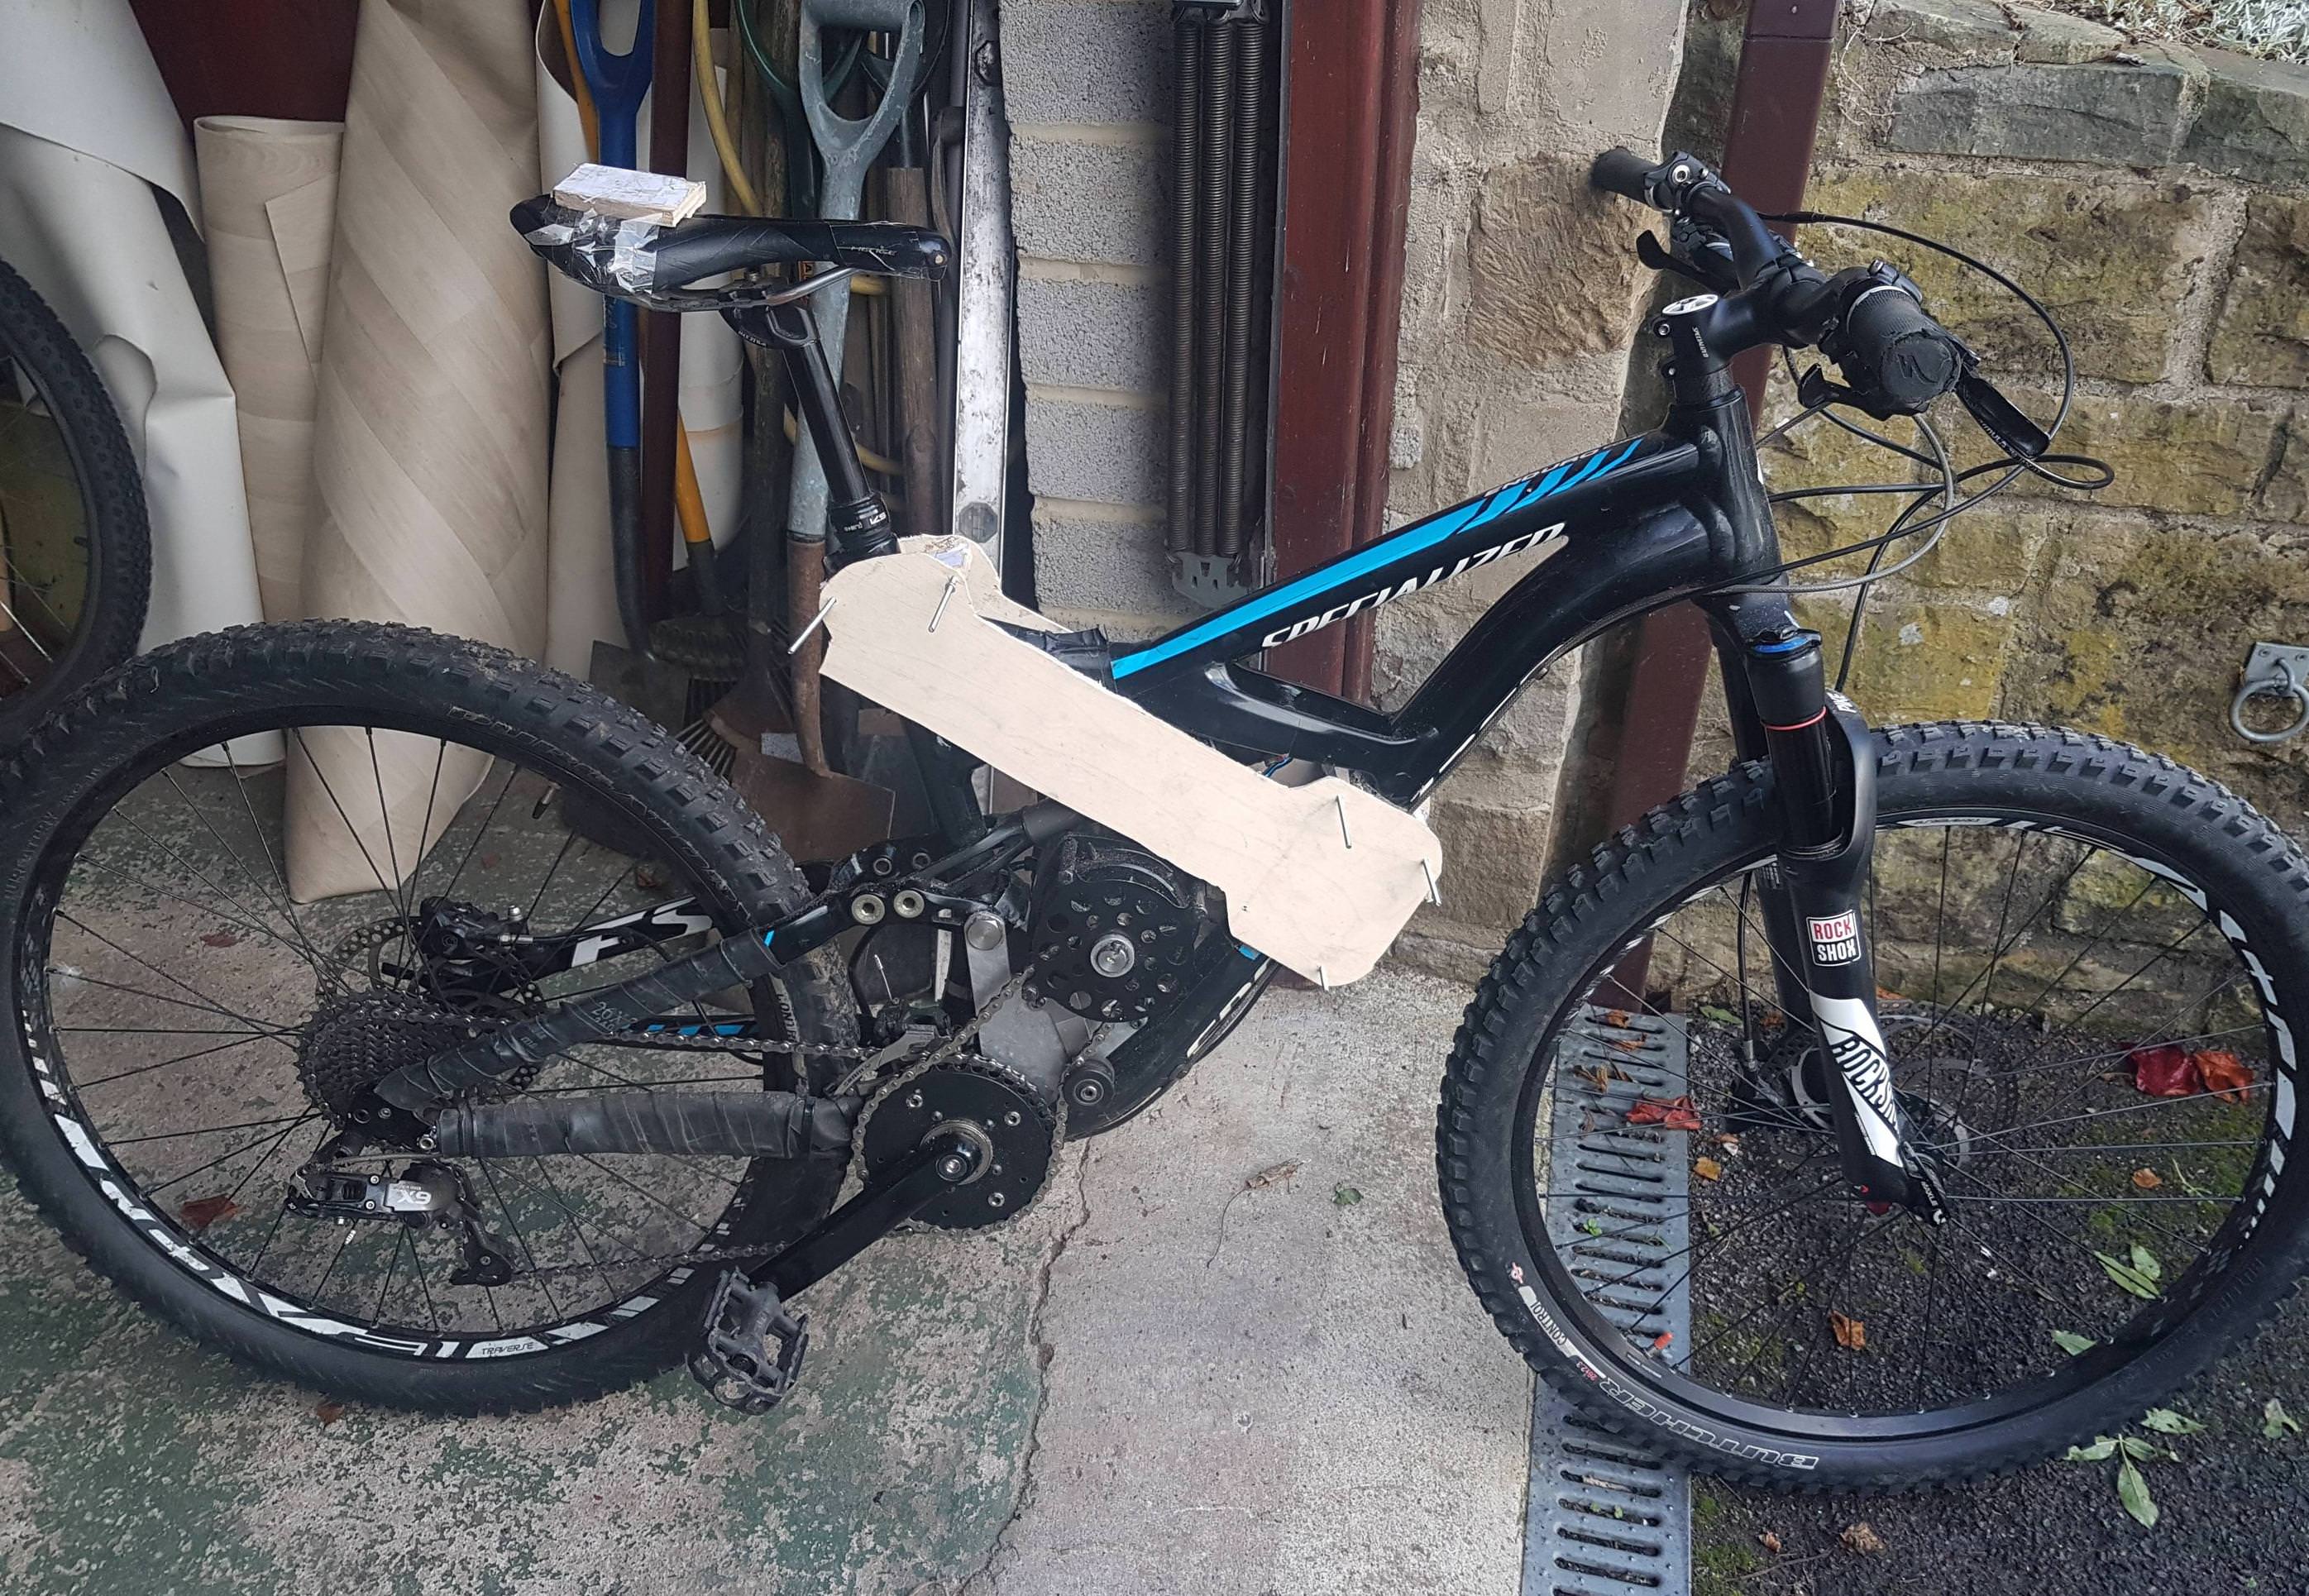
Just wanted to contribute something with a few words and pictures of my cyclone 3000w/ specialized enduro 2014 build. Thanks to everyone for their forum contributions and ideas - I'm definitely standing on the shoulders of giants.
I have a ktm 2 stroke enduro motorcycle which I love to ride but hate spending money on, repairing and hauling across the country to designated riding areas. I thought a combination of the cyclone kit and a decent enduro mtb might give me many of the benefits of ktm ownership with fewer headaches. It's far exceeded my expectations and I'm extremely happy with how it turned out.
Just some thoughts (in no particular order).
The bike handles quite nicely, I tried to centralise the extra weight and the mid drive nature helps with this (i think) .
It's a wheelie monster, much closer to my ktm than a shop bought ebike.
Additional weight of the battery and motor is about 10kg.
The battery does not get in the way while riding.
I went with an enduro rather than downhill bike as enduro geometry is designed for all terrain not just downhill
I used inkscape to design the battery case and motor mount which were laser cut from 3mm and 5mm thick aluminium.
The motor mount is attached to the bottom bracket and rear shock mounts. I used longer bolts, the suspension works fine and the mount seems very solid.
The battery contains 80 samsung 18650 30Q cells running at 72v nominal - it lasts somewhere between 1 and 2 hours .
I used an arduino based spot welder to weld the nickel strips together on the battery.
There is no BMS (battery management system) on the bike due to lack of space but I use one while charging.
The bike does not live in the house - fire risk!
I added an anti chain suck extension to the motor bracket since these photos were taken.
Next job is to experiment with different controllers.
Regards
Mark
PS I few visuals....
I found the following youtube link which gives a good indication of what it's like to ride. Its not my build but it has similar specifications.
[youtube]RlKElZ4KANM[/youtube]
Here are some pictures I took ......
