This one was relatively easy, though Jelly is a bit critical:

It's a brushed permanent magnet motor, so it works just as well on DC as AC. (it even uses a large full-wave bridge rectifier between the switch and the motor...I didn't bypass that solely because I left this whole thing setup so it can still easily be used with an AC cord as well, just in case).
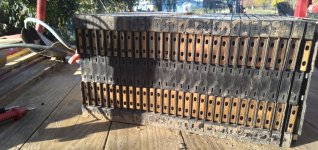
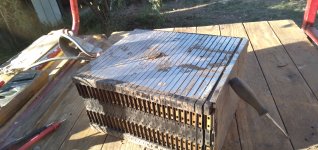
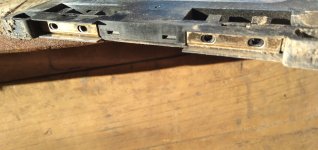
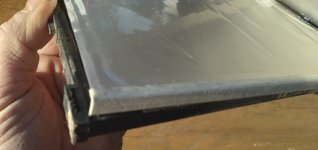
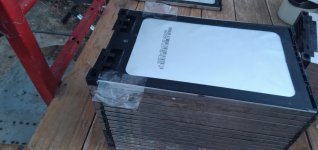
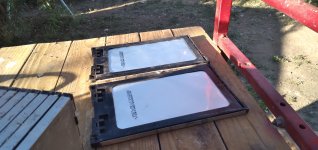
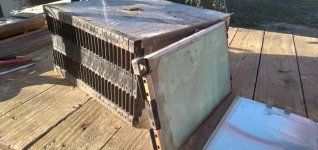
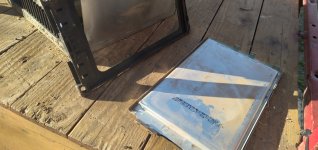
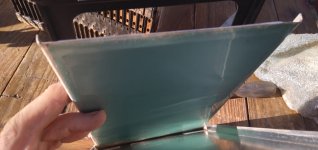
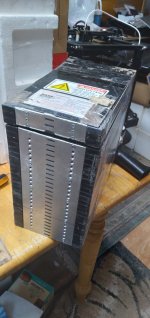
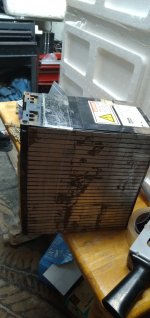
I checked the pictures I could find of exploded views and such, and it looked like there would be plenty of room inside for a battery...even for a 28s1p EIG NMC pack, the same size as I use in the SB Cruiser trike (but a different configuration, as that is 14s2p). Unfortunately I don't have 1p busbars or enough ring terminals to make a 28s1p, only 2p busbars, so my only easy option was to use two 14s2p packs in series, for 116vDC full, 104V nominal, to run this nominally 115VAC-powered mower.
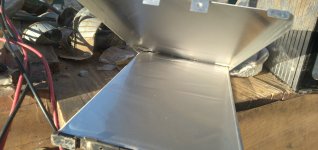
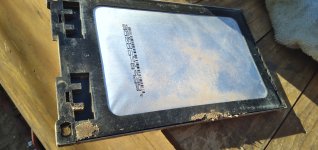
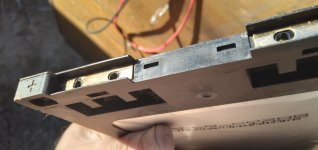
I considered unscrewing the top cover to put the packs inside, but there didn't seem to be enough room for two, though probably would be for one. It wouldn't run well enough on one (tested easily enough with an extension cord connected to the anderson SB50 on one pack) so two it would have to be. The whole deck is one big shell made of two halves, and taking that apart is not quite as easy as just unscrewing a cover, so I opted for cutting the top open instead, from just behind the motor to the very back wall above the bag cover. If I ever have to reclose that, it's not too difficult to make a new cover (I messed it up cutting it off, so it's not easy to simply reattach).
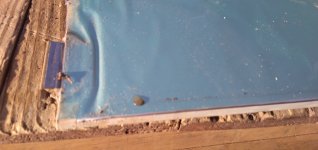
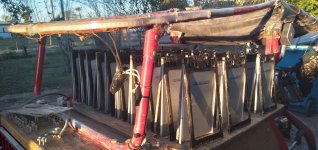
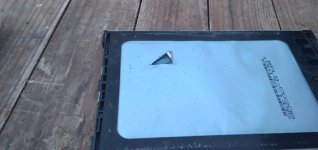
This leaves a space more than large enough for a single 28 cell pack laying with it's largest dimension down, or two stacked on top of each other that way...but it's difficult to get my hands in there to lift it back out, without putting handles on the pack, so I opted for putting one inside vertically instead, and then laying the other horizontally on top of it, and then cargo-strapping it down from the wheel wells on either side, for the initial test. I used the plastic cover piece between the strap and the pack to reduce stress on the pack itself.


It's a temporary arrangement for this test, but it worked fine and would probably work to do this each time I need to use it, and may not be worth any extra work to improve the mounting. (I'd guess a few hours to box in the area or otherwise modify it so I can get packs stacked horizontally out of there).
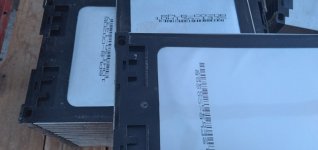
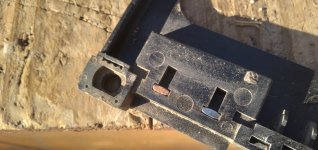
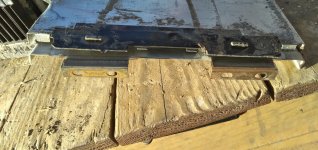
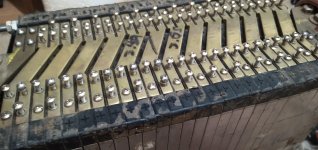
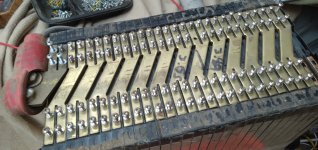
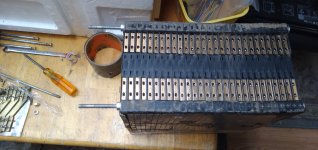
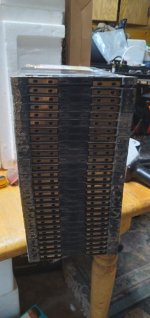
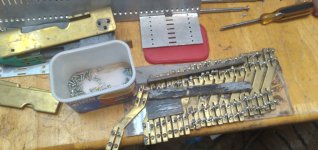
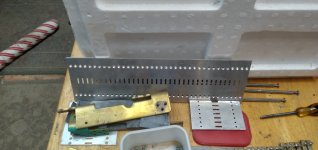
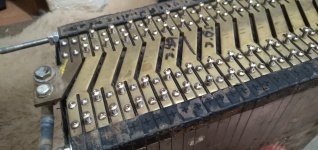
I only had one pack built up as a spare for SB Cruiser, so I used most of my remaining spare cells and 2p busbars to make a second one. I built it like the others, so it will also be a drop-in replacement for SB Cruiser in case it should be needed, as it won't be used on the mower very often (few times a year, typically--there's only enough grass to use a string trimmer on patches around trees most of the time, except after our few "rainy seasons" when we get a lot all at once, then nothing...rest of the time the dogs trample what grass does try to grow). Building this took about 3 or 4 hours, I'd guess, mostly trying to get my hands to not drop the screws and washers for the busbars down onto busbars or between them (which is generally bad

 ). I picked cells that were all within a few hundredths of a volt of each other, and paralleled pairs that were different in opposite ways, to even it out where necessary. I forgot to take pics of the building process, but it's just stacking the cells and screwing down busbars to them. Easy peasy, which is why I like these cells so much.
After that, it was just charging the packs up, also easy using a Meanwell HLG600H-54A just like I use on SB Cruiser. I'd charged up the already built pack (left at storage voltage) while building the new one, and then topped off the new one once completed while figuring out the seriesing and connection to the AC plug on the mower.
That was simple enough, but complicated slightly by needing to leave the packs as ready-to-use drop-ins for SBC, so I couldn't simply directly wire them in series, bolted together, which would be the most efficient way to do it. That would also require putting one pack in, then the other, then bolting the wiring together, because I can't lift more than one at a time safely. So I used a jumper SB50 between the + of one pack's SB50 and the - of the other, and then wired just one wire from each of two other SB50 shells (+ on one, - on the other) to a round female AC plug that would fit into the hole / jack on the mower's AC inlet. Then each of those shells was plugged into the open contact of each of the packs' SB50s.
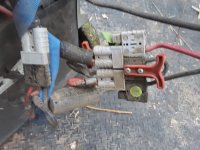
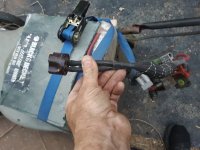
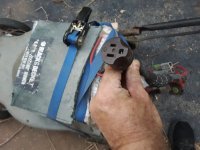
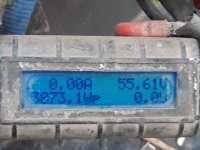
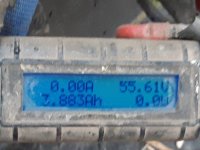
An old Turnigy Watt Meter was used on just one pack to monitor current draw, etc., since it can't handle the series voltage of both. So all the volts and watts on it's readings are half of what were really seen. The idle current of just blade spinning is around 2A, and average mowing regular grass is about 4-6A. High spots and thick spots went way up.
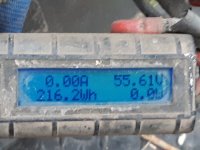
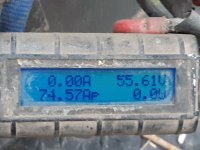
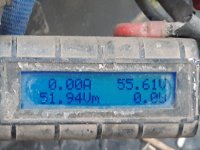
One thing to note is that since I wasn't using at least 50-100 feet (sometimes more for the street side outside the yard, nearing the alley) of extension cords on AC power, the mower didn't bog down like it would on those, and the wiring didnt' heat up at all. The bogging down usually slows me down quite a bit, sometimes adding an hour or more to the mowing, as I have to back off and go back in, etc. Not having to do that saved at least that much time. But the best part was not having the cord to tie me down and make me have to backtrack around all the trees, etc., or wind up the cords and move them and redeploy for front vs back vs sides vs sidewalk, etc.--all of which can take me at least another hour or two just to do, not coutning the mowing. So instead of taking half to an entire day to do, I think it only took about two hours to mow everything once I got started. :thumb:
If it just didnt' weigh so much, and stick up so high out of the casing, it would be much better.
Now I just have to do something for the string trimmer, which is a big Ryobi 137r (IIRC), that also runs on mains AC. I think a large-wheeled battery cart with a few feet of cord is probably the answer there. Has to be large wheels (like BMX 20" or so) so it easily rolls around on the uneven yard, etc., but the cart itself will need to be small and easy to pull (maybe something that hooks to a belt around me, so I have hands free to hold the trimmer). I'd rather have a more portable solution, but even just a 28s1p pack would still weigh 35lbs+, and I can't carry that around even in a backpack, and still do the trimming. Maybe if I can use a 14s1p pack, I could do *that* in a backpack. The trimmer has a switch on it that I almost always have in "turtle mode", which places a large diode in series with the power to the motor from the AC plug. That means it is running on half voltage anyway, so 14s may work well enough. I'll have to try it the next day off I have when it is still cool enough to do yard work. (these days, in summer I have to do it at night, or before dawn).

It's a brushed permanent magnet motor, so it works just as well on DC as AC. (it even uses a large full-wave bridge rectifier between the switch and the motor...I didn't bypass that solely because I left this whole thing setup so it can still easily be used with an AC cord as well, just in case).
I checked the pictures I could find of exploded views and such, and it looked like there would be plenty of room inside for a battery...even for a 28s1p EIG NMC pack, the same size as I use in the SB Cruiser trike (but a different configuration, as that is 14s2p). Unfortunately I don't have 1p busbars or enough ring terminals to make a 28s1p, only 2p busbars, so my only easy option was to use two 14s2p packs in series, for 116vDC full, 104V nominal, to run this nominally 115VAC-powered mower.
I considered unscrewing the top cover to put the packs inside, but there didn't seem to be enough room for two, though probably would be for one. It wouldn't run well enough on one (tested easily enough with an extension cord connected to the anderson SB50 on one pack) so two it would have to be. The whole deck is one big shell made of two halves, and taking that apart is not quite as easy as just unscrewing a cover, so I opted for cutting the top open instead, from just behind the motor to the very back wall above the bag cover. If I ever have to reclose that, it's not too difficult to make a new cover (I messed it up cutting it off, so it's not easy to simply reattach).
This leaves a space more than large enough for a single 28 cell pack laying with it's largest dimension down, or two stacked on top of each other that way...but it's difficult to get my hands in there to lift it back out, without putting handles on the pack, so I opted for putting one inside vertically instead, and then laying the other horizontally on top of it, and then cargo-strapping it down from the wheel wells on either side, for the initial test. I used the plastic cover piece between the strap and the pack to reduce stress on the pack itself.


It's a temporary arrangement for this test, but it worked fine and would probably work to do this each time I need to use it, and may not be worth any extra work to improve the mounting. (I'd guess a few hours to box in the area or otherwise modify it so I can get packs stacked horizontally out of there).
I only had one pack built up as a spare for SB Cruiser, so I used most of my remaining spare cells and 2p busbars to make a second one. I built it like the others, so it will also be a drop-in replacement for SB Cruiser in case it should be needed, as it won't be used on the mower very often (few times a year, typically--there's only enough grass to use a string trimmer on patches around trees most of the time, except after our few "rainy seasons" when we get a lot all at once, then nothing...rest of the time the dogs trample what grass does try to grow). Building this took about 3 or 4 hours, I'd guess, mostly trying to get my hands to not drop the screws and washers for the busbars down onto busbars or between them (which is generally bad
After that, it was just charging the packs up, also easy using a Meanwell HLG600H-54A just like I use on SB Cruiser. I'd charged up the already built pack (left at storage voltage) while building the new one, and then topped off the new one once completed while figuring out the seriesing and connection to the AC plug on the mower.
That was simple enough, but complicated slightly by needing to leave the packs as ready-to-use drop-ins for SBC, so I couldn't simply directly wire them in series, bolted together, which would be the most efficient way to do it. That would also require putting one pack in, then the other, then bolting the wiring together, because I can't lift more than one at a time safely. So I used a jumper SB50 between the + of one pack's SB50 and the - of the other, and then wired just one wire from each of two other SB50 shells (+ on one, - on the other) to a round female AC plug that would fit into the hole / jack on the mower's AC inlet. Then each of those shells was plugged into the open contact of each of the packs' SB50s.


An old Turnigy Watt Meter was used on just one pack to monitor current draw, etc., since it can't handle the series voltage of both. So all the volts and watts on it's readings are half of what were really seen. The idle current of just blade spinning is around 2A, and average mowing regular grass is about 4-6A. High spots and thick spots went way up.


One thing to note is that since I wasn't using at least 50-100 feet (sometimes more for the street side outside the yard, nearing the alley) of extension cords on AC power, the mower didn't bog down like it would on those, and the wiring didnt' heat up at all. The bogging down usually slows me down quite a bit, sometimes adding an hour or more to the mowing, as I have to back off and go back in, etc. Not having to do that saved at least that much time. But the best part was not having the cord to tie me down and make me have to backtrack around all the trees, etc., or wind up the cords and move them and redeploy for front vs back vs sides vs sidewalk, etc.--all of which can take me at least another hour or two just to do, not coutning the mowing. So instead of taking half to an entire day to do, I think it only took about two hours to mow everything once I got started. :thumb:
If it just didnt' weigh so much, and stick up so high out of the casing, it would be much better.
Now I just have to do something for the string trimmer, which is a big Ryobi 137r (IIRC), that also runs on mains AC. I think a large-wheeled battery cart with a few feet of cord is probably the answer there. Has to be large wheels (like BMX 20" or so) so it easily rolls around on the uneven yard, etc., but the cart itself will need to be small and easy to pull (maybe something that hooks to a belt around me, so I have hands free to hold the trimmer). I'd rather have a more portable solution, but even just a 28s1p pack would still weigh 35lbs+, and I can't carry that around even in a backpack, and still do the trimming. Maybe if I can use a 14s1p pack, I could do *that* in a backpack. The trimmer has a switch on it that I almost always have in "turtle mode", which places a large diode in series with the power to the motor from the AC plug. That means it is running on half voltage anyway, so 14s may work well enough. I'll have to try it the next day off I have when it is still cool enough to do yard work. (these days, in summer I have to do it at night, or before dawn).


