kfong said:
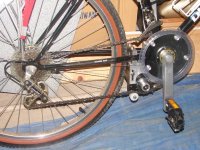
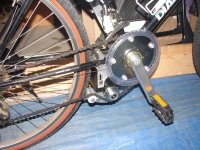
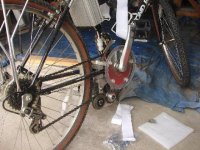
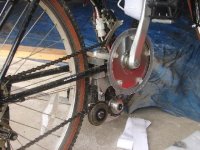
Gary, I just went back on the site to see the 1000W setup. From what I gather, since the 1000w system is direct drive. They use 2 sprockets to reduce the RPM's to a more manageable level. Correct me if I’m wrong on this. Also since the motor is shorter it still sticks out far enough that you have to use their crank arms to provide the extra space needed. I went with the 650watt version to keep my running watts low, but perhaps I would have been better off with the 1000W to begin with. At least the pedals would have been equal on both sides.
Kin
http://www.embeddedtronics.com
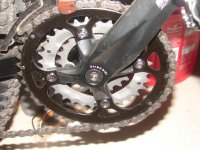
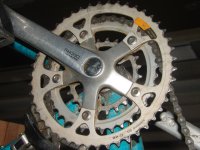
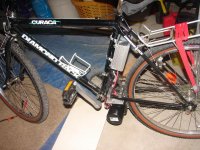
You are right on both counts. The crankset provided has two sprockets, a 44T for the motor drive,with a 6T on the motor, and a 36T for the pedal drive. The motor is only about 4" long, but more like 5", or so, in diameter. It looks like a baby Etek.
")
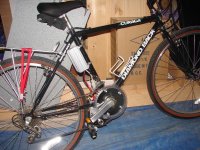
The watts used is a function of the load you put through it, which you could always limit via the throtle, or a CA, if one is used. Given the same load, the larger motor should run with less heat, so it could be more eficient that the smaller one. In my case, I wanted the best upper-end performance I could get, and I was not disappointed. I replaced a 72V/70A+ 5303 setup on this bike with a stock Cyclone 1000W system that runs maxes out at 55A at 48V (2700W on my WattsUp...), and because of the extra gearing (using the Nexus 3-speed hub...), it definitely has noticably more low-end torque, and a higher top speed as well. The new setup is a ton lighter as well. If it weren't for the extra racket this makes, I would not hesitate to put this same setup on all my bikes.
I haven't personally tried a geared hubmotor on anything, so I really can't comment on how they would compare to my "benchmark" X5 setups, but my gut tells me that the 1000W model would be comparable, especially at 72V. It would be really great, however, if it will come close to the same sort of performance at only 48V, like the Cyclone 1000W system does. Life is so much easier at 48V.
-- Gary