AliExpress battery pack unboxing (for my eZuma project)

MJSfoto1956 said:
You have me curious: what is "CA"?
(superglue?)

Yes, CA comes from cyanacrylate.

furcifer said:
I have to disagree. I've actually dealt with this vendor and they are very accommodating. I have no doubt had you asked for "more" and paid for "more" they would have provided "more". They did for me. Andy answered all my emails and technical questions very quickly and honestly.

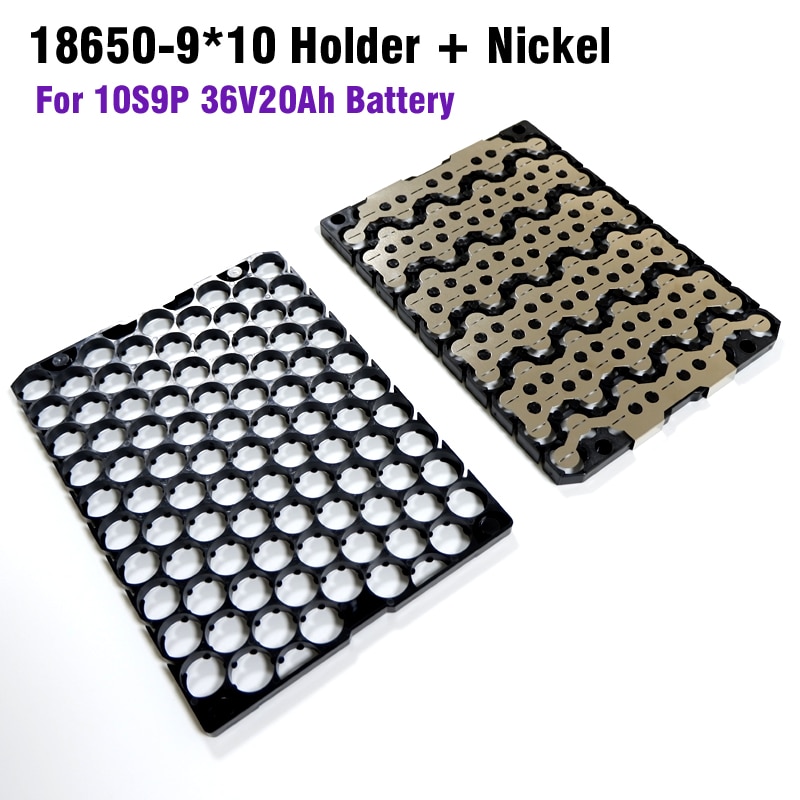
Basically what I'm saying is you cut corners. You had to know how cheap that is for a 57aH battery. If you could find someone willing to build you that spec'd battery for $1700 in NA do you think it's going to come with copper bus bars and a smart BMS? I couldn't even source the cells here for my battery for the price I paid for one shipped to my door in 3 weeks, but I'm in Canada.

Anyways, good on you for doing the tear down and mod. People should read this so they know what to ask for when they order a battery. But they should also expect to pay a little more as well.

What you saying would be equal to say if you offering them to you pay more, you get a battery that works ACCORDING TO THE SPECS, and if you don't "ask for more", pay less (or the normal price?), you get a BOMB.
Come on, the seller should be ashamend for selling something like this, no matter of how much it costs.
MJSfoto has the knowledge to see the faults, but imagine someone else would buy the same battery and use it as it is at 120A as the BMS was specified!
 
furcifer said:
I think it's worth pointing out that's a huge battery. So right off the bat it's not really "typical"....

Tell that to the 100+ AliExpress vendors that sell packs of this size and even bigger. I think you forget that scooters/mopeds/motorcycles are a big deal over there and cute smallish eBike batteries like you are suggesting are just a side show.

M
 
MJSfoto1956 said:
madin88 said:
... i would add a drop of CA in each gap where the series cells touch. This should add support to the insulation and make it stiffer.
<snip>

You have me curious: what is "CA"?
(superglue?)

It's worth noting that for many such glues, cyanoacrylate's crystal structure tends to fracture over time with heating and cooling cycles. Sometimes this leads to failure of joints created with them; sometimes it leaves sharp-edge surfaces taht abrade thru the stuff it was meant to hold together if there's vibration as well. (or thermally-cycled movement or expansion/contraction)

Generally, but not always, the slower cure time the glue, the less likely taht is to happen.

(Some personal experience with various CAs I've used on all sorts of projects over the last few decades.)
 
Ok this is new to me. A few weeks ago I started to disassemble the AliExpress battery pack with the goal of "bringing it up to spec". At that time it read 79.8V as measured off of the 120A dumb BMS supplied. This past weekend I finally got it (mostly) back together (minus the BMS) and for kicks I measured the voltage of the pack itself. It now reads 82.4V. WTF? How is that even possible? True, I spot-welded a large bunch of serial tabs to address the inherent weakness of the battery as shipped, but does that alone account for it? Scratching my head on this one.

Michael
 
MJSfoto1956 said:
Ok this is new to me. A few weeks ago I started to disassemble the AliExpress battery pack with the goal of "bringing it up to spec". At that time it read 79.8V as measured off of the 120A dumb BMS supplied. This past weekend I finally got it (mostly) back together (minus the BMS) and for kicks I measured the voltage of the pack itself. It now reads 82.4V. WTF? How is that even possible? True, I spot-welded a large bunch of serial tabs to address the inherent weakness of the battery as shipped, but does that alone account for it? Scratching my head on this one.

Michael

temperature difference?
measuring through body diode of one FET bank on the BMS?
 
MJSfoto1956 said:
The pack is made up of 340 cells, LG F1L 18650 3350mAh.

Here's the test review of the F1L cells in your pack.
https://lygte-info.dk/review/batteries2012/LG%2018650%20F1L%203350mAh%20(Purple)%20UK.html
 
So I've verified that all the components are working as expected on my testbench in the basement. Still awaiting some brass parts from AliExpress to complete the battery rebuild. In the interim, I've finally worked out the details of how the battery will connect to the controller and the controller to the Anderson plugs. In particular, I've decided to to mount the controller's B- port directly to the copper bus bar using brass standoffs as shown below.


My Battery cabling.v3.1280.jpg


Michael
 
No effort will help with the obvious - improper cells for this job... So much money and effort and so short will it last...
 
LuboN said:
No effort will help with the obvious - improper cells for this job... So much money and effort and so short will it last...

Only if you a dogmatic idealist. For my use case it will suffice quite nicely by my calculations. Never going to go beyond 1.5C discharge. Never going to charge more than 4.1V. Never going to go below 3V. Not building a wheelie-poppin', tire-screechin, superbike btw. Just building a cute little scooter to be used for my errands (as well as an emergency power 72V "generator"). I''ll be willing to bet you my pack will outlast most folks' packs here on ES as it appears that a majority are obsessed with 10A, 20A, & 30A per cell discharge rates.

All this posturing reminds me of the late 1960s/early 1970s when testosterone-laden lads were all claiming "my car can blow the doors off or your car". SMH.
 
LuboN said:
Reading the thread made me think this is going to be high power one...

I don't know: 72V, 57.8Ah for my first build ain't too wimpy in my book! And yes, it was deliberately overbuilt so I could establish a baseline for future builds.

My next pack will be based on the lessons I've learned on building this pack and likely deliver 72V, 90Ah using 21700 cells. But that will be 2+ years from now.

M
 
LuboN said:
There are few installing 20kW controller and 120A BMS for low power scooter :)

Dude, I replaced the junk 120A with a smart 150A BMS! Let's get it right. :p

No reason to cut corners I say. And besides, I now have all the parts needed for a rebuild should I go that route.

M
 
$1700. I got an 18kwh Chevy Volt pack with less than 100 miles on it for $2,200. Ah the good old days before some companies drove the prices up snapping them up for use as golf cart batteries or to build PowerWalls. Over-engineered for enhanced safety and long life, not to mention the cheapest way to get there. On top of all that I am the only BMS required using conservative charge and discharge cutoffs. It takes less than 30 seconds to check balance, and in 2 years of daily use the cells are still an amazing +/-.015 volt on the 24s I have in service. Capacity has changed very little. I can't wait to get the other 75% of that pack in service. That Volt pack is less than half of my car battery stash. My only regret was not buying the other very low mileage Volt pack the seller had at that price.
 
John in CR said:
...I got an 18kwh Chevy Volt pack with less than 100 miles on it for $2,200. Ah the good old days before some companies drove the prices up snapping them up for use as golf cart batteries or to build PowerWalls...

The good news is that there will be more such opportunities in the future as more and more EVs become available as salvage. As for my particular use-case, I am restricted by the following dimensions of my battery tray: 220mm x 210mm x 340mm. Not gonna work for a Volt pack I'm afraid.

M
 
MJSfoto1956 said:
John in CR said:
...I got an 18kwh Chevy Volt pack with less than 100 miles on it for $2,200. Ah the good old days before some companies drove the prices up snapping them up for use as golf cart batteries or to build PowerWalls...

The good news is that there will be more such opportunities in the future as more and more EVs become available as salvage. As for my particular use-case, I am restricted by the following dimensions of my battery tray: 220mm x 210mm x 340mm. Not gonna work for a Volt pack I'm afraid.

M

After taking the SawzAll to coolant flow channel excess at the sides (a 10min job) it comes pretty darn close. Of course my 26ah Panasonic bolt together cells from a Ford are even better cells, and can be organized to fit almost anything. I put 20s in an Enduro frame with room for 2-4 more.

While there will surely be more salvage packs to be had, there's too much value and demand, so the $.10-.12/wh high quality batteries are gone...at least until the cost to manufacture come down.
 
If I were to do it all over again today (knowing what I know now), I would probably start by purchasing four of these from AliExpress to make a 20s18p pack. I would add air gaps between all four modules (like I did with my current pack). And I would also use the same cabling/BMS solution that I have on my current pack.

https://www.aliexpress.com/store/pr...l?spm=2114.12010612.8148356.24.c3376d1ahTfdH7

HTB1iEzgXcfrK1Rjy1Xdq6yemFXaG.jpg
 
Lest anyone think I'm being too hard on AliExpress battery-pack vendors let this sink in:

Today I was taking apart the SB175 (clone) connectors that were supplied with the AliExpress battery I purchased from BOOANT (8 years in business, btw). Without much effort several of the cables simply slid right out -- and no wonder, the solder was only reaching about 1/4" (or less) into the 10AWG cables. Needless to say, this is extremely dangerous and could have easily caused a fire.

Caveat Emptor wrt anything from AliExpress -- even highly recommended vendors.


P.S. notice the excess solder dripping into the contact area of the SB175 connector -- sloppy craftmanship if you ask me. YMMV.
 
I highly recommend crimping them, if you can get a good enough crimper.

Otherwise, I would strip the wires to the length that will fill the contact's cup, interleave the strands of any multi-cable sets that use the same contact, and fit the strands into the cups, then use a heat gun on just the contact until solder will melt on the edge of the cup. Begin feeding the solder into the cup/strand interface, until you have fed in at least as much solder as you know it would take to fill all the gaps in the strands and the spaces between strands and cup.

If a heatgun isn't sufficient, you could use a small torch, or a really big soldering iron, but the former can damage the contact metal if placed where it can put more heat than needed (and cause probelms with soldering if the flux boils off too fast), and the soldering iron can take so long to heat the mass that the insulation on the cable can be damaged.
 
amberwolf said:
I highly recommend crimping them, if you can get a good enough crimper.

Otherwise, I would strip the wires to the length that will fill the contact's cup, interleave the strands of any multi-cable sets that use the same contact, and fit the strands into the cups, then use a heat gun on just the contact until solder will melt on the edge of the cup. Begin feeding the solder into the cup/strand interface, until you have fed in at least as much solder as you know it would take to fill all the gaps in the strands and the spaces between strands and cup.

If a heatgun isn't sufficient, you could use a small torch, or a really big soldering iron, but the former can damage the contact metal if placed where it can put more heat than needed (and cause probelms with soldering if the flux boils off too fast), and the soldering iron can take so long to heat the mass that the insulation on the cable can be damaged.

My solution: throw the bunch in the spare wire bin! Here's what I just came up with to replace 'em:


Marine-grade 6AWG baby. Real Anderson connectors. Crimped & soldered. Overly engineered on purpose.

YMMV
M
 
Just got back from two weeks of business travel. Added some finishing touches to the 6AWG power harness. Still waiting on some brass parts from China to (mechanically) attach this puppy to the BMS/battery. Hoping the parts will arrive this week.


Speaking of which, what is the "best practice" regarding where to place the thermal sensors that come with my BMS?

There are a total of four sensors: two on the left side of the BMS and two on the right.

The logical patterns are:

  • two taped onto the battery (one on each side), plus two taped onto the BMS (top and bottom)

    or

  • four taped onto the battery (two on each side)

Thoughts?

M
 
Back
Top