altapowderdog
1 mW
- Joined
- Mar 3, 2014
- Messages
- 10
Hi, I just got my longboard project up and running successfully, so I figured I'd post it here because this is the forum that inspired me to build my own.
I went with the cheapest stuff possible, which proved pretty hit-or-miss. I figured that I'd get this thing working first, before deciding what to put more money into. My experience should help give an idea about the best places to save, and also to spend, for others trying to do this on a budget.
This is my setup:
Deck: Rayne future killer
I'm surprised how many people here invest lots of money in their electronics, but have pretty basic decks. (seriously, those of you with 800+ invested in your boards, treat yourselves to a nice deck!). I figured if I was going fast, I want to be on a solid stiff board, so went with this awesome downhill deck with w concave that I bought used from someone on silverfish.com
Motor: One Turnigy Aerodrive SK3 - 5055, 280 kv
A lot of people run two motor setups, sometimes even 2 60mm's, which is awesome and probably reduces the load on the motors. However, for me (155lbs), one 50mm SK3 proved plenty. Acceleration is good and it tops out at 20.2 mph on flat ground. The motor does run fairly warm though, so if I lived in a place with hills I might need to upgrade, but for me its been working fine.
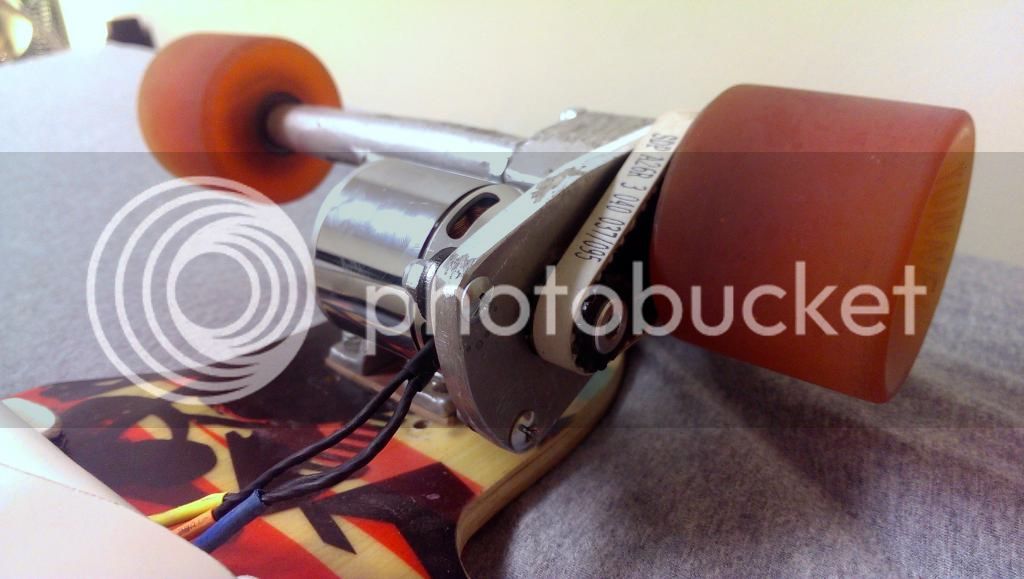
Belts/pulleys: I ordered from SDP/SI,
Motor pulley: 14 teeth, item # A 6H 3M14SF09506
Wheel Pulley: 29 teeth, item # A 6L 3M29SF09506
..and then a 40 grove 9.5mm belt
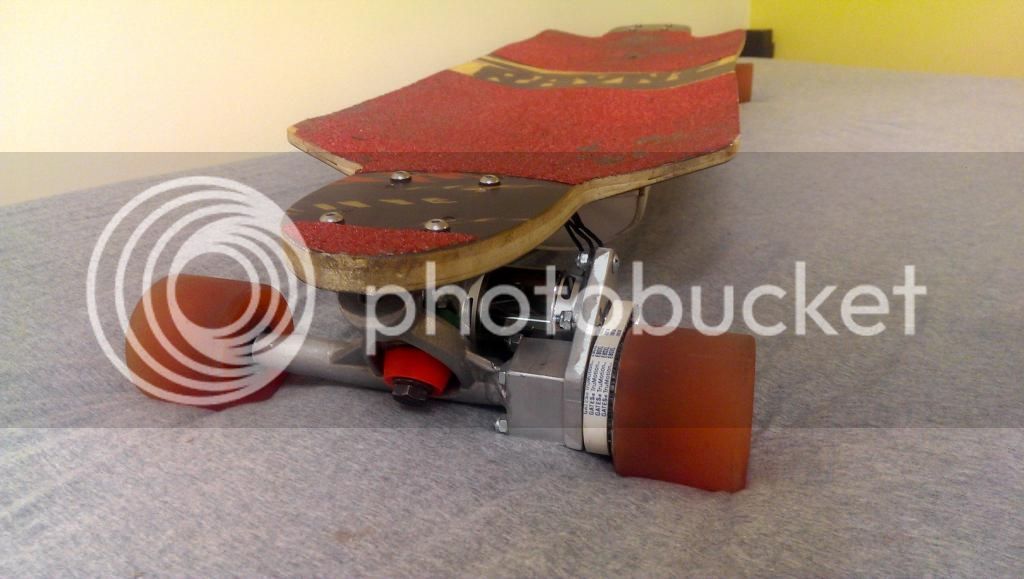
The motor pulley is smaller then people here recommend, but I went with it because I have smaller wheels on my board (no crazy big flywheels for me) so both pulleys had to be smaller to preserve my ratio. As I said before, the 14/29 ratio gets me to 20 mph and has no problems with acceleration. The 14 tooth pulley does slip under heavy breaking, however. The belt is very tight, so I think it slips because there simply aren't enough teeth contacting the belt. Heavier riders should probably go with a meatier setup.
I opted for a plastic motor pulley with an aluminum hub. My first one lasted just a few minutes before the plastic stripped from the metal. I drilled a hole through my new pulley and a pin keeps the two pieces from rotating. If I did it again I would go with an all metal motor pulley. The plastic wheel pulley worked fine, I just got it perfectly aligned and glued it down to hold its place, then drilled in holes and used 5 screws with really wide threads to attach it. No bolts, just directly into the rubber. Because my wheels had perfectly flat inside walls, this worked fine, and has not loosened.
Speed controller: 90A hobbyking Boat ESC (first), Hobbywing EZRUN 150A-PRO (second)
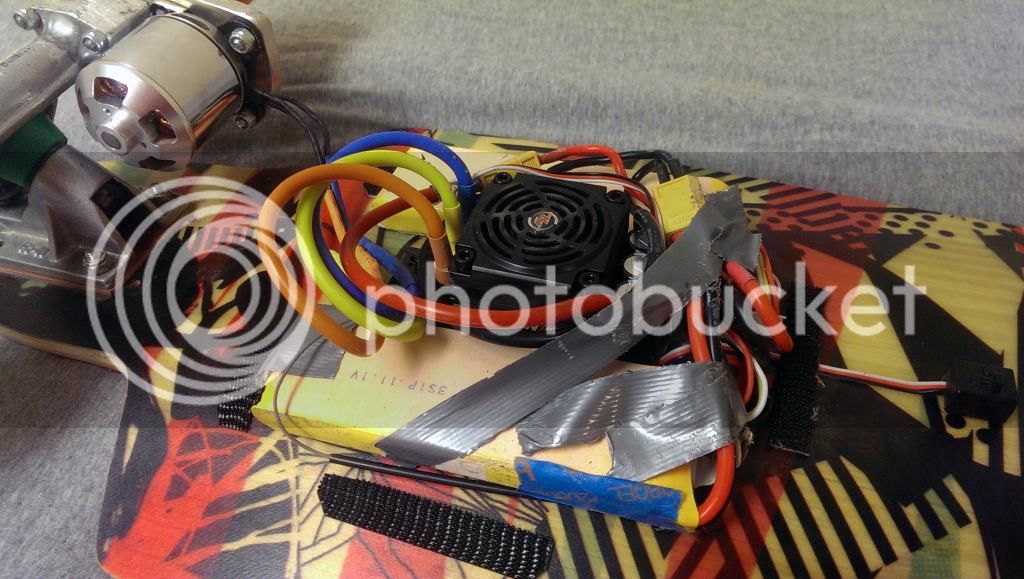
I ran into an issue with the boat ECS (see here: http://endless-sphere.com/forums/viewtopic.php?f=35&t=59530), and abandoned that for the Hobbywing ECS. I am extremely happy with this choice. It has an integrated on/off switch, is easy to program, has LED's to indicate low voltage/ overheat, and just feels easier to control then the boat ECS. Save yourself the headache and skip those cheap boat ecs's.
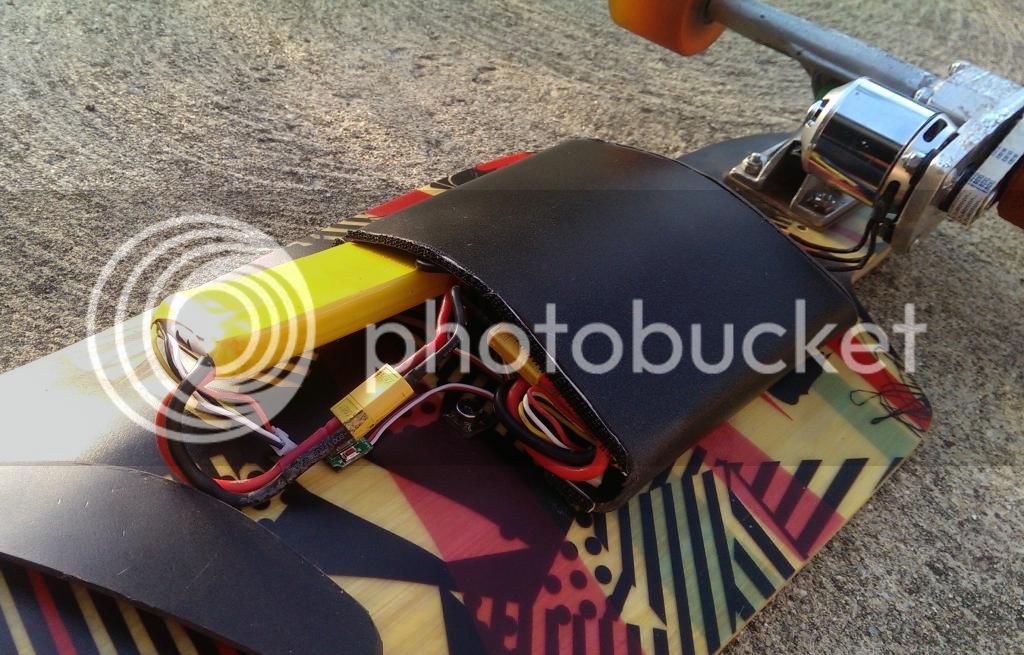
Batteries: 2 2350mah 30C Lipos
I got these on sale, and I'm happy I went with two thinner batters instead of one brick. They only give me around 30 minutes of riding, sometimes less with hills, but that's enough for my needs (just getting around campus). If I decide I want more range I'll probably go with swappable batteries, instead of one larger one.
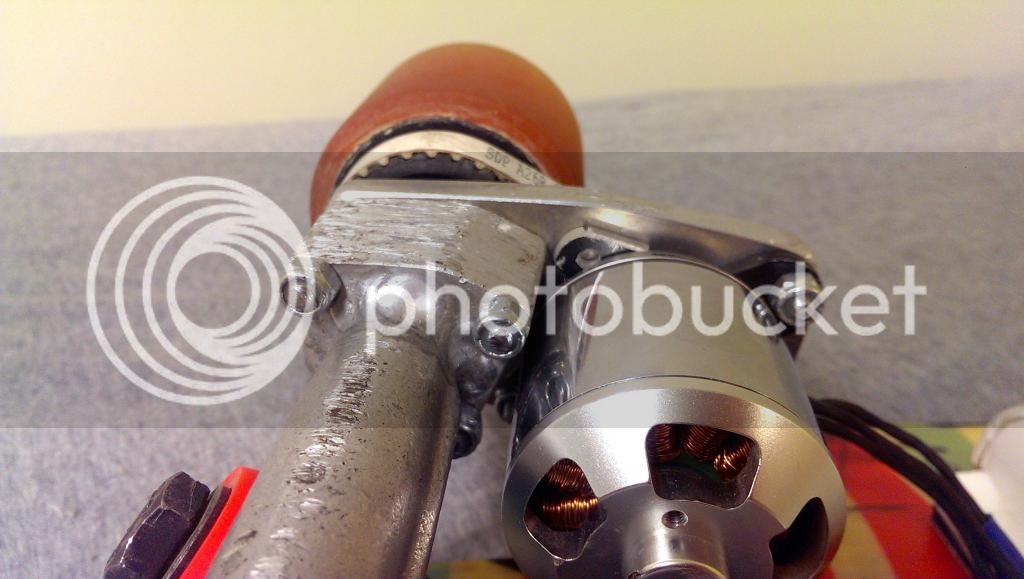
Motor mount: Homemade aluminum bracket
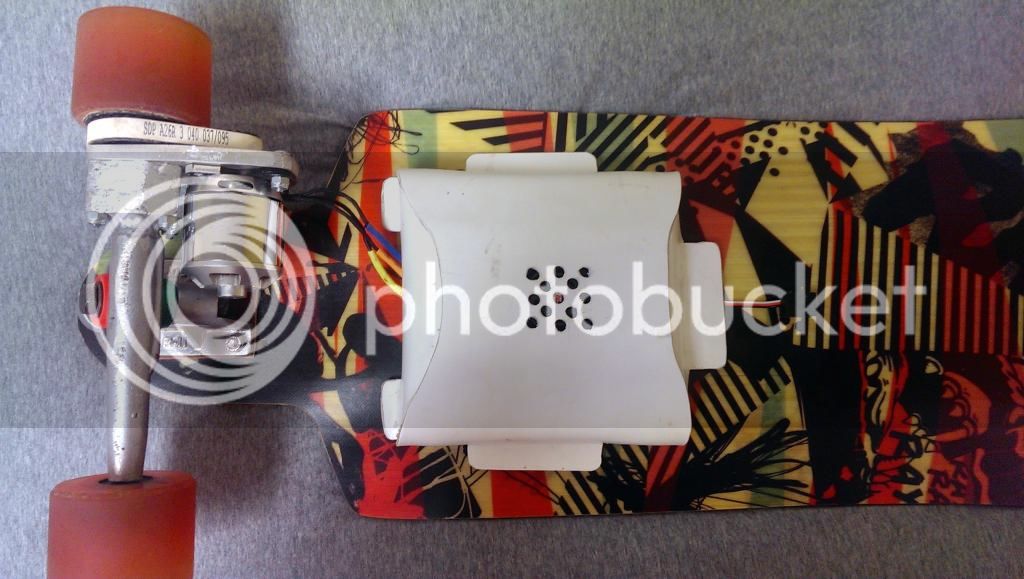
This is kinda the only difficult part of making an electric longboard, but as long as you can find someone who can weld it's not bad. It took me a while to find someone who could weld, and once I did I had them attach a block of aluminum to the truck. This would serve as the mounting point for the motor bracket, but didn't get in the way as I was riding the board around before getting the motor. Having a block like this also means I can replace broken motor mounts and remake my motor mount if I decide I want a longer belt or want to motor to be higher off the ground, etc. It gives me flexibility. The mount itself is just a 8mm aluminum slab with some holes drill in it. The holes aren't slotted, because I heard some stories about people's motor shifting slightly over time and forcing them to re-tighten the belt. Mine has one poison, and the belt is tight. I was worried that the belt would loosen up over time as it wore in, but that hasn't happened, maybe because the belt is so short.
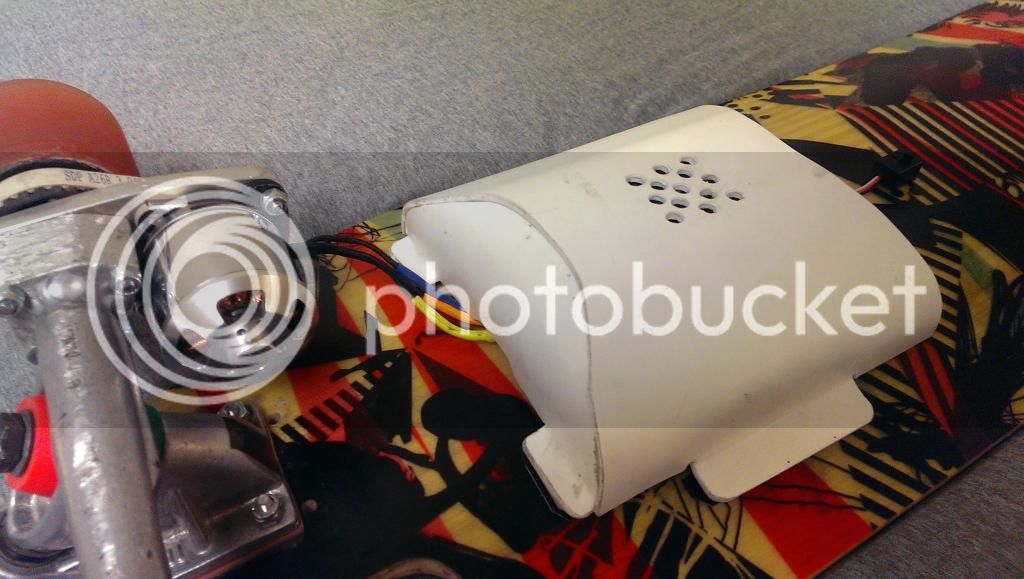
Electronics cover/housing: 1/8" PVC Plastic
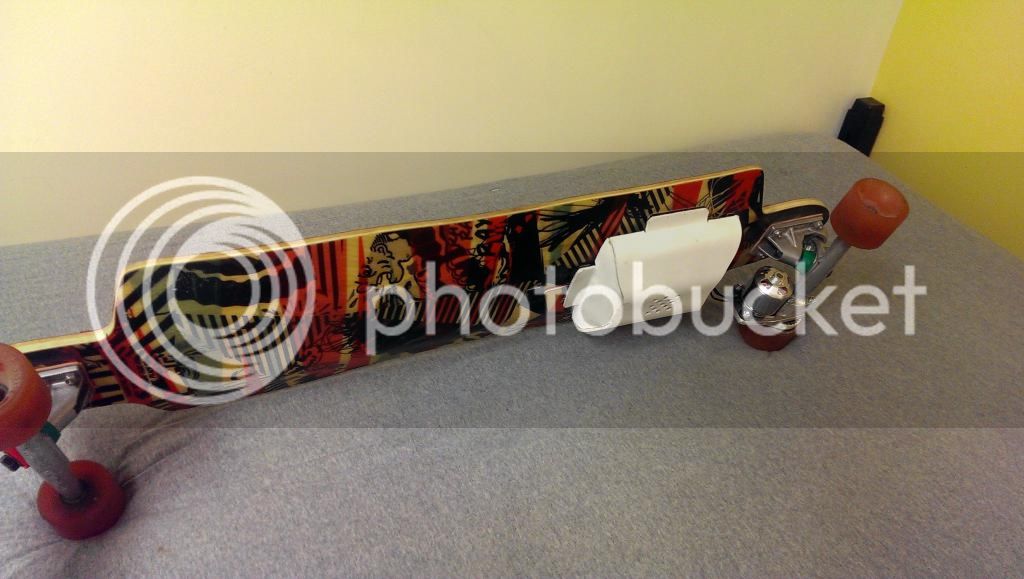
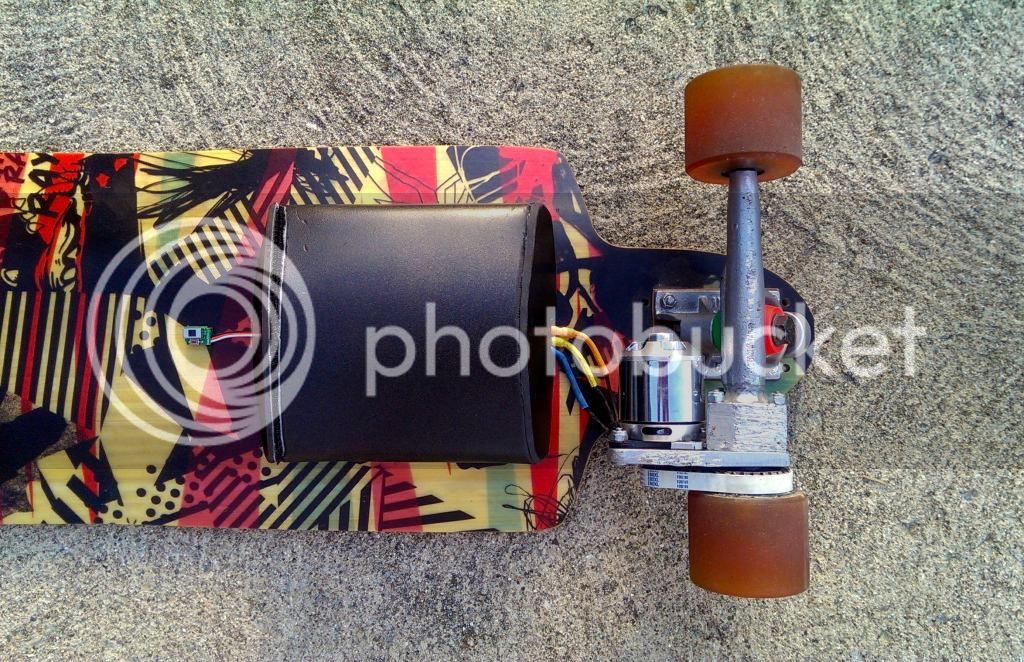
My electronics are attached to the bottom of my board with tons of those removable dual-sided adhesive tabs used for mounting hooks to walls. The wires are a hideous mess, but at least they are covered by a pretty nice enclosure. I've been building robots for a while, and have gotten pretty good at molding PVC plastic sheets using a heat gun. I just kinda went for it with this one, by draping the heated flexible PVC over my electronics, and working the pieces into shapes that would fit together and cover everything with the smallest amount of wasted interior space. The enclosure is attached with heavy duty velco-like strips. It is all sturdily mounted, and there is no damage to the deck. I'll be painting it black soon, because the white really shows any dirt and mud that splashes up on it.
so that's it! I'll have to take some video of it soon, and I put that up here when I do.
here are some photos: https://sites.google.com/site/botsfromscratch/other-projects/ipod-car-charger
(for the life of me I cant figure out how to turn my photos into a url and upload it with the img thing- if someone gives me advice on how to do that I'll post photos here, but for now I just put up some photos on my a page of old website)


