SafeDiscDancing
10 kW
- Joined
- Jan 3, 2022
- Messages
- 514
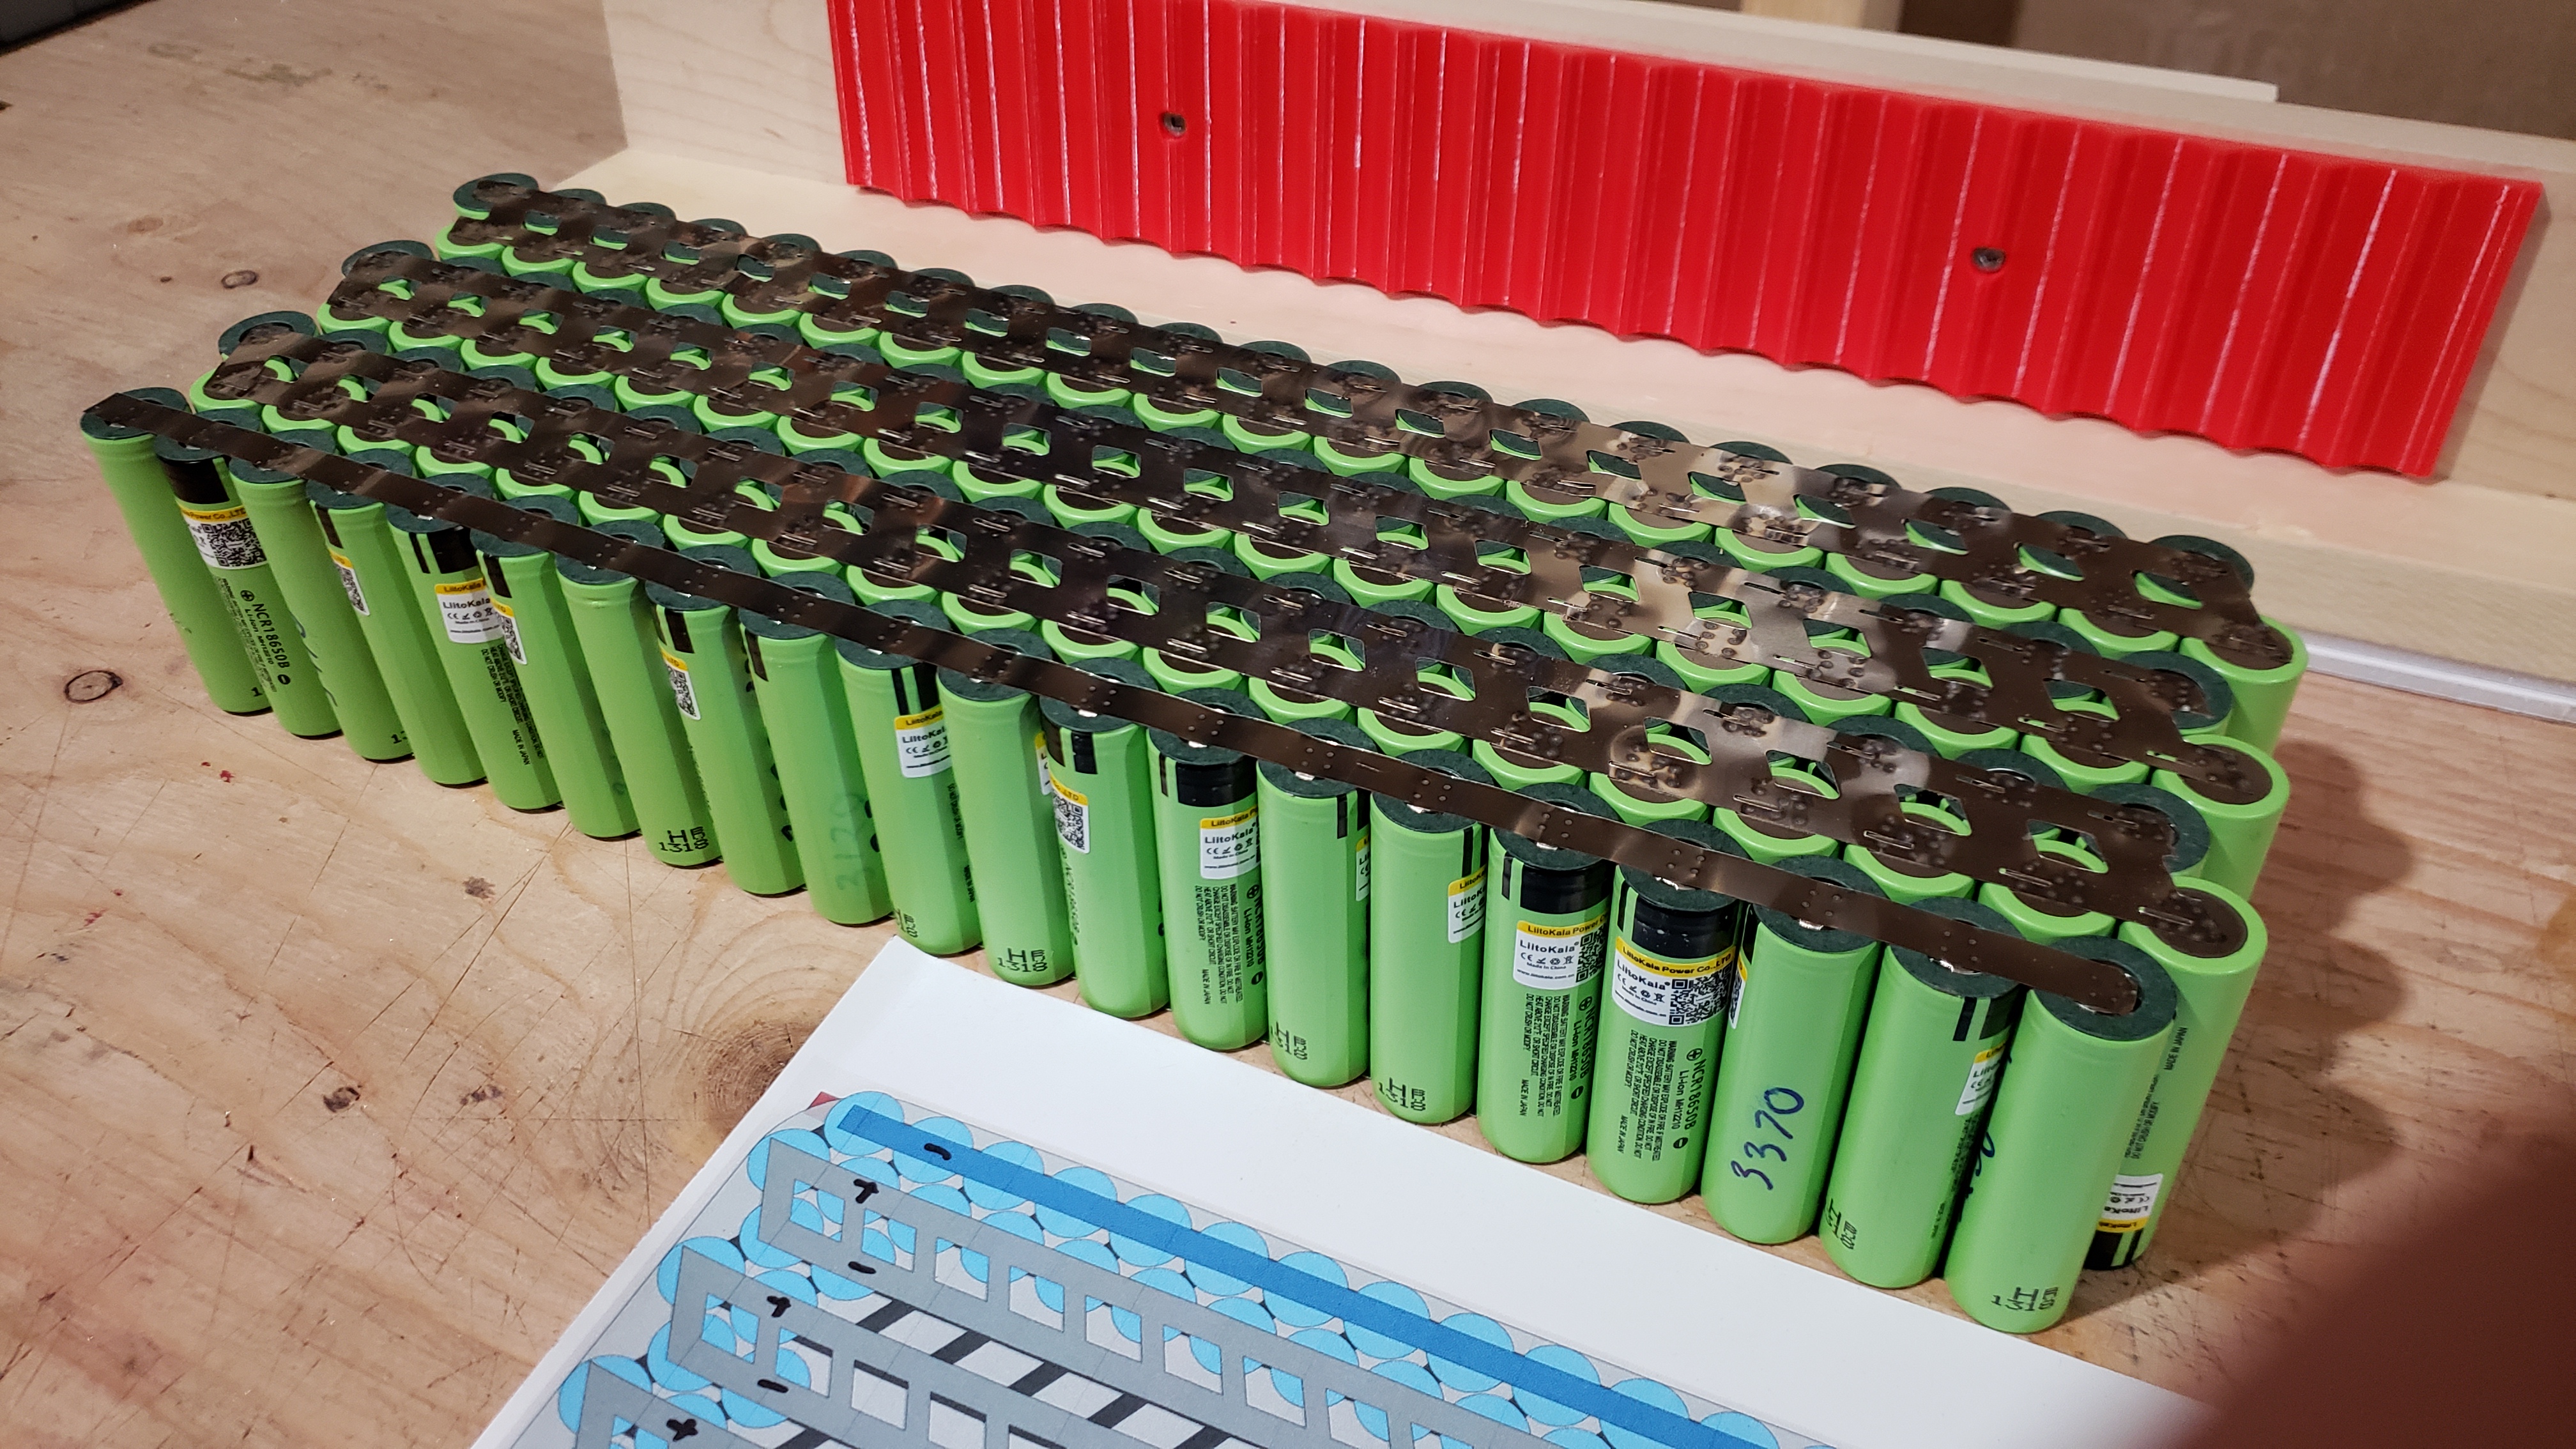
Millhouse_5 said:The first batch is testing now and It's looking good so far. The first 20 cells have all been within 0.05v of each other and are charging nicely to 4.2v.
Don't forget:
Never let the cells go below about 3.0 volts.
Never let the cells go above about 4.2 volts.
When in storage always leave the cells at from 3.5 volts to 3.9 volts.
So are you thinking about that?
It's okay to cycle test these cells, but simply charging them to 4.2 volts "just to prove they can make it" then letting them sit fully charged is already your first mistake.
Lithium cells love the middle voltages and hate the extremes of high and low.
I never leave my cells full and even 4.1 volts (which many do for storage) is a bit high.
No real damage occurs with a middle voltage cell so for maximum life don't leave cells fully charged.
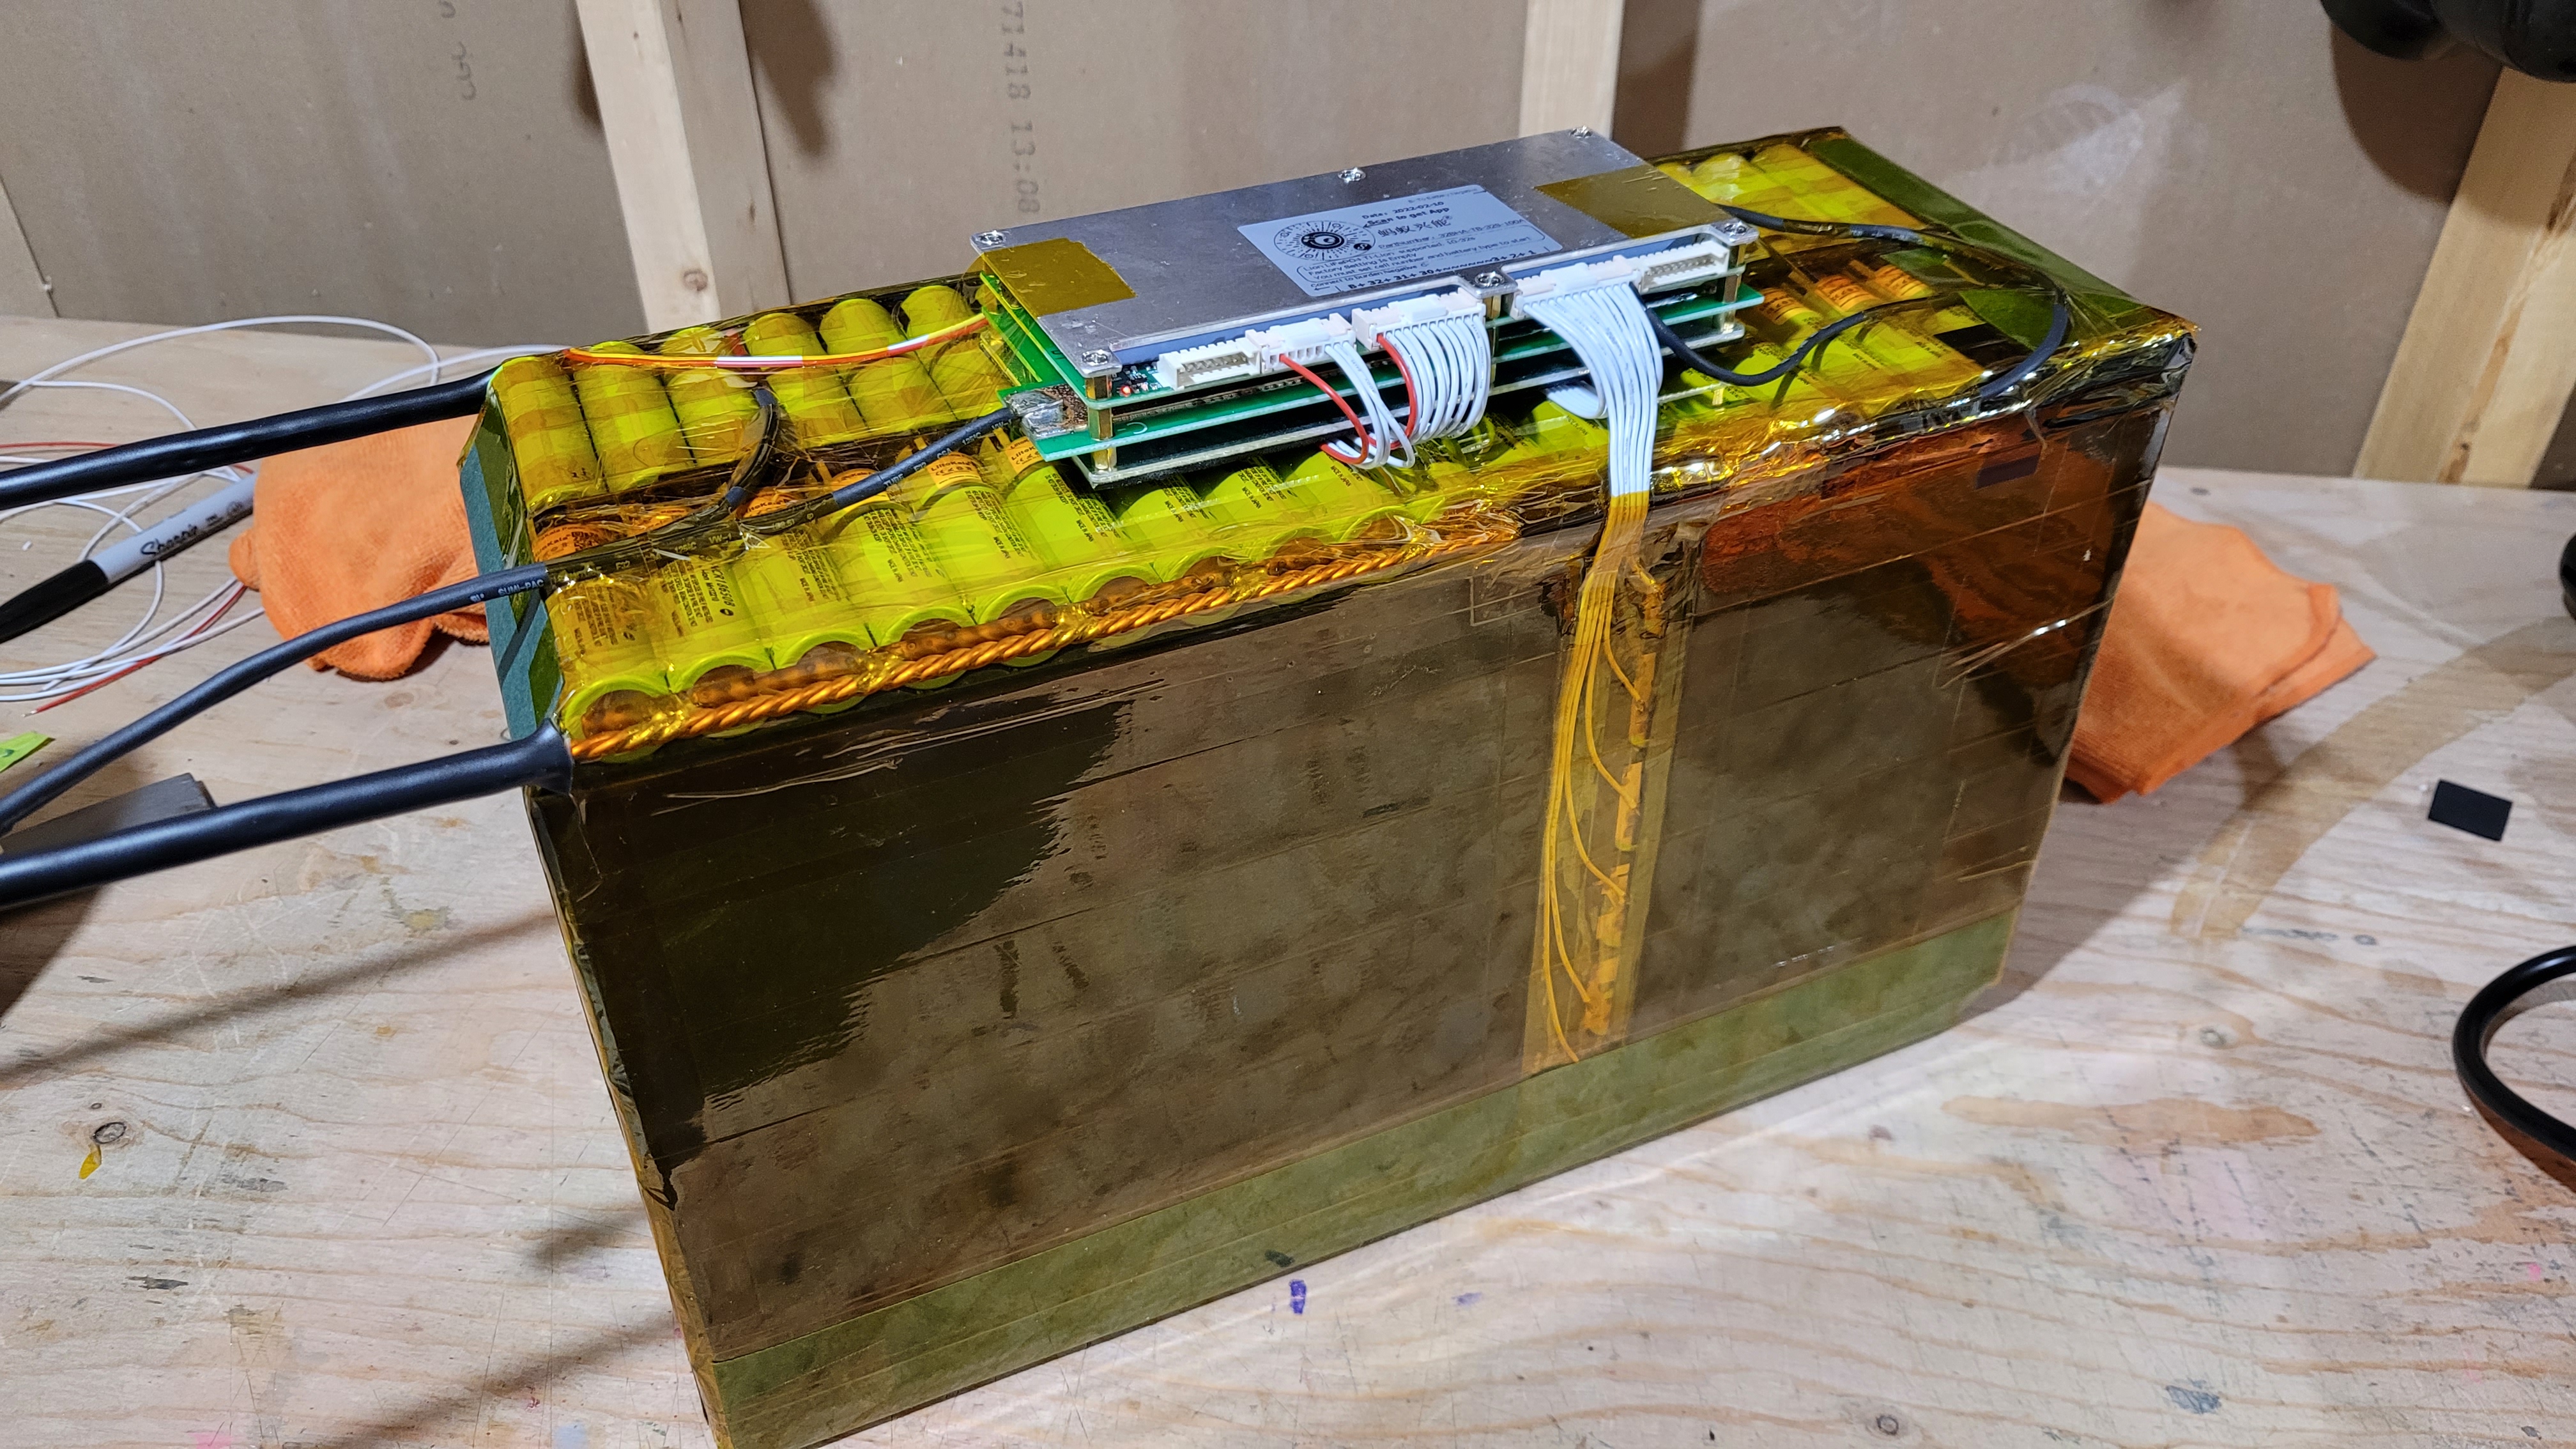
And if you are planning to build a pack I'd suggest getting them all down to 3.0 volts before you start spot welding.