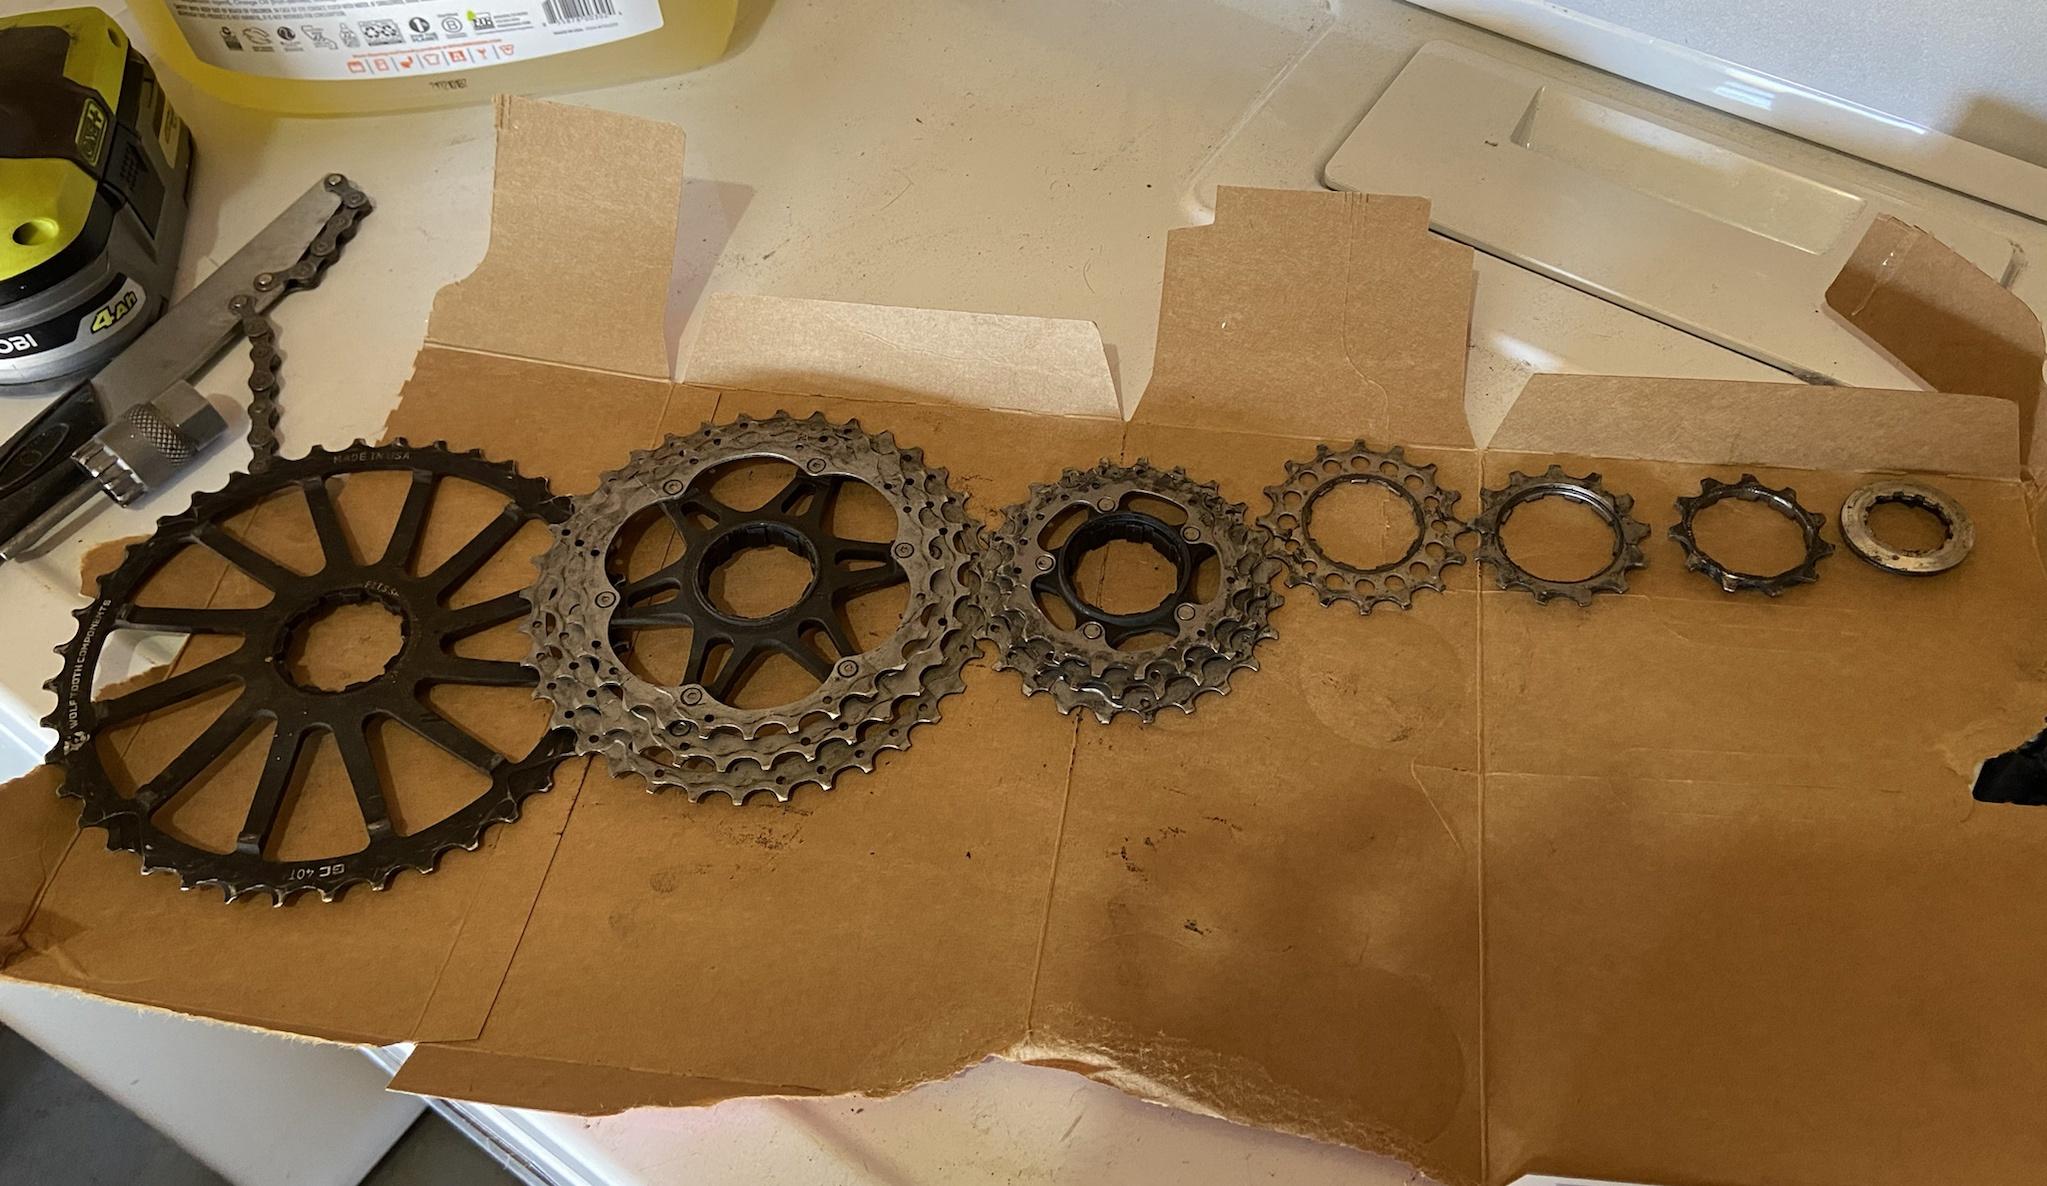
Recently finished (or mostly finished at least) my e-bike build, so I figured I'd make a quick thread. The bike is a 17" Surly Instigator 2.0 with 26" x 3" tires. Component spec is decent - Fox fork up front, Shimano SLX hydraulic brakes, and a 11-42 10 spd cassette with a Saint derailleur and shifter.

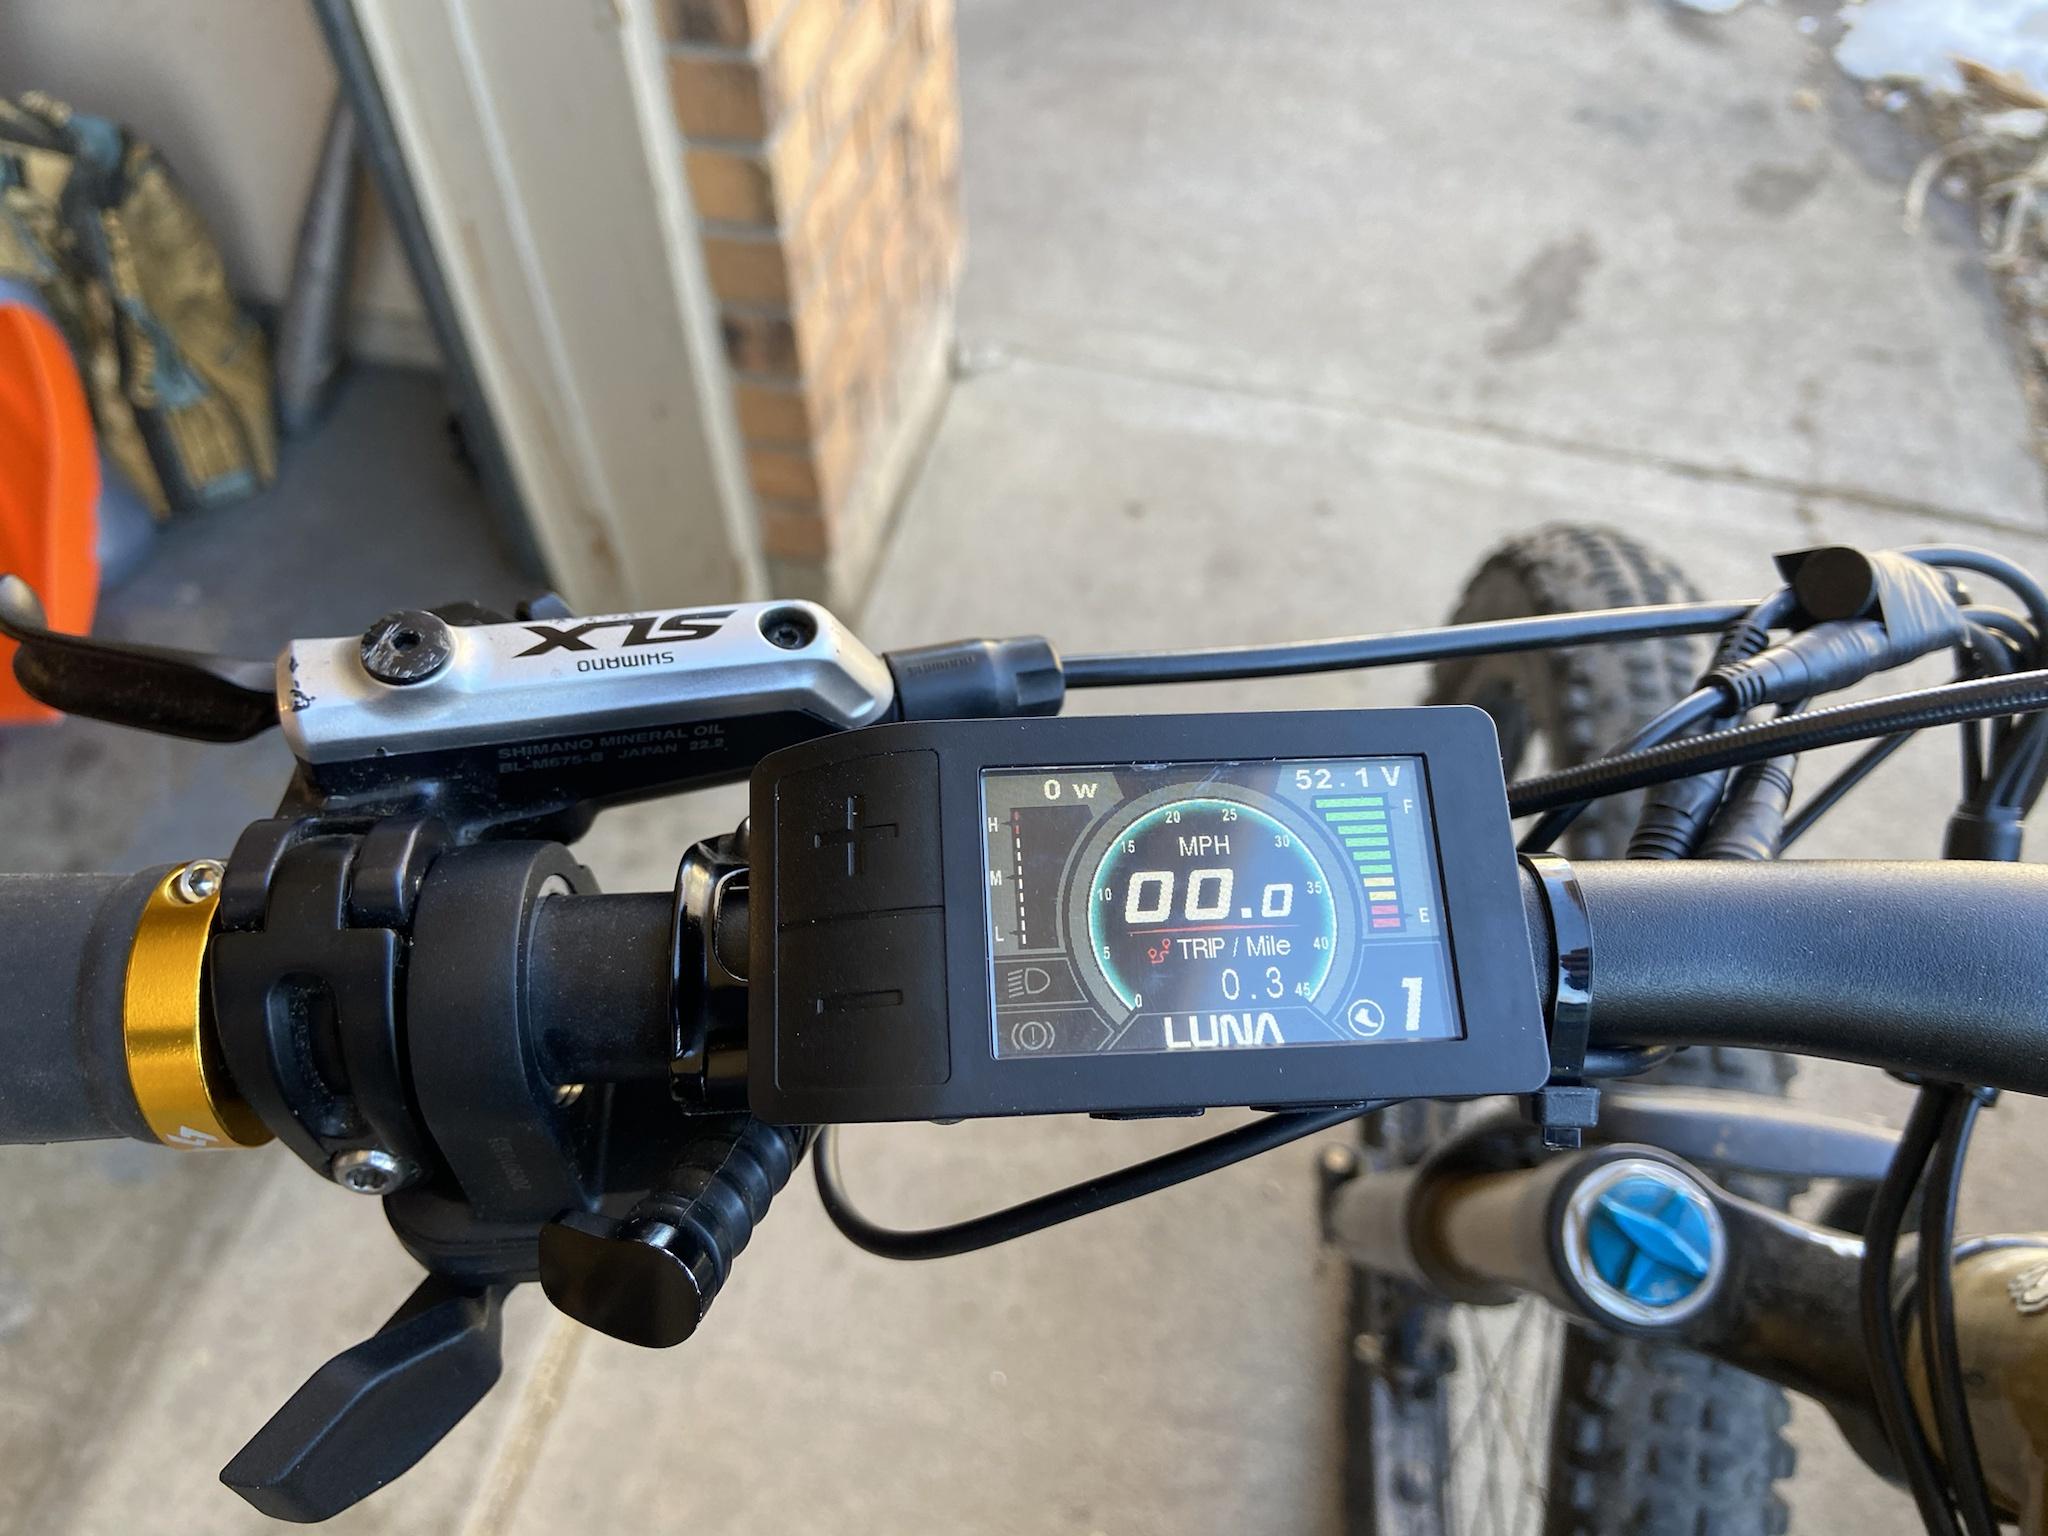
I went with the 500c display (primarily due to the compactness and all-in-one unit) and the left thumb throttle. When ordering I forgot about my dropper post control on the left side so the result is a bit crowded. Neither the dropper control or throttle are in a a great position but I can’t make one better without making the other worse.
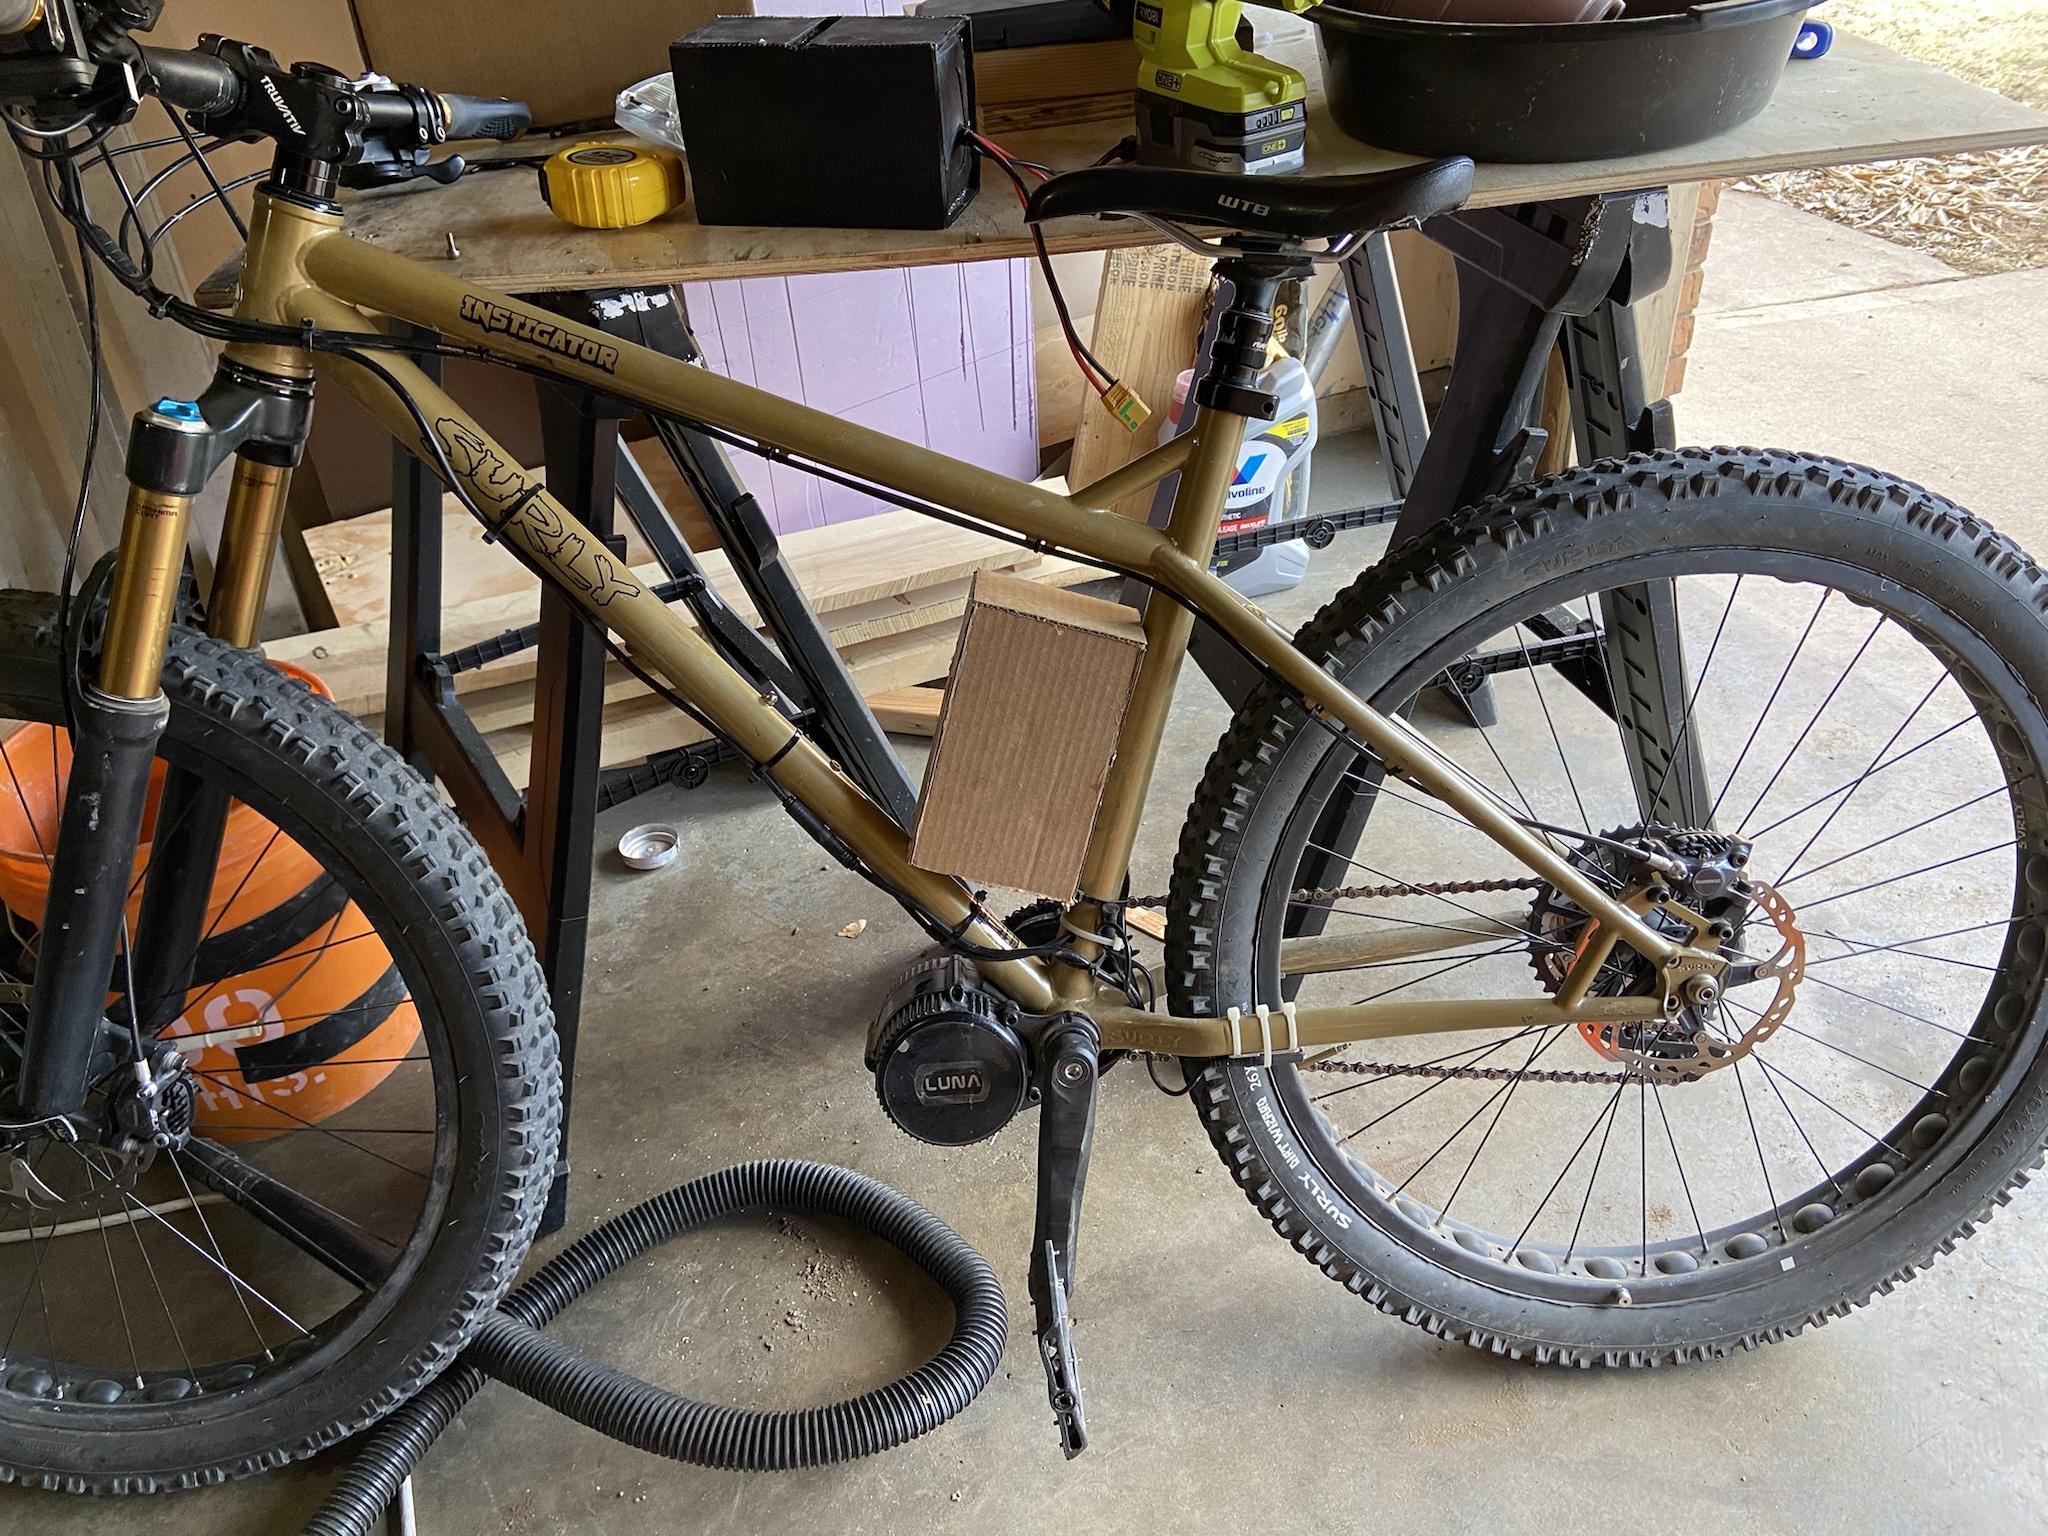
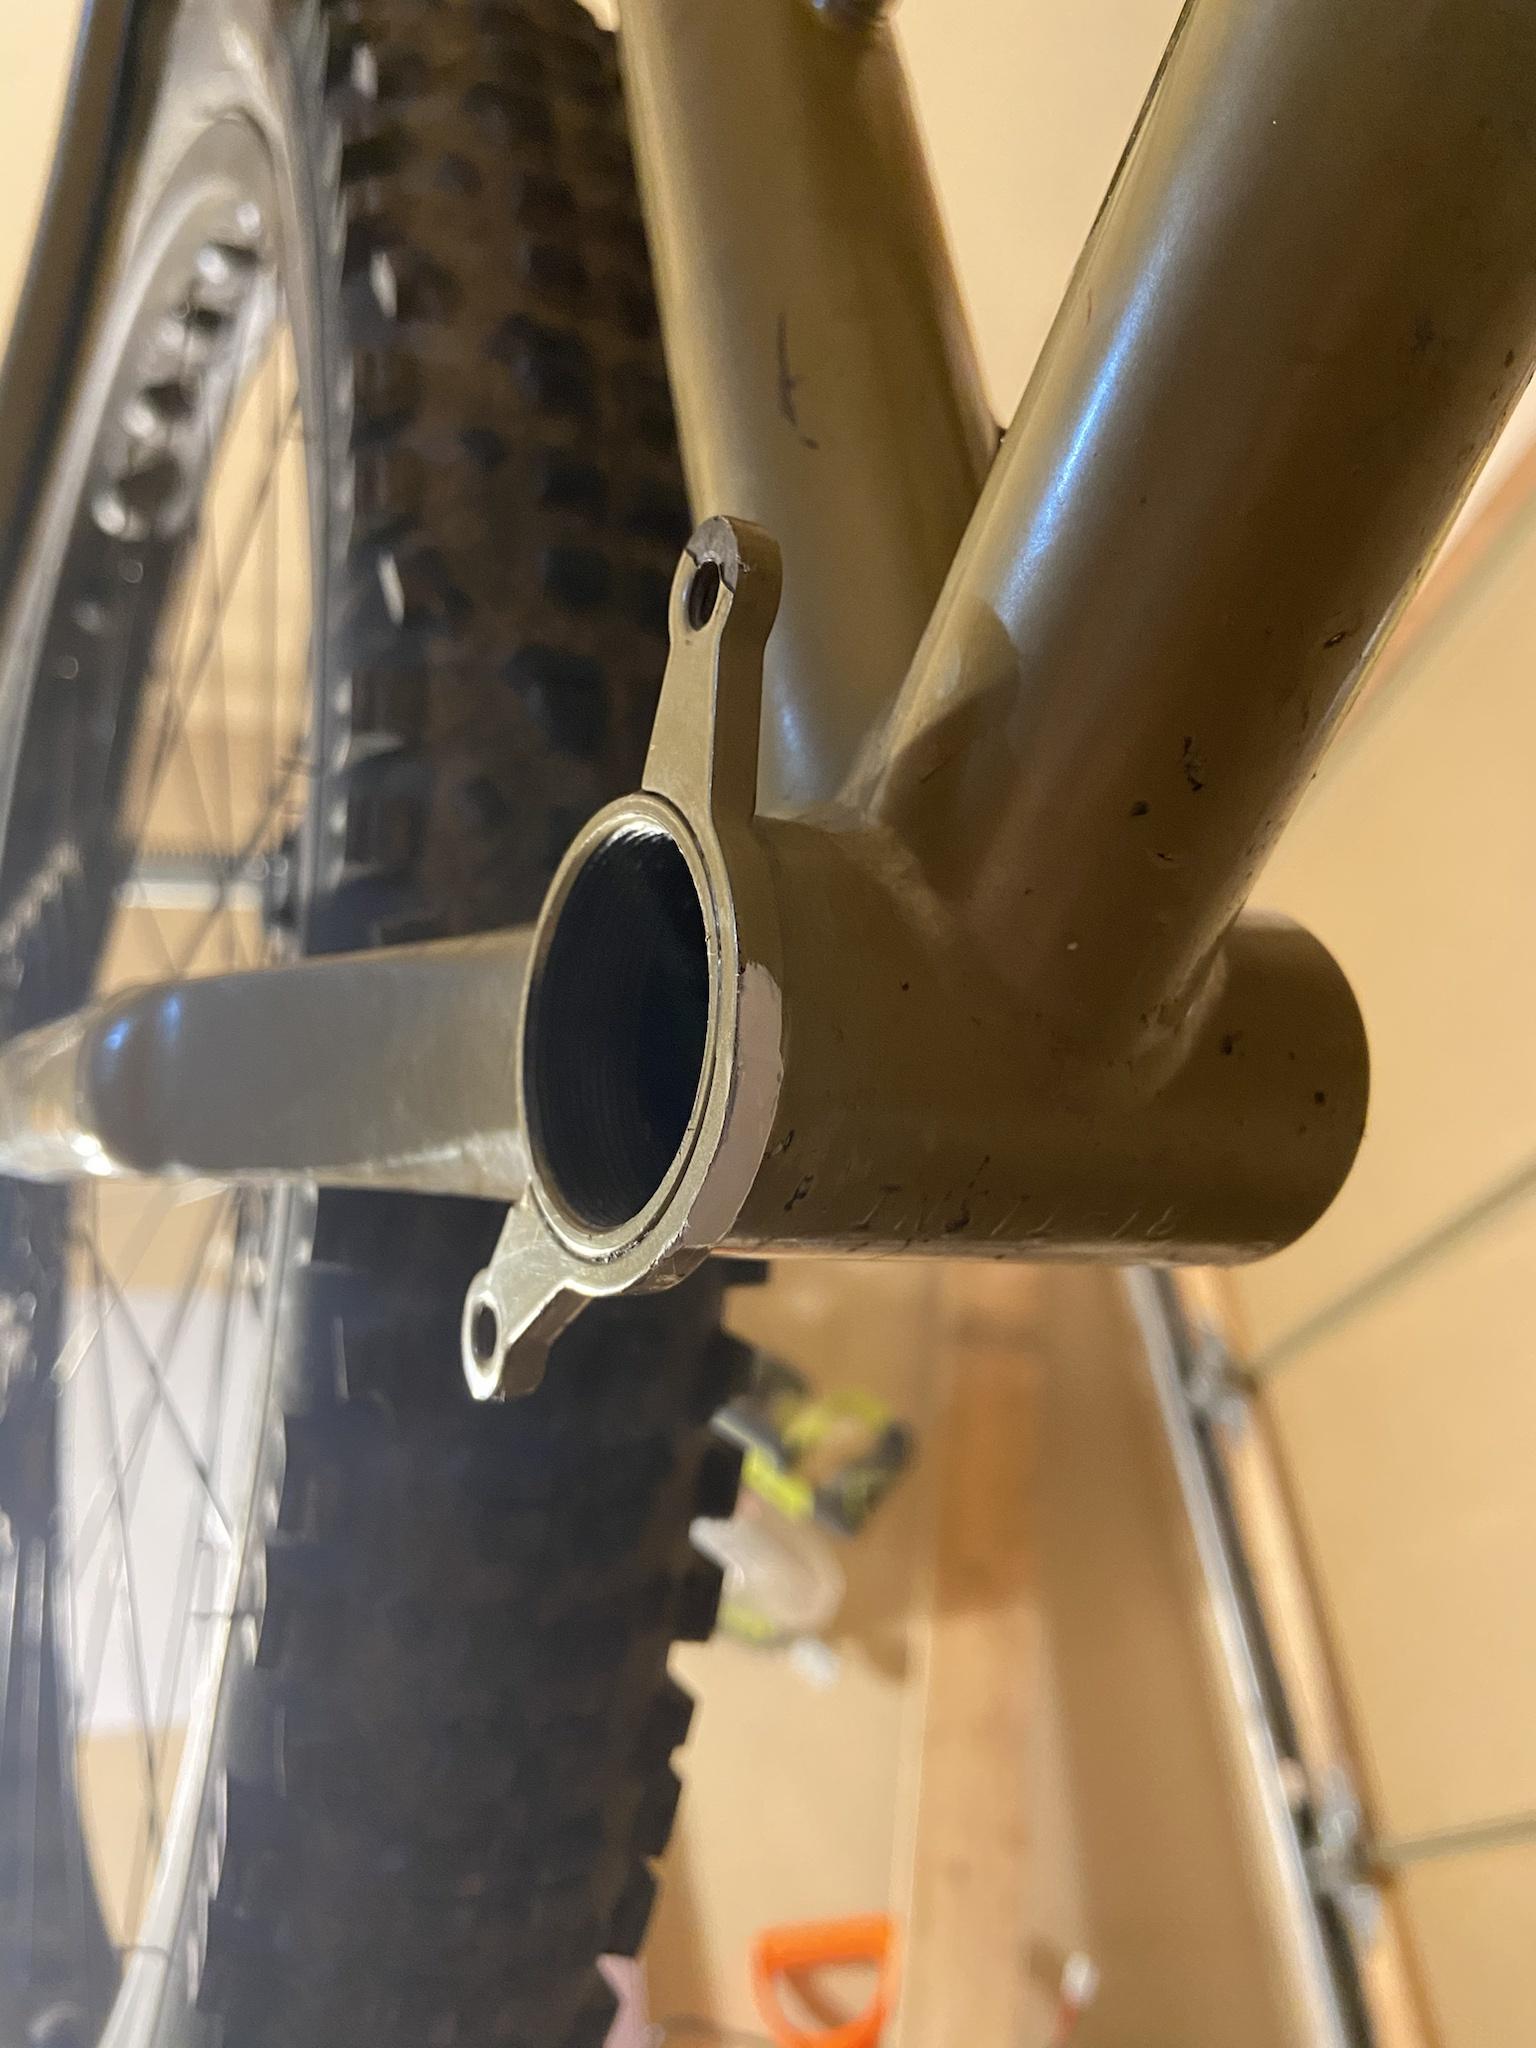
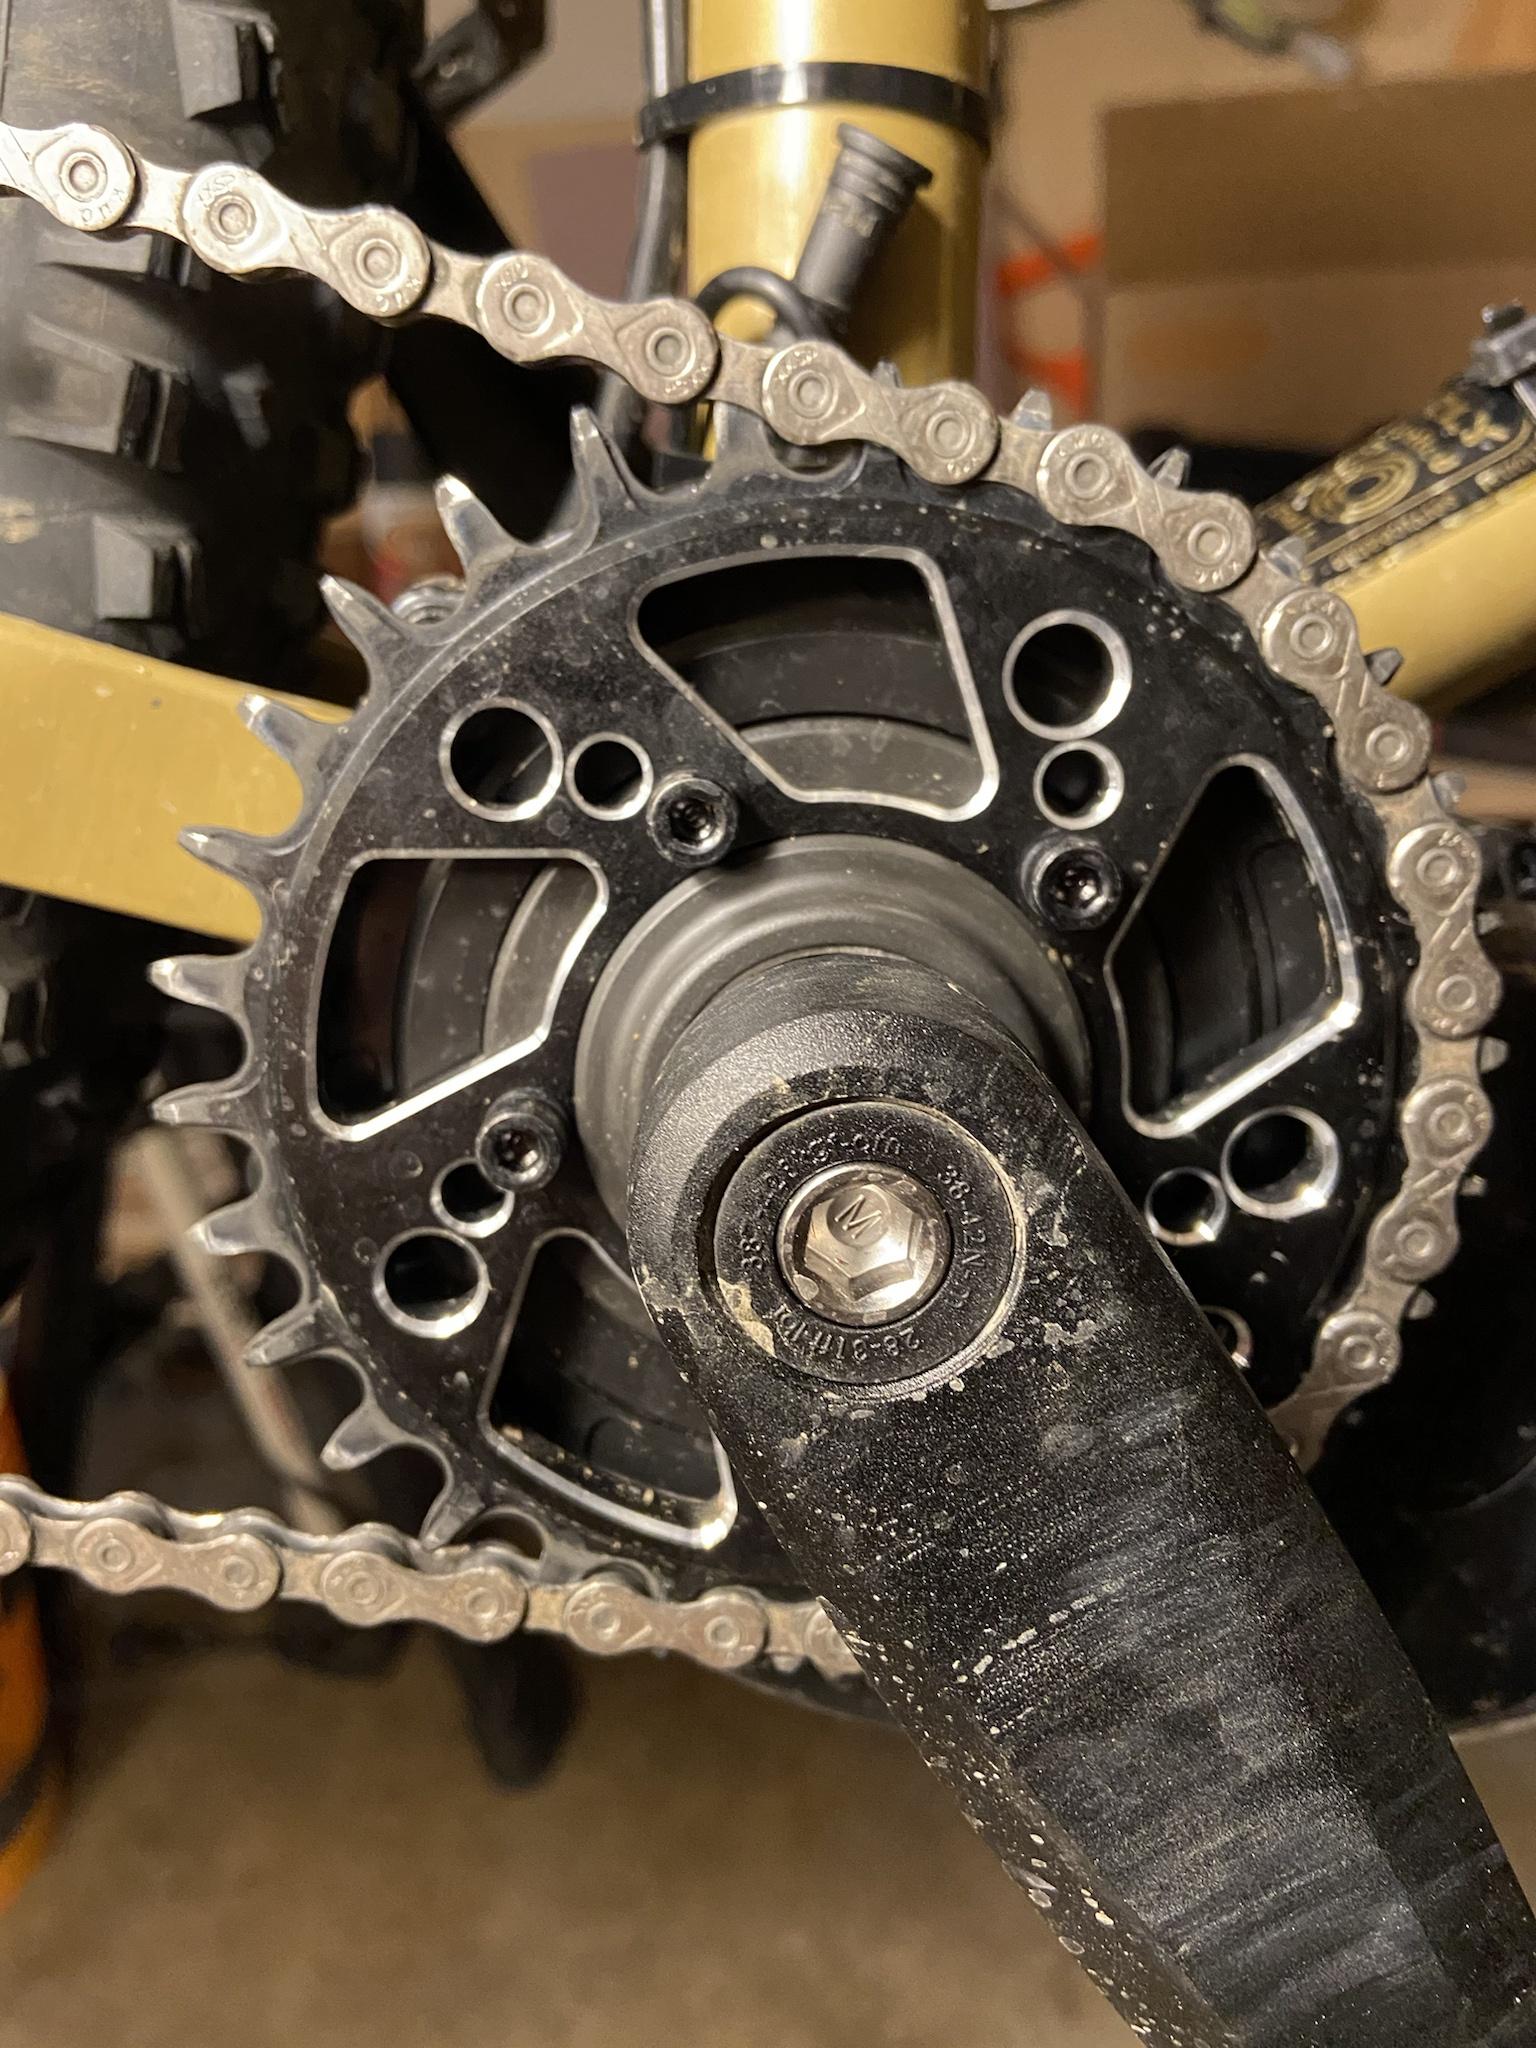
The install was fairly straightforward. The only modification I had to make to the frame was cutting off one of the ISCG chain guide tabs. I never used a chain guide anyway so this is no real loss. The steel on the bike is not hardened so a hack saw and file made quick work of it. Added a dab of touch up paint to prevent any rust.
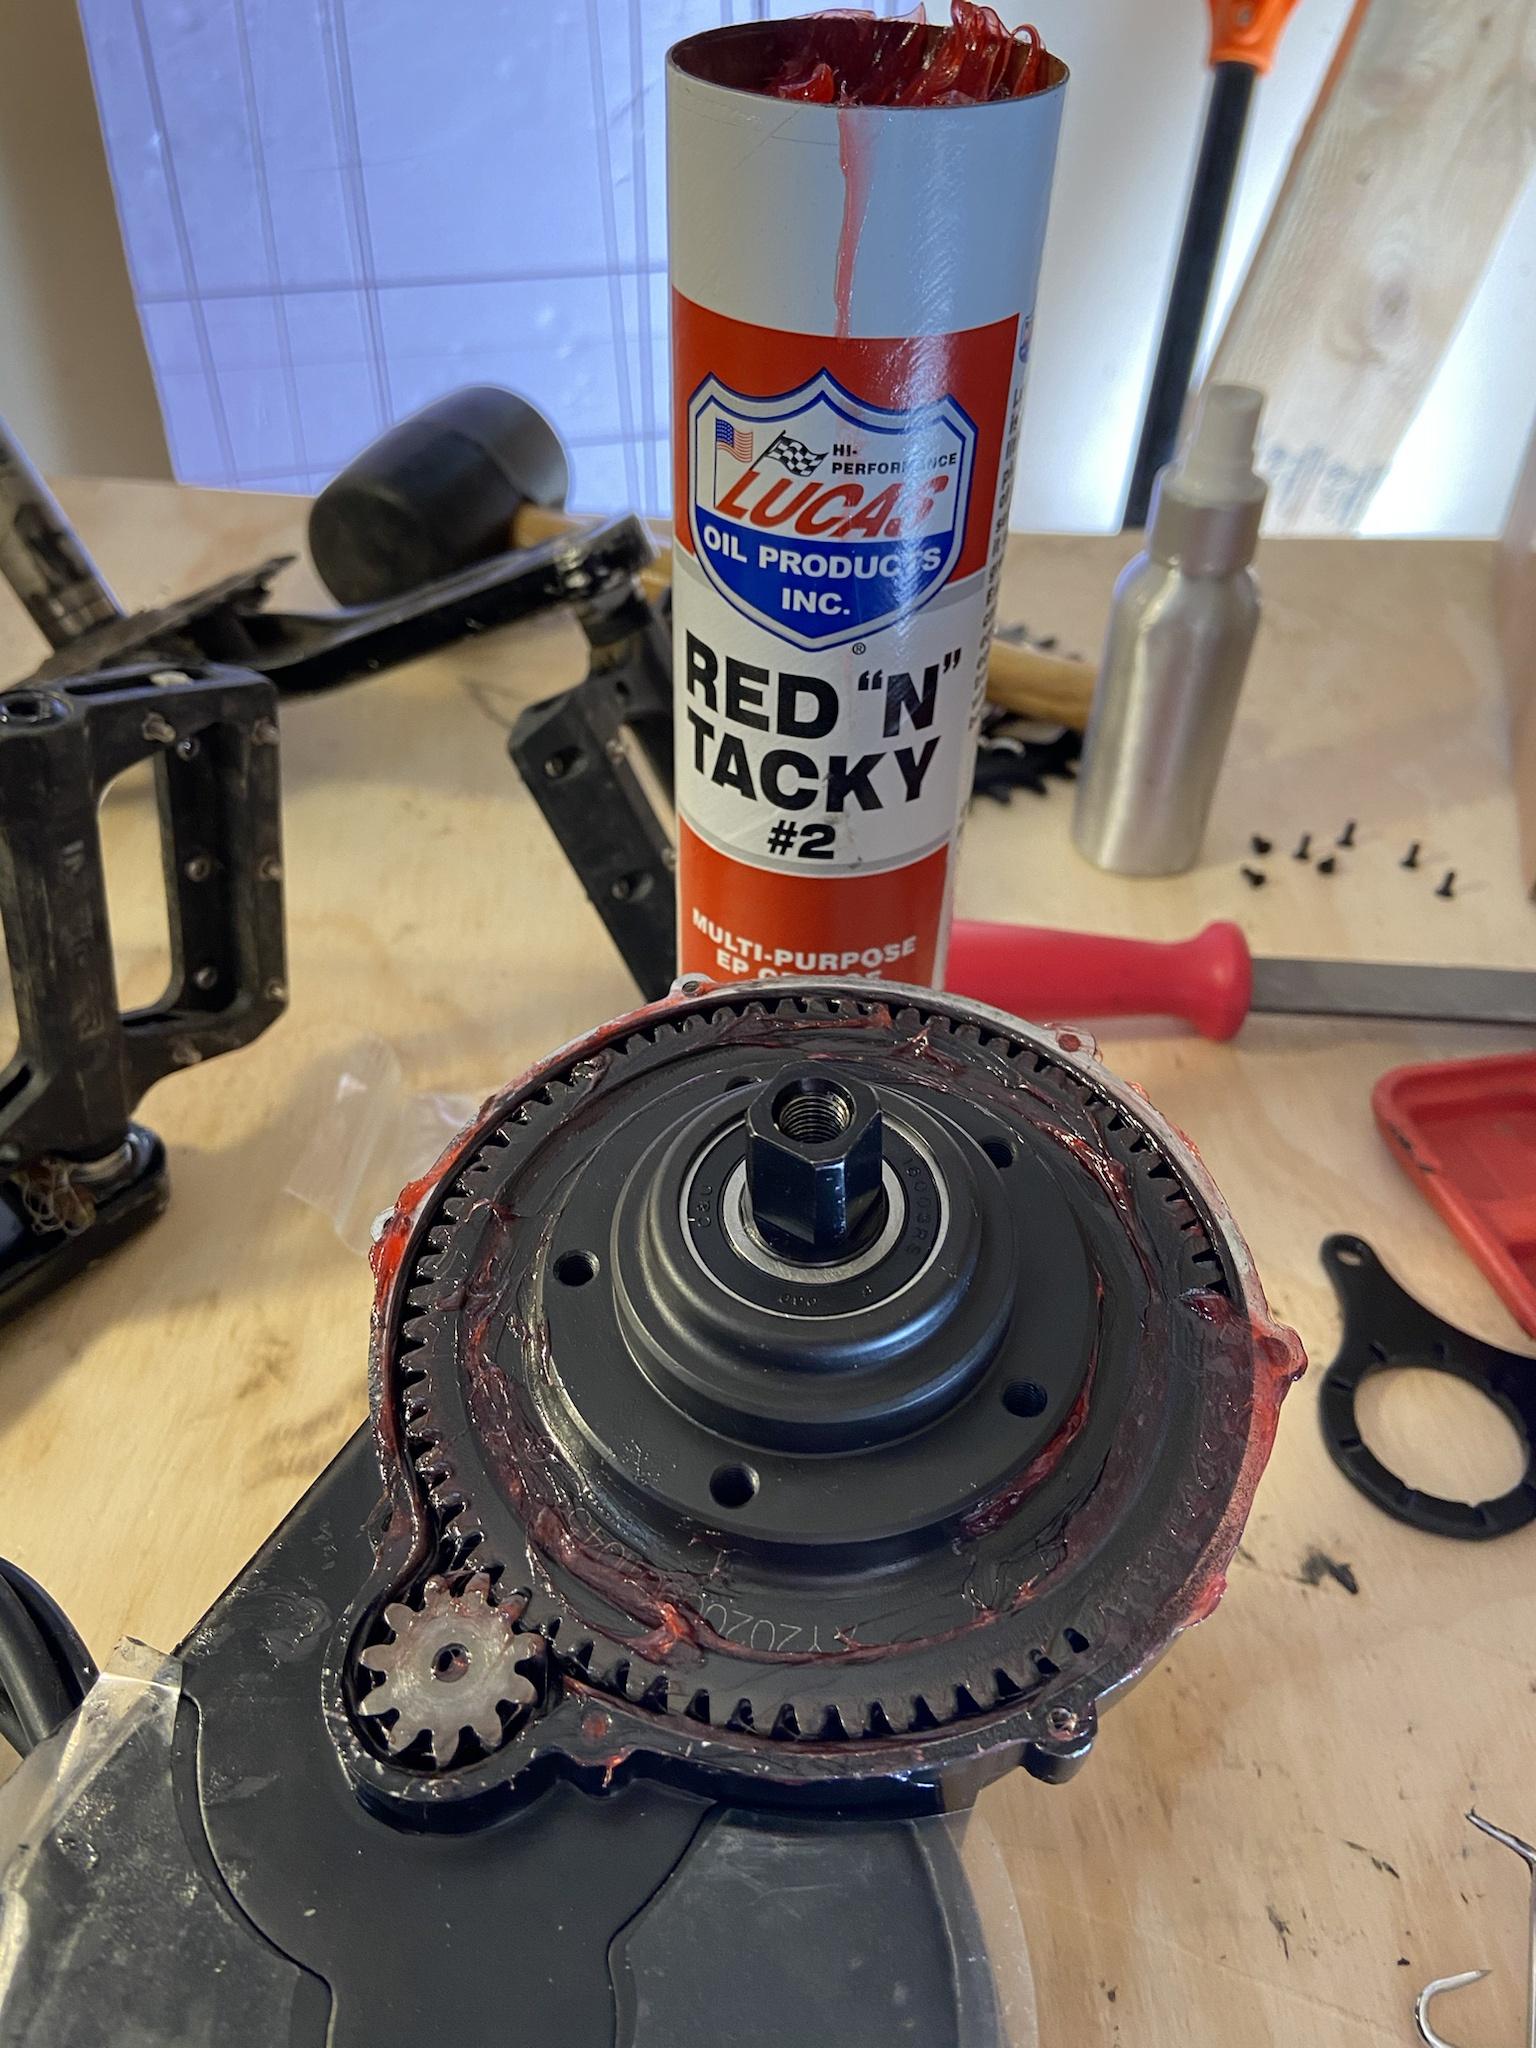
Based on my reading, I chose to clean out the factory grease and pack it with Lucas Red n Tacky. Much easier to do this with the motor out before mounting the chainring and crank.
I'm using a 30T chainring on the BBS02. This keeps the gearing the same as it was before the conversion and my top speed is still around ~27mph. I never even mounted the 44T that was included. I think a 32-34T would be ideal but a ~10% gearing change is not a huge difference. The offset of the BBS02 means there’s a very angled chainline If I try to grab the lowest 2-3 gears. Those aren’t really needed with the motor though.
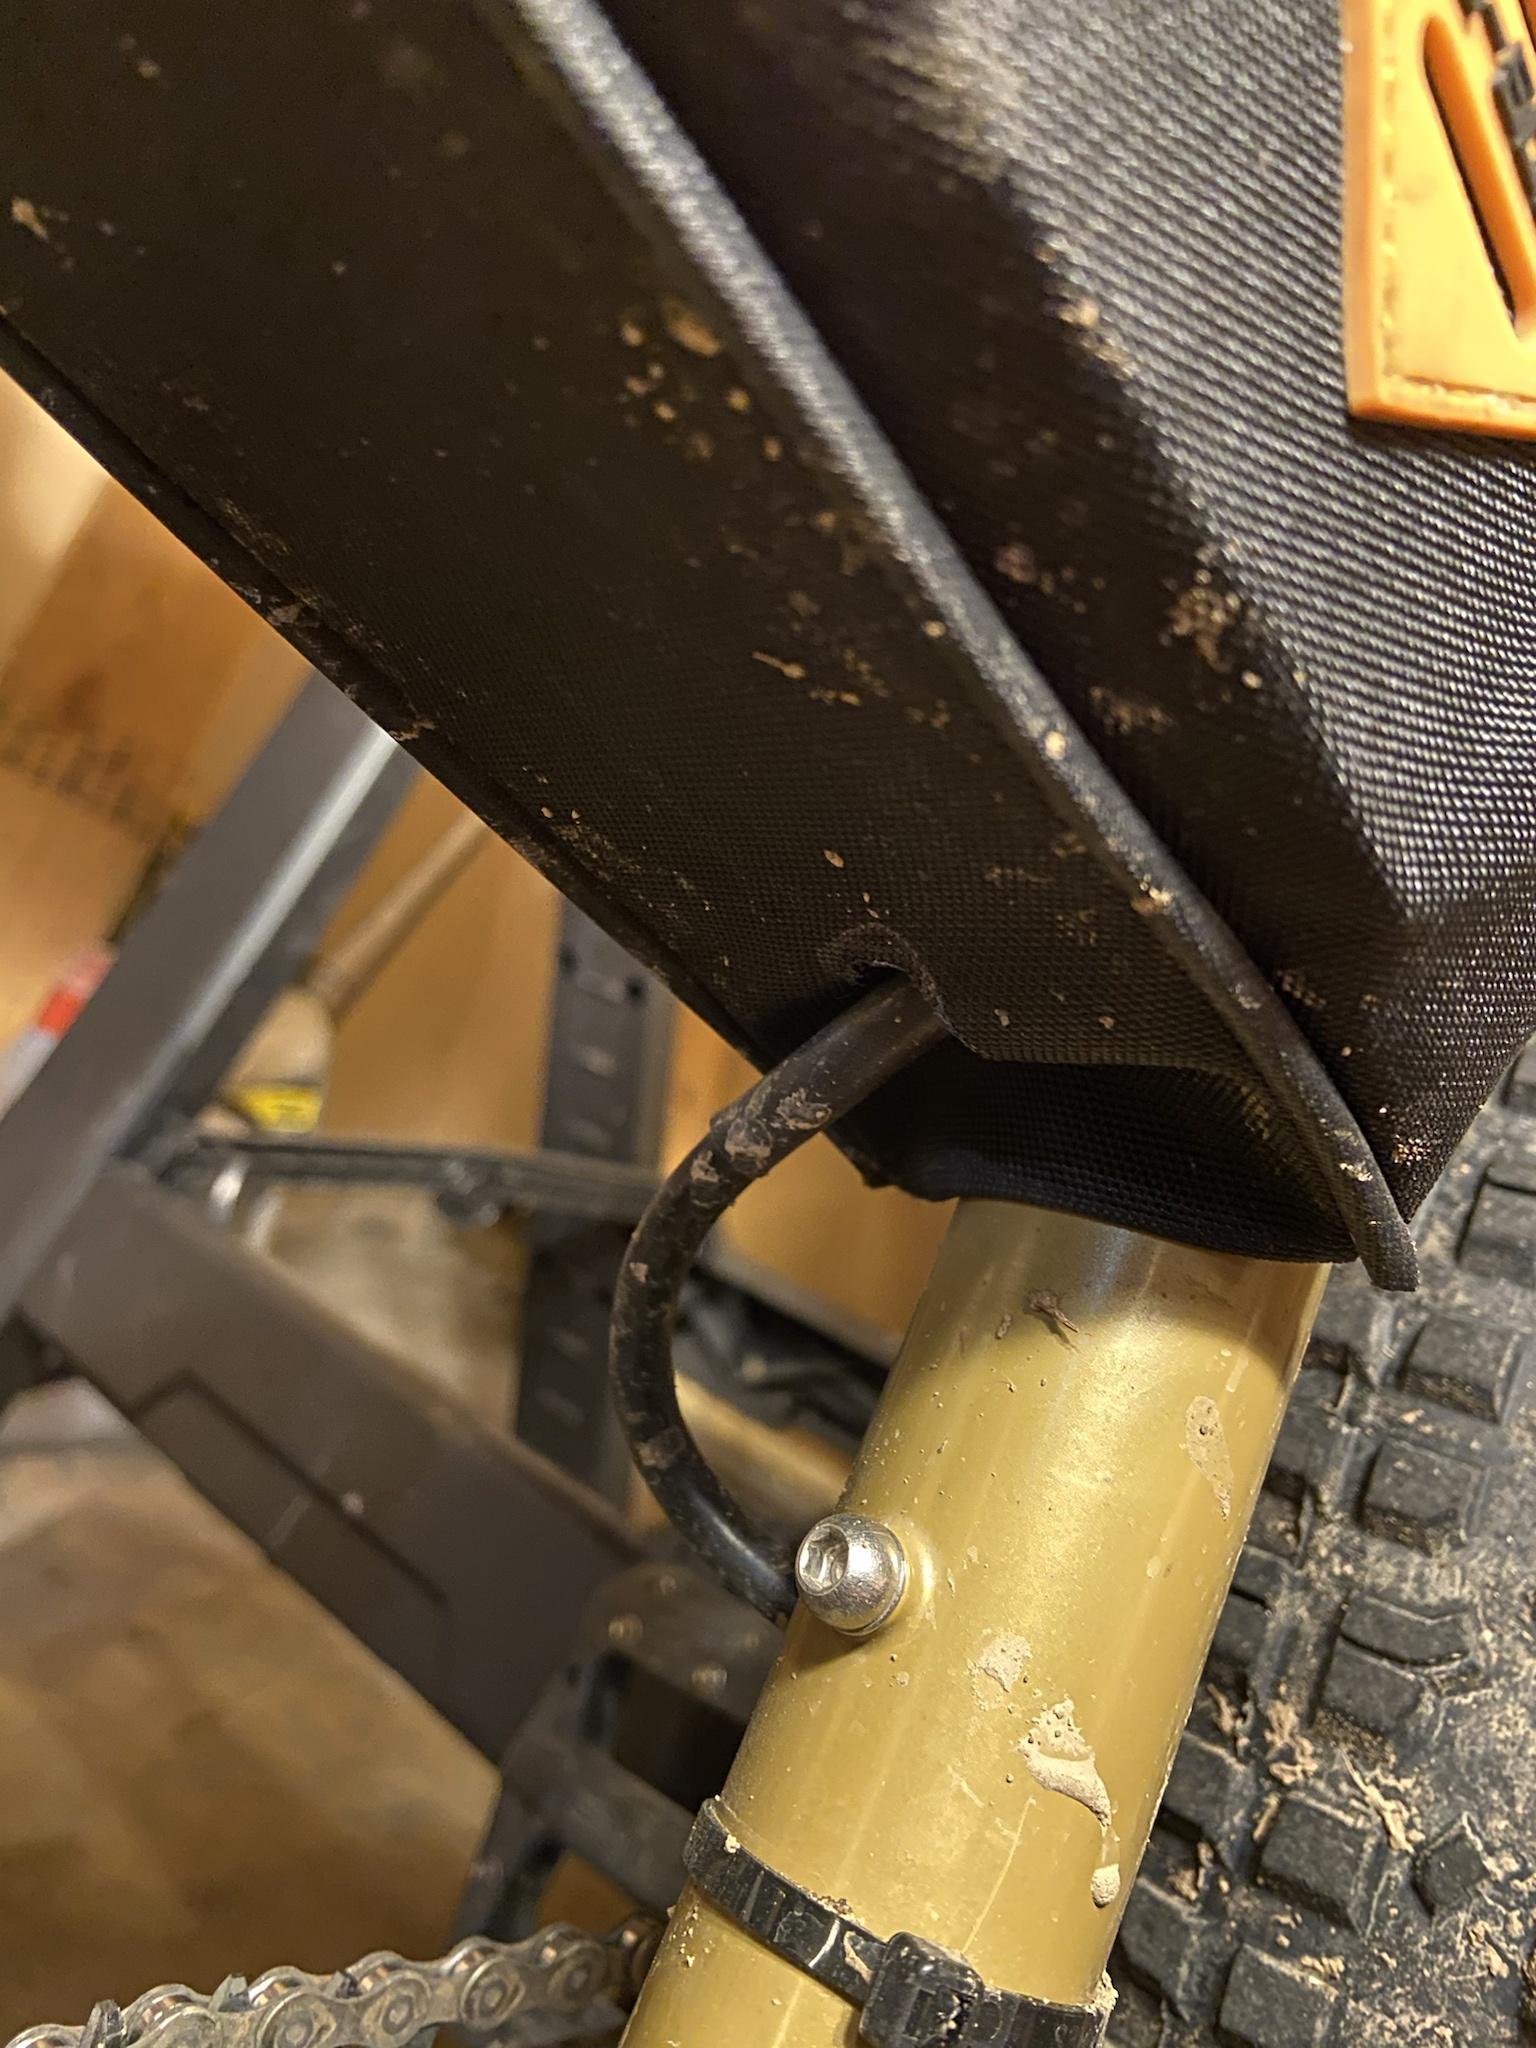
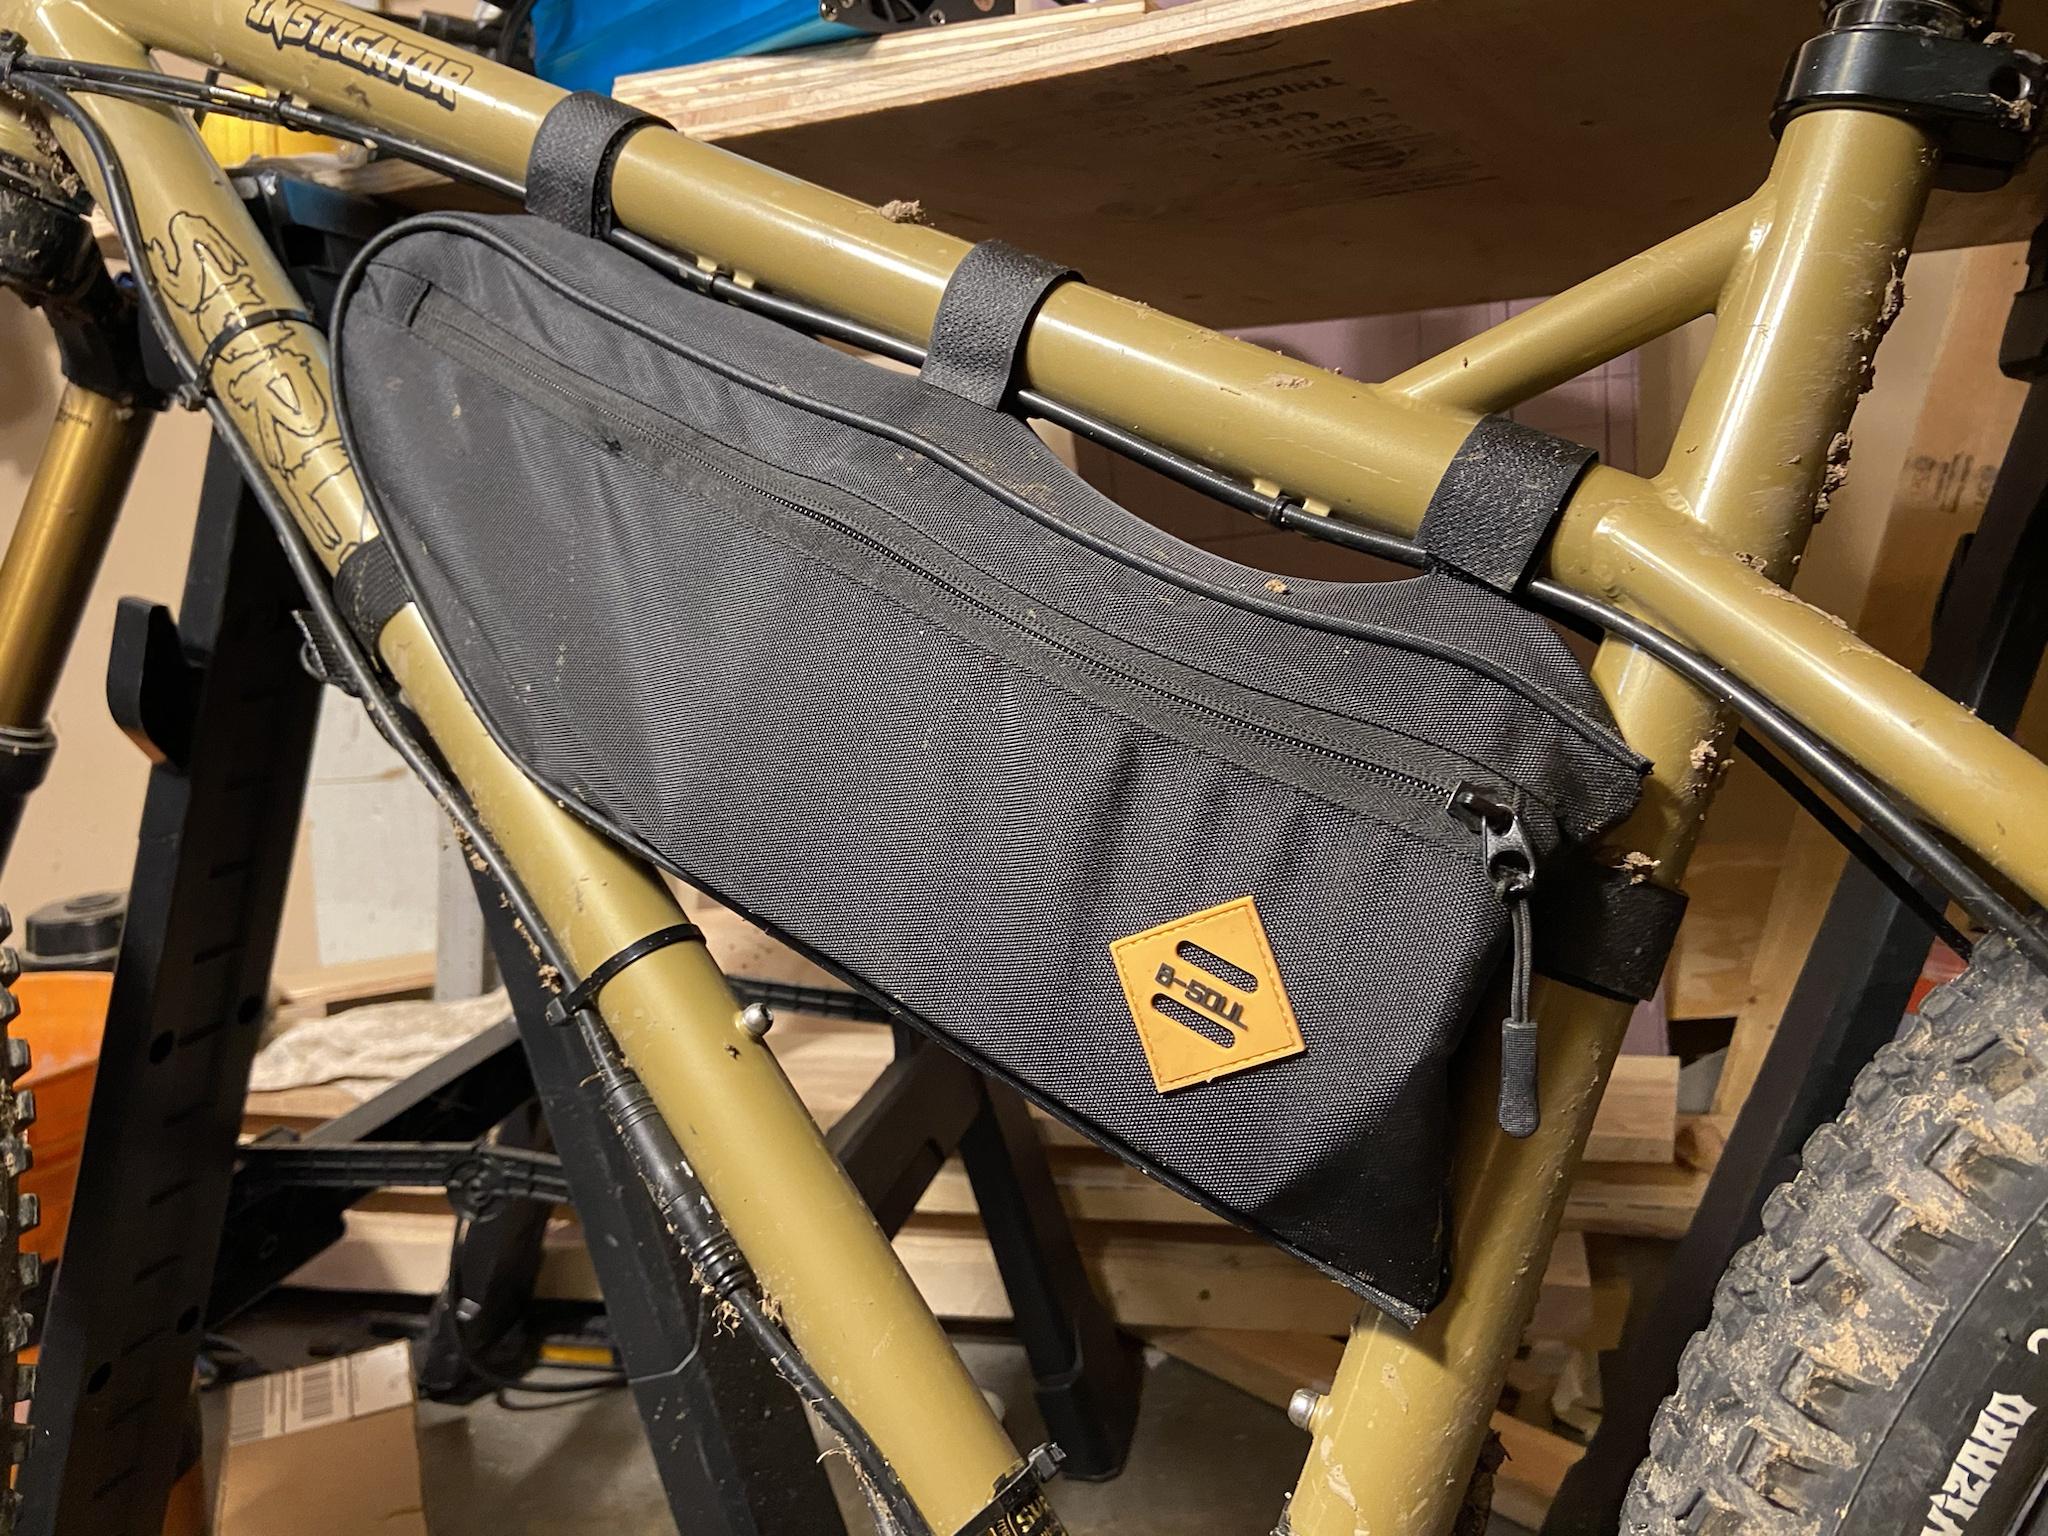
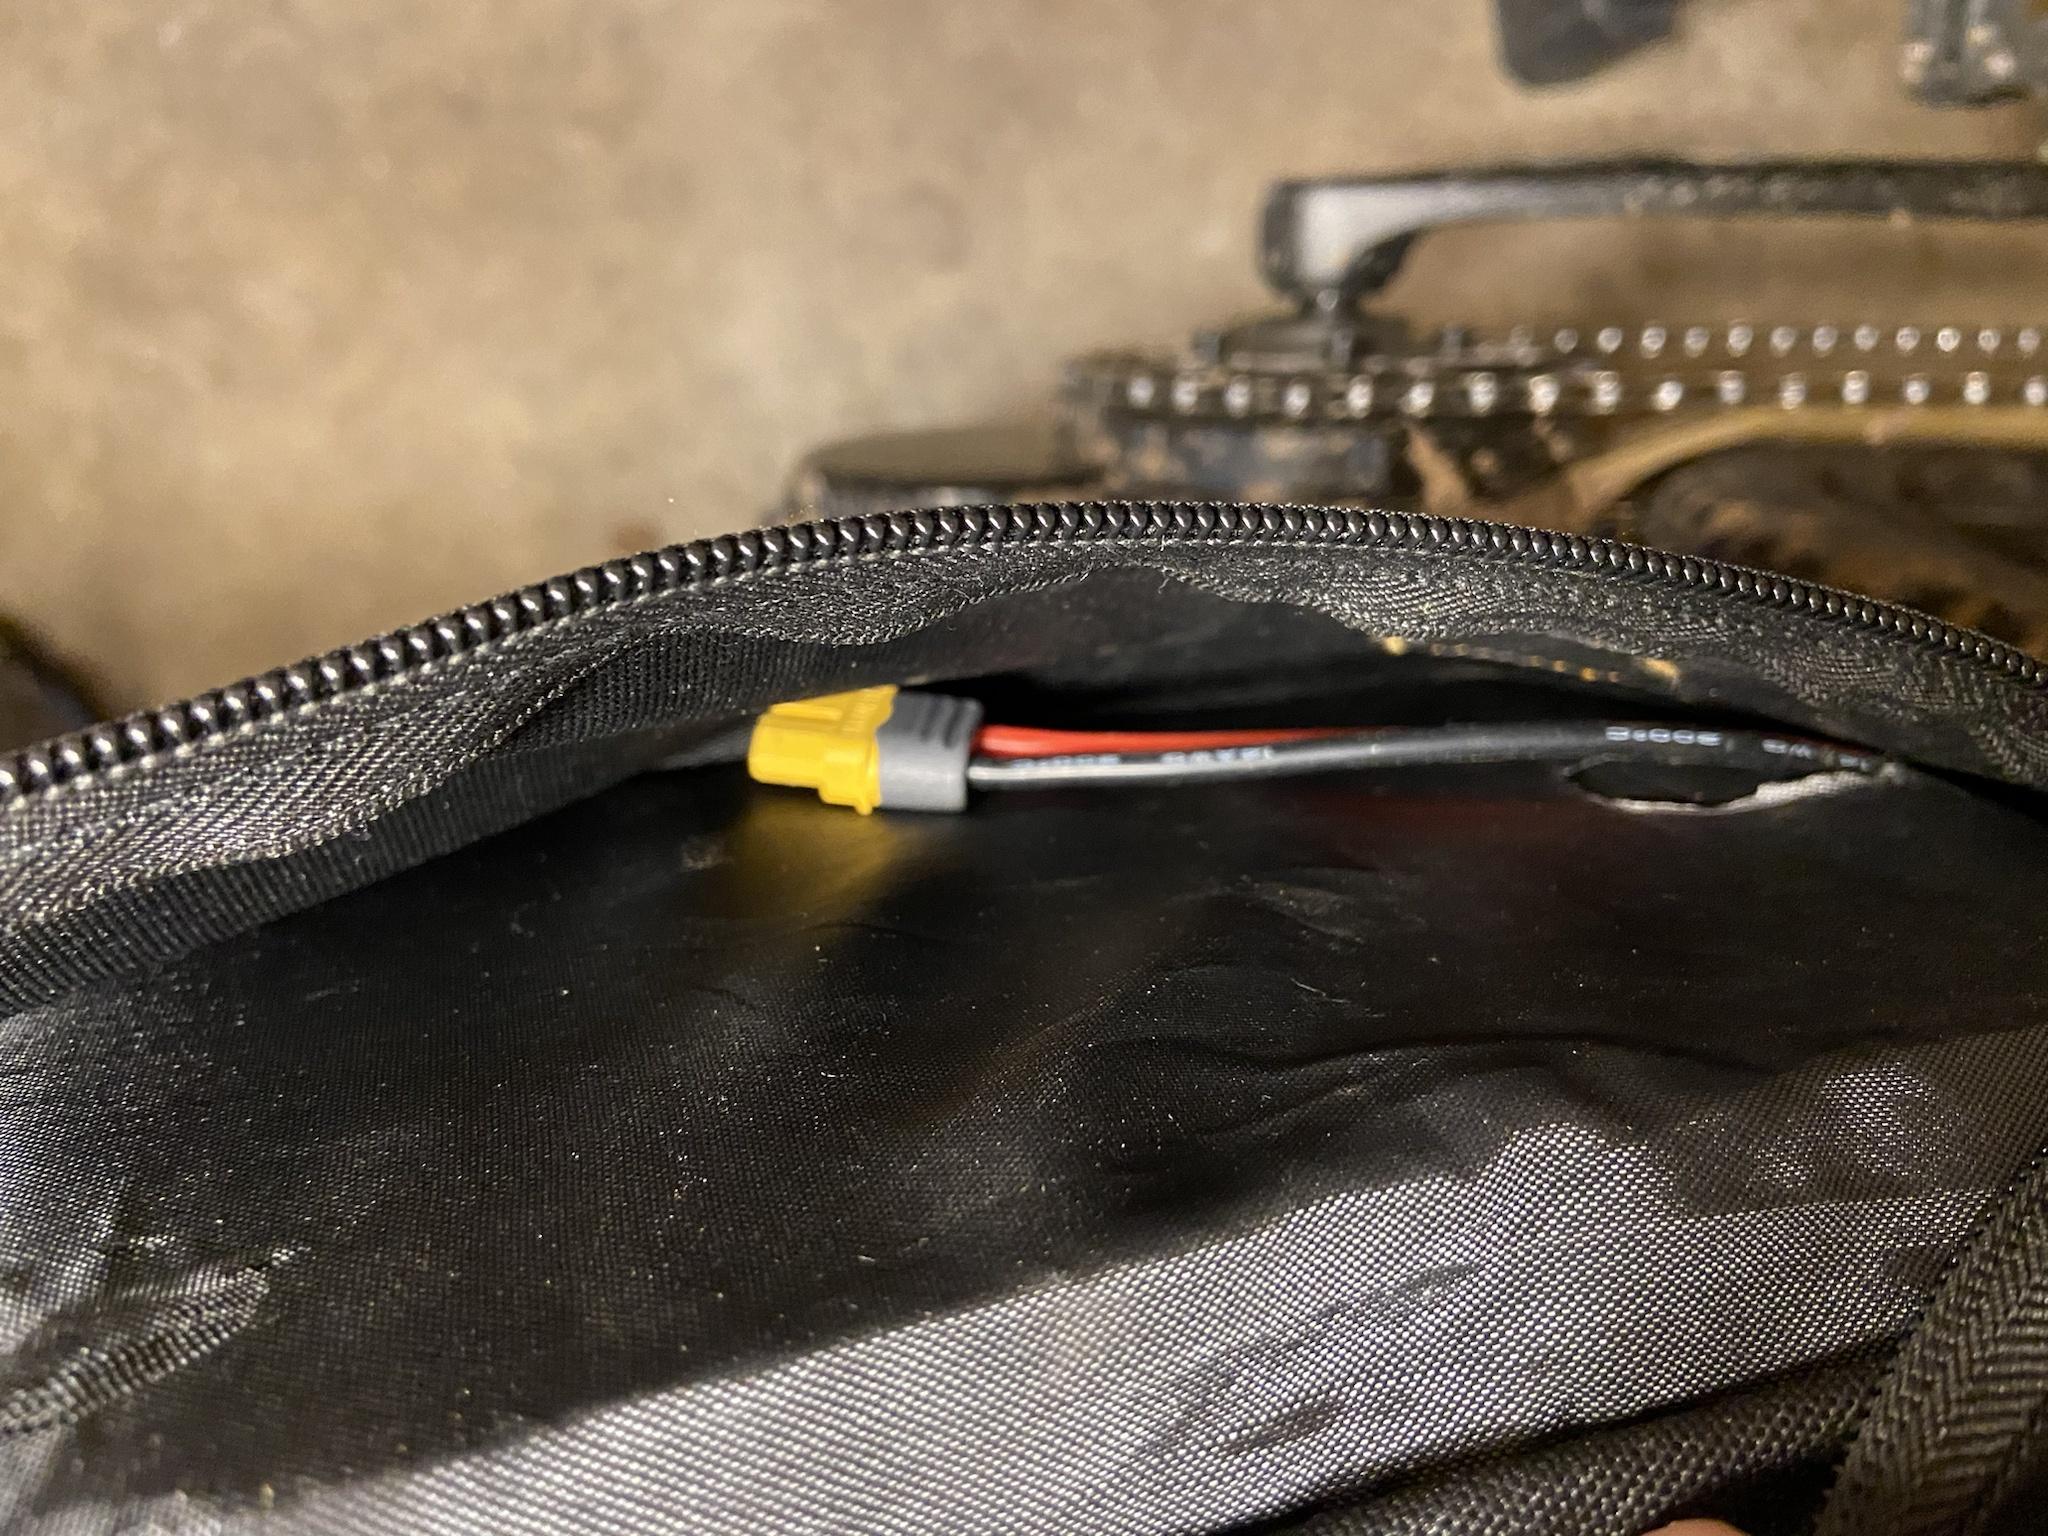
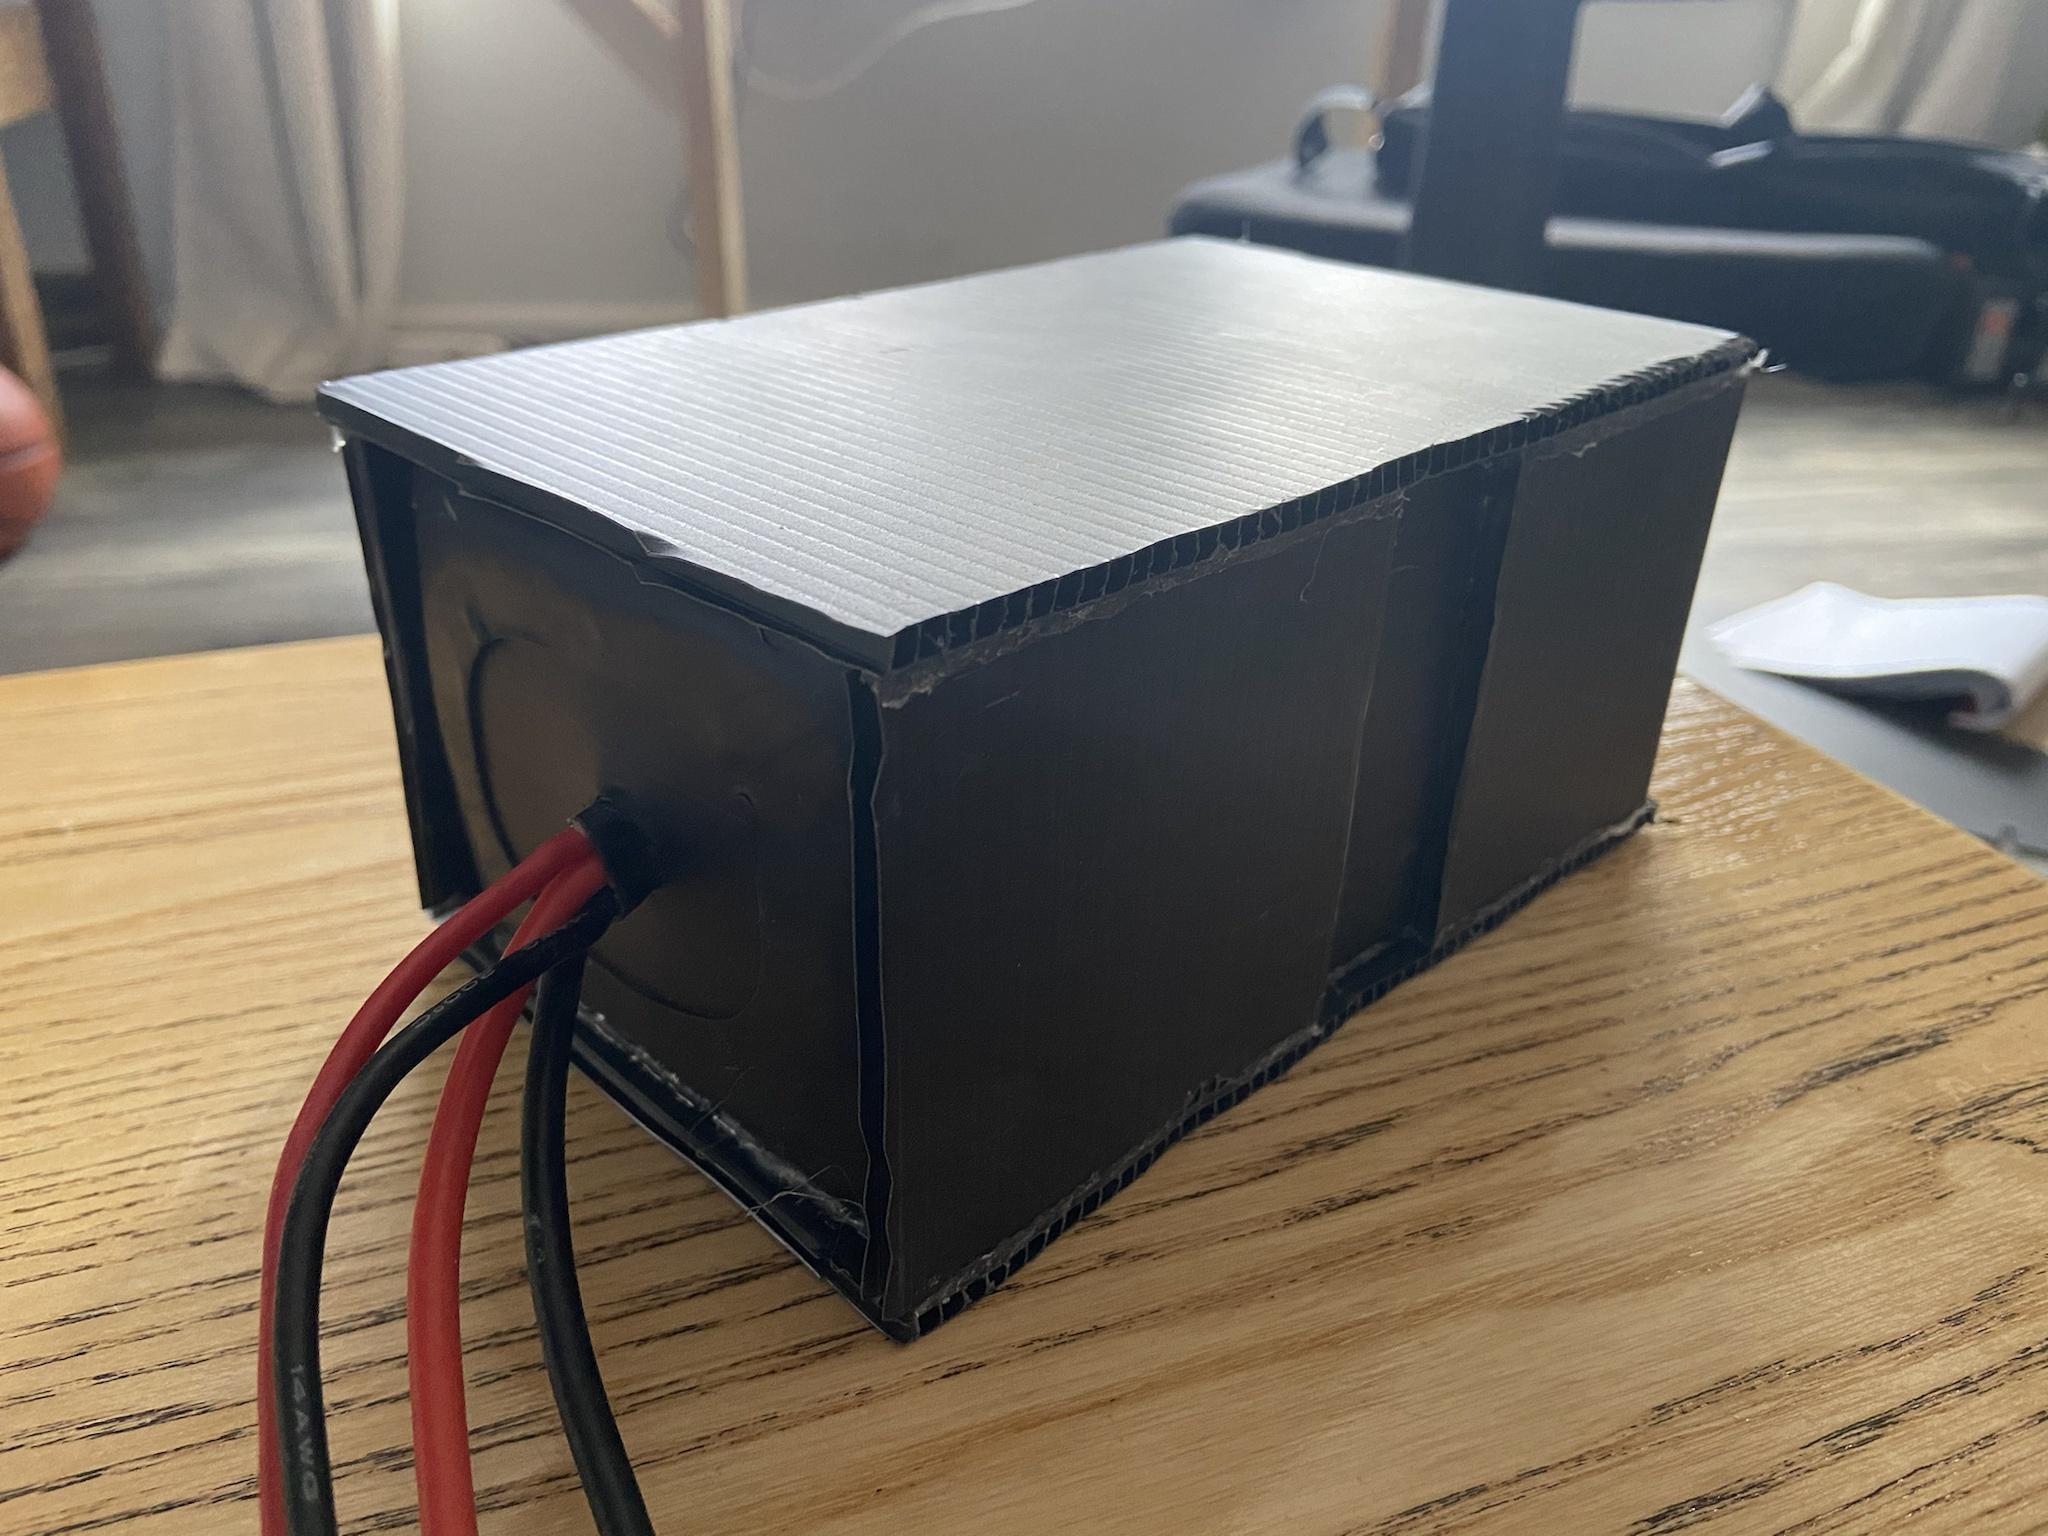
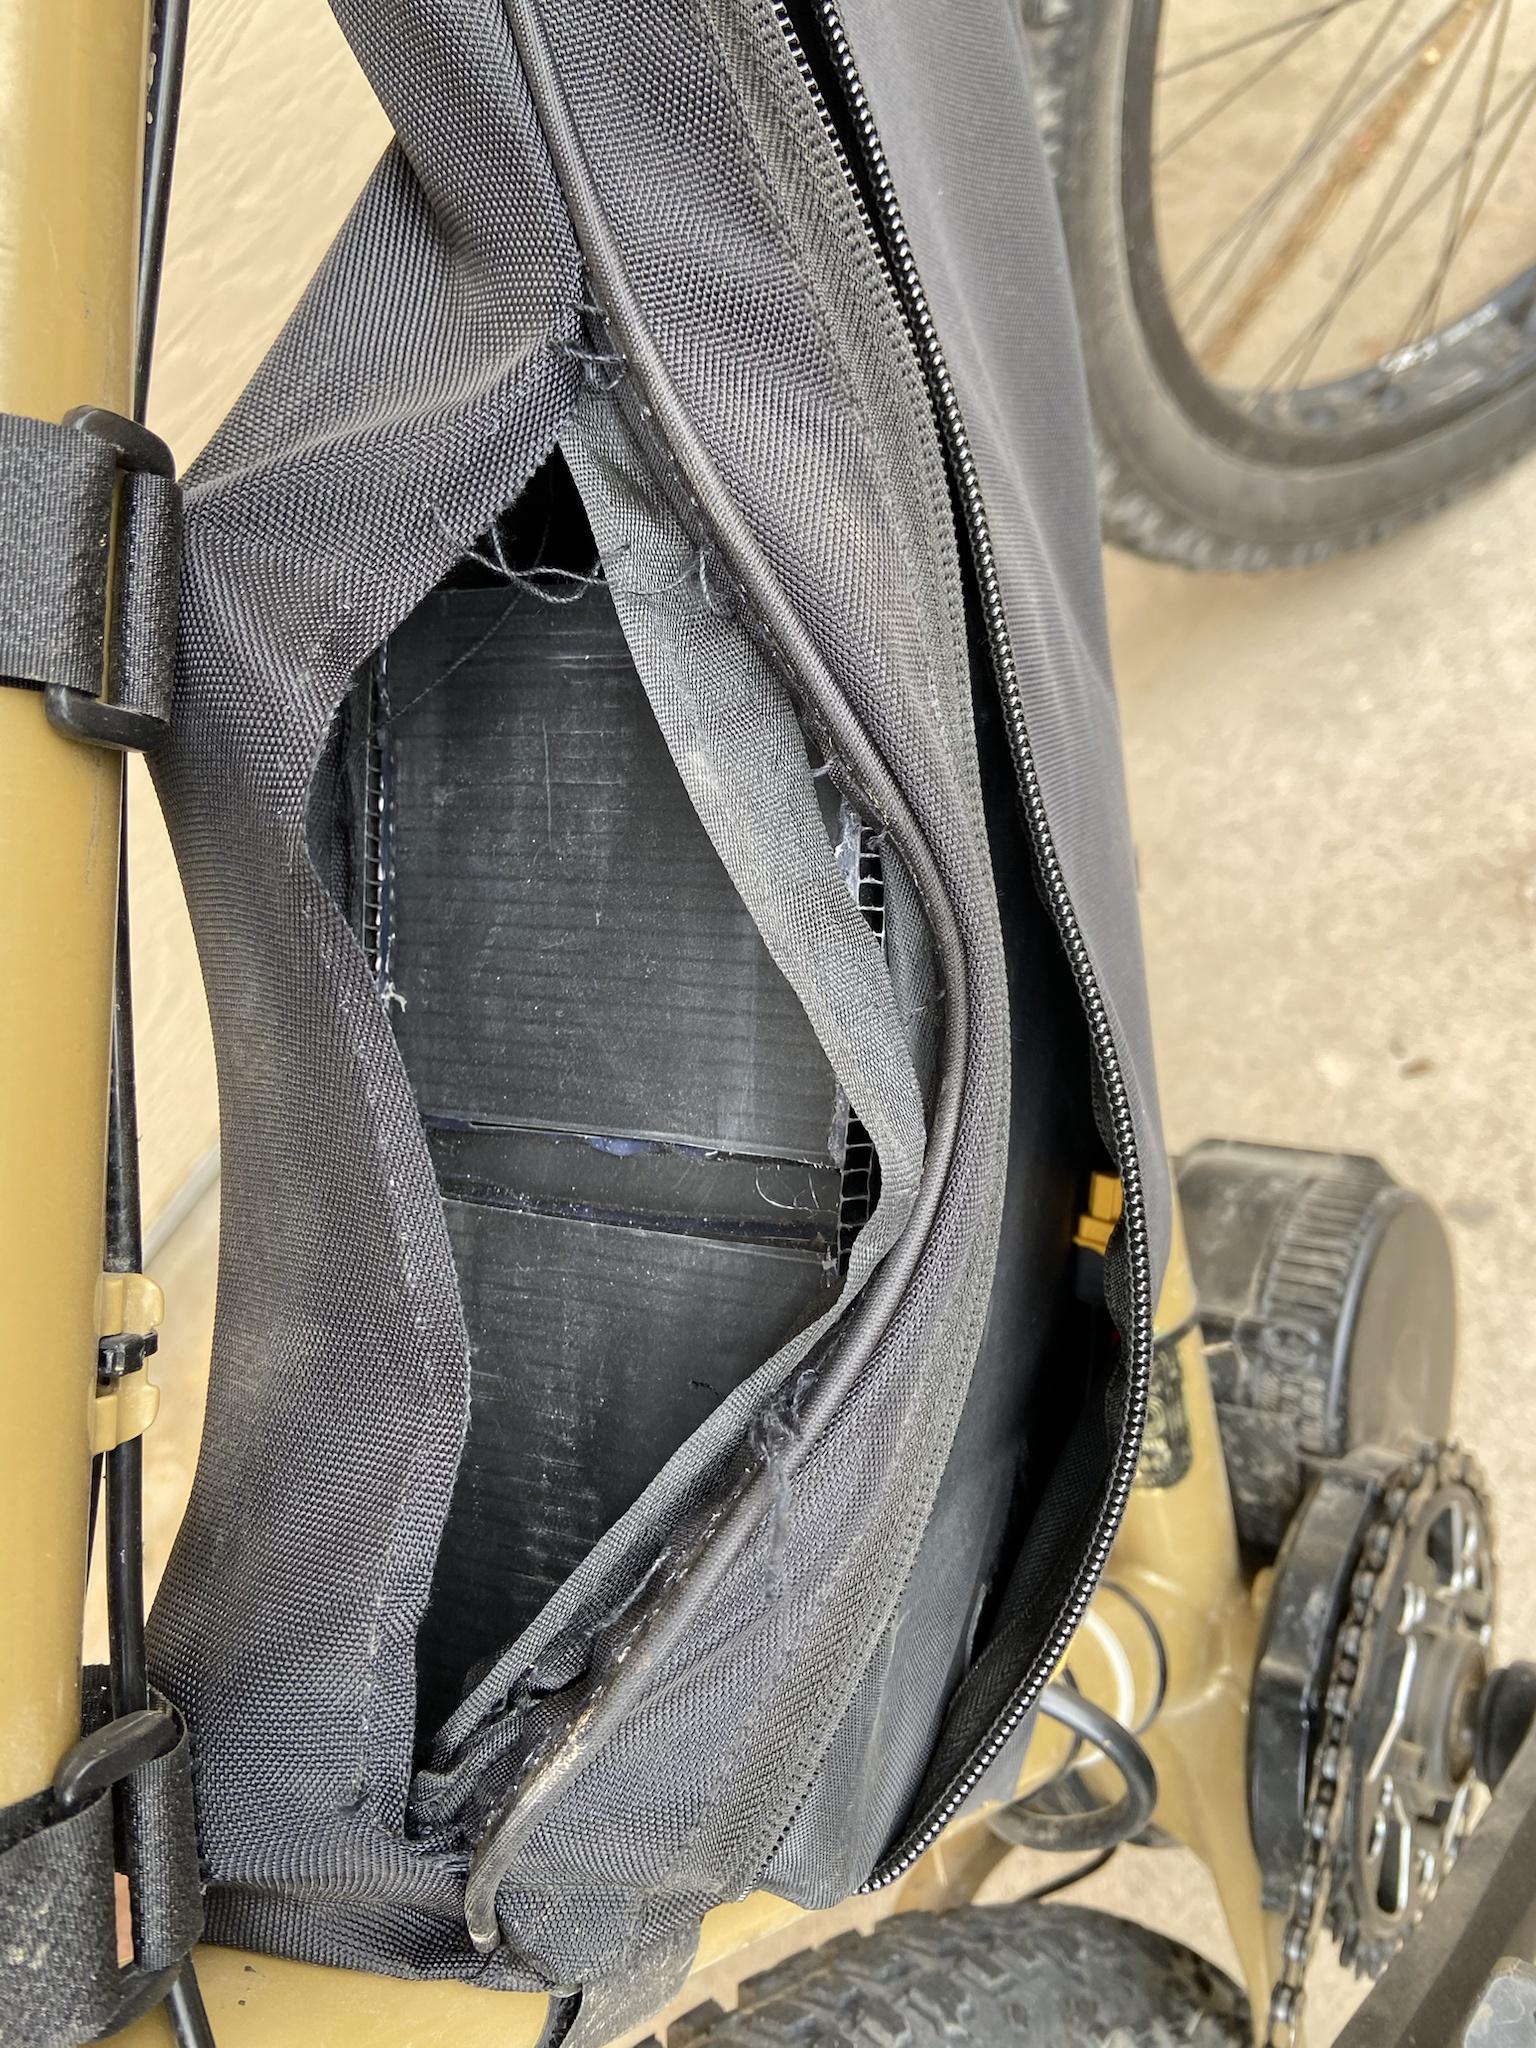
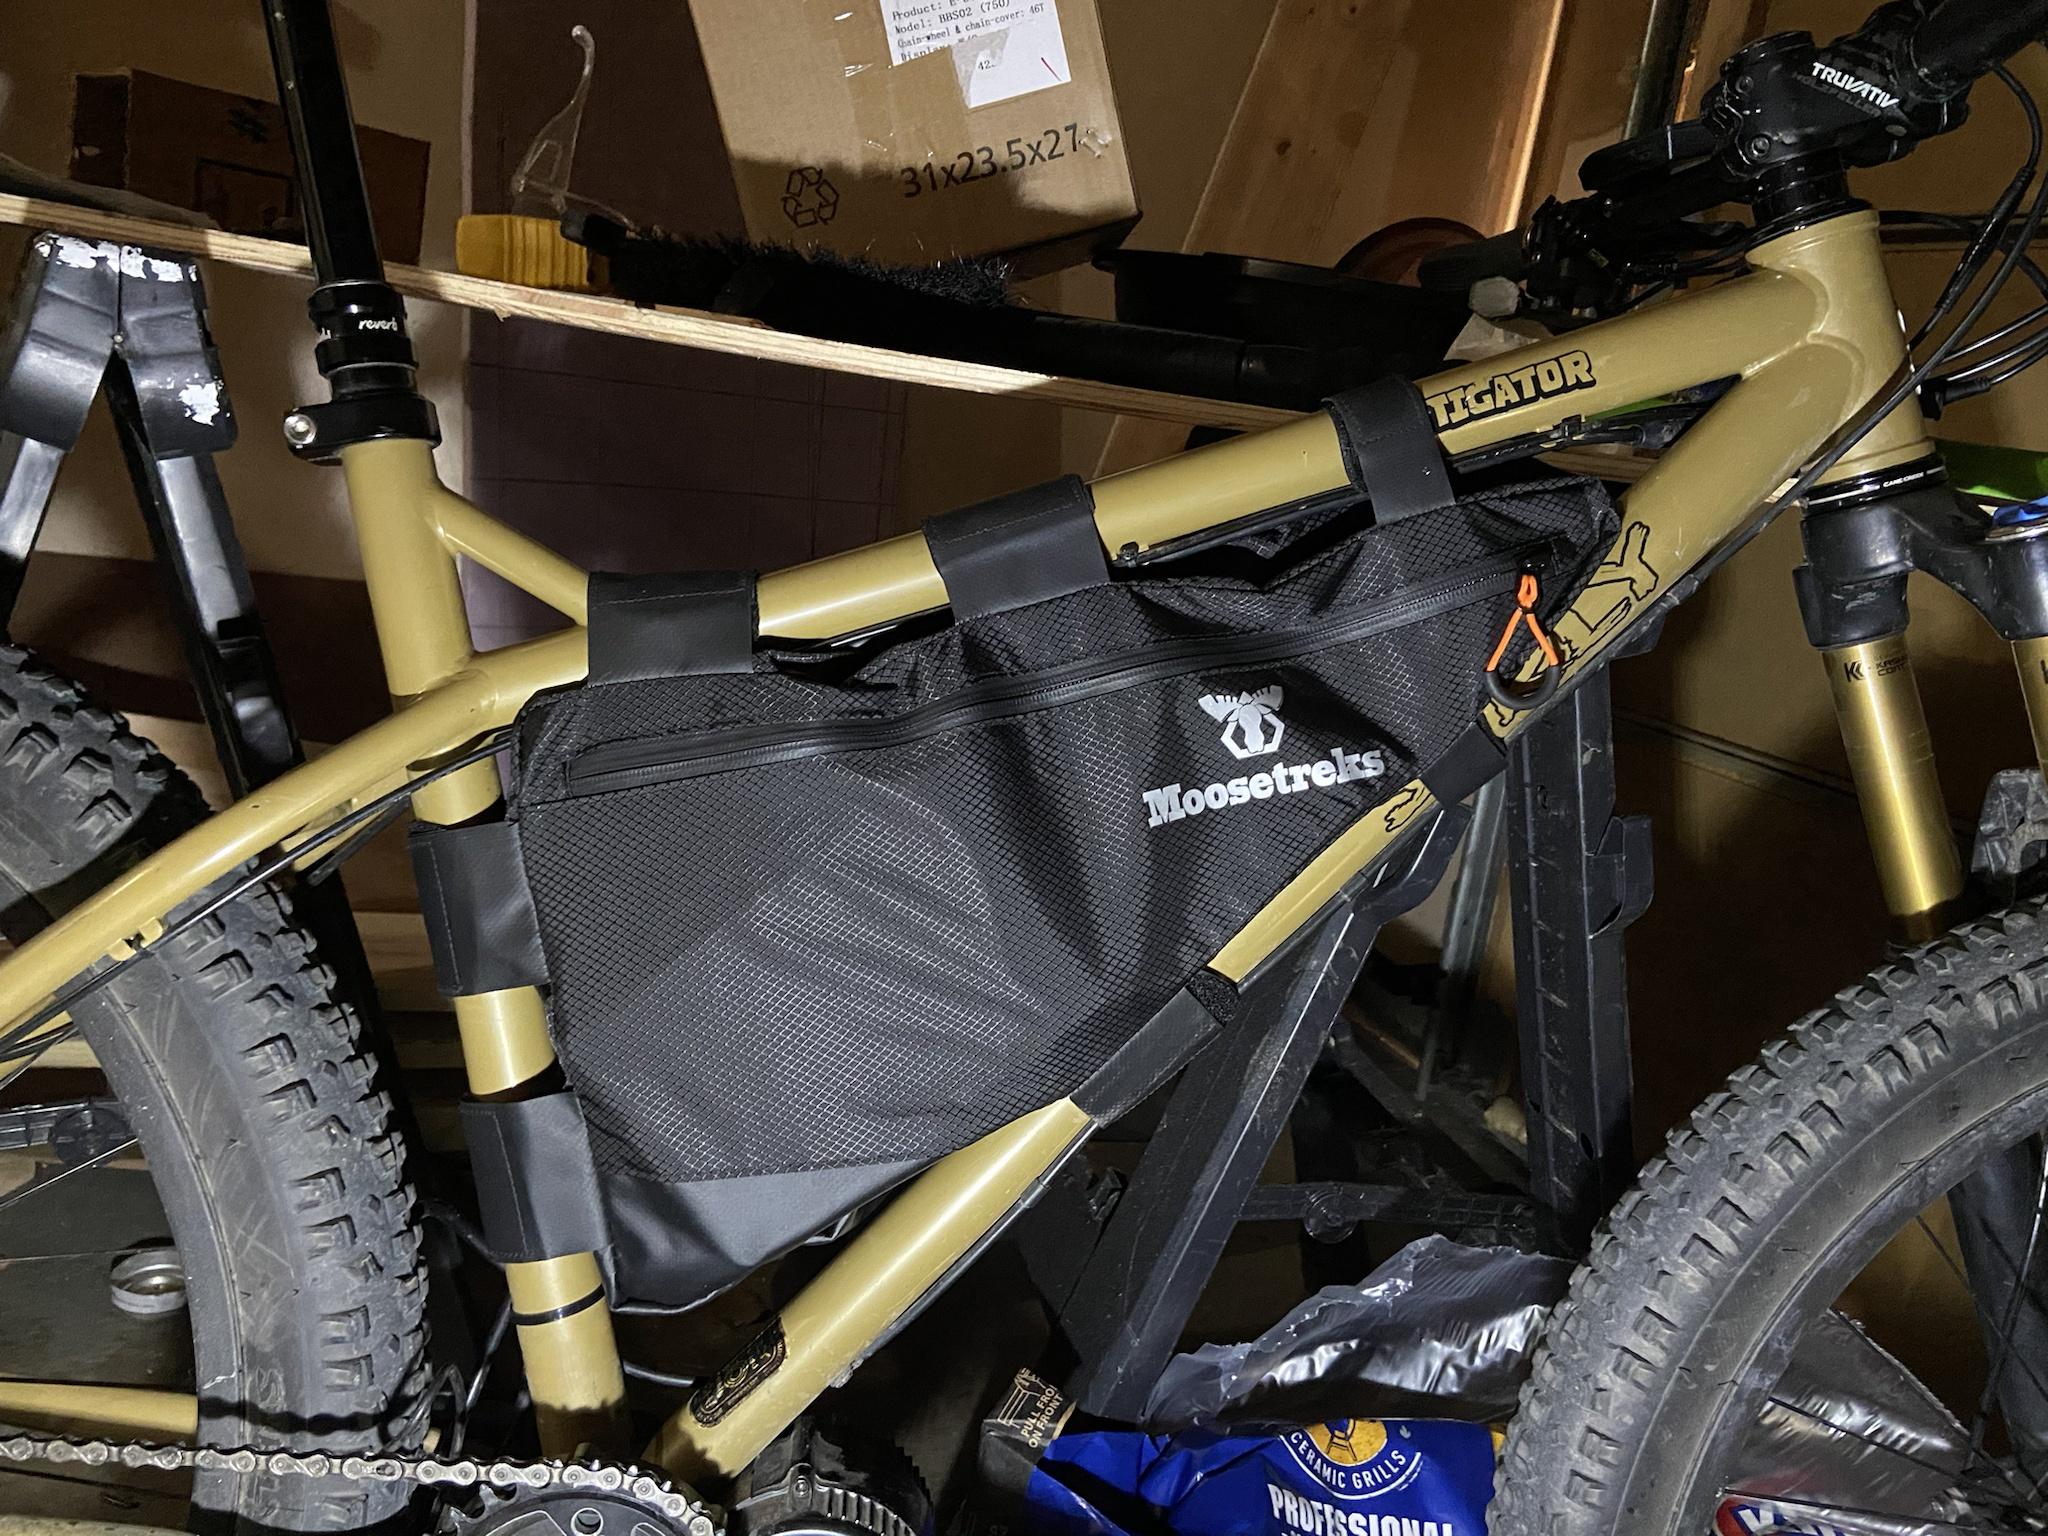
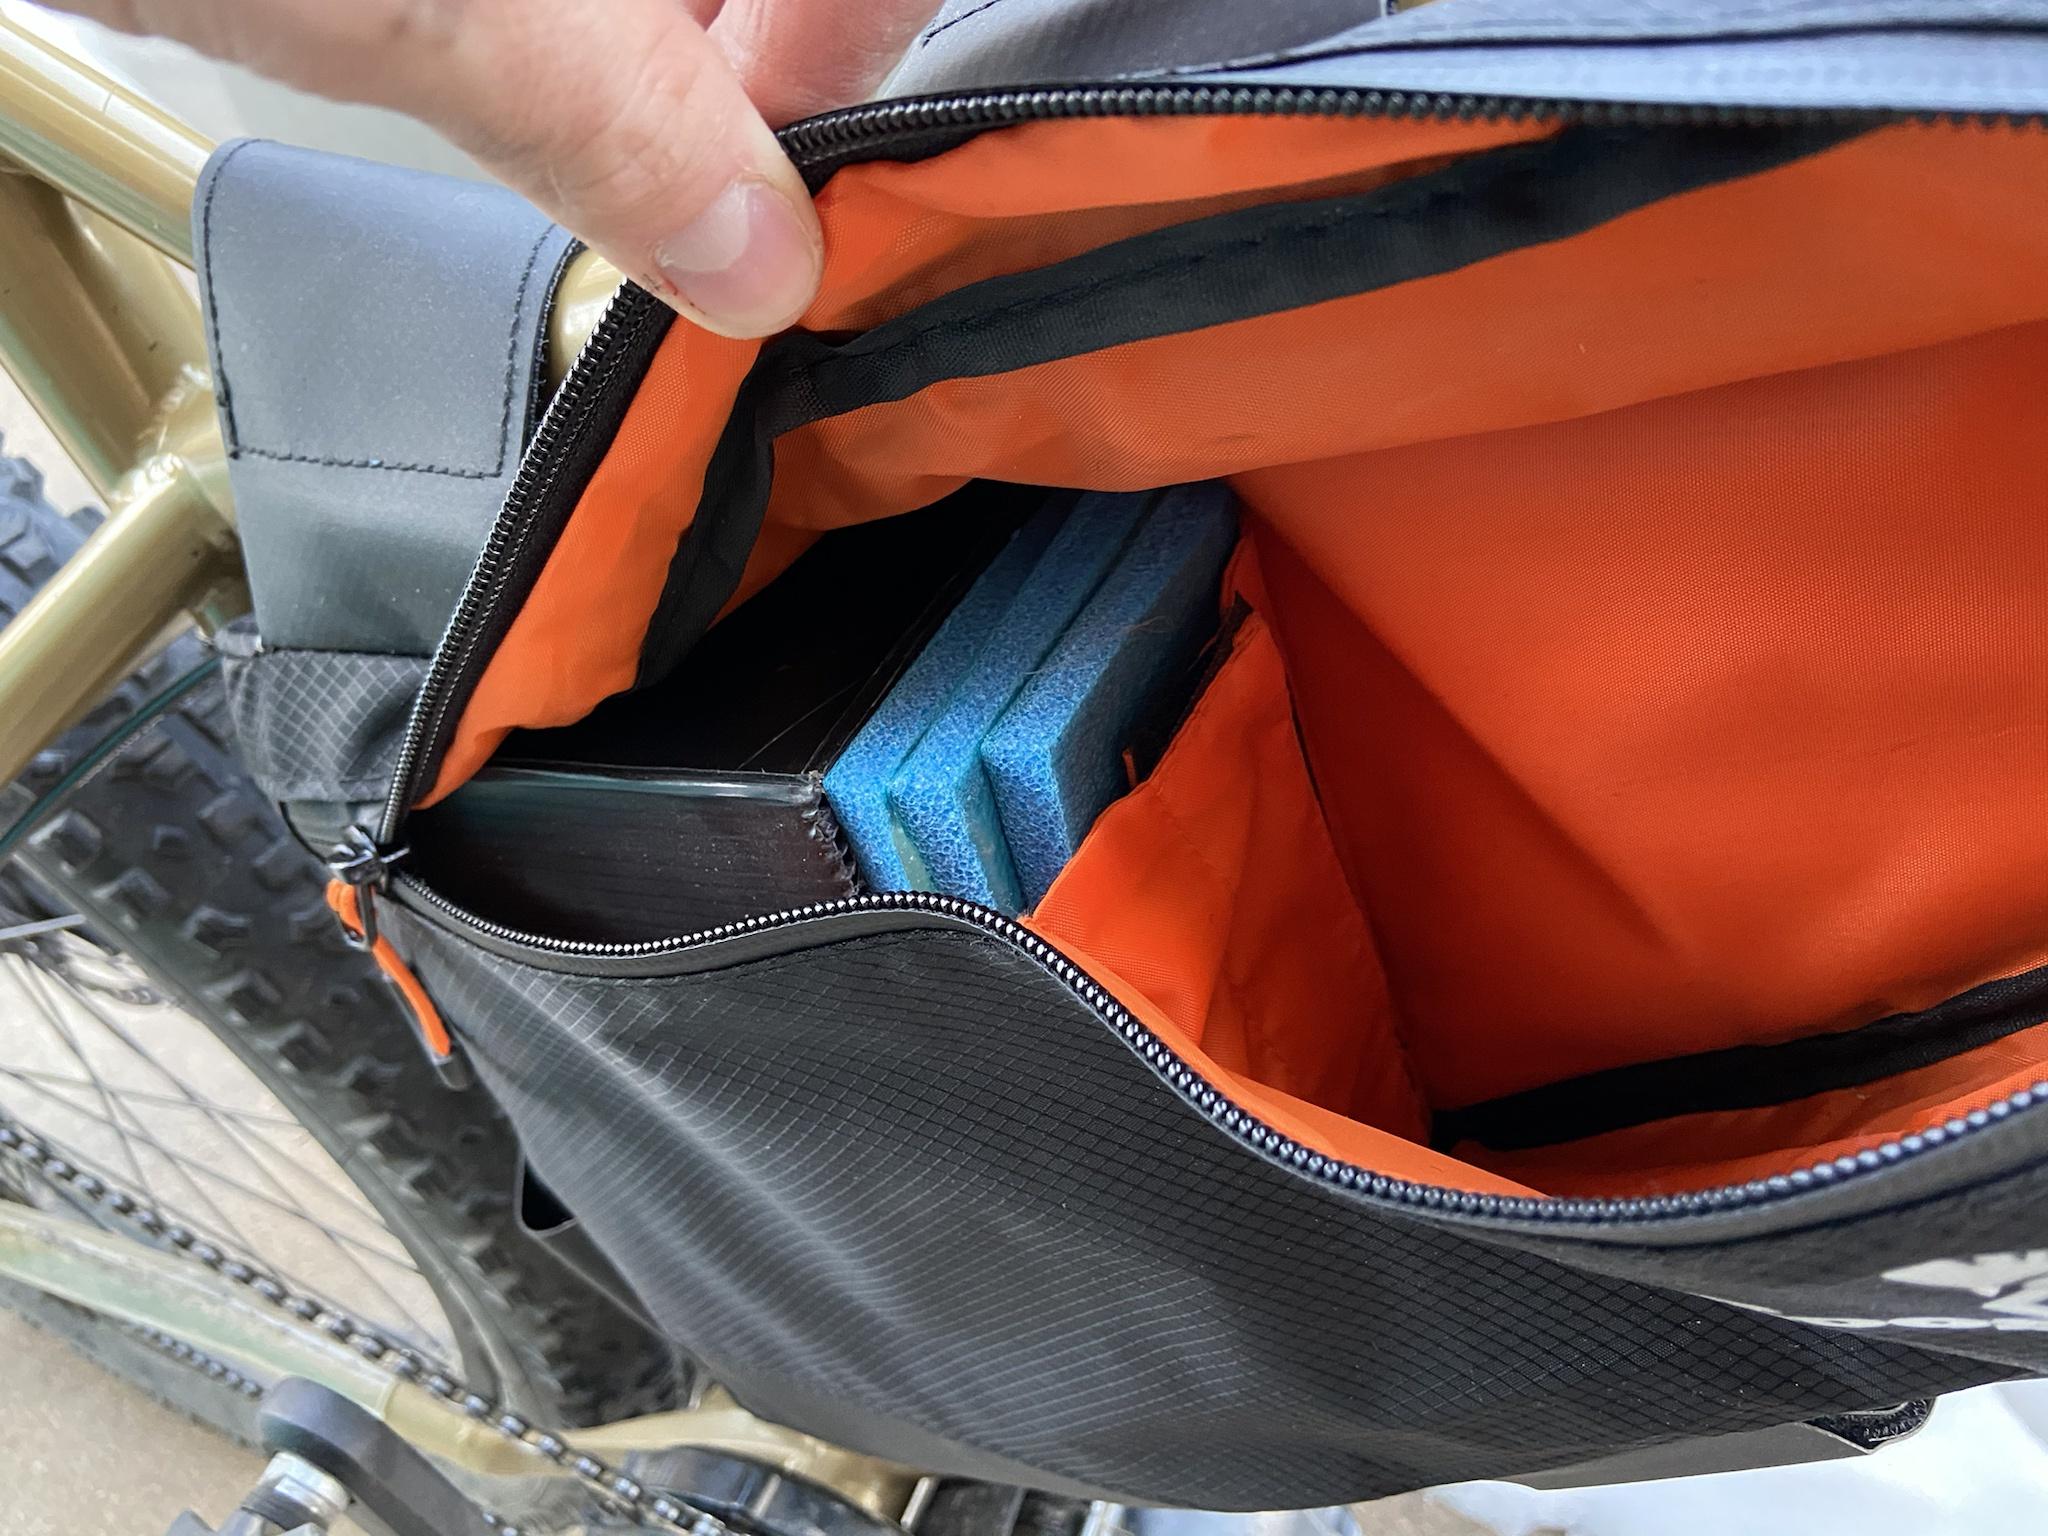
The battery I'm using is a 52v 8ah pack of Samsung 40T cells I picked up from an eBay seller. It fits nicely into a cheap ($9) frame pack from Amazon.
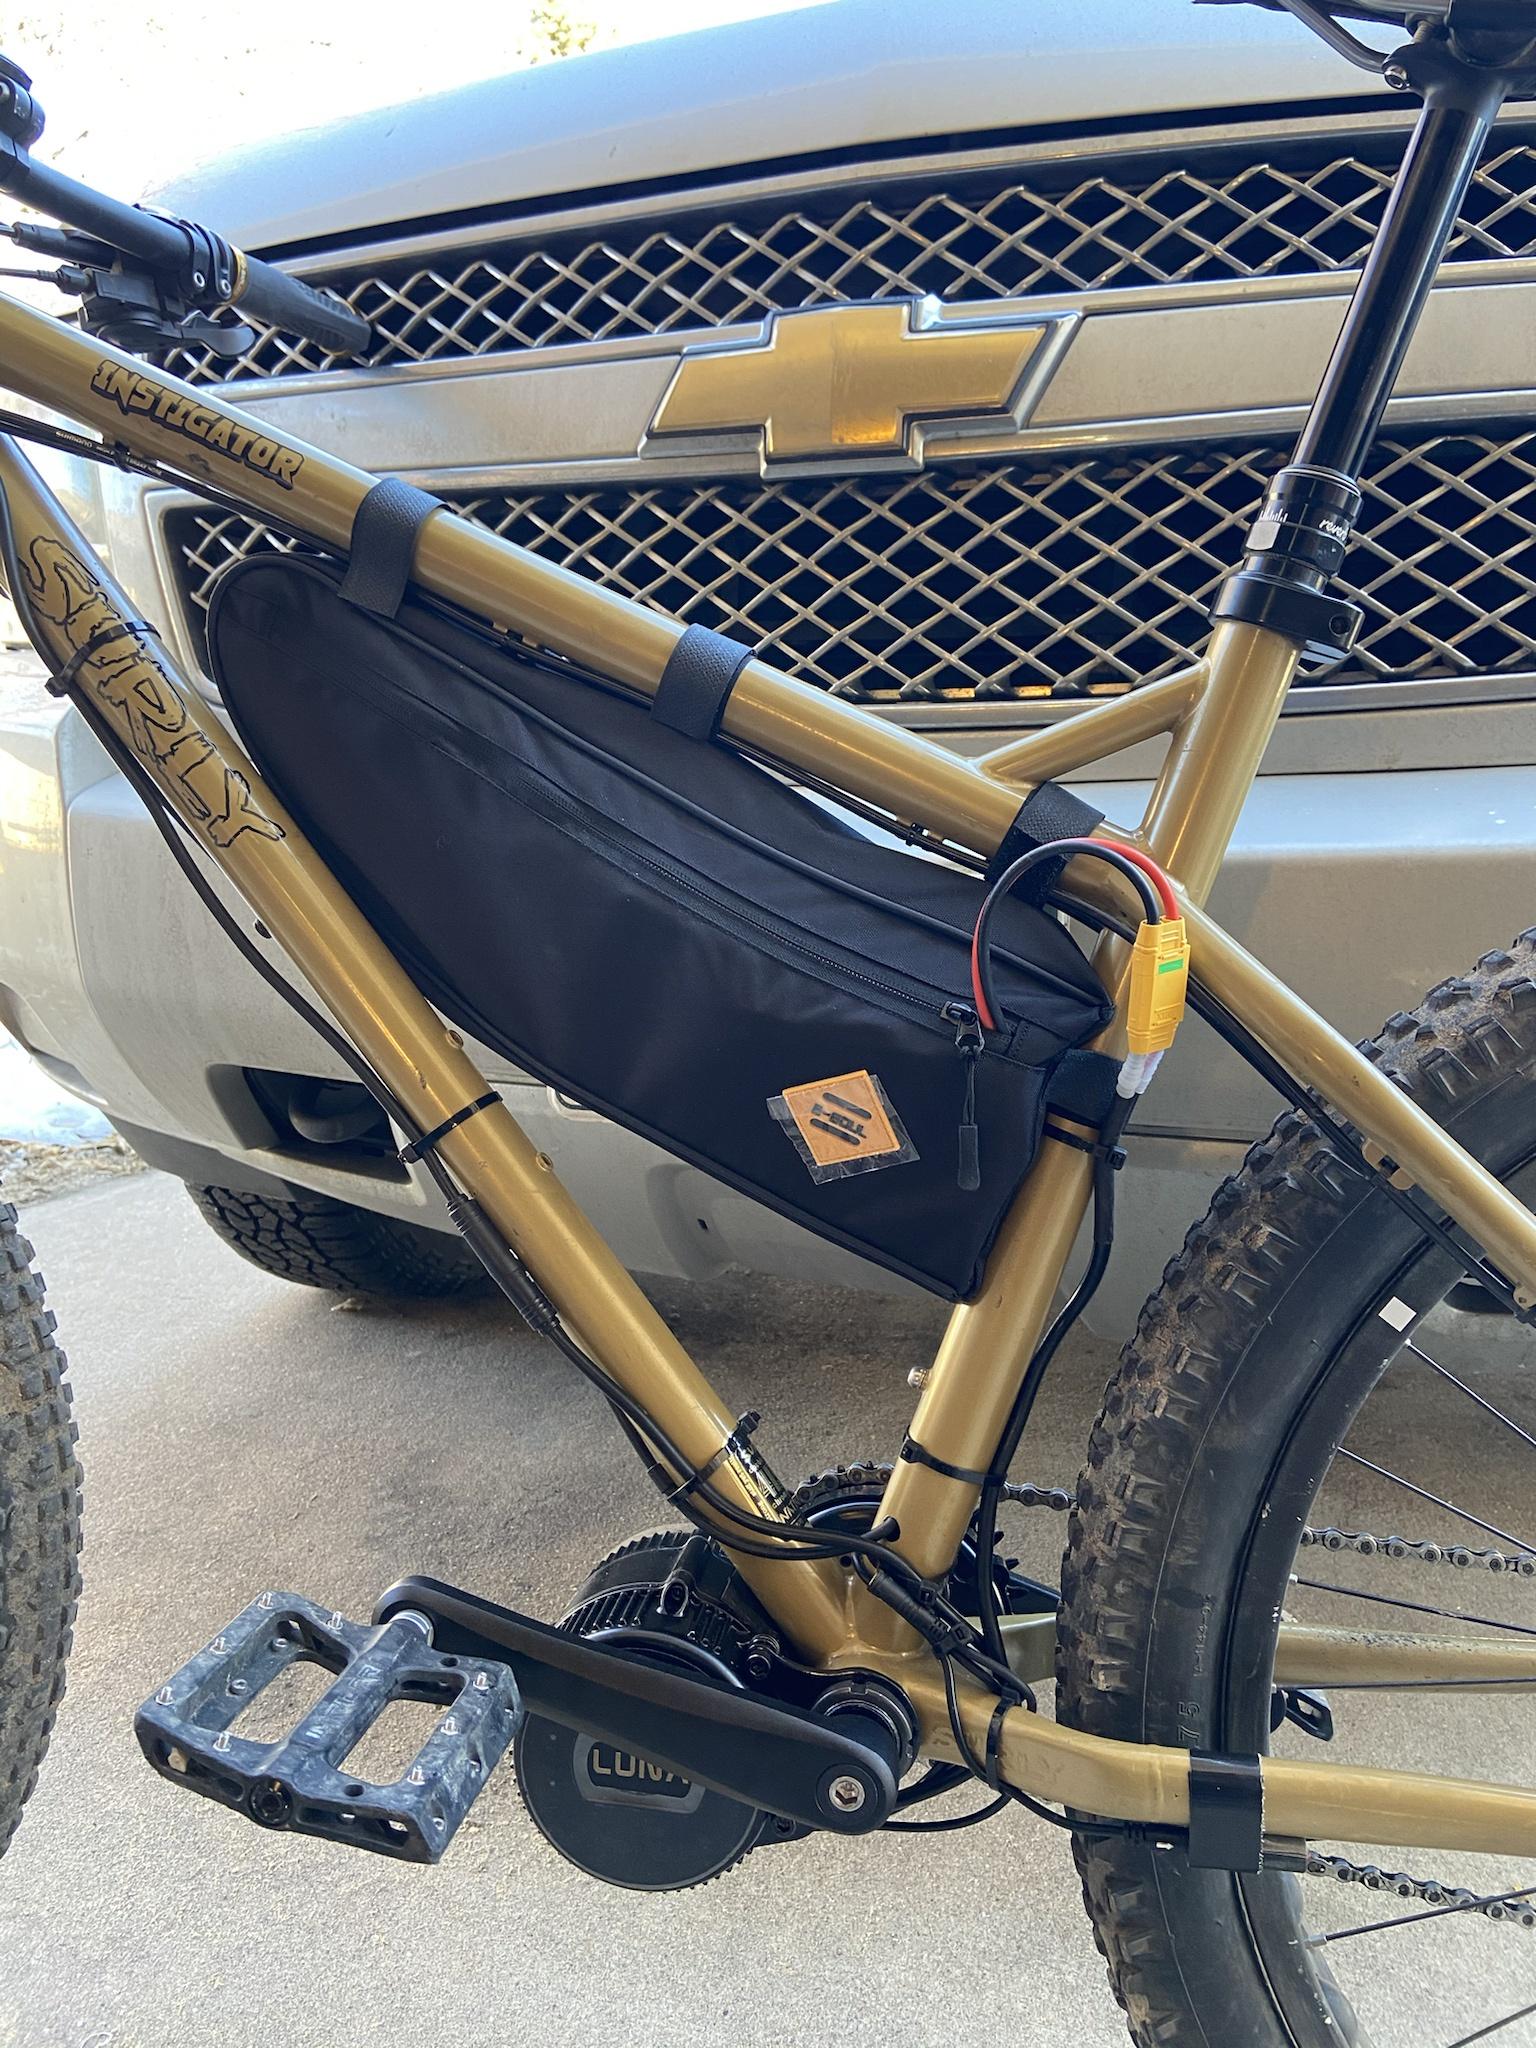
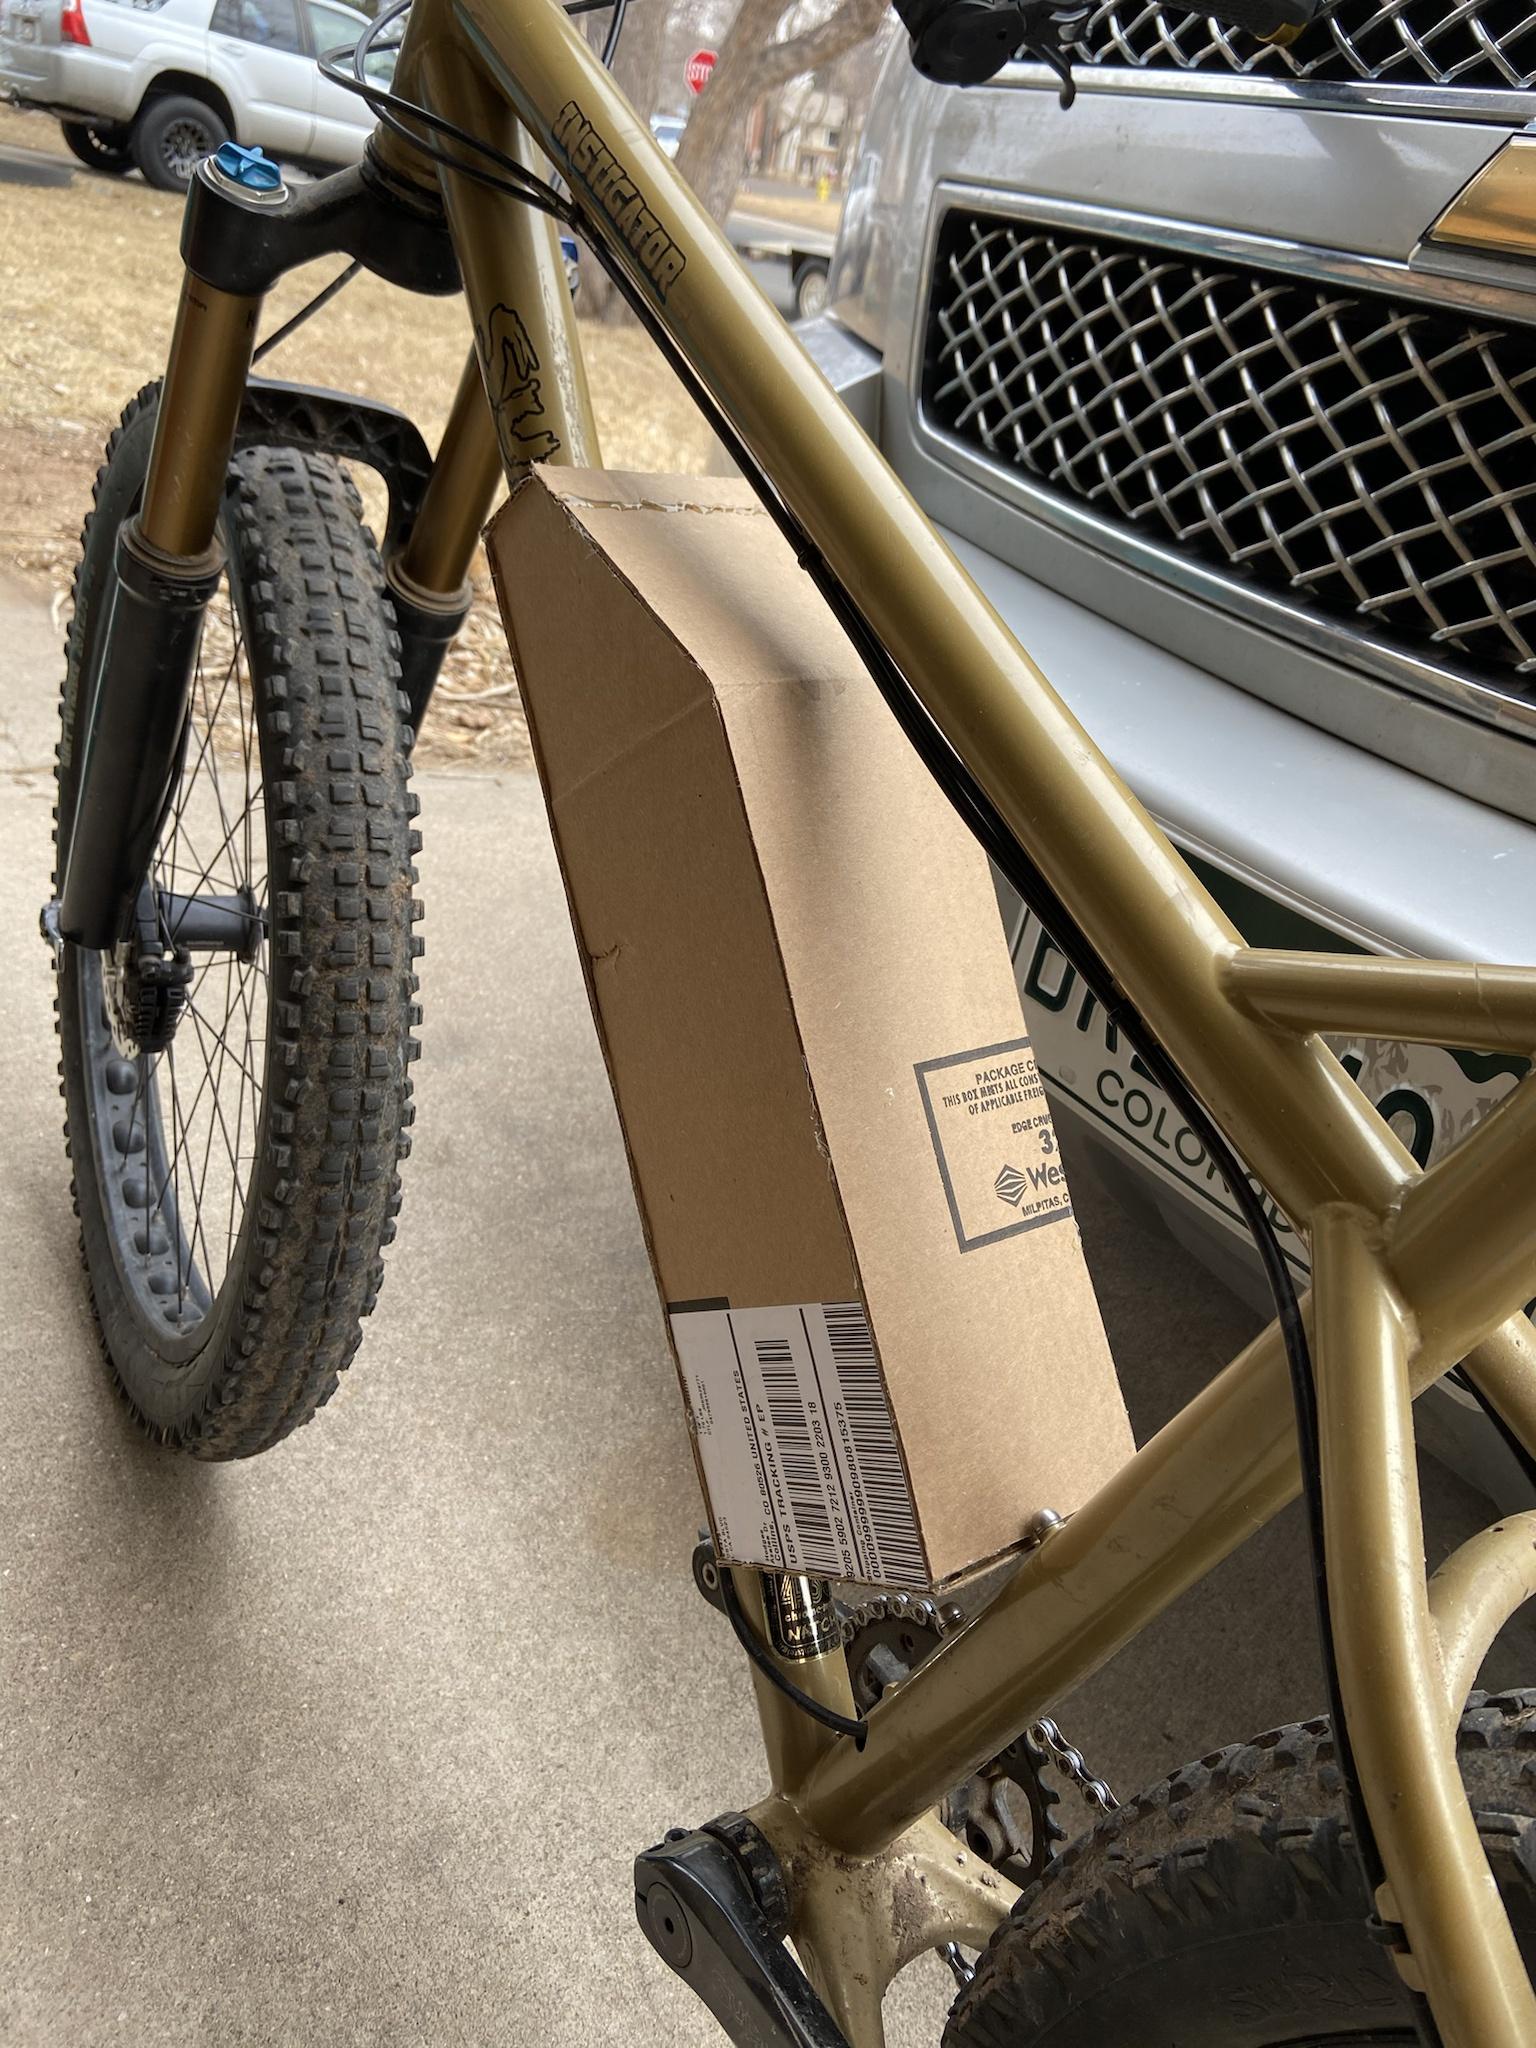
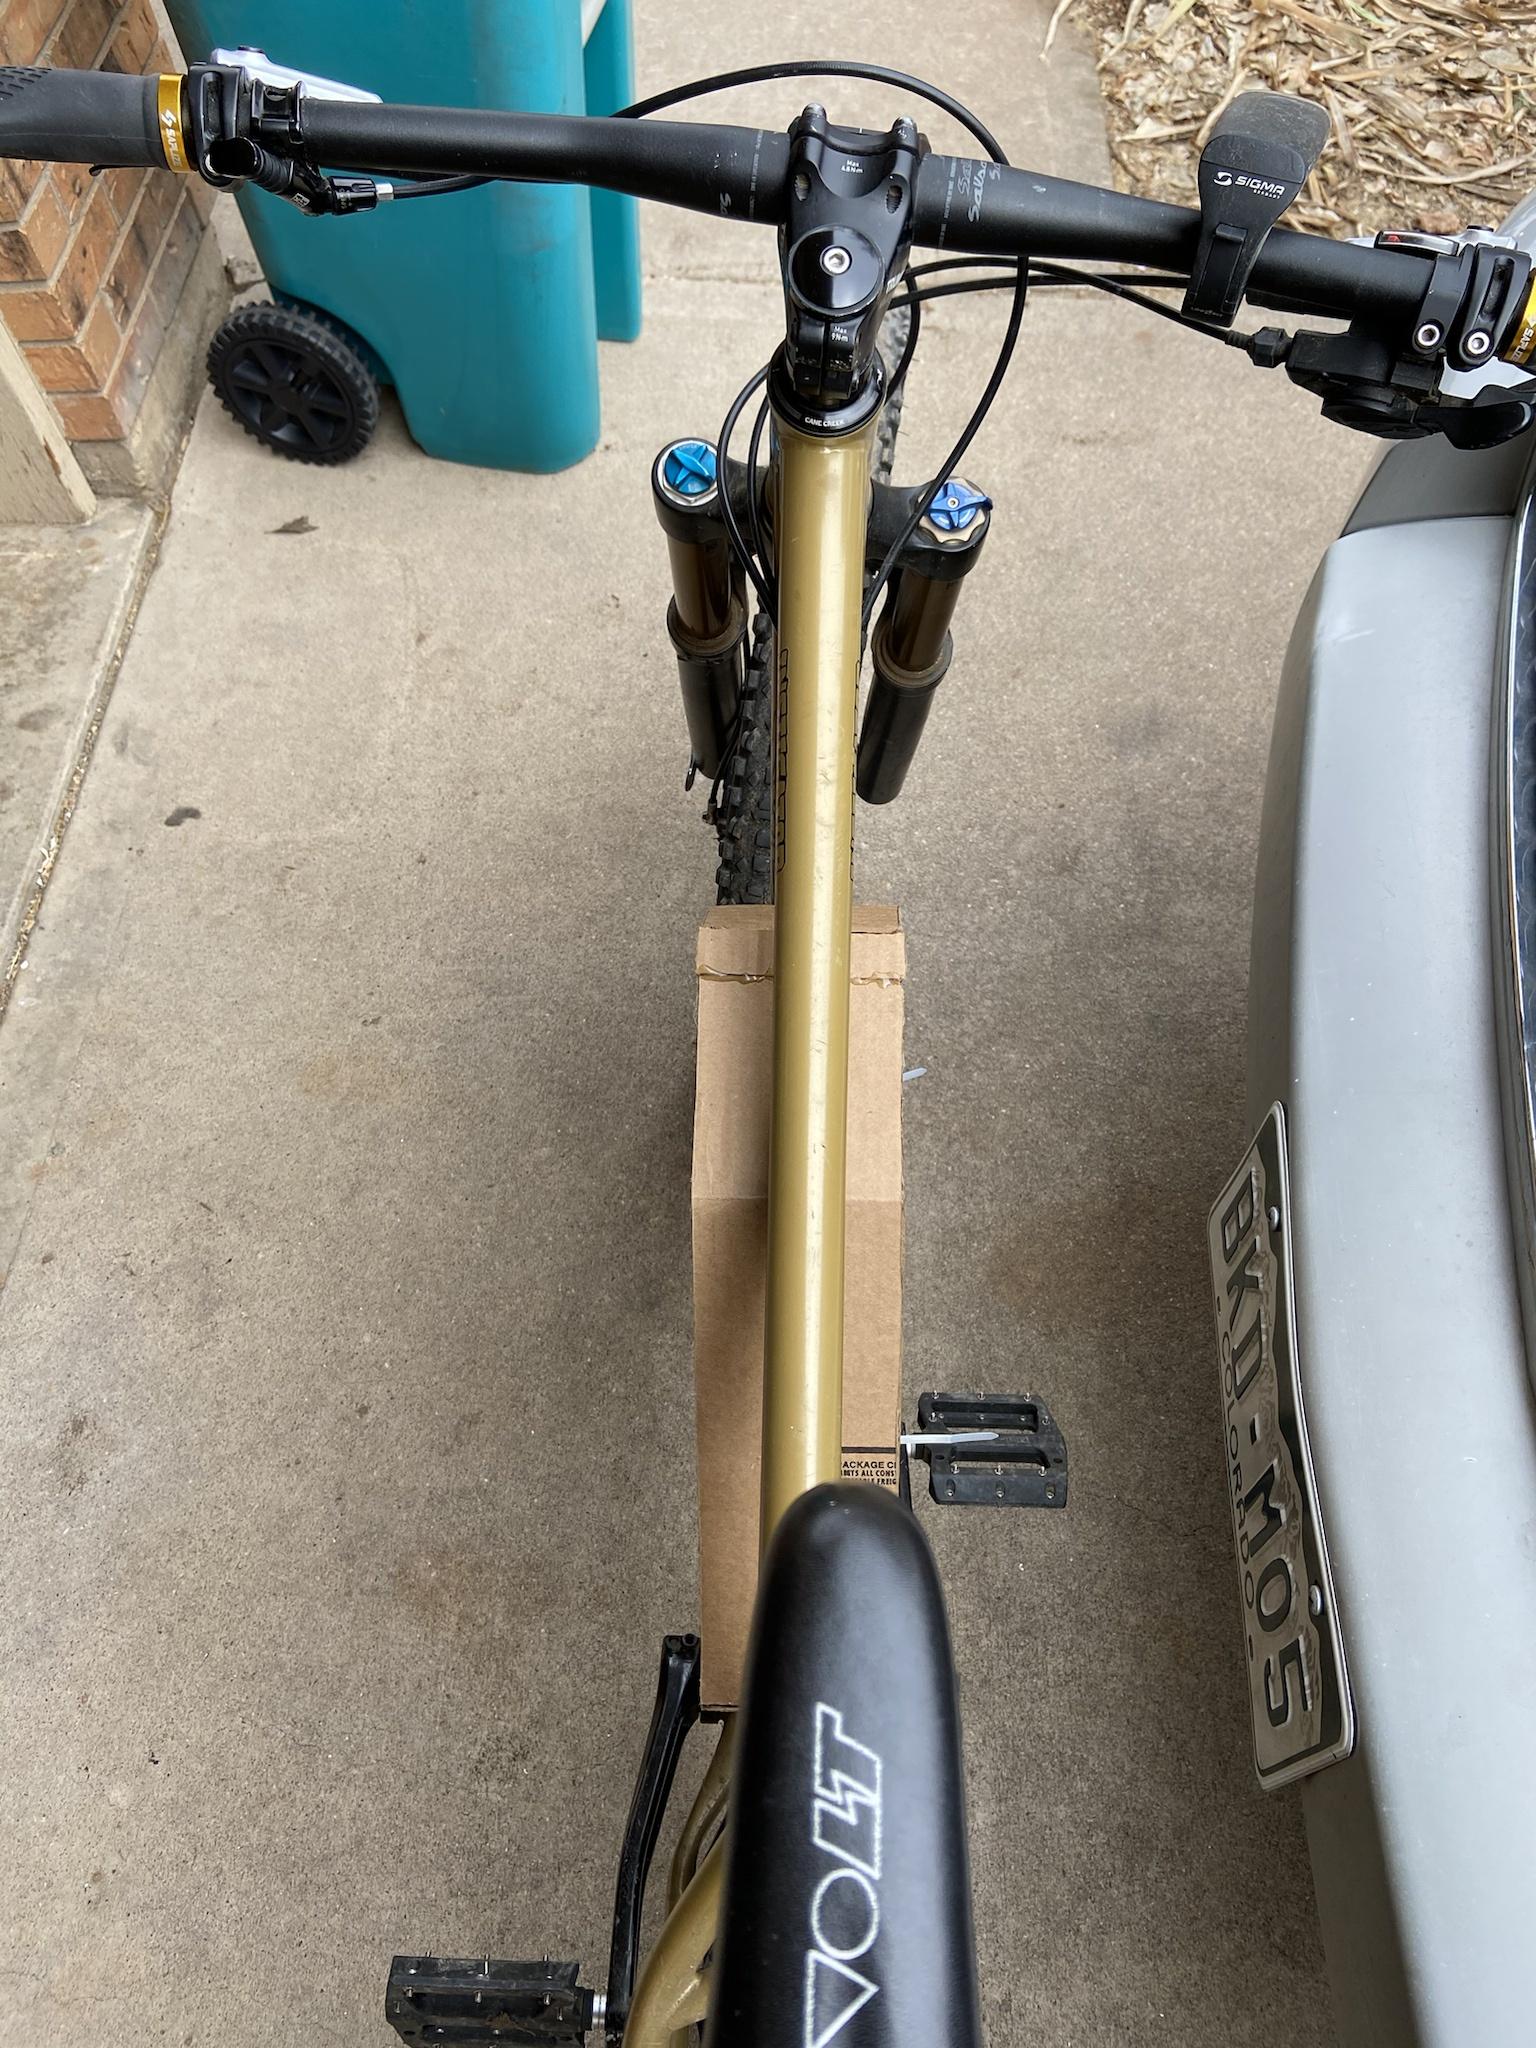
I may have been better off just going with a shark pack, but I had made a cardboard mockup of the dimensions of a ~14ah pack and really did not like the form factor. I also find the frame pack a bit more discreet (need to hide the wiring better), in the event you find yourself on a trail where e-bikes are not expressly permitted.
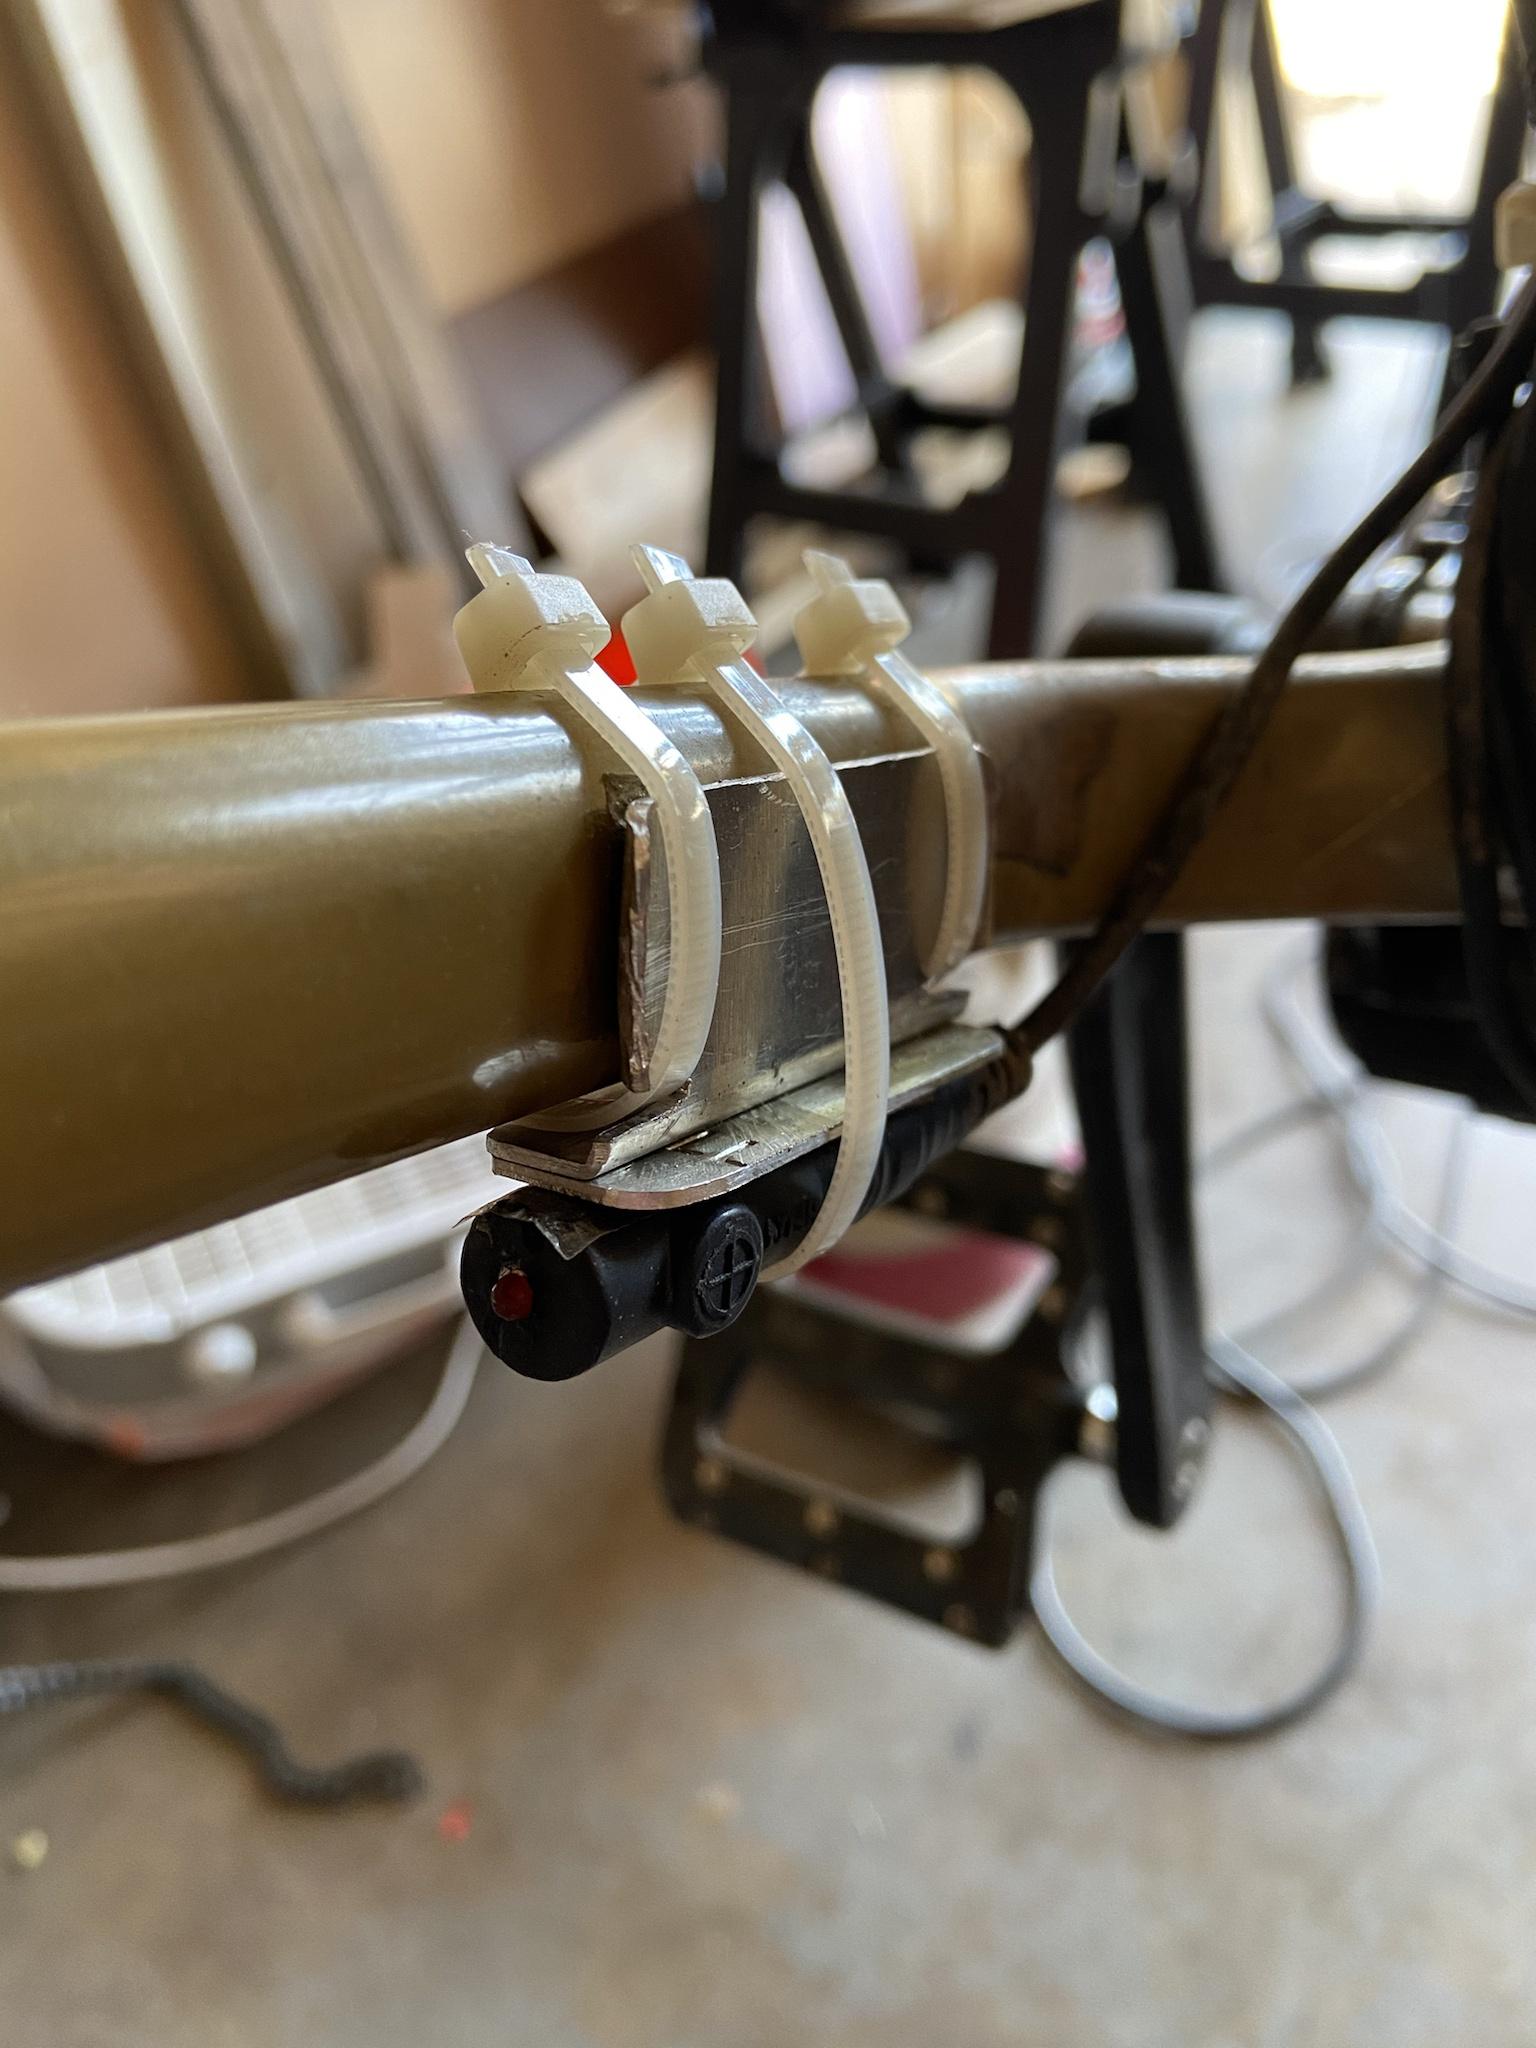
I tried the standard speed sensor setup with the spoke magnet and included mount but couldn't find enough clearance on my chainstay. Fortunately I saw Karl G's blog post on the speed sensor and the magnet-on-wheel seemed a much cleaner way to attach it. So I cut off the old mount, molded JB Weld SteelStick halfway around the chainstay, attached the speed sensor with 5min epoxy, then secured everything down with zip ties. A neodymium magnet was attached to the rim with JB Kwik Weld.
Previously I had just Gorilla-taped and zip tied the speed sensor to the bottom of the chainstay and added ~1/2" of magnets to get it to register. However after seeing the speedo reading had a pretty slow response time, I decided to move the sensor inward with the above process.
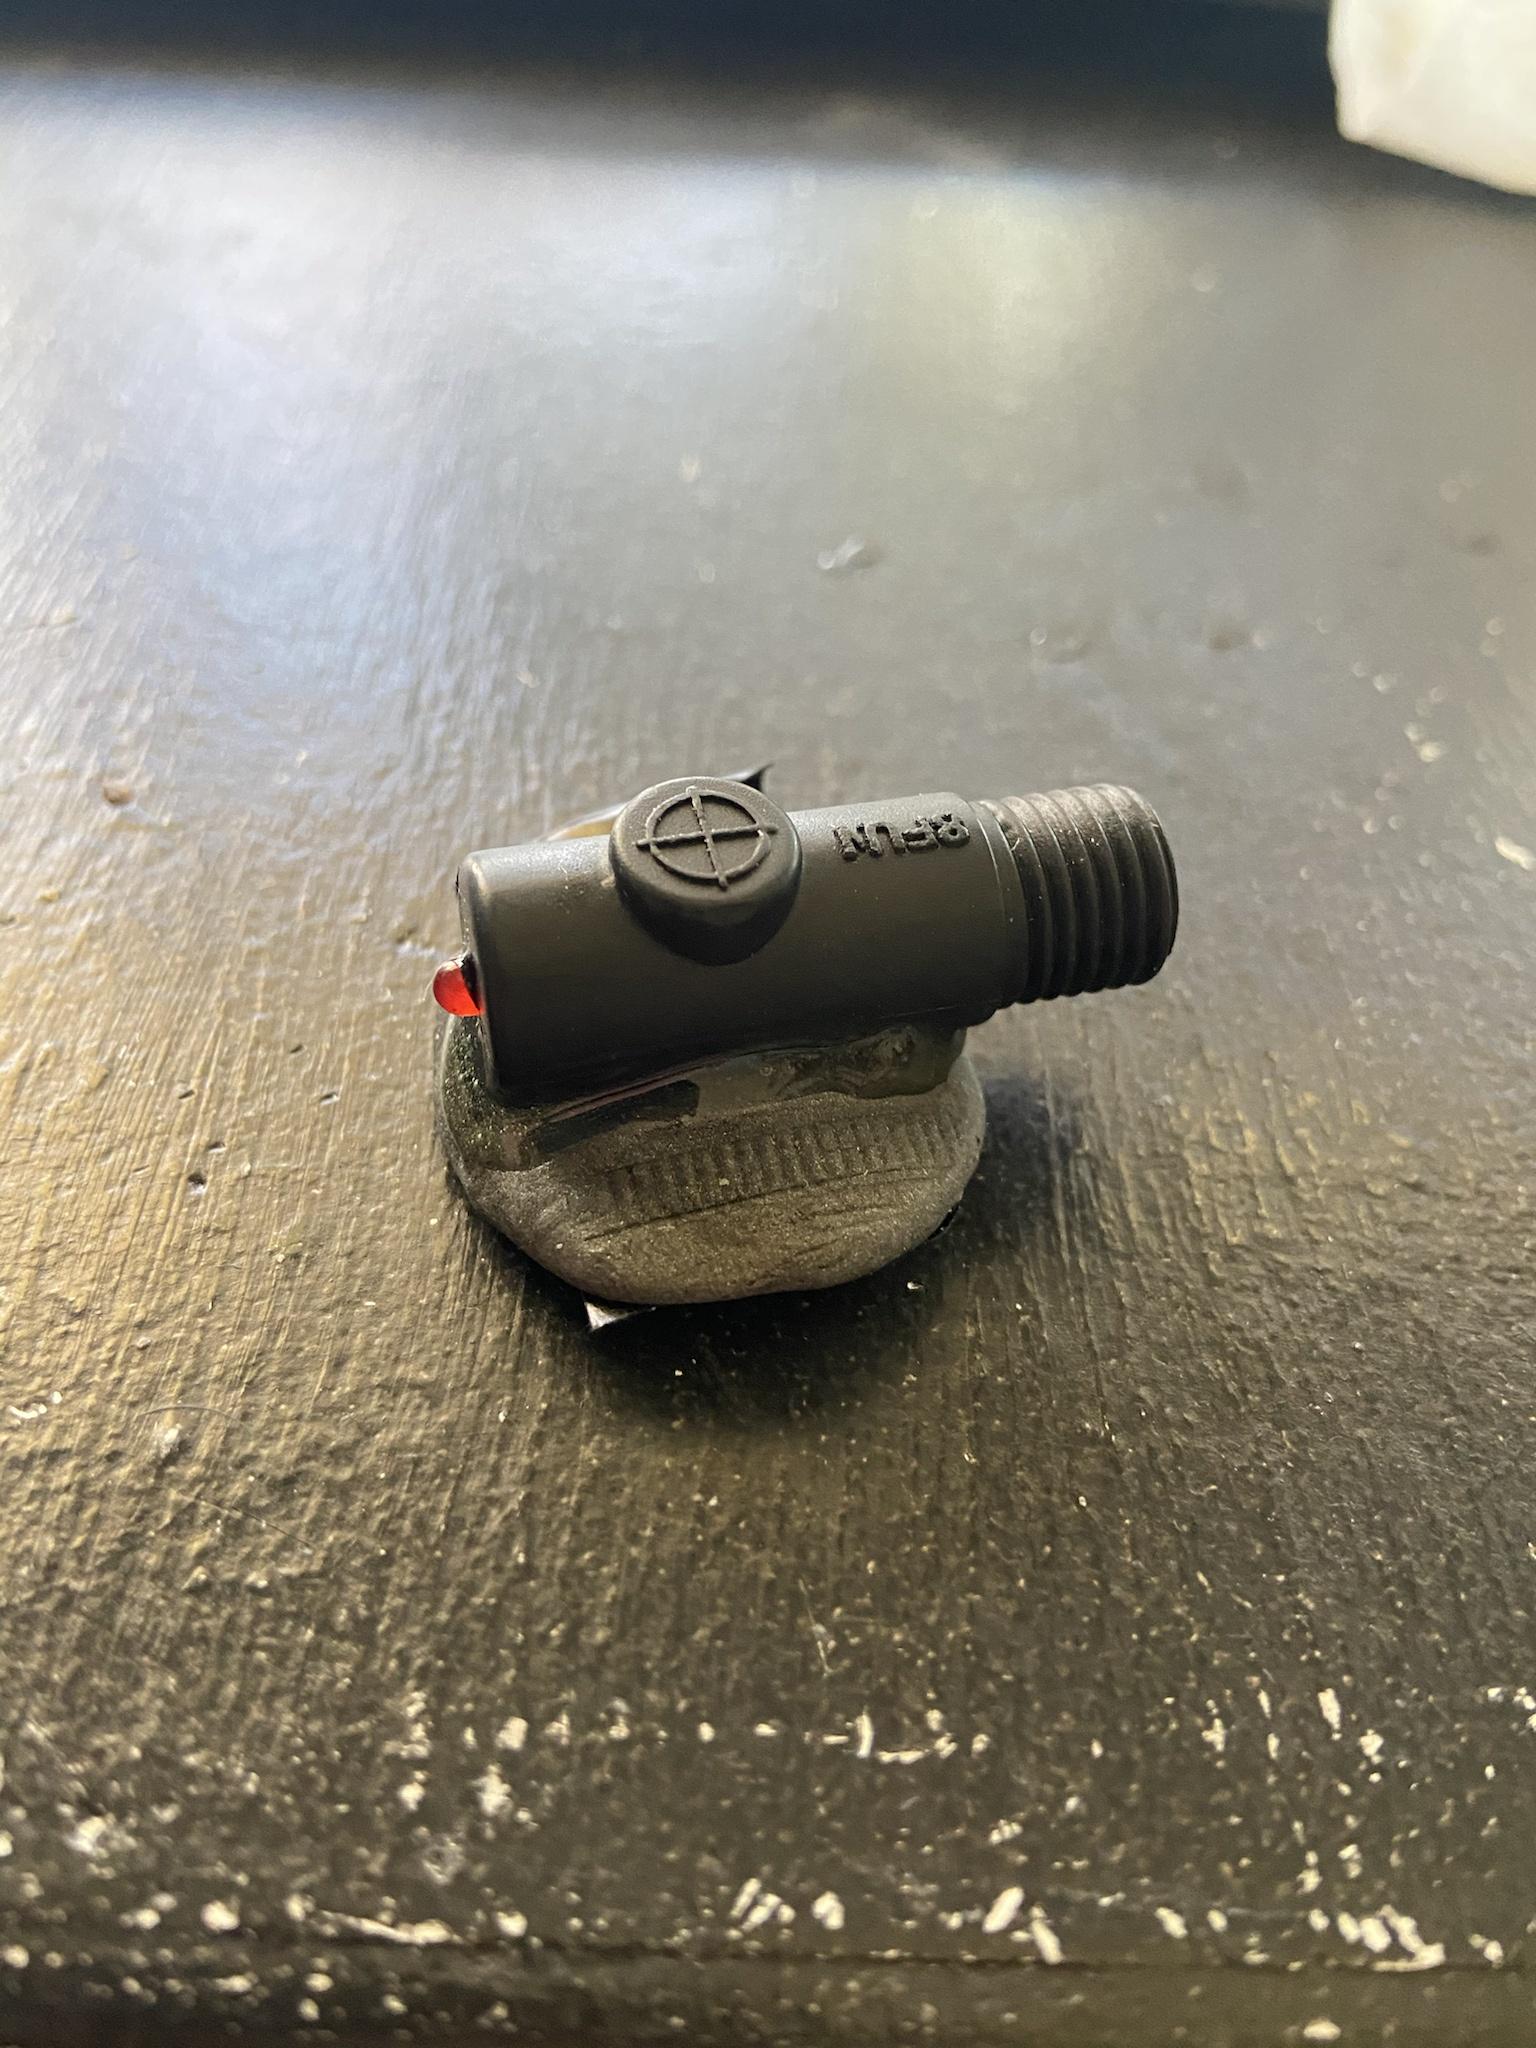
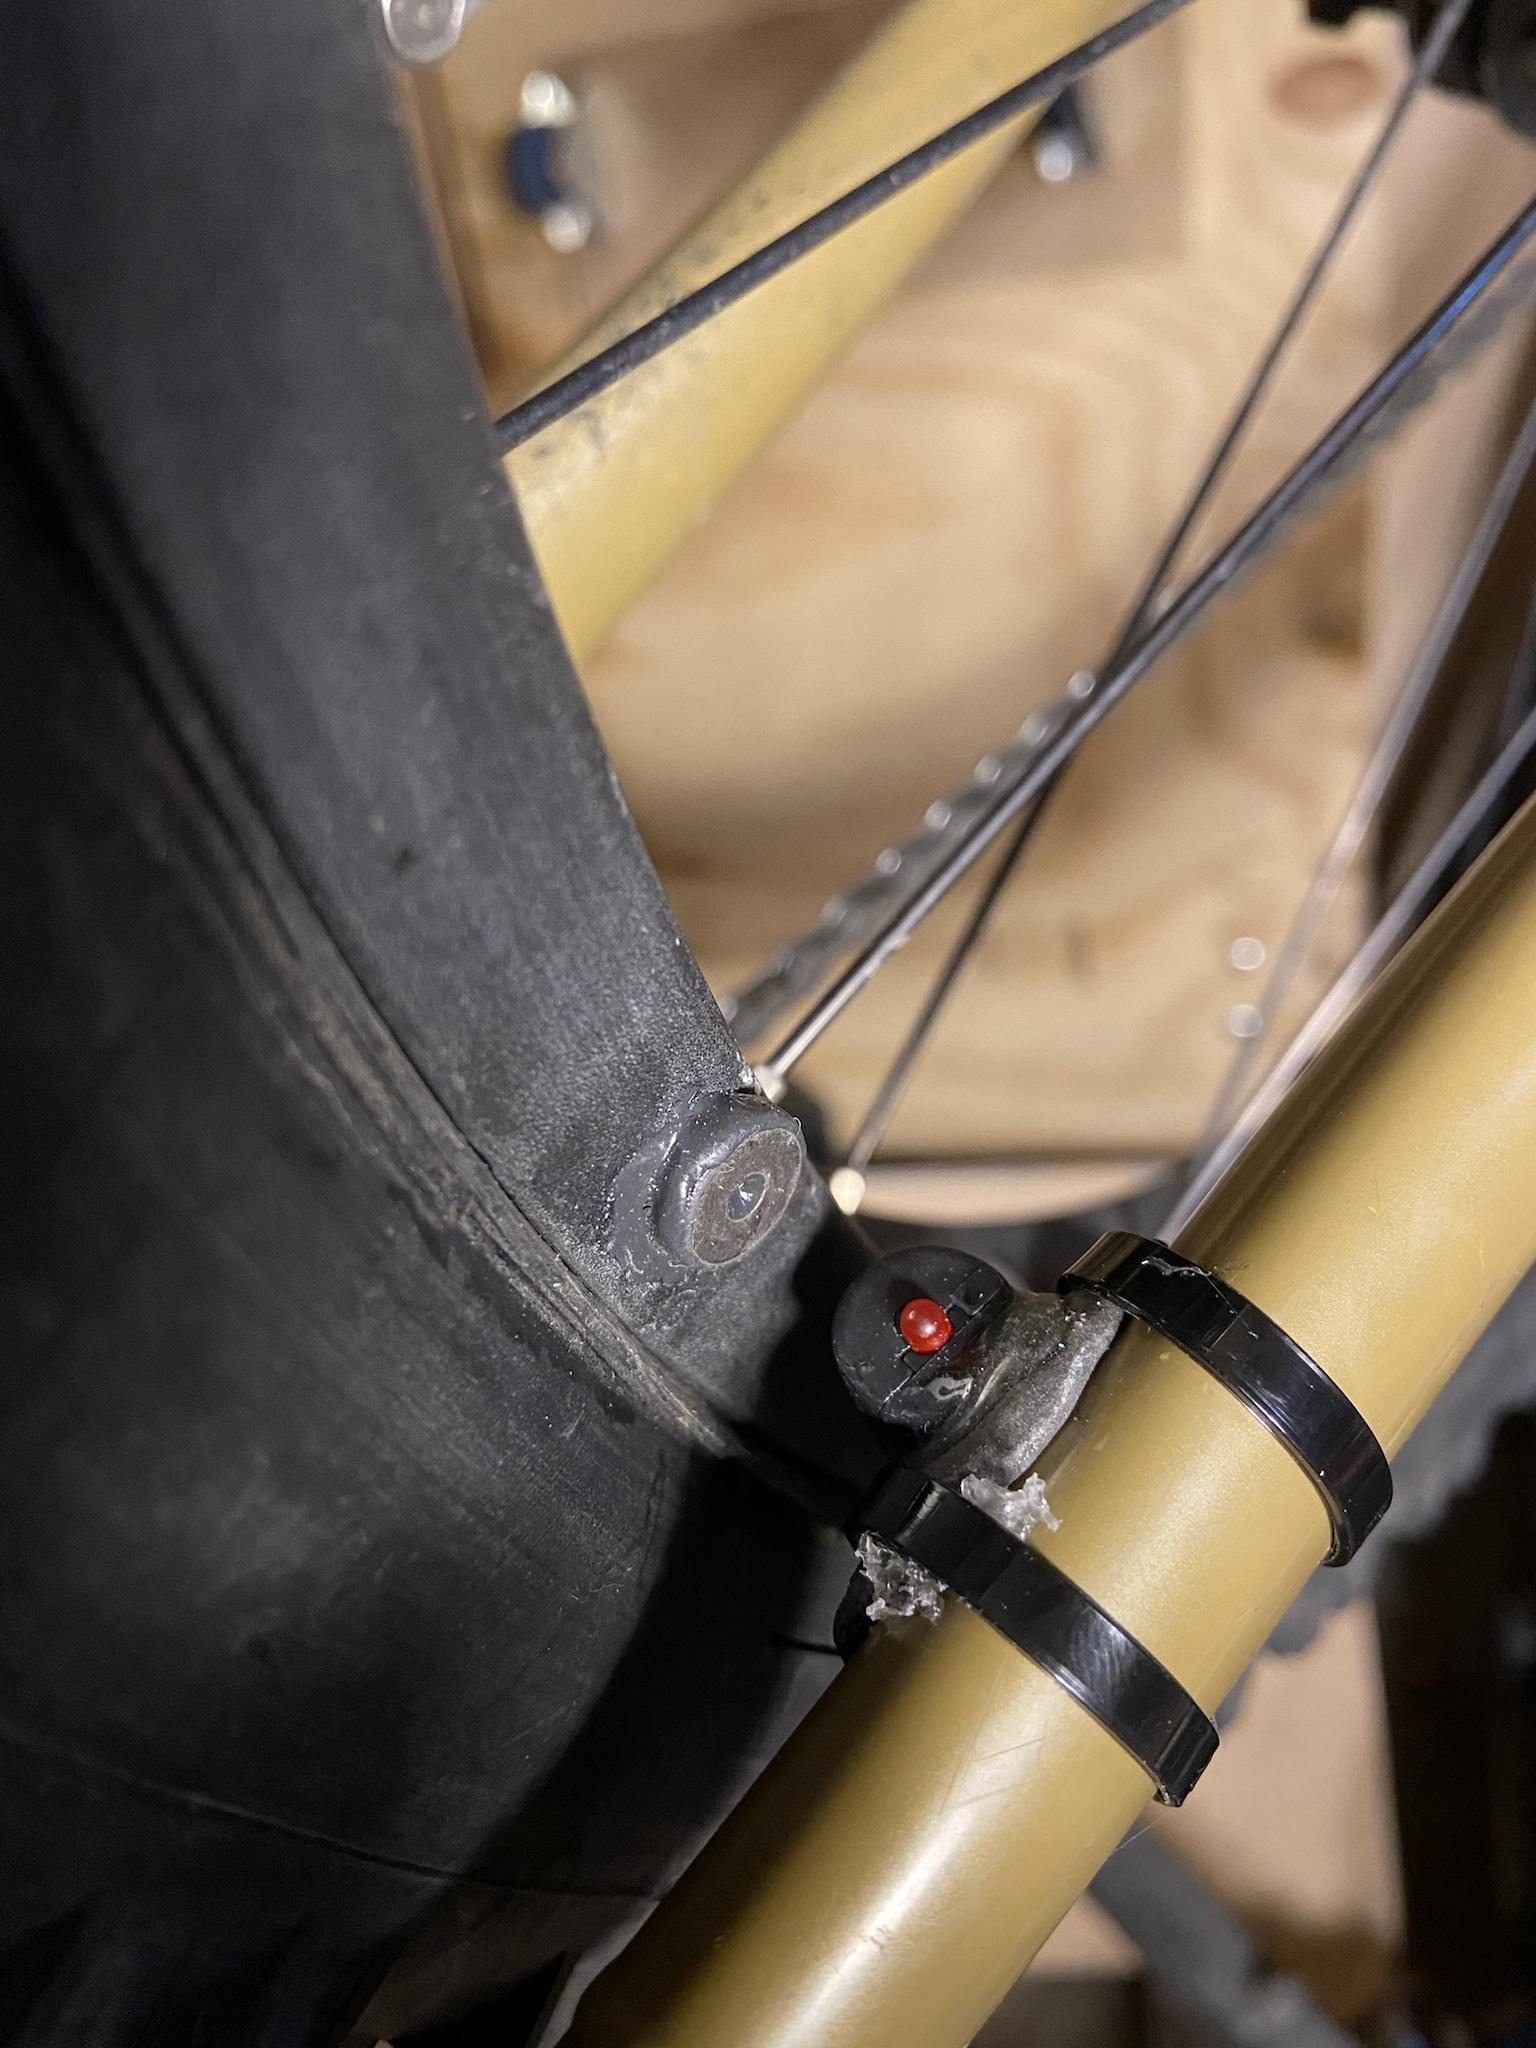
Edit 3/6. The speed sensor didn't work in the vertical position so this was my solution:
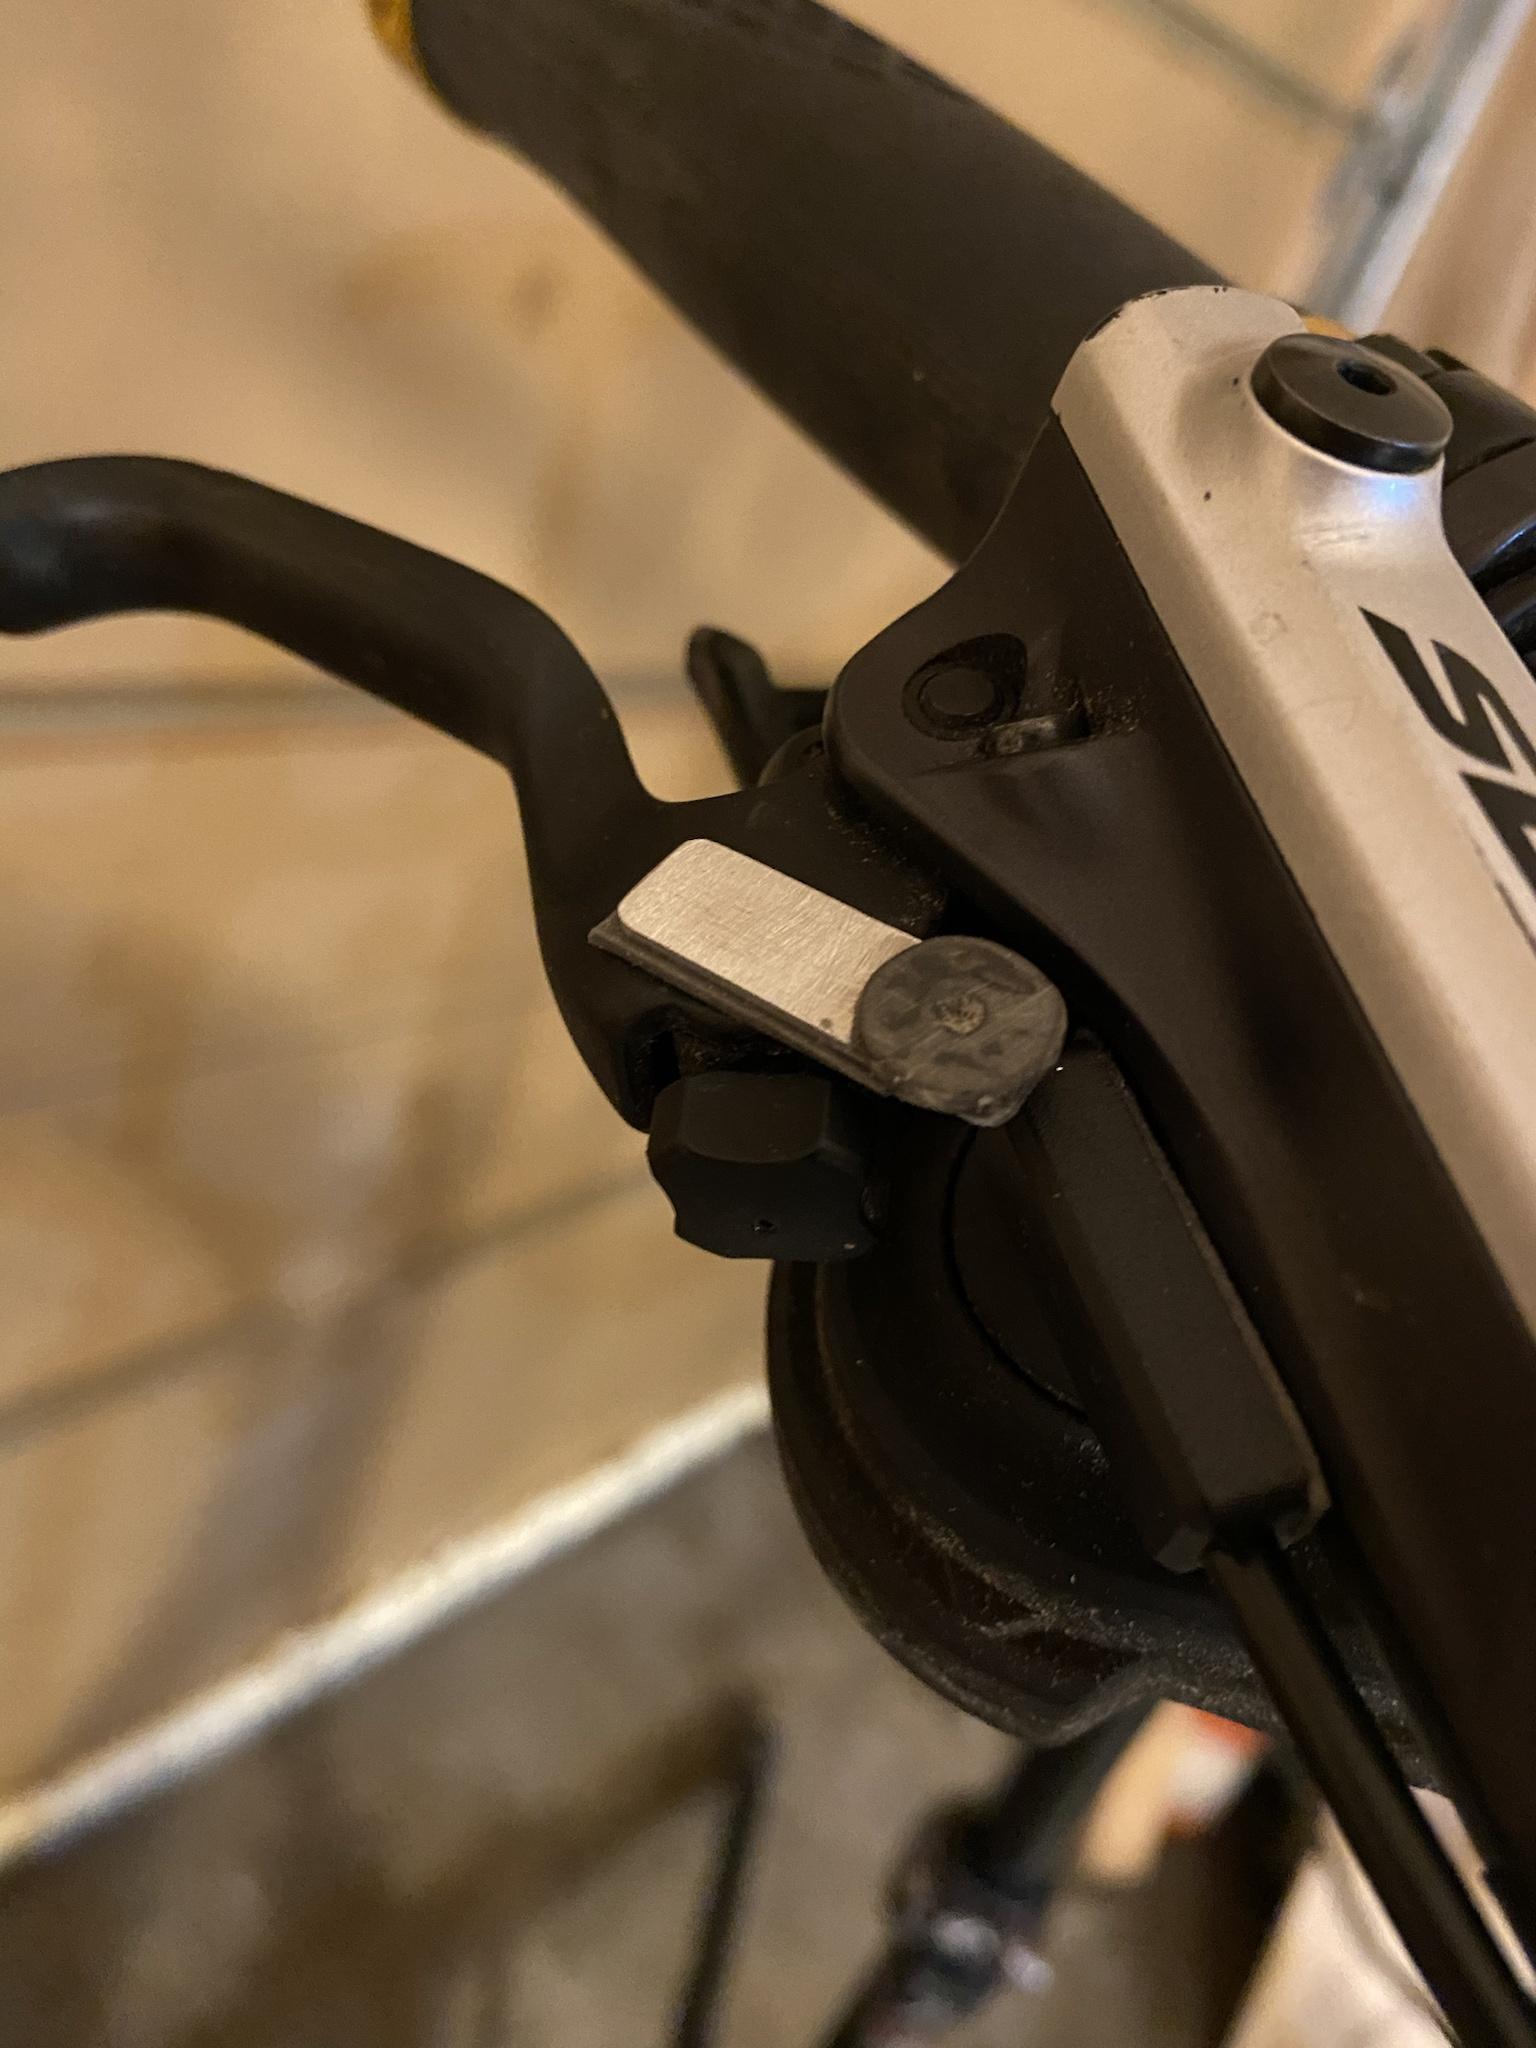
I ordered the optional gear sensor and the kit included 2 brake sensor cutouts. So far I've just installed a cutoff for the rear brake. I'm primarily using PAS and on [relatively short] test rides so far, I don't really feel the need for any of the cutout sensors, but I installed one just to be safe. The SLX levers don't leave much room to attach a magnet, so I epoxied one to a thin strip of metal and attached it the lever with some 3M tape. I positioned it as far as possible from the Hall sensor so it trips almost as soon as the lever is pulled.
Finally I configured the controller before even riding the bike. My intent is to primarily use PAS so I wanted finer control over the lower PAS levels. I wanted feel similar to a torque sensing bike. From reading reviews I was worried this wasn’t easily attainable, but my programming seems to work well and I’m satisfied with it. I also reduced the factory Luna 25W programming down to 18W for an additional safety margin.

I went with the 500c display (primarily due to the compactness and all-in-one unit) and the left thumb throttle. When ordering I forgot about my dropper post control on the left side so the result is a bit crowded. Neither the dropper control or throttle are in a a great position but I can’t make one better without making the other worse.
The install was fairly straightforward. The only modification I had to make to the frame was cutting off one of the ISCG chain guide tabs. I never used a chain guide anyway so this is no real loss. The steel on the bike is not hardened so a hack saw and file made quick work of it. Added a dab of touch up paint to prevent any rust.
Based on my reading, I chose to clean out the factory grease and pack it with Lucas Red n Tacky. Much easier to do this with the motor out before mounting the chainring and crank.
I'm using a 30T chainring on the BBS02. This keeps the gearing the same as it was before the conversion and my top speed is still around ~27mph. I never even mounted the 44T that was included. I think a 32-34T would be ideal but a ~10% gearing change is not a huge difference. The offset of the BBS02 means there’s a very angled chainline If I try to grab the lowest 2-3 gears. Those aren’t really needed with the motor though.
The battery I'm using is a 52v 8ah pack of Samsung 40T cells I picked up from an eBay seller. It fits nicely into a cheap ($9) frame pack from Amazon.
I may have been better off just going with a shark pack, but I had made a cardboard mockup of the dimensions of a ~14ah pack and really did not like the form factor. I also find the frame pack a bit more discreet (need to hide the wiring better), in the event you find yourself on a trail where e-bikes are not expressly permitted.
I tried the standard speed sensor setup with the spoke magnet and included mount but couldn't find enough clearance on my chainstay. Fortunately I saw Karl G's blog post on the speed sensor and the magnet-on-wheel seemed a much cleaner way to attach it. So I cut off the old mount, molded JB Weld SteelStick halfway around the chainstay, attached the speed sensor with 5min epoxy, then secured everything down with zip ties. A neodymium magnet was attached to the rim with JB Kwik Weld.
Previously I had just Gorilla-taped and zip tied the speed sensor to the bottom of the chainstay and added ~1/2" of magnets to get it to register. However after seeing the speedo reading had a pretty slow response time, I decided to move the sensor inward with the above process.
Edit 3/6. The speed sensor didn't work in the vertical position so this was my solution:
I ordered the optional gear sensor and the kit included 2 brake sensor cutouts. So far I've just installed a cutoff for the rear brake. I'm primarily using PAS and on [relatively short] test rides so far, I don't really feel the need for any of the cutout sensors, but I installed one just to be safe. The SLX levers don't leave much room to attach a magnet, so I epoxied one to a thin strip of metal and attached it the lever with some 3M tape. I positioned it as far as possible from the Hall sensor so it trips almost as soon as the lever is pulled.
Finally I configured the controller before even riding the bike. My intent is to primarily use PAS so I wanted finer control over the lower PAS levels. I wanted feel similar to a torque sensing bike. From reading reviews I was worried this wasn’t easily attainable, but my programming seems to work well and I’m satisfied with it. I also reduced the factory Luna 25W programming down to 18W for an additional safety margin.