
grindz145
1 MW
Did you end up populating the balance resistors? That would be REALLY helpful 
Otherwise the board is still very exciting.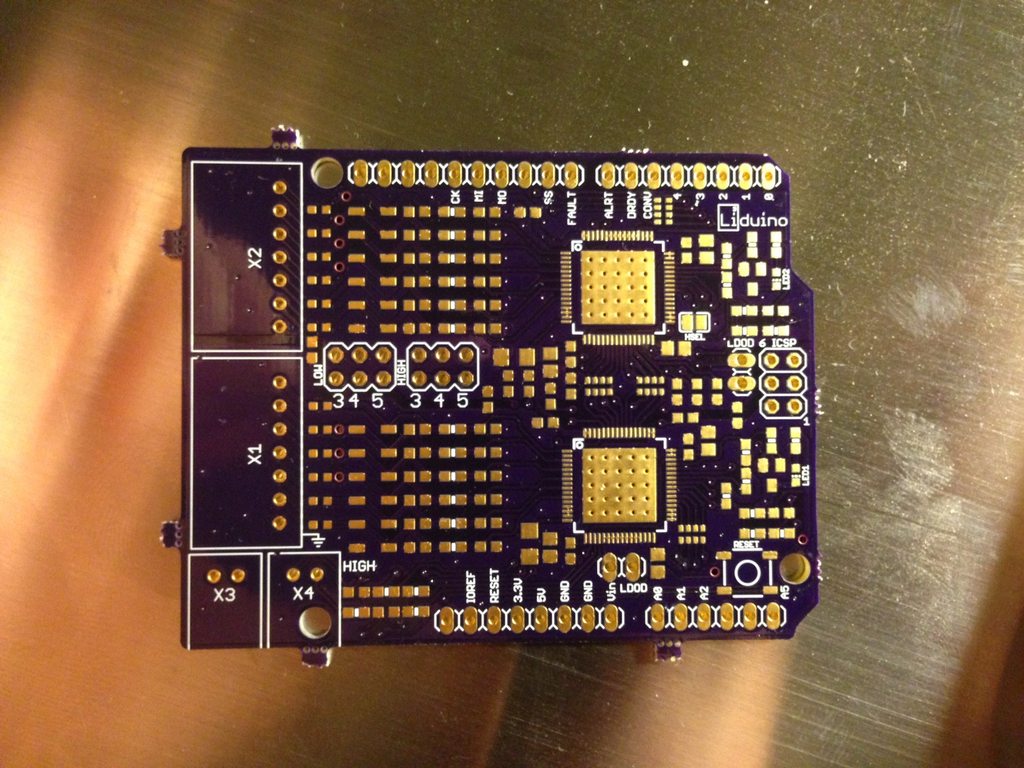
matterrr said:Tonight I will be ordering the parts I need and trying to make a solder stencil. Wish me luck!
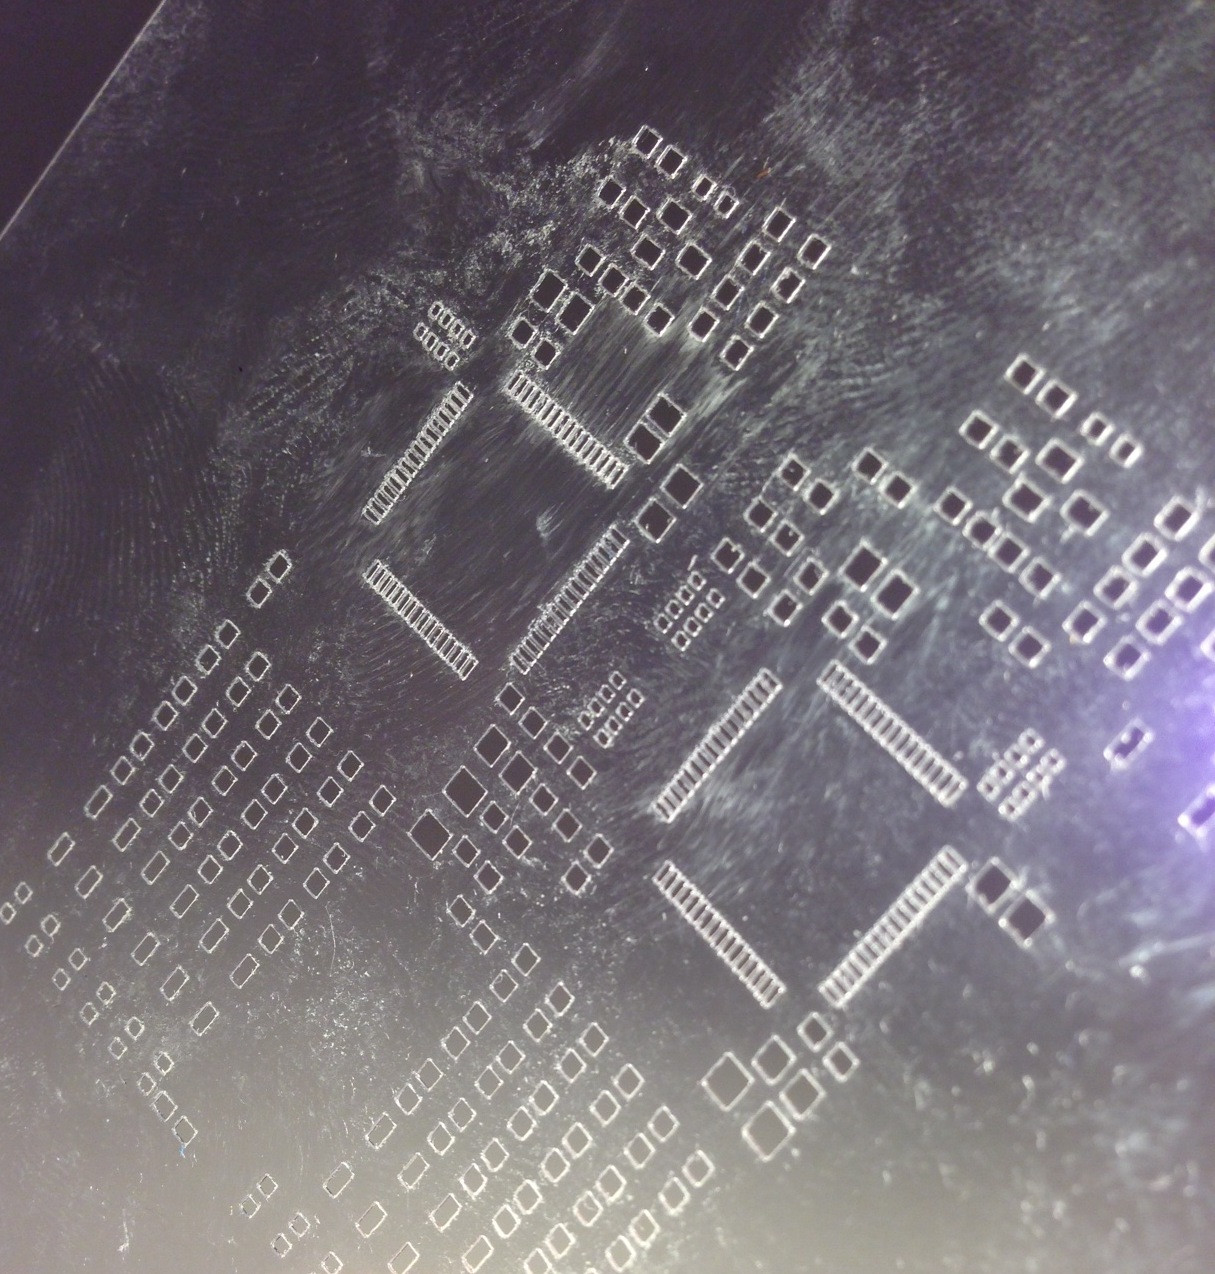
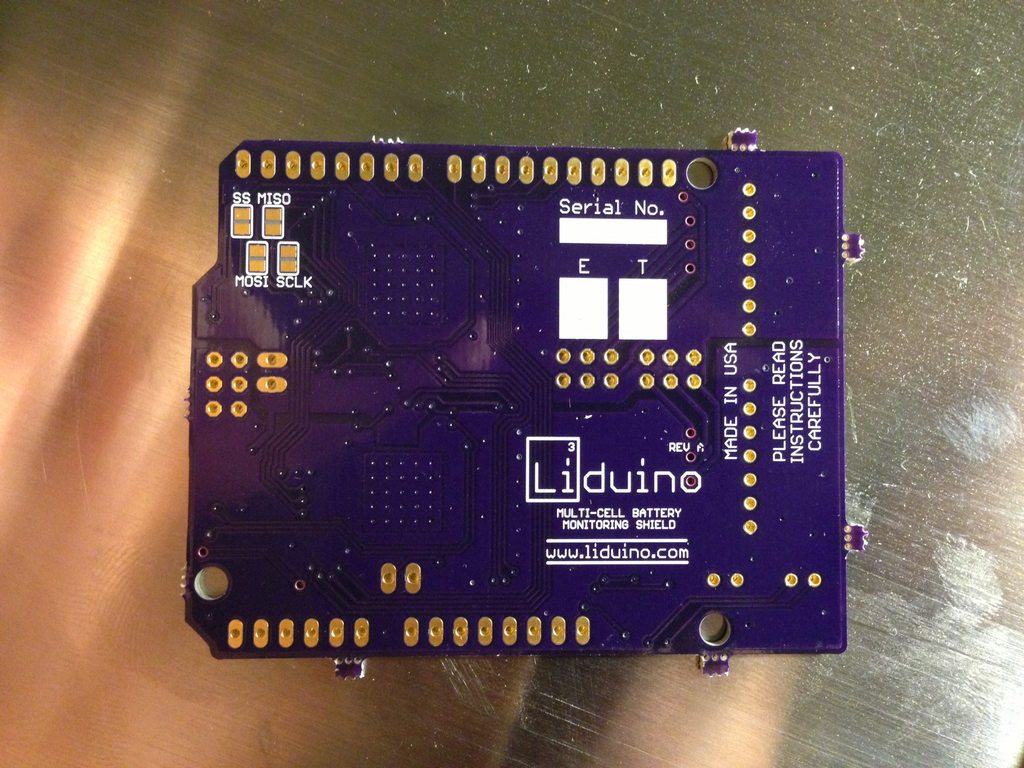
matterrr said:Hey everyone,
Just got the PCBs back from OSH Park and they look great. Here are some pictures:
http://imgur.com/a/TdqGv#6KqZs40
Tonight I will be ordering the parts I need and trying to make a solder stencil. Wish me luck!
Did you succeed with your project?Vadim said:Looks vary good, I pulled an Arduino mega (atmega2560) out of my drawer and thought it would do nicely.
Then found this thread, looks like it'll save me a lot of work
Edit: Though I em looking at the Atmel ATA6870 as it's a cheaper chip and requires less external components.