Paul.............D
100 W
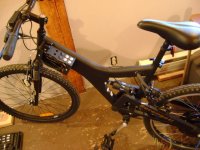
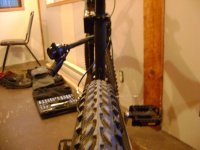
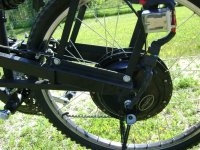
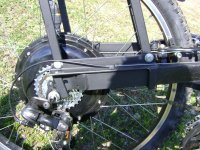
Coming along nice, dont forget to put rubber gromets in the frame to stop the cables chaffing.
Paul
Paul

caleb7777 wrote:If the +5v to throttle is interrupted, it will send a throttle output of 0 yes? or no?
Yes. Interrupting the 5v to the throttle will do about the same thing as pulling down on the throttle line, but with less chance of frying the throttle.
hey bud
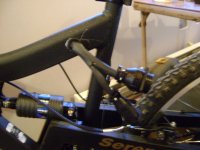
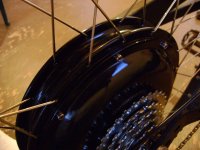
when i had the 9c originally I wanted to swap the rim out for the black rim that came with my frame so not knowing what i was doing i started tearing both rims down. Then I found out that my black rim would not fit the spokes lengths that were on my 9C originally. Yay.
So now I was up the creek. I figured it was as good an excuse to get a better rim and spokes as any. I learned that the stock rim was el cheapo, no eyelets etc.
I had no idea how to figure out the length for custom cut spokes since it will change depending on rim design, and i thought with all the dishing they would be different length from side to side on the rim
I had read that the cycle9 company was doing rims for 9C and everyone said it was great. i am in canada and couldn't have them relace it for me but I figured that they would know the length needed for this motor and had everything i needed that was being recommended here.
I just phoned 'em and said hi. Told them i wanted one of the rhino lite rims in black and spokes for a 9C motor that was on a 7 speed so would be dished over considerably, best ones they had. I thought that the spokes on one side would need to be shorter than the others if it was dished over this far. They agreed. They did the rest.
When i got the spokes there was a note saying that all the same size would work fine. The invoice said 169mm spokes were cut.
So Nine Continent 9C and sun rhino lite rim = 169mm both sides
now that i have it on the bike some of the spokes come out of the screw collar into the rim a little and i haven't gone super tight yet so you could go 168mm safely and the ends would remain sunk. Probably better.
The spokes they recommended were the Wheelsmith DH13 Spokes w/ nipples that they carry so i got those.
I haven't used my wheel yet as i am still waiting to finish my bike so I don't know if i will be breaking spokes or not, but I am sure this is better than the stock stuff.
The people at cycle9 were great. But all you need is to go into the online store and order the rim and spokes cut to 169 or 168
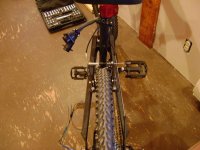
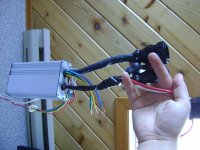
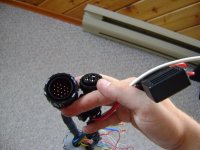
caleb7777 said:I am at the point where I am realizing my mind's eye saw this build coming out more stealth than it will be.
I present to you:
The Big Ass Plugs
So much for my dreams of minimal. oh well they will look good in other ways I expect......
![DSC00235 [50%]1.JPG](https://endless-sphere.com/sphere/data/attachments/19/19750-134978273482e15342b6487faf077c50.jpg "DSC00235 [50%]1.JPG")
![DSC00236 [50%]1.JPG](https://endless-sphere.com/sphere/data/attachments/19/19749-17cc26919862827bf88faf360563c2f5.jpg "DSC00236 [50%]1.JPG")
![DSC00237 [50%]1.JPG](https://endless-sphere.com/sphere/data/attachments/19/19751-c656f590792103615dcf6ee34a2bf57a.jpg "DSC00237 [50%]1.JPG")