By repair I mean replace rim and spokes with appropriate good quality components.

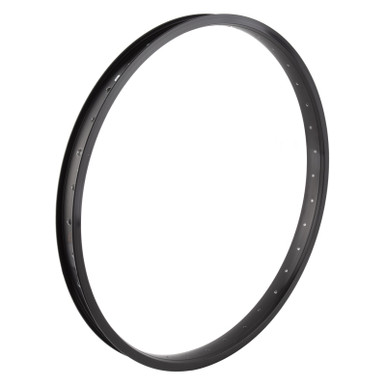
Hopefully I can improve on some of the build aspects that were suboptimal for my application, such as (all to common on commodity dd hub/wheel kits) overly thick spokes, and 19mm rim too narrow for the tire size I run (26 x 2.35).
It's my first wheelbuilding project so I plan to take it to a local experienced bike mechanic who works out of his garage, and is OK with having me watch and learn.
I have measured the hub flange diameter (230mm), flange spacing (36mm flange center to center), and offset (50mm L flange to outside washer, 48mm R flange to outside washer) of the 1500w ebikeling hub. Currently I am in the phase of feeding the measurements into the Grin spoke length calculator.
In a recent post, Chalo made a good rim recommendation, but the vendor cannot supply the spoke hole offset measurement. How important is it?

 endless-sphere.com
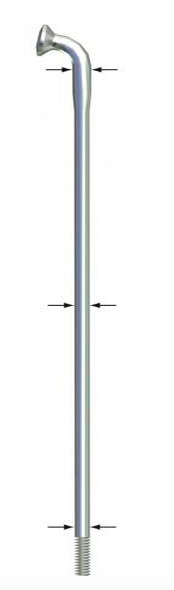
Also, I am not yet able to measure the hub flange spoke holes but presume these spokes (recommended by Chalo and AW) can work well with common hubmotors?
 wheelbuildingparts.com
Hopefully I can improve on some of the build aspects that were suboptimal for my application, such as (all to common on commodity dd hub/wheel kits) overly thick spokes, and 19mm rim too narrow for the tire size I run (26 x 2.35).
It's my first wheelbuilding project so I plan to take it to a local experienced bike mechanic who works out of his garage, and is OK with having me watch and learn.
I have measured the hub flange diameter (230mm), flange spacing (36mm flange center to center), and offset (50mm L flange to outside washer, 48mm R flange to outside washer) of the 1500w ebikeling hub. Currently I am in the phase of feeding the measurements into the Grin spoke length calculator.
In a recent post, Chalo made a good rim recommendation, but the vendor cannot supply the spoke hole offset measurement. How important is it?
voilamart/otherbrands wheel rim
I am in central PA. I need a wheel rim (or the whole wheel with spokes and motor if the price is right) that the voilamart conversion kits sell. The rim is a 26", has 36 holes that fit gauge 12 thick spokes and the rim depth is 3cm or 30mm (i.e. the distance between nipple and outer rim radius)...
Also, I am not yet able to measure the hub flange spoke holes but presume these spokes (recommended by Chalo and AW) can work well with common hubmotors?
Sapim Strong Single Butted J-Bend Spoke
A butted spoke is drawn to its specific profile, which defines its high strength. The strongest spoke in Sapim’s product range, the Strong is developed for specific and heavy usage such as tandem, e-bikes or heavy load use. In case of large hub holes, the Strong is the recommended choice...
wheelbuildingparts.com