Landyachtz TopSpeed 90mm 10S4P DualRearDrive

Maybe I just need to spend more time with the wiiceiver, on mine when it drops it goes into drag brake as a fail safe.

My drive train actually has less resistance than yours due to taller gearing.

Having said all that, my main reason for not using it is the sense of being disconnected as far as throttle response goes. I prefer the direct non-processed feel of a basic spread spectrum transmitter.

Edit: I still think you are asking for trouble riding at high speed with a bluetooth connection. The potential/odds of something going terribly wrong are pretty high. To date I have never had a connection drop using a spread spectrum transmitter.
 
just ordered a gt2b on ebay, its so cheap that it would be stupid not to test at least. can switch back and forth, maybe take out the nunchuck for a while until I managed to flash and test the 2.0 software or maybe even adapt the code to my own preferences! :)
 
Thats a good thought on the wii-ceiver,soldering the reciever.....I may have to pull mine back out and play. Waiting for my new soldering station to get through Spanish customs :x . My old standard really doesnt heat up enough to do much, looking forward to temp control.
 
the bad weather is helping me to get some stuff done on the board again. got 3 new things:

1.) picked apart my 2nd gt2b -> badwolf, this time hopefully with poti thats working. didnt get done yet because:

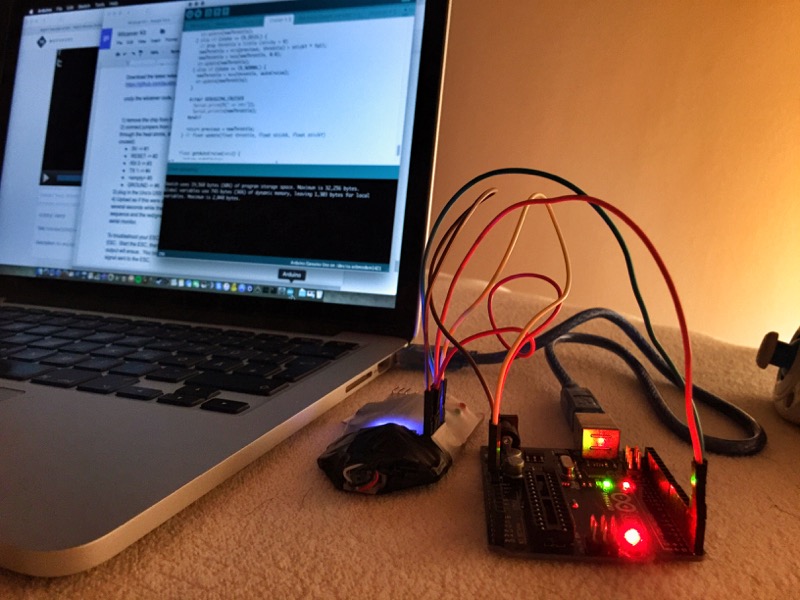
2.) received my arduino uno, installed arduino, verified the wiiceiver 2.0 code and uploaded it to the wiiceiver - spend the rest of the night fiddling around - its awesome! the wiiceiver 2.0 code feels a lot better. startup of the motor is a LOT better after calibration, I also love the customisability on the fly. couldnt test it outside yet though, cause the weather is really horrible. overall superhappy - its so simple to deal with the arduino code that Im really happy that I gave it a try. for the people like me, who had no idea about arduino and all that stuff: relax. its so simple that even my mum could make it work.

* buy an arduino uno rev3 (cost me only 15eur new on ebay)
* buy 5 male to male pin cables/jumper cables/bridge cables/whatever the name could be in english, 10-20cm length is enough
* remove the atmega chip carefully with a slottet screw driver
* connect the wiiceiver with the 5 male jumper cables to the arduino following the wiiceiver description - you find 5v, ground, tx, rx and all that written on the arduino uno board - just find the right pin and connect it with the wiiceiver, following the great description of torqueboards and austindavid
* download the wiiceiver code from github and open Wiiceiver.ino with the arduino software that you downloaded from arduino.cc
* power up arduino uno (which is connected with the wiiceiver by now)
* press "upload" in your arduino software - it will verify/compile and upload, takes 2-3 seconds and you are done

arduino.jpg


3.) finally I sanded down the board to 7ply maple (from 8) to get slightly more damping by flex. at the same time I was tired of the oiled wood look, cause after very short time it was completely messed up from all the stuff I ran over - looked for a dark color this time and while thinking about how to get graphics on it, I found something REALLY cool: photo transfer potch!! :mrgreen: basically you can print out graphics with a laserprinter (even in color), use this fluid on your surface and on the printed paper, "glue" it on your board or wherever you want the graphics, then use a hairdryer on it for 10min, finally soak it with water and rub off the paper -> done.

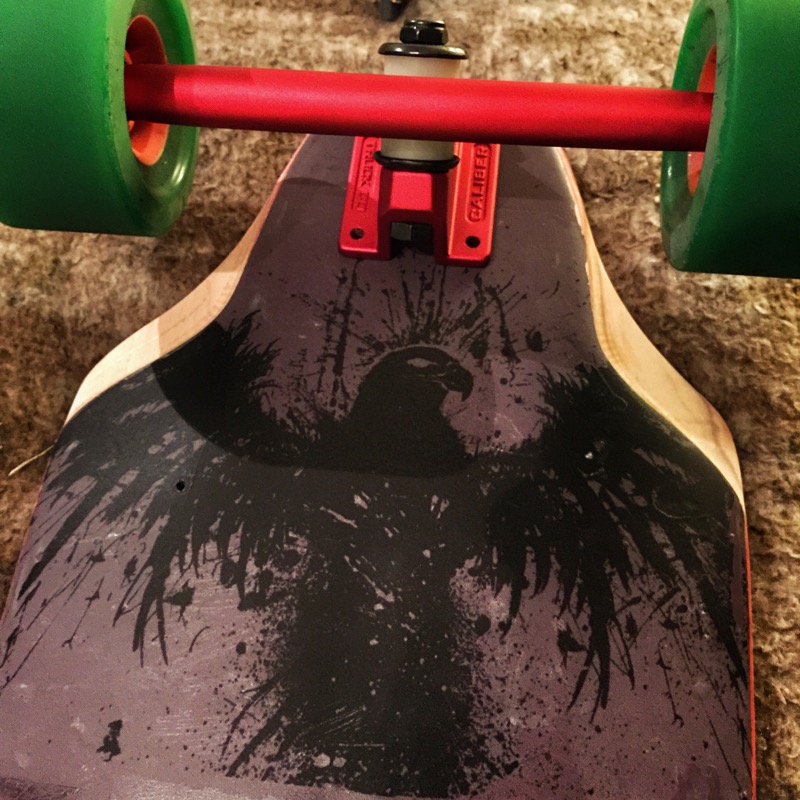
directly after soaking and rubbing off the A4 paper:
hawk.jpg


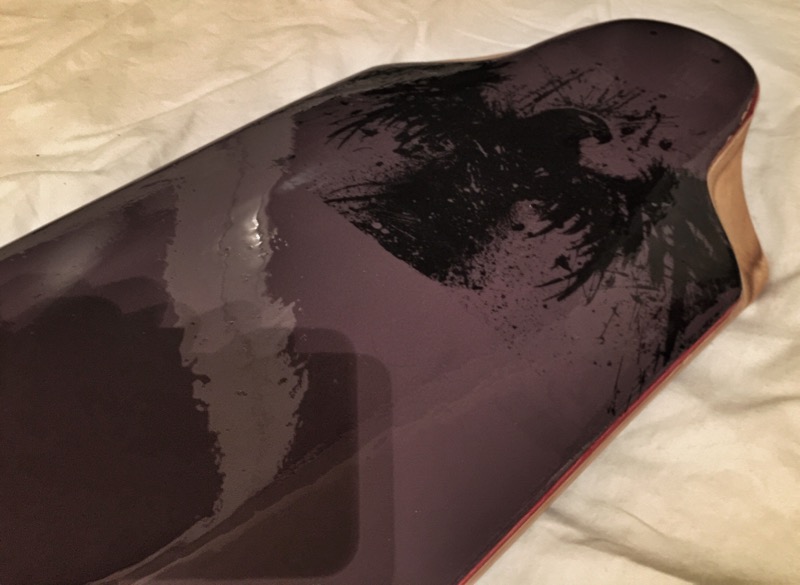
and now with glossy yacht clear coat:
glossy.jpg


the graphic is cut off directly where my battery enclosure starts, so the cut off wont be visible. im pretty happy about it - a very simple and very cheap way to get cool graphics on your board for those of us who arent banksy :D
 
haimindo said:
Really nice setup! Do you sell your spot-welded 18650 battery-packs to anyone? I am looking for quality 18650-pack that is made in europe :D

nah, dont think I will ever sell - at least not for reasonable prices. :p its easier to do it yourself than you may think. all you need is a decent spot welder and some patience. poke riba2233 about a cheap, but professional spot welding solution: https://endless-sphere.com/forums/viewtopic.php?f=31&t=68865
 
after fiddling with gt2b vs wiiceiver 2.0 a little bit, I sanded the board down again and started repainting with a more mud & dustfriendly color :p

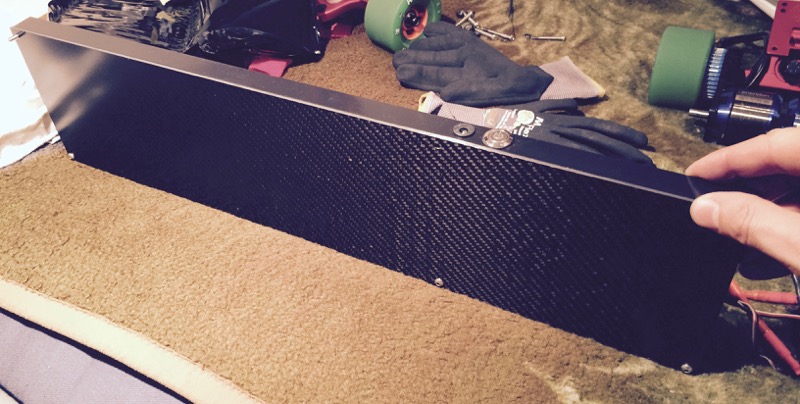
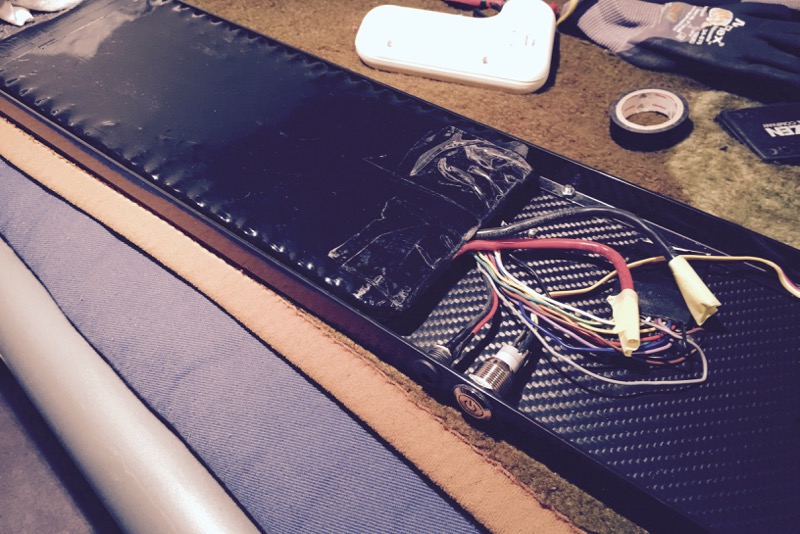
meanwhile I finally started working on a new enclosure ... or more like a refinement of the old most simplistic one: ordered a 600x150x2mm carbon plate and some 20x10mm aluminum L-profiles of 2mm thickness. wanted to use those to cover the electronics and to allow mounting of charging port and power switch. the whole thing looks a LOT more refined and it will be attached as the old enclosure by the 6 rubber cylinders. this time they wont be visible anymore though, since they will be inside the aluminum profiles.

very tidy roadside look - will complement the upcoming new carbon grey metallic look of the board :)
newcase1.jpg


from the inside most electronics are missing yet, but its a perfect fit for the battery. the aluminum profiles have a 2mm height and the room below the battery is filled with 2mm felt sheets for damping and so that the battery wouldnt sit on the L-profiles only.
newcase2.jpg
 
boardshops are all doing their winter sales in germany right now, picked up a bustin eq36 hollowcore and a loaded cantellated tesseract for a really fair price. returned the bustin already by now, because I really didnt like the shape for my preferred eboarding stance - very pronounced middle section of the w-concave and the concave to the edges is very steep.
the loaded hasnt arrived yet ... really curious about that kind of kicktail board that some here on the forum really seem to like. never had a board like that before yet, but I can see how a kicktail can come in handy. might become a portable 63mm single motor vesc project ... depends on how much I like it. :)
 
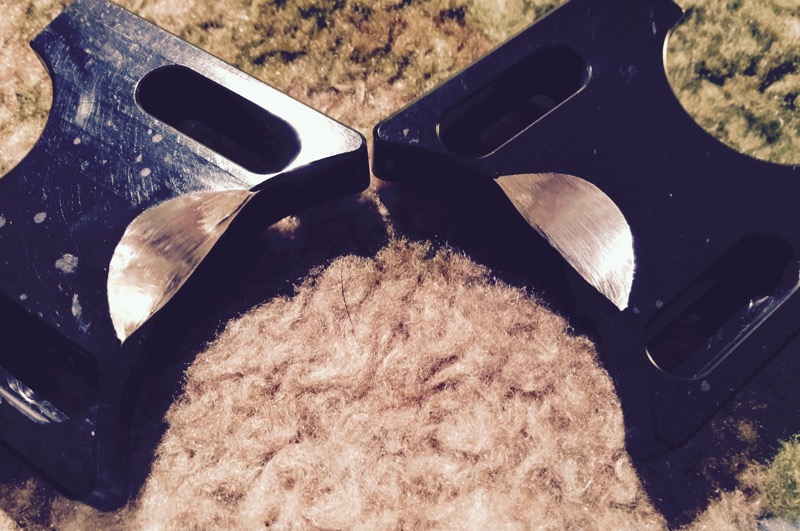
finally went ahead and made the necessary modifications to torqueboards motormount (thank you okp for pioneering!). it hurt quite a bit to eat away on the great looking mounts ...but it helped that they were chipped and dented already after heavy use. :p

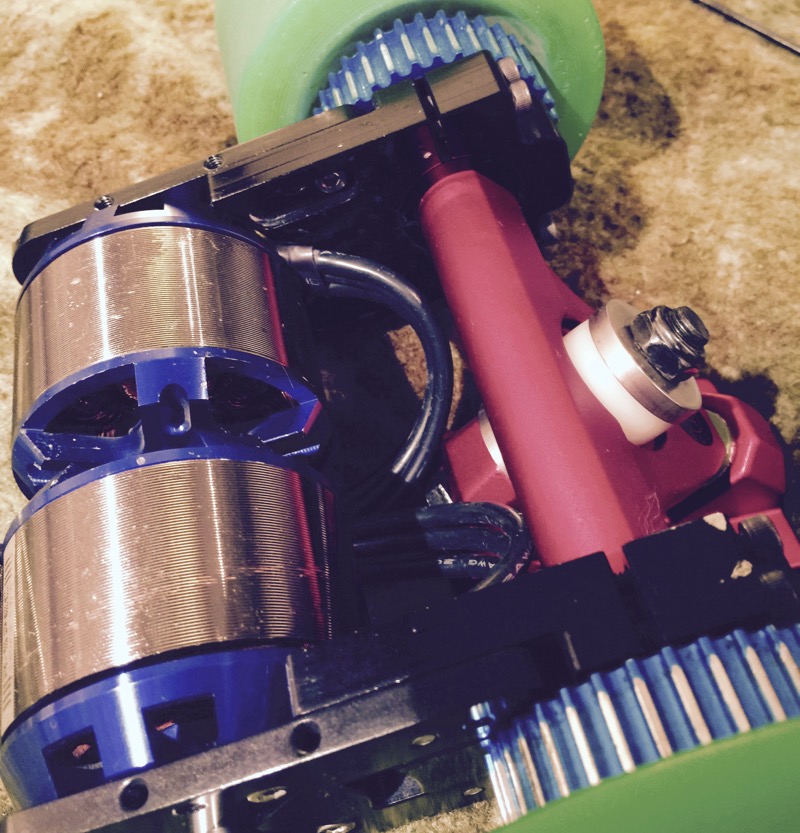
currently, if the cables exit the motor the way they do on the enertion r-spec, and if your engine is 63mm AND if you run a minimum length belt so that the motor sits as close as possible to the truck, then there wont be room for the exit cables on the current construction. that basically only leaves you with 3 of the 4 possible exit directions of a motorwire: boardside, enclosureside or roadside. all of these positions have obvious flaws: boardside means, your mount has to be positioned further to the road than neccessary and your cables will constantly rub on the board. enclosureside is ok, but might increase the gap you need between trucks&motor and enclosure AND you need some wire length to allow sufficient flexibility when you turn - so where to put that cable then? finally roadside is a nobrainer - who wants the cable pointing towards the road where its vulnerable. :|

the hands down best exit strategy is "truckside", cause you can bent the wires in a smooth turn, allowing enough cable for flexibility in turns, but at the same time you can adjust the mounts angle so the motors sit as close to the board as possible while at the same time the cable is protected by trucks and motor from whatever youre riding over.

used the dremel to sand down a smooth exit path for the motor wires:
mountmod.jpg


and thats how it looks in the end:
cables.jpg


thanks again okp for pioneering and lowering my threshold to try as well. :)
 
torqueboards said:
Nice.. Yeah due to OKP's recommendation as well. I've made the adjustments to the new batch.

Nice! What's the time frame for stocking the new design?
 
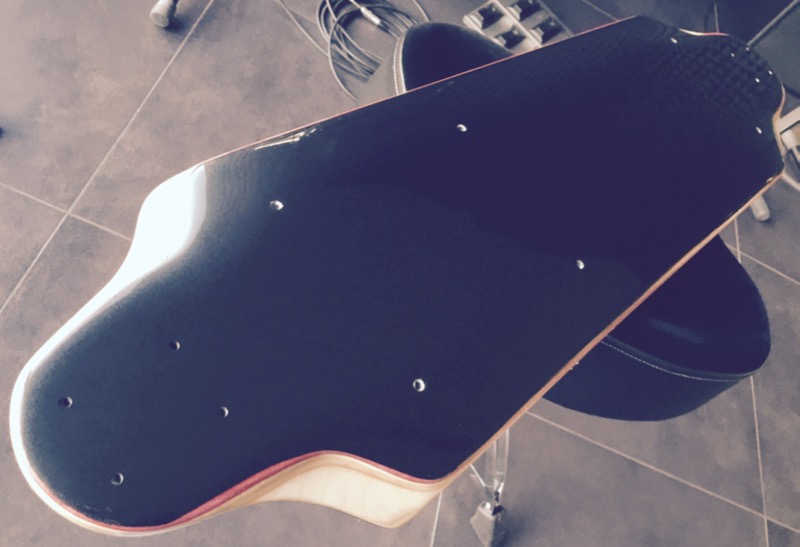
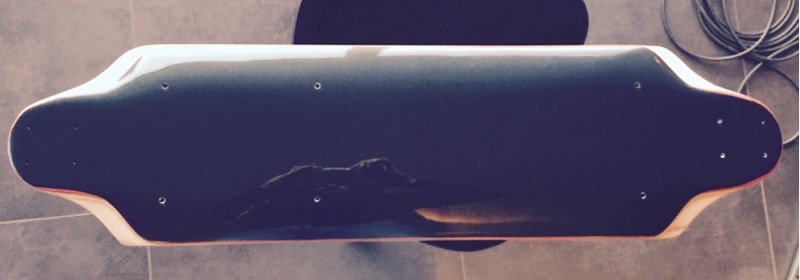
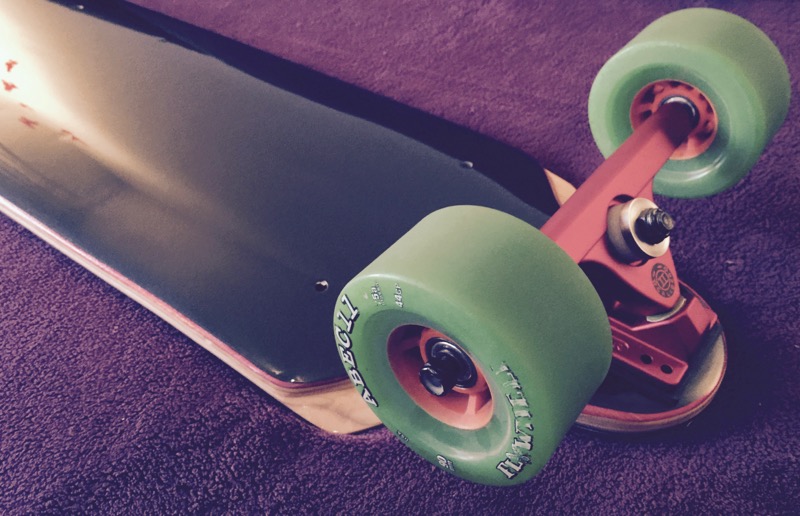
sanded the board down from 8 to 7ply maple for some minimal flex increase. at the same time I also flattened the middle section by removing parts of the 7th maple ply - roadside you cannot see anything of the w-concave anymore, so hopefully the new enclosure will look even slimmer and more integrated than before. finally I spent quite some time trying to get a decent finish ... went with a glossy carbon grey metallic look and Im really happy how it turned out! will also fit the elegant carbon+aluminum enclosure perfectly! :)

carbongrey4.jpg

carbongrey3.jpg

carbongrey2.jpg
 
Your job on this board is amazing, I wish I had your skills.

Ultimately you can press your own deck I think :).
 
okp said:
if you put 80A Orange Kegel, this setup will be esk8gasm!

yea, LOVE the orange kegel look, but the comfort of 90mm supersoft flywheels is too good in comparison. :(

actually, I will receive a set of 80A kegels tomorrow, but its for my cantellated tesseract which I dont plan to electrify yet. when I hit 50kph on my top speed the first time, I knew I HAD to try real downhill! thinking about using my summer holidays 2016 for an european skateboard roadtrip with a mix of tours & downhill, but Ill have to practice sliding more until then. 8)
 
I experienced it the other way round! my 90mm 75A flywheels were a lot grippier and smoother than the kegels on the average pavement. had kegels on my evolve carbon and running 83A front/80A rear on my pump setup - on both boards, kegels were only really awesome on smooth surfaces. once its more rough, they lost grip quickly. I think its cause of the large inner core ... they arent very "meaty" wheels unlike the large flywheels.

its probably the flexy vanguard helping you out ... or the great parisienne pavement! :wink:

went with kegels on the tesseract, cause if I ever want to electrify the tesseract, I want it to be a very light board and the 90mm flywheels are really very heavy. also dont feel like using 1/2" risers again like on my top speed :p
 
not yet, need to give the paint 1-2 days time to dry properly before I install trucks and the enclosure. but im leaving for sweden on wednesday, so it will most likely rest until next week :)
 
Back
Top