handbike_electric
1 mW
- Joined
- May 5, 2016
- Messages
- 12
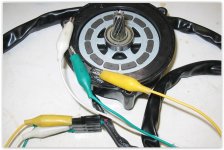
When running a motor sensorless on the bench without any load I used thin probe wires with alligator clips. Most probably the connection was not stable, so induction caused over voltage causing my Grin C3620-NC controller to die. In fact, one or two MOSFET were blown. So be warned to use crimped cables even for testing, this is well worth the effort.

On the Grin webpage http://www.ebikes.ca/documents/BlownMosfets.pdf you will find a manual how to find out, if MOSFETs are dead.
This controller originally uses 6 N channel MOSFETs, type AOT460.
I decided to go for an alternative, taking 6 IRFB4110 out of the C7225-NC instead. They are easier to get (at least in Germany), have better over voltage protection and even a 30% lower ON resistance resulting in less heat and better controller efficiency. And they are pretty cheap as well.
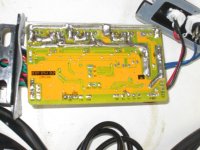
To remove the old MOSFETs, snip off the wires, then remove the legs one at at time with a soldering iron and pliers. Now clean out the 3 solder pad holes with solder wick or a suction device, and then solder a replacement mosfet in place. Since a double layer PCB is being used be careful not to rip apart the upper layer. Also be sure when soldering the replacement into place to properly solder it from both sides. Also make sure to firstly attache the replacement FET to the heat sink before soldering it.
Use enough solder to make sure that the resistance on the circuit path is small enough. Alternatively add a 1mm copper wire for better conductivity. And at the end measure for short circuits between all legs.
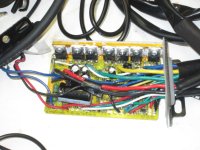
At the end of the procedure, my controller looks like this - works perfectly well again!


