Jay64 said:
I know this is a little late, but nice build. Any updates to it recently? You had mentioned that the suspension wasn't up to par. You could probably just upgrade just the suspension. I've been looking into some of that stuff and have found some stuff for pretty good deals on ebay lately.
Where is that video taken? Looks like somewhere up country like Pukalani or Kula.
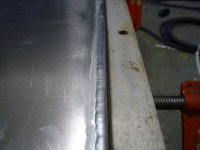
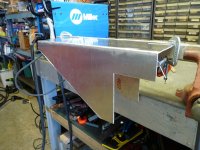
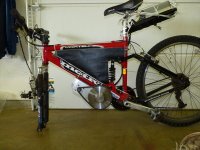
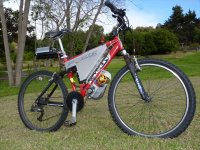
Just the other day I dismantled the prototype setup to begin the "cleaning-up" phase. The reason it took so long is that I was having too much fun riding it around the yard

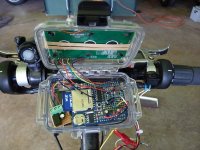
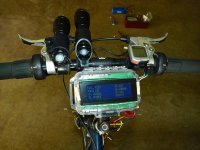
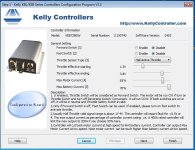
I have also been working on refining my Arduino based instrumentation/logging system (see photos). It's currently installed on my build #1 and is working quite reliably. In addition to displaying the critiacl e-bike parameters, similar to cyclye analyst, I have it logging the data to an SD card. There is still one bug I need to resolve. For some reason when the SD card is installed, the distance and wheel speed data is a bit off (1 to 2%). I think it has to do with the interrupt activated by the wheel sensor causing timing conflicts elsewhere in the code. :? It's spot on when not logging data. It stores the data in an Excel friendly csv format for easy analysis and plot viewing.
I will most likely upgrade the suspension at some point. I just hope the headset is compatible with the standard size of forks these days. This was not the case on my first build, chrome-moly Bridgestone which desperately needs front suspension as I'm cruising at 40 to 45mph with 85lbs of weight plus rider.
Some updates:
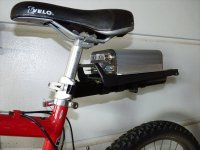
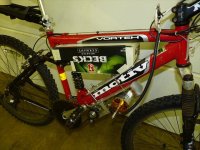
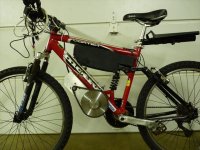
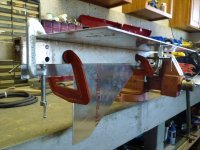
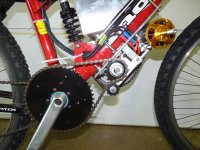
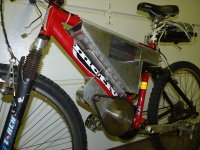
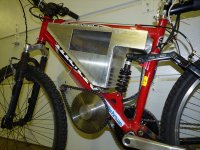
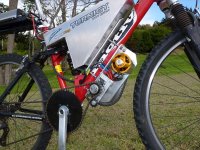
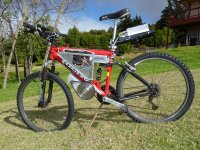
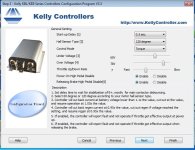
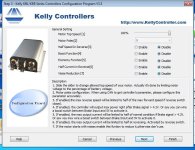
I purchased and modified a Topeak seatpost rack that I plan to mount the oversized kelly controller on (see photo). I may even locate the controller on the bottom side of the rack if there is enough clearence between the tire and controller. Plan to add fenders later as well. In any event it's not the ideas location for the controller as the phase wires to the motor will be rather long.
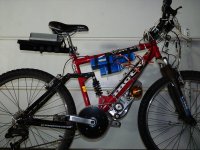
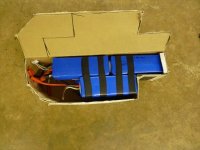
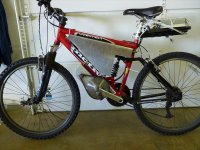
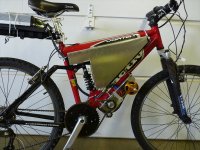
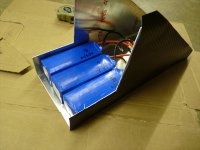
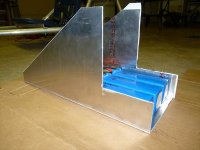
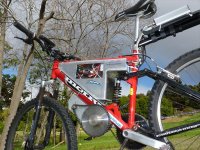
I think I have finally decided on the batter pack. Six pieces of the Turnigy 6S 5000mAh 20C bricks for a 18S2P setup (66.6V, 10Ahr). I plan to locate the batteries in the top part of the triangle (see photo). I will have to fabricate some sort of rack/box/enclosure. Anyone have any ideas?
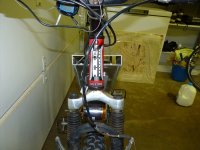
The SRAM integrated brake lever/shifter that came with the bike needs replacing. In its current configuration I cannot shift the rear derailleur and operate the throttle at the same time. I think I may have found a lever-type shifter replacement on ebay that may be compatible with the 8-speed SRAM cassette.
Oh, and the video was taken in Kula.
over