calab said:
Its not like he will be needing the suspension for big jumps, just little moguls or kids skate ramp park.
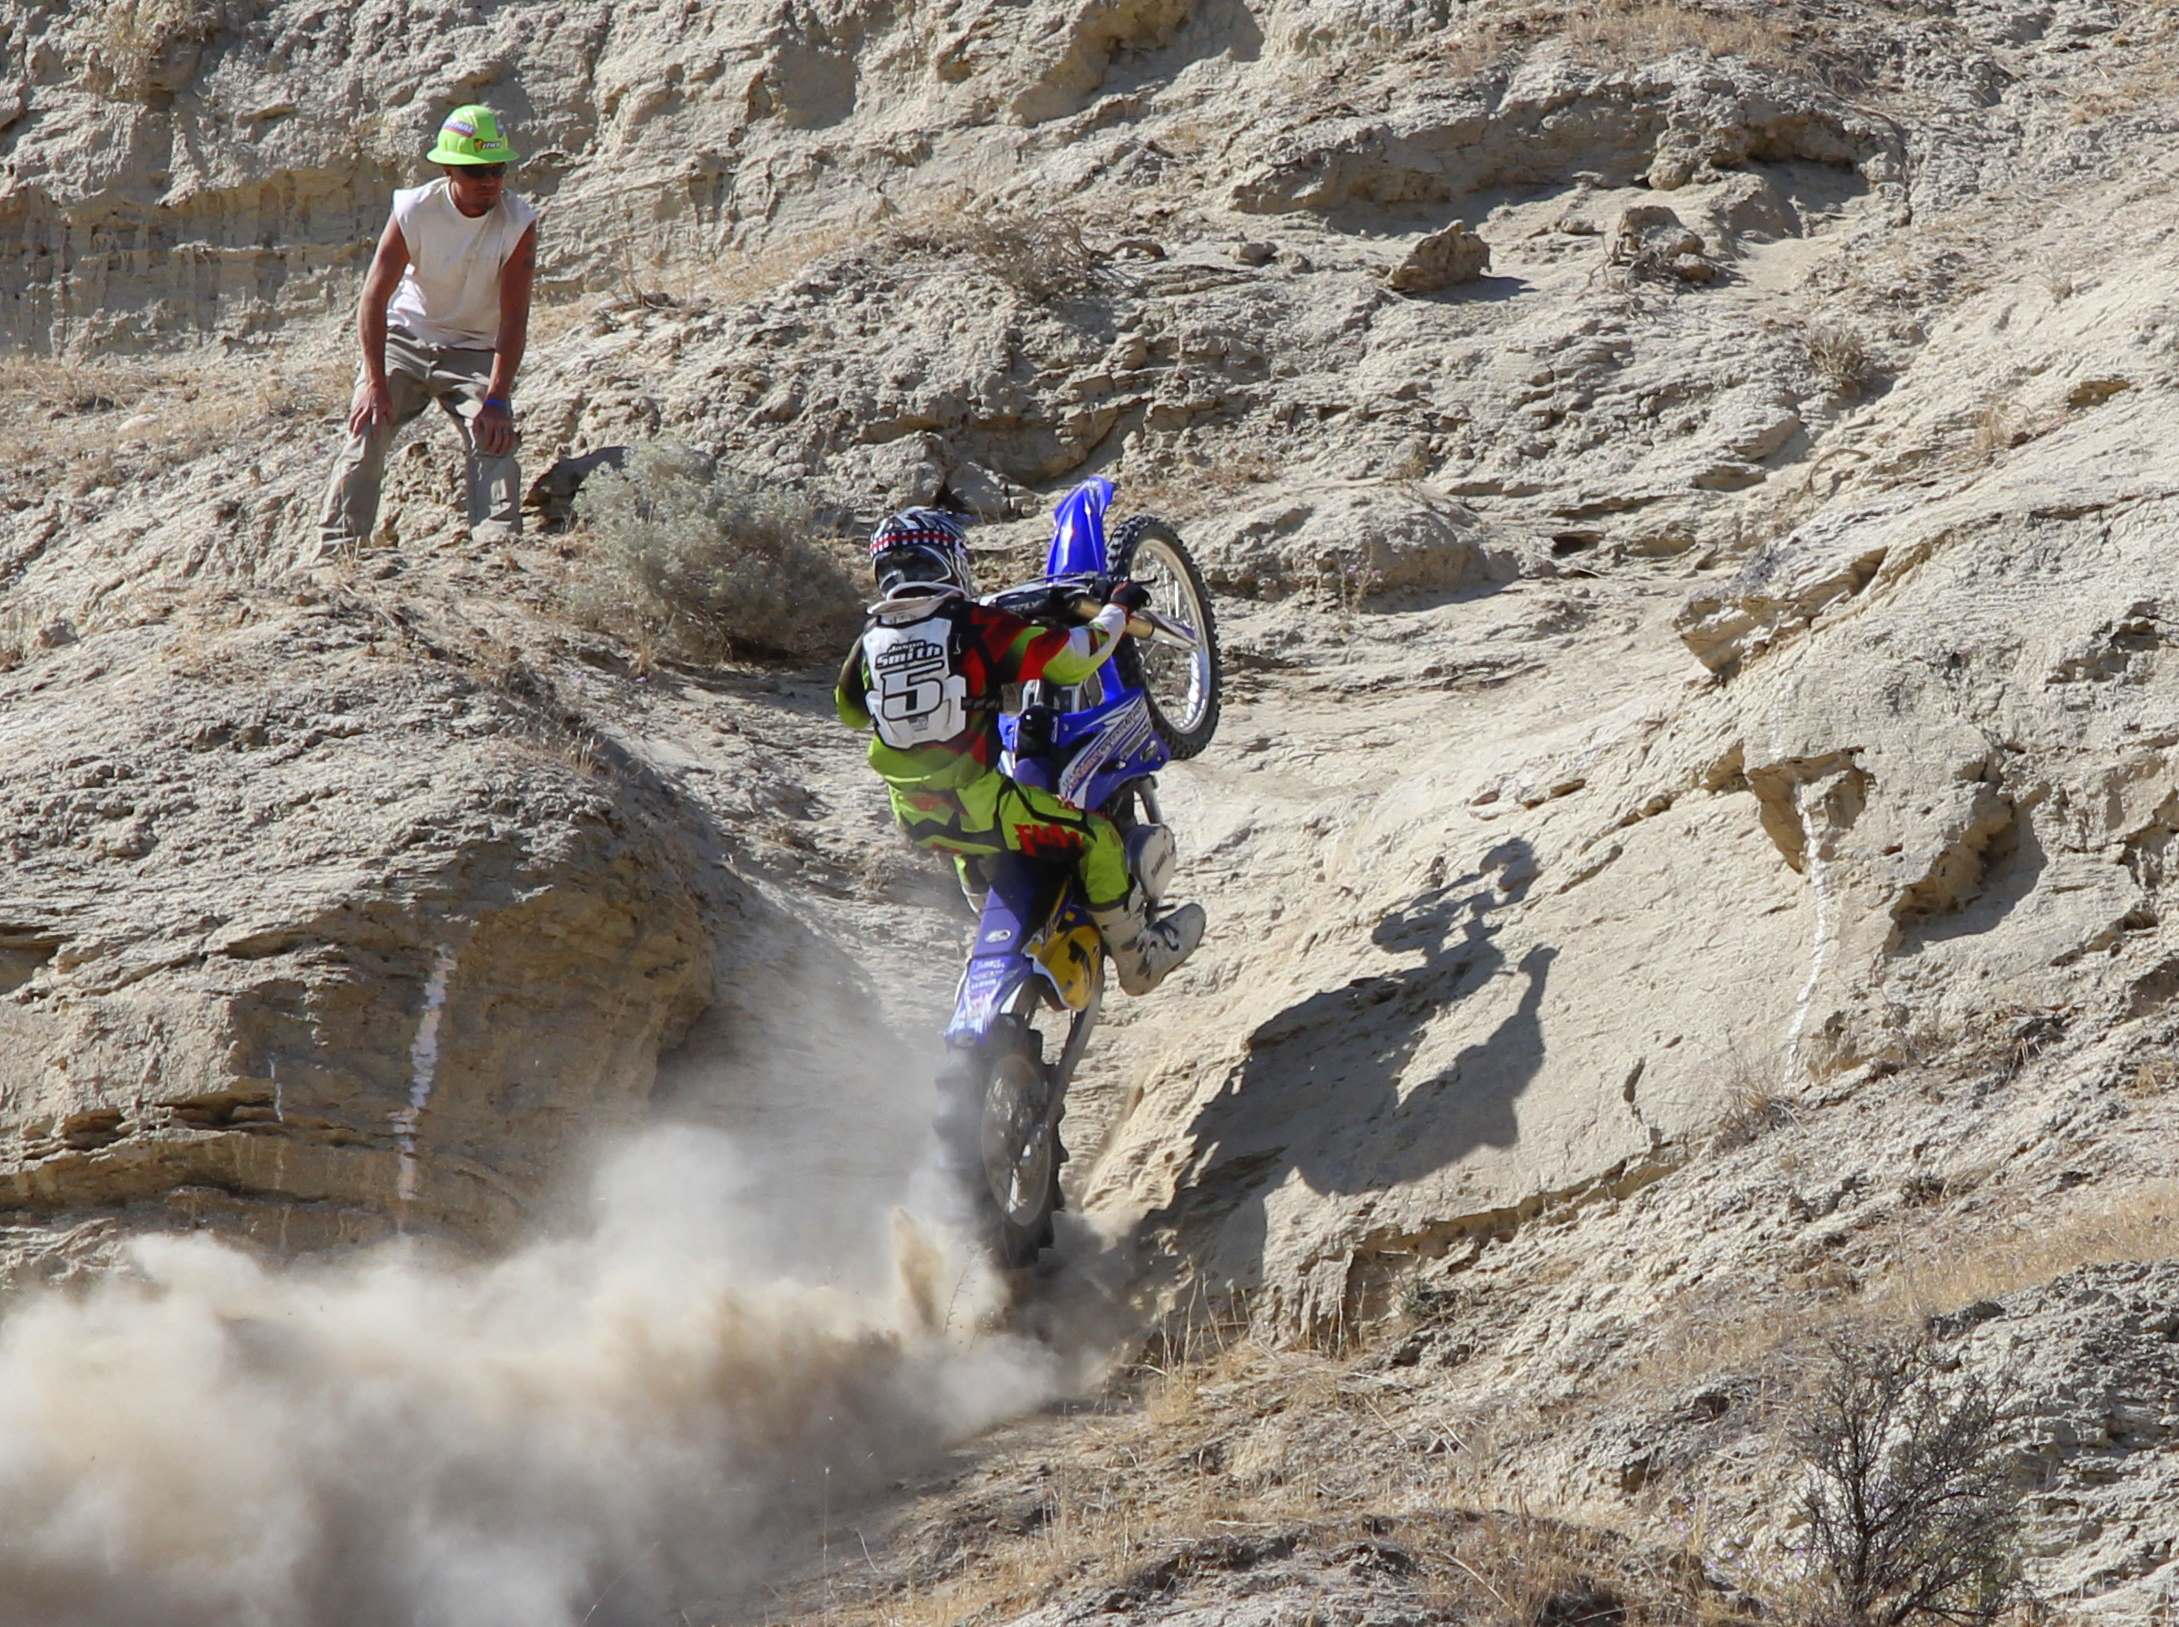
"Hill Climbing" is what I linked to, steep long hills that may include air going up the steep long hill or big air after the steep hill.
I think people are imagining a
100 horsepower motorcycle radically bouncing up an insanely steep hill.
This is a very light weight Hill Climbing eBike with just three horsepower and a designed peak speed for power of about 18 mph.
On the Grin Motor Simulator I expect a 15% slope and up to 5 miles range going straight uphill. (20 miles on flat)
By comparision my other eBike can barely get up a 10% slope. (same motor, but a bigger rear wheel)
So at no point am I going to be doing aerobatic tricks on this.
The idea is to slowly plod up plowed fire roads which can be deeply loose in some areas and then hard packed sandstone in others.
Everything has been focused on low gearing and peak vertical climbing capability by being light weight.
The suspension is just to do something other than a rigid rear end that actually would have worked fine.
---------------------

Another area to talk about is rear brakes... so far that is still in the imaginary stage.
My ideas are going towards using the big 94 tooth #219 aluminum sprocket as a disc and applying brake pads used on rims as the contact which will prevent the aluminum from grinding away.
This means designing a very unique rear brake mechanism which has gone through several design outlines so far.
You can see that region outside the larger drilled holes and inside the actual teeth which is enough for brake pads.
Since the chain lube tends to fly off outwards the brake pads will be mostly clean in that middle region.
By reusing the large sprocket I get brakes without much extra weight added.
Not sure of the exact diameter but it's bigger than 203 mm so around 215 mm or so at the pad contact area.
Oh... I have thought of using an actual disc brake on it but the pads would ruin the aluminum really quickly so I'm backing off from that and I don't want the weight of adding a proper disc so that idea is out too.