New build: Gory Fisher hardtail 750w 36v rear hub -HELP!!

ezagent

1 µW
Joined
Aug 21, 2020
Messages
4
Location
Newtonville, MA USA
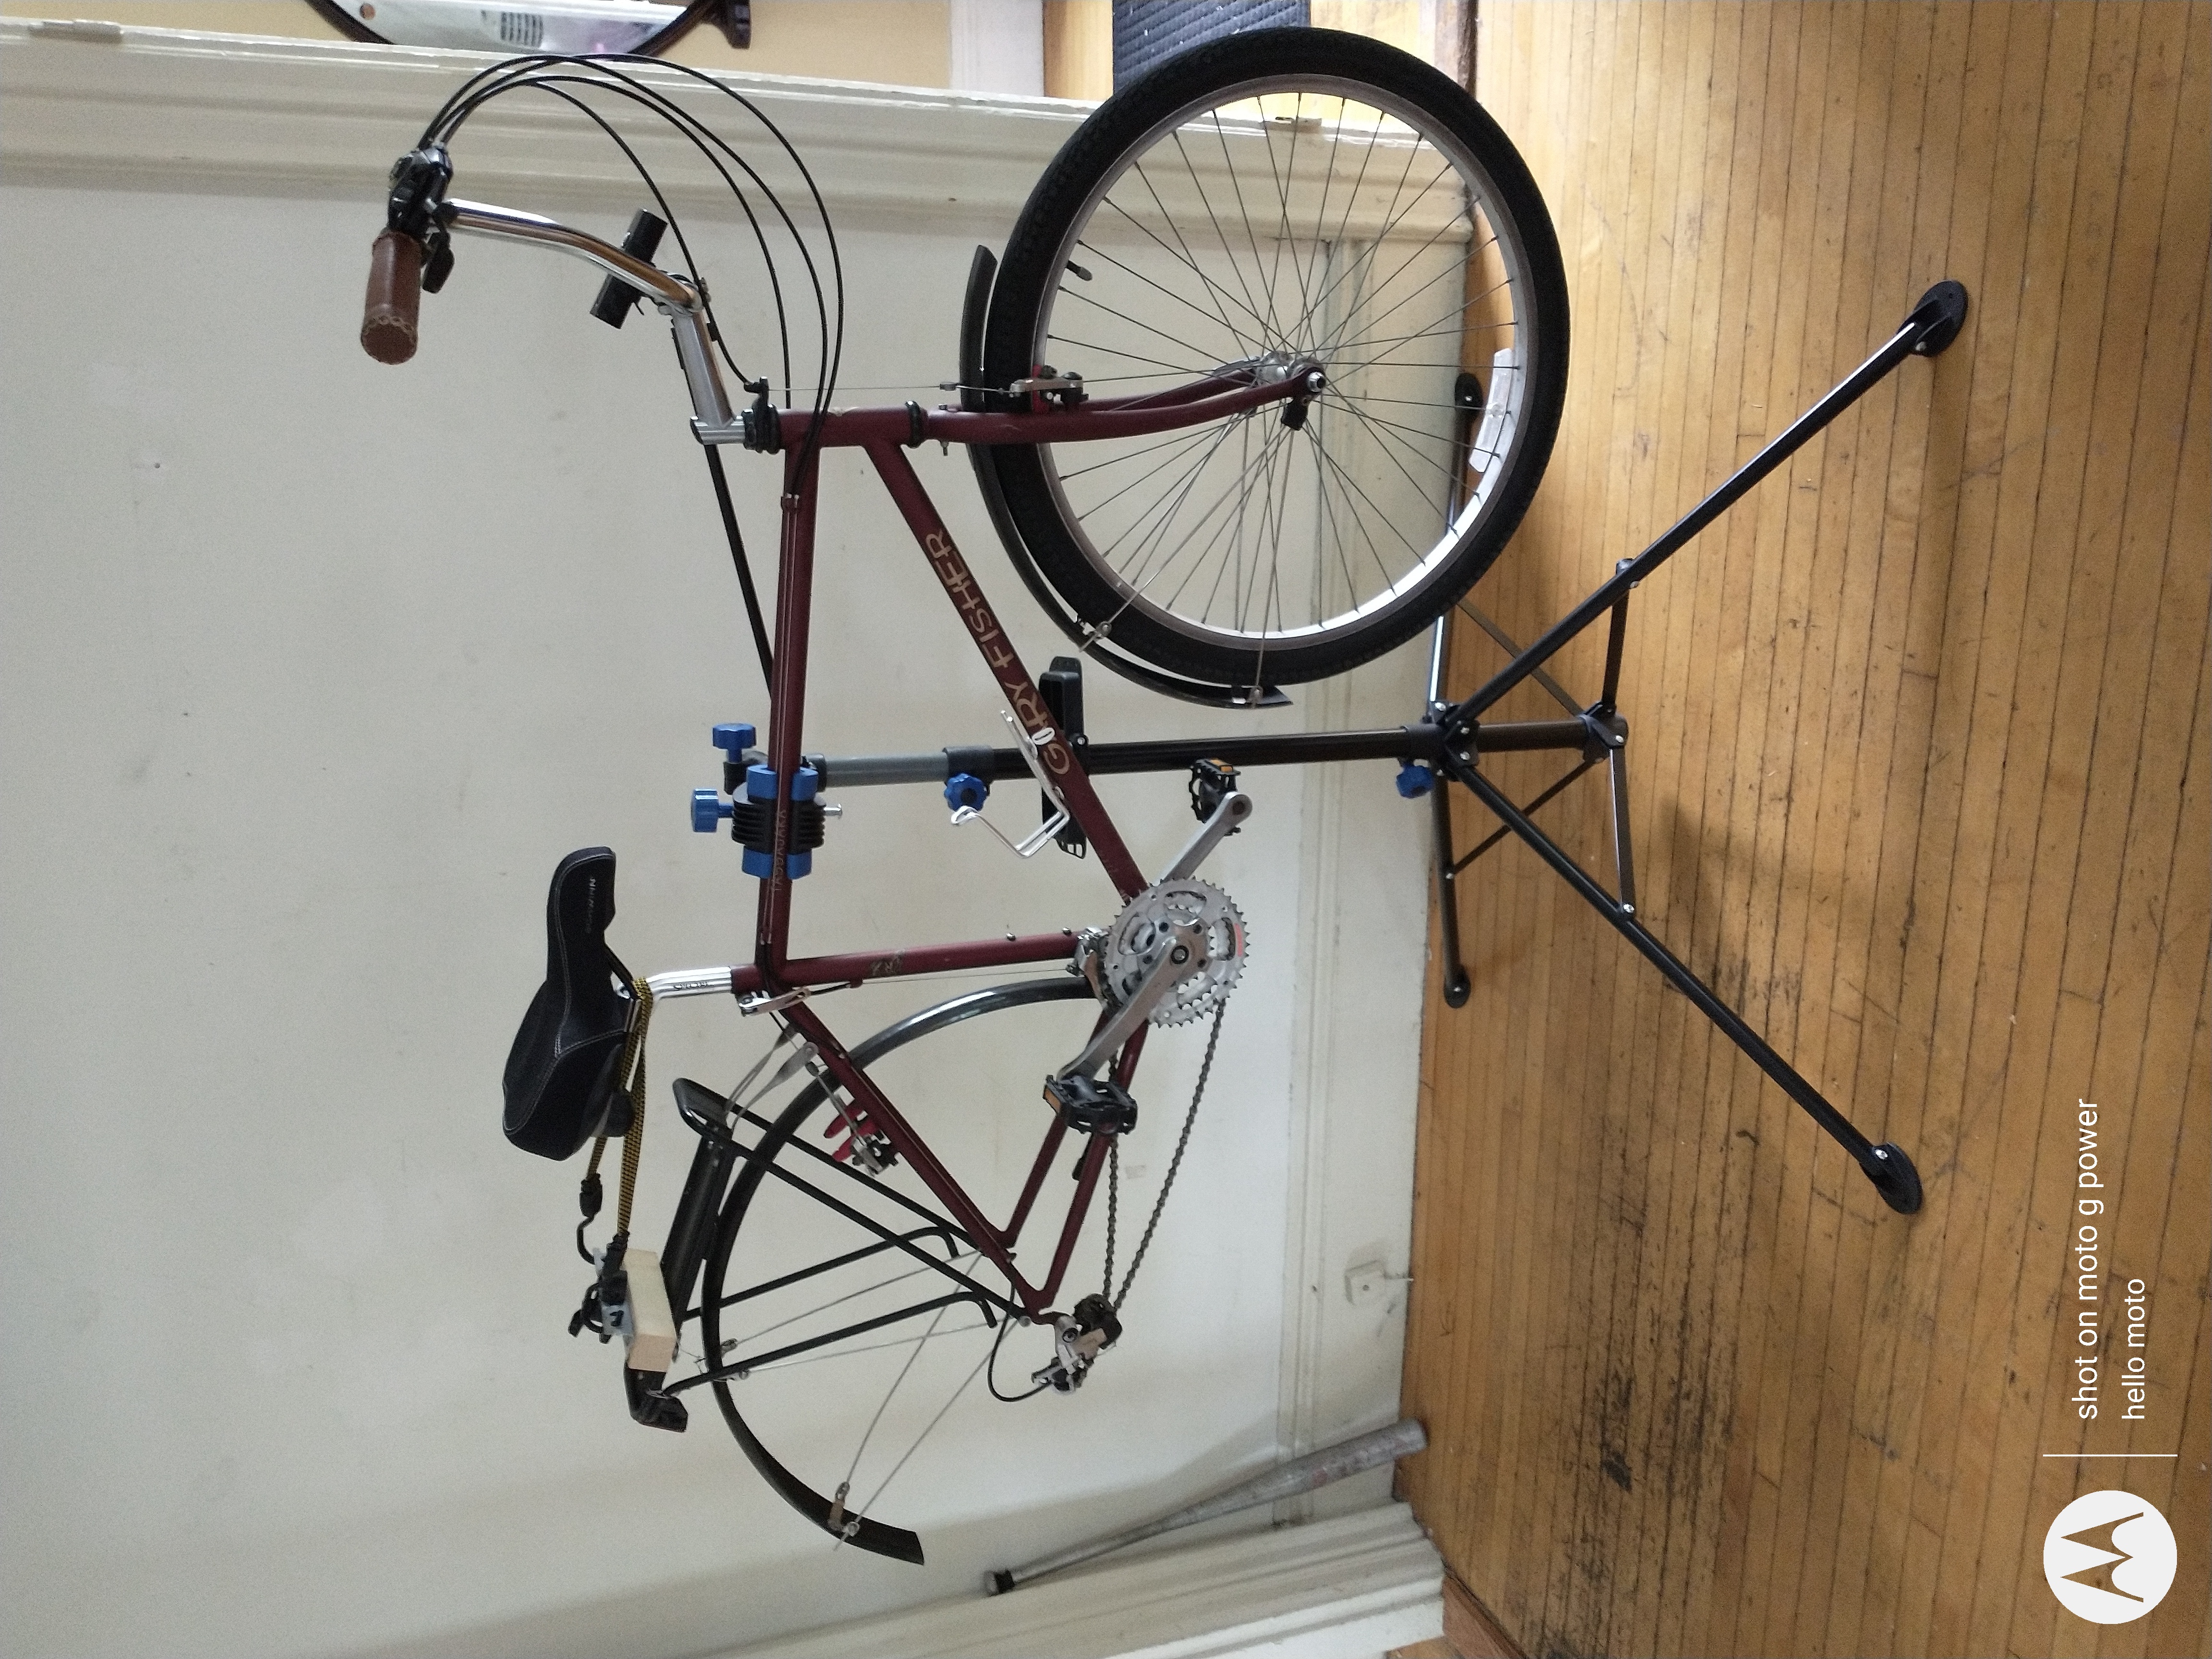
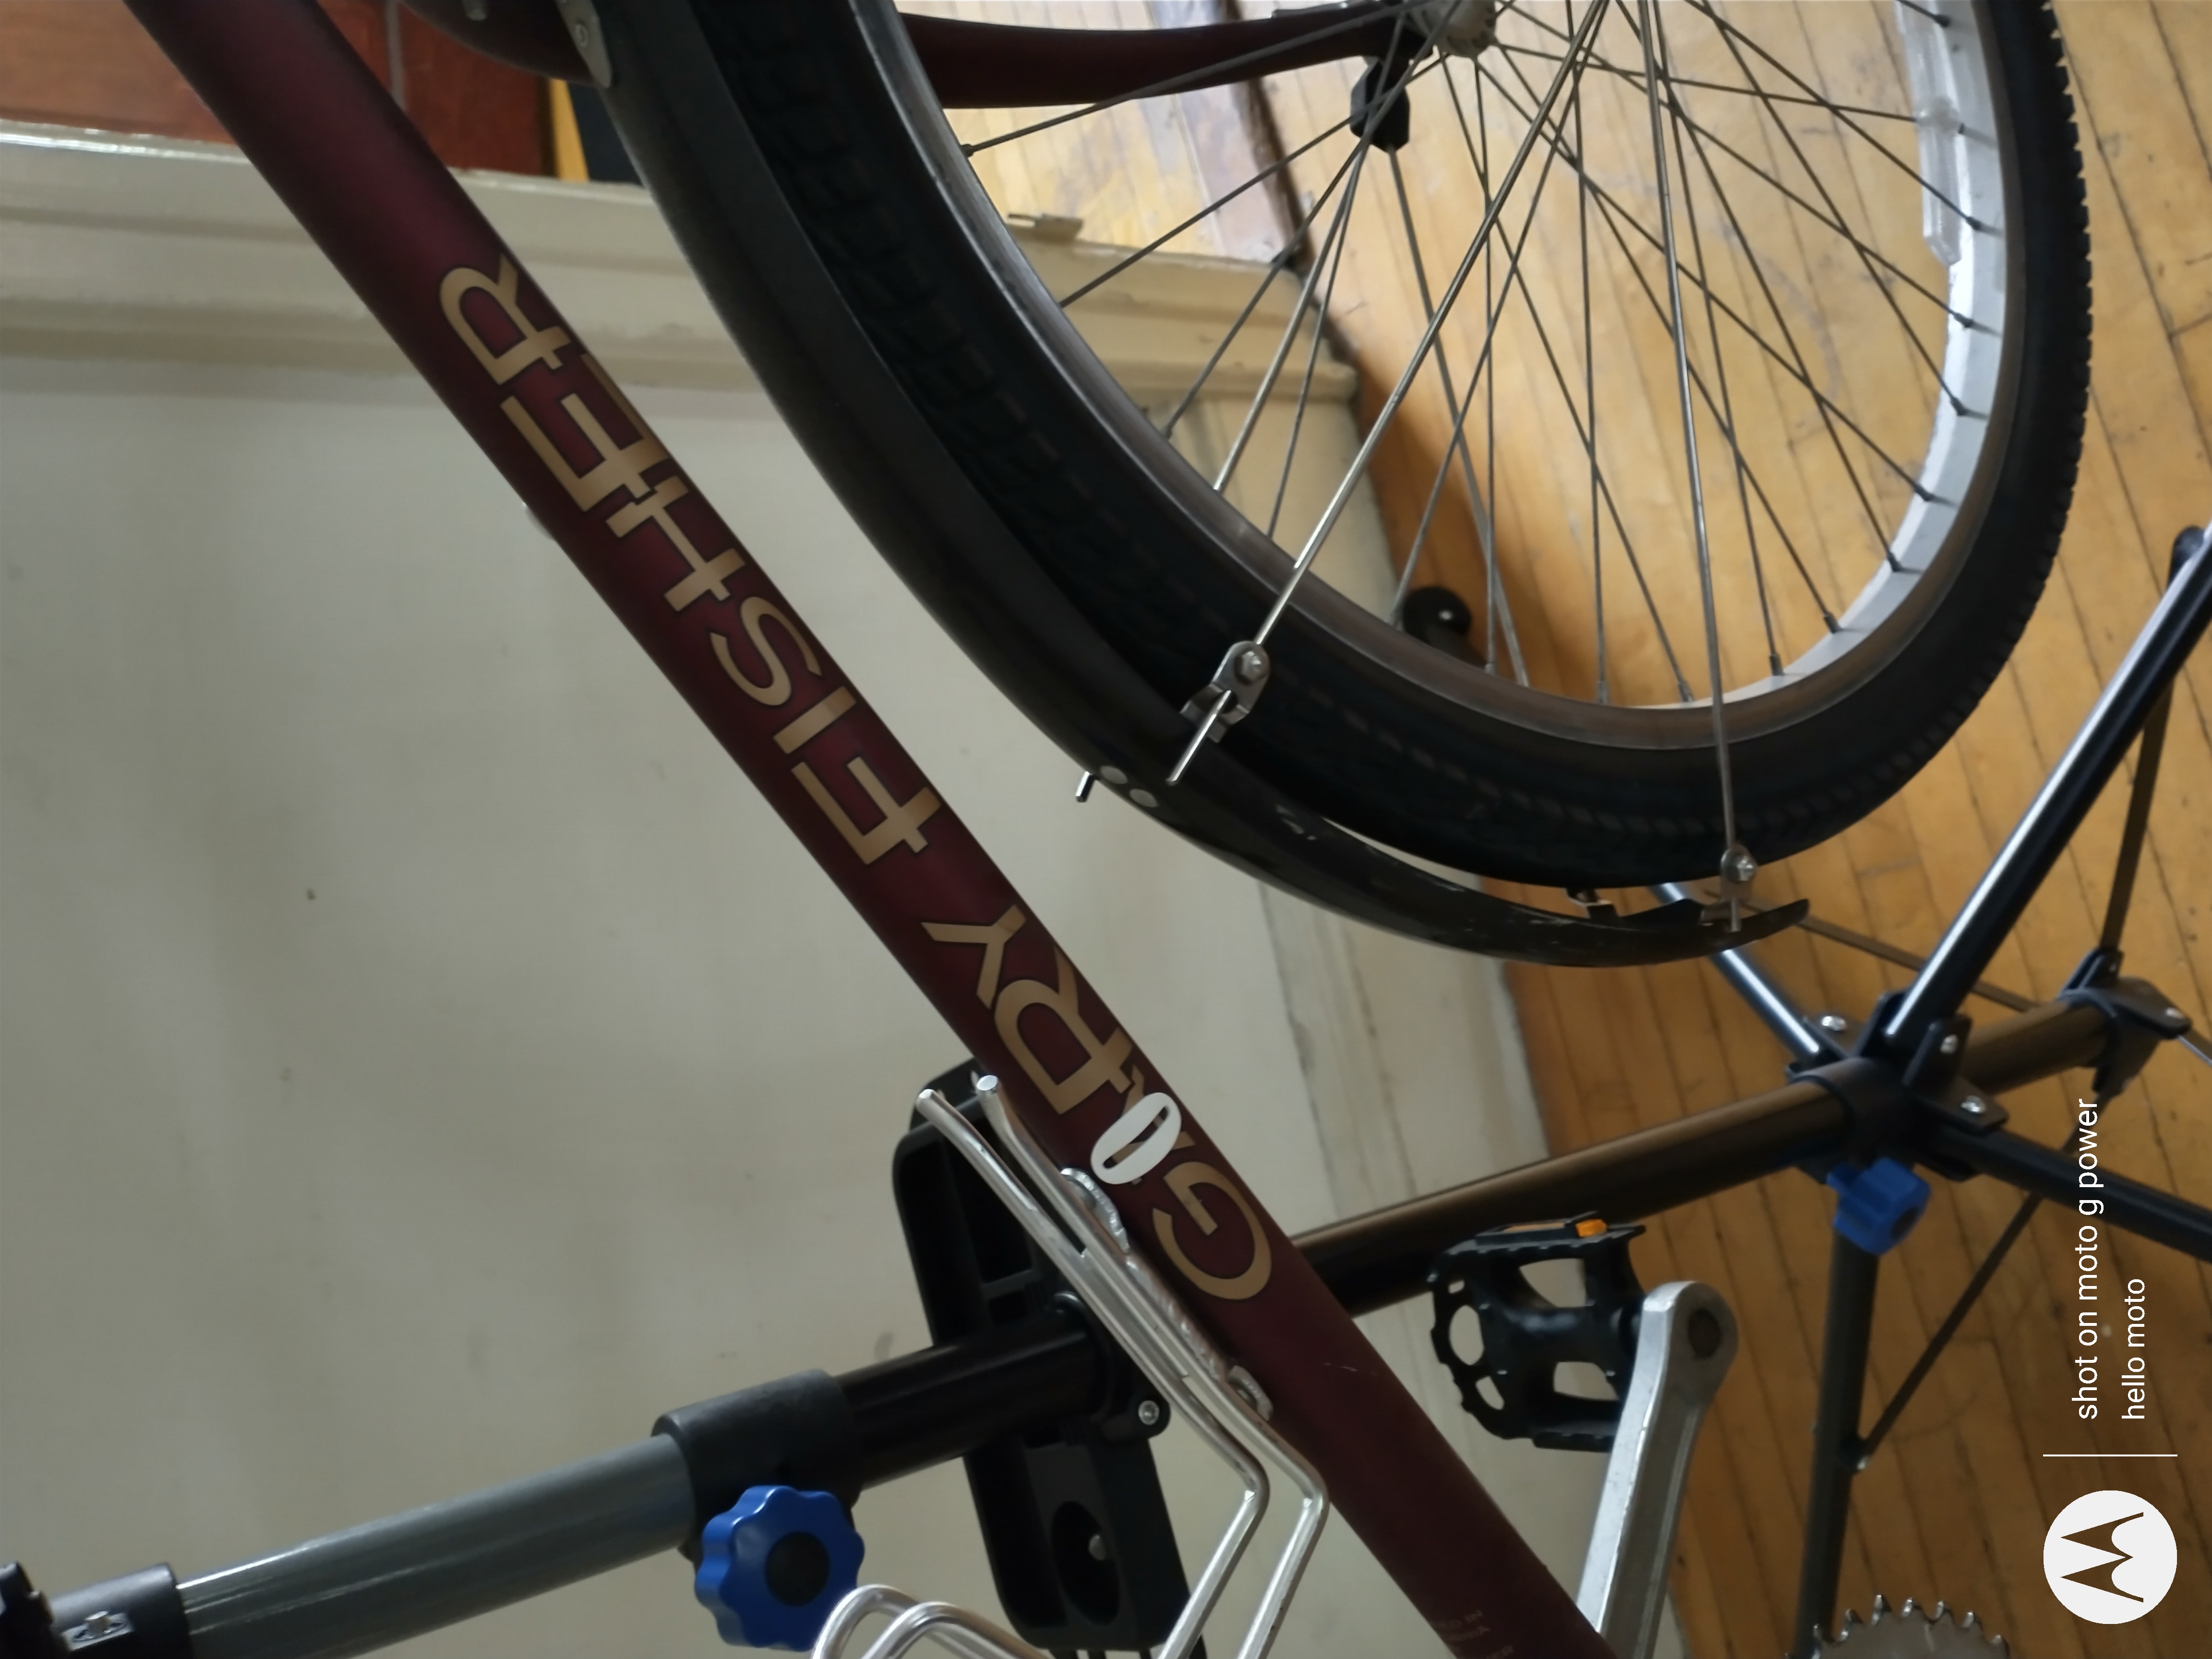
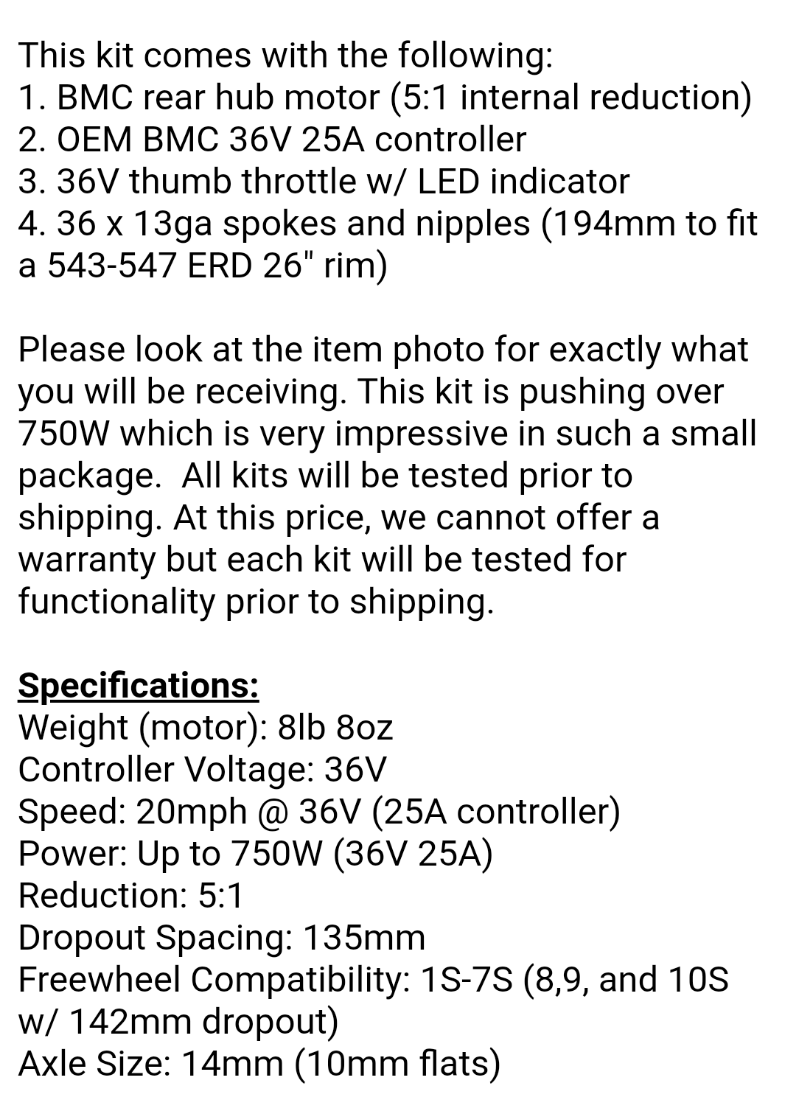
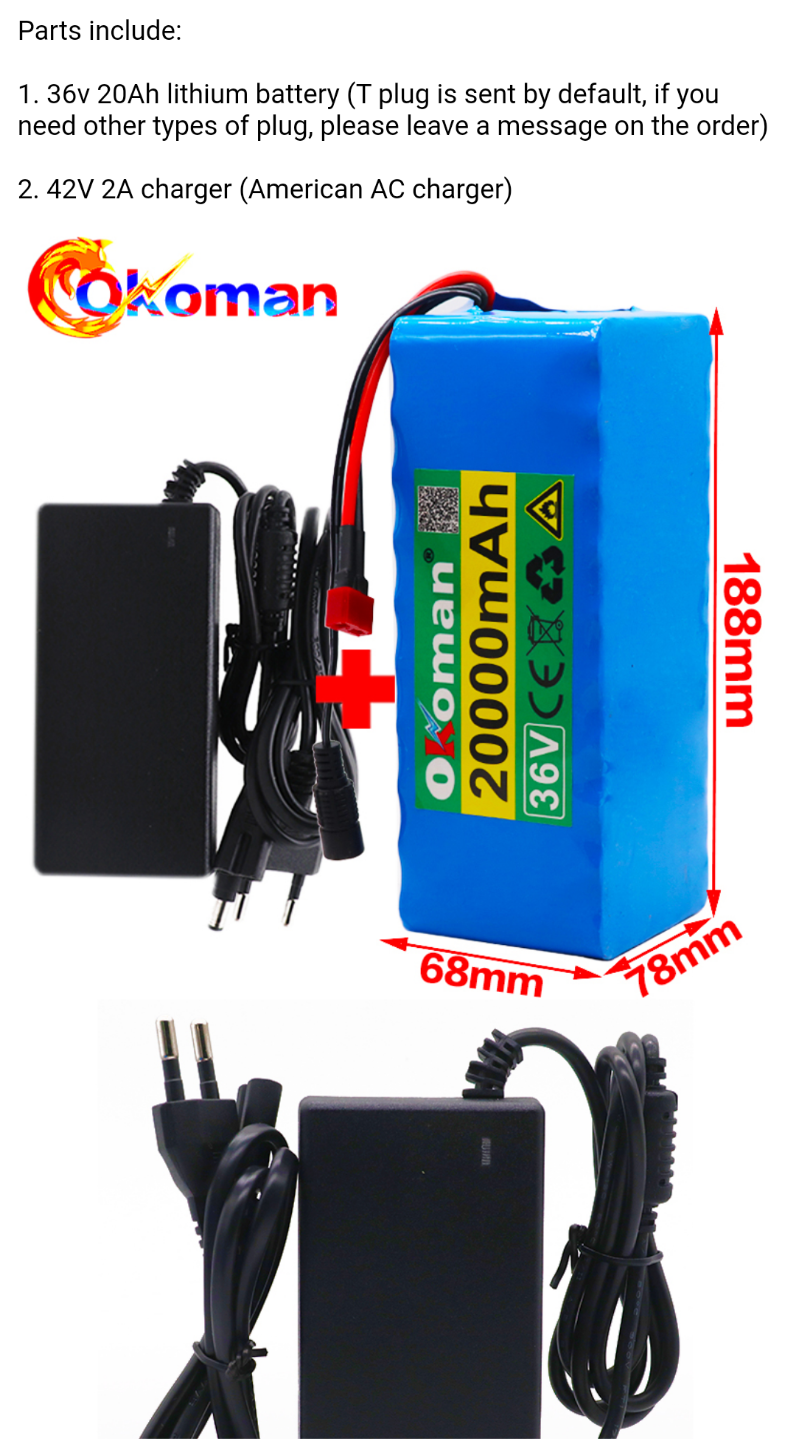
I bought a rear hub motor kit (requires wheel build) and a battery off ebay. This is my first build. Need some help with a few things.

FREEWHEEL

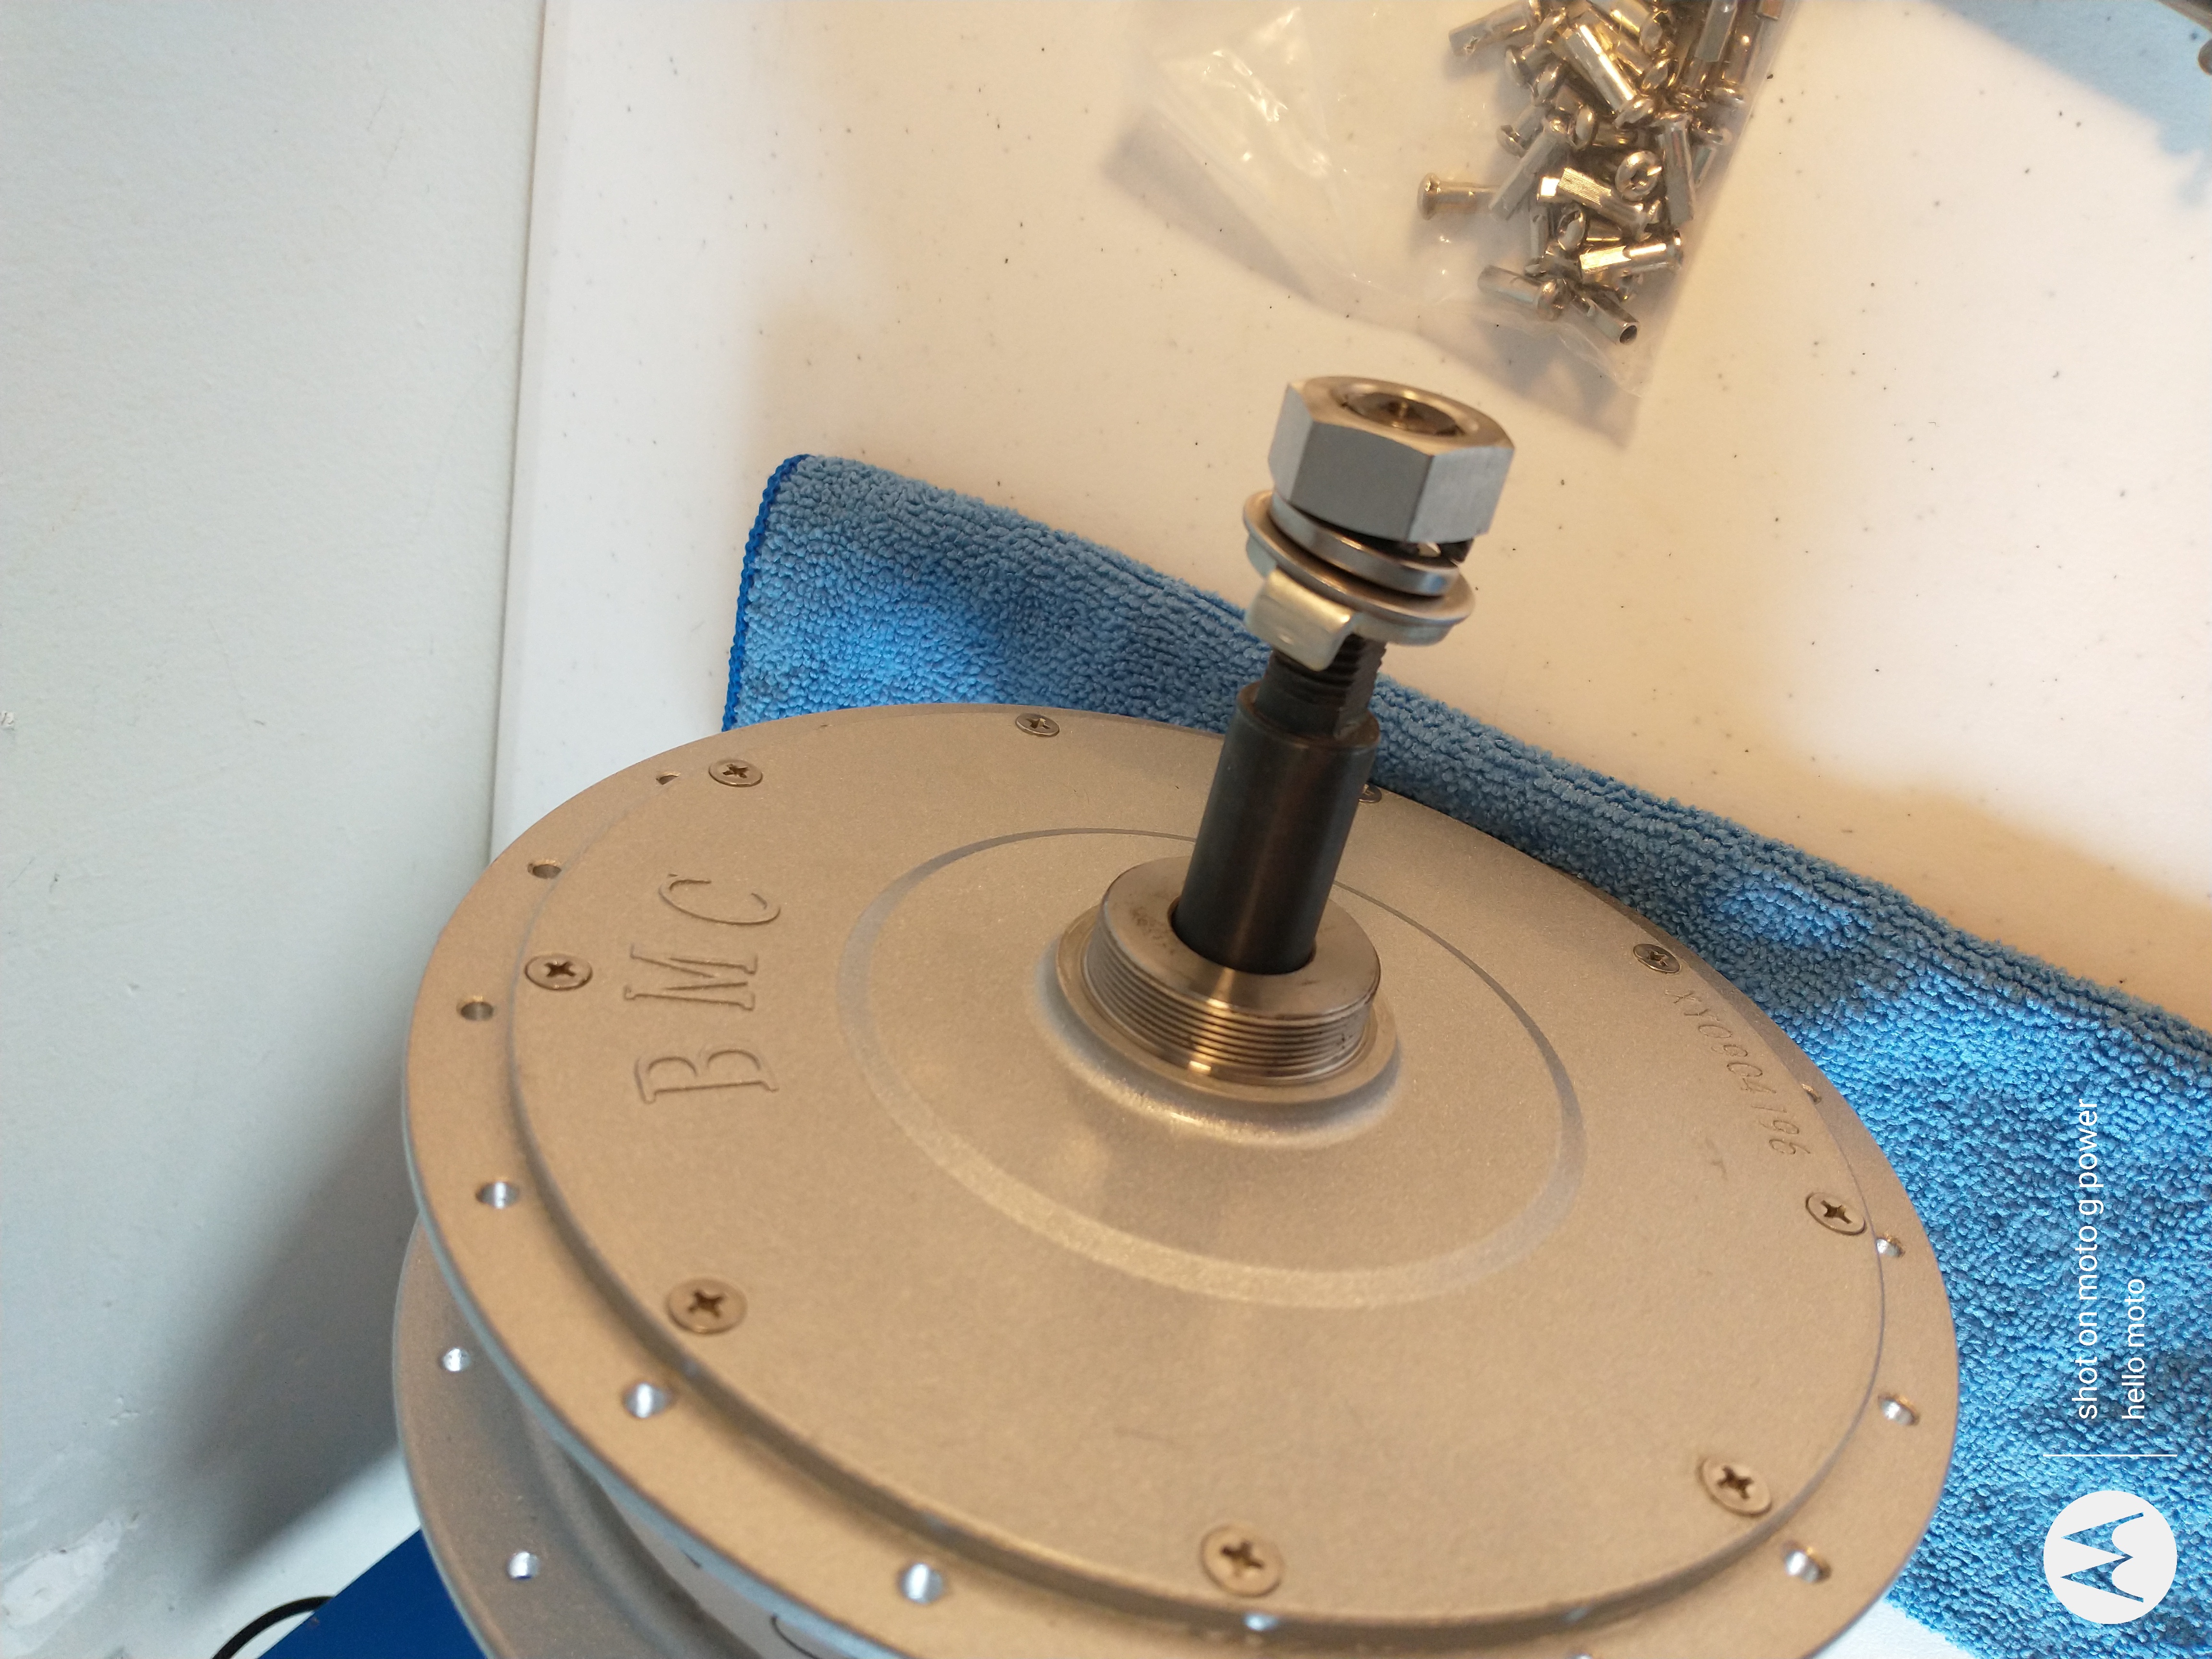
I disassembled the existing hub thinking I'd just lace the new hub in, and be on my way. The kit came with 36 spokes, existing rim? 32 spokes. Waiting for a new ebay rim but the freewheel that I disassembled, it probably won't match the hub motor, even if it does, the bearings are in two piles and there's an inner retainer ring that I don't want to deal with.

Order ebay freewheel, recommendations? Am I looking for an assembly or a part? I'd like to open up a package, screw the freewheel onto the hub motor, which will hopefully be ready and laced into the new rim.

MYSTERY WIRE

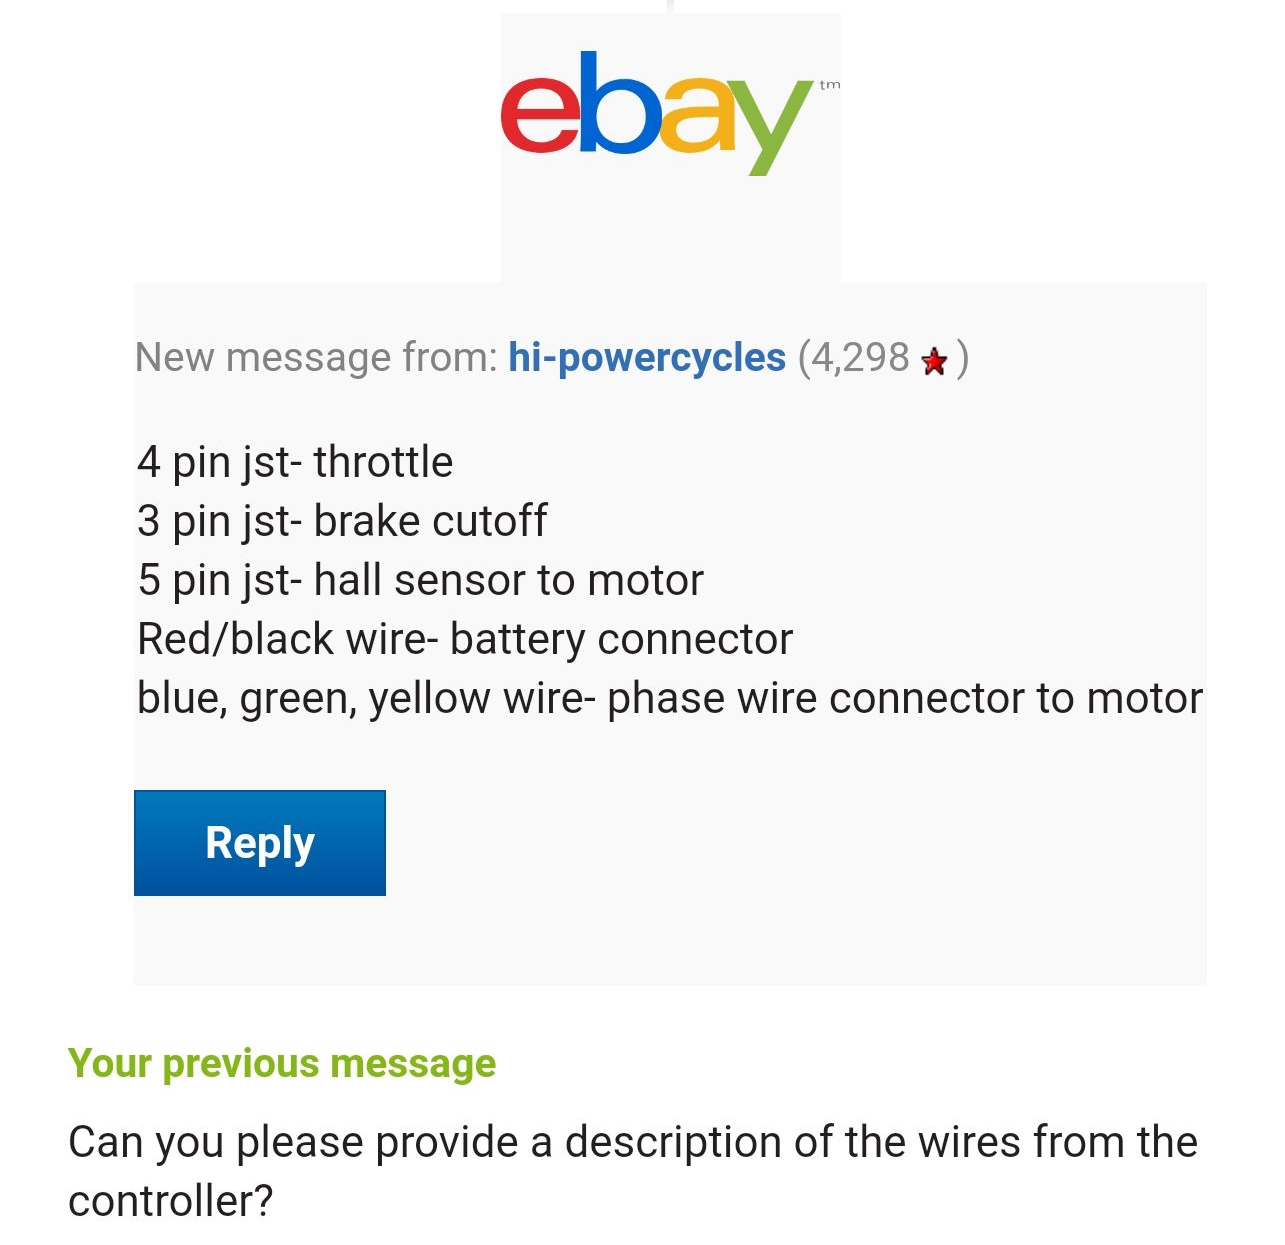
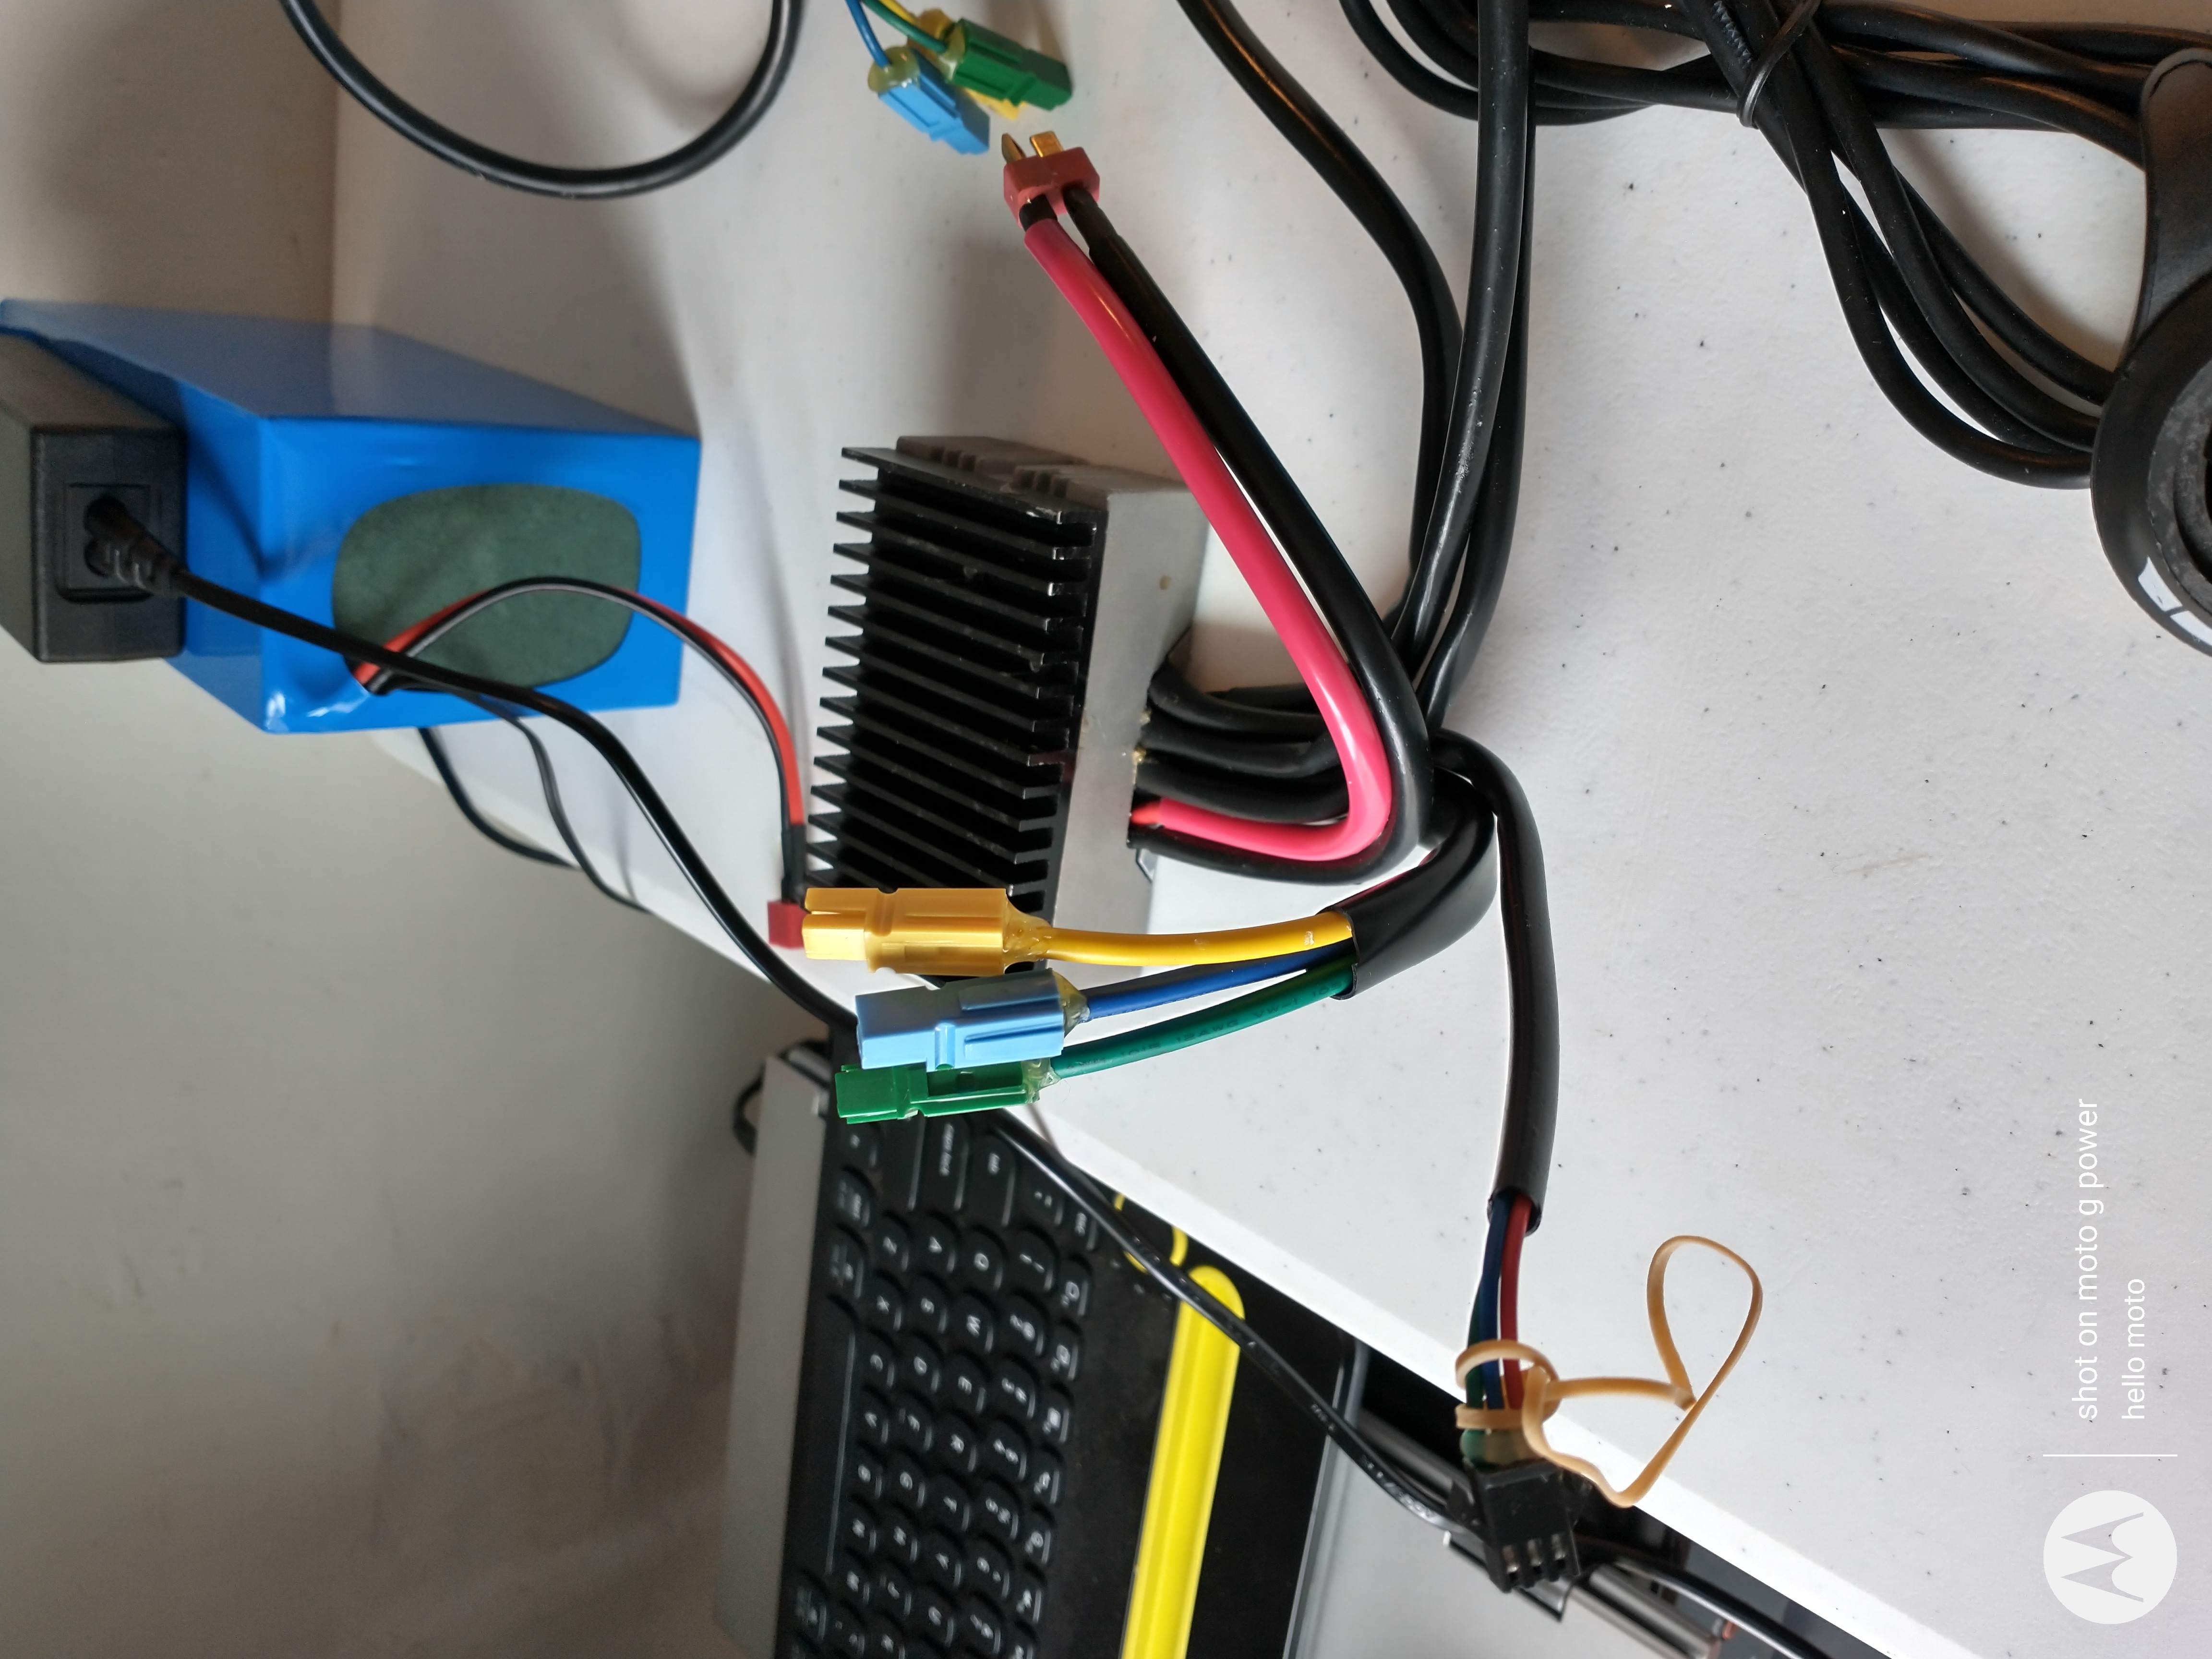
All the wires from the controller match up to the hub, throttle and battery except a thin black male connector with green, blue and red wires, what's that for? It's the only connector that doesn't match up, shown in an image below with a rubber band attached. My guess is an info display. Assuming that's what it is, what type of display should I get? Simple and cheap is always preferred.

BIG SPARK

The first time I tried to plug the battery into the controller to test it I was greeted with an aggressive spark. What causes that and how do I prevent it?

I hope it's to connect a display that enables me to monitor battery life, etc.

WHAT ELSE IS NEEDED

What do I need to monitor the battery charge? Right now my ebay battery is plugged in with a charger that has an LED indicator that runs hot with a red glow that alternates to green.

That's my starting point. Any help will be appreciated.

IMG_20190425_145543898_HDR.jpg


IMG_20200910_102251898.jpg


IMG_20200910_102301897_HDR.jpg


Screenshot_20200910-100203.png


Screenshot_20200910-100424.png


Screenshot_20200910-100803.png


Screenshot_20200910-100733.png


IMG_20200910_095821160.jpg


IMG_20200910_095839856_HDR.jpg
 
Freewheels aren't meant to disassemble... Just get a new one instead of messing with the old one. You unscrewed the lockring holding it together, it takes a special tool that fits the splines inside to remove properly.
The extra connector is probably for PAS hookup.
The spark is normal, it's the capacitors in the controller charging, and there a bunch of info in the search here, look for pre charge resistor, or anti spark connectors.
By monitoring the charge, do you mean how close it is to full? Some controllers are prewired for a display, and some directly show the voltage as opposed to a bar graph.
There's a bunch of rc type voltage displays, and aftermarket throttles with built in voltage number display, or just using a digital multimeter. You can turn on the system while charging and get a rough idea from your throttle LEDs too. There's a period near full charge where the red light is still lit on the charger, but it's slowing down the amps, where the charger gets noticably cooler, so if you feel that then it's actually pretty charged, even though it hasn't gone green yet.
 
Freewheel tool.. this is the standard Shimano one, but other brands need their own special tool. Not to be confused with cassette lock ring tool (second picture), which has a different spline pattern.
81oaKk-YJzL._AC_SL1500_.jpg
719H2pTfm1L._AC_SX425_.jpg
This is how you'll prob need to finish getting the old base off if you need to.
maxresdefault.jpg
 
Some XT-90 connectors are manufactured with a spark arrest (LunaCycle); I procure the ones with "pigtails" and splice them in. Hopefully the rim you selected has the appropriate diameter for the spokes. You might check Sheldon Brown for wheel building advice. The freewheel should screw on the hub. Select one with the appropriate number of gears or you may need to spread the rear dropouts on your bike.
 
You only need the tool for removal, so if you order a new freewheel, you can just screw it on by hand without a tool, and pedaling will tighten it fully. Be ready to readjust your derailleur though, as it might not like up exactly where the old one was, leading to the gears skipping.
 
the rim spoke situation is odd. the erd doesnt match a 26 rim. you might want to try a spoke calculator

https://www.ebikes.ca/tools/spoke-calc.html

erd list

https://sheldonbrown.com/rim-sizing.html

i usually just get a shimano 7spd freewheel

https://www.amazon.com/gp/offer-listing/B073XV284Z/ref=dp_olp_afts?ie=UTF8&condition=all&qid=1599754716&sr=8-26
 
Voltron said:
The extra connector is probably for PAS hookup.
The spark is normal, it's the capacitors in the controller charging, and there a bunch of info in the search here, look for pre charge resistor, or anti spark connectors.
By monitoring the charge, do you mean how close it is to full? Some controllers are prewired for a display, and some directly show the voltage as opposed to a bar graph.
There's a bunch of rc type voltage displays, and aftermarket throttles with built in voltage number display, or just using a digital multimeter.

Very helpful, thank you. I'll have to research Pedal Assist, not sure how it operates. If it's independent of the throttle, that would be nice to have. So it seems like my controller is not prewired for a display. I can start out with the multimeter. Will want to figure out if a display can be added to my existing controller. You've given me some good clues.
 
ezagent said:
goatman said:
the rim spoke situation is odd. the erd doesnt match a 26 rim.

The existing rim was 32h. I ordered a 36h rim. The spokes and nipples came with the hub. Should be good to go.

32h or 36h is how many spoke holes in the rim, erd is diameter of rim
 
Re. PAS, you'll need to add something like this.
Full disclosure, I got all fancy and hooked mine up not too long ago, and hated it and immediately disconnected it 🤣

PAS-sensor-1-1-pedal-assistance-sensor-hall-sensor-pulse-signal-5-8-12-magnetic-points.jpg
 
Ordering the spokes before measuring the rim is a big gamble. Do yourself a favor before you even try lacing the wheel get on a spoke calculator (grin has a good one) and plug in the real measurements.
The reason I say this is because you won’t know if your spokes are the right length until you have them all laced in and start tightening them. Actually if they are a little short you will find out about three quarters of the way around.
Save yourself a lot of frustration.
 
I'll take the good advice and measure the spokes I received with the hub motor to ensure they match up to the rim I ordered.

In case anyone else stumbles across this thread who may have purchased the same kit on ebay, this is the description of the controller wires that I received from Hi-Power Cycles after messaging through ebay, then calling, leaving a message, and waiting... you might think that a little bit of documentation would be included with a kit. Nope.

20200911_090417882.jpeg


The 3 pin connector that I thought might be a PAS is a brake cutoff. Now to find a cable.

If this was your controller would you consider replacing it with something with more features or keep it simple (and cheap), two of my primary objectives?
 
Back
Top