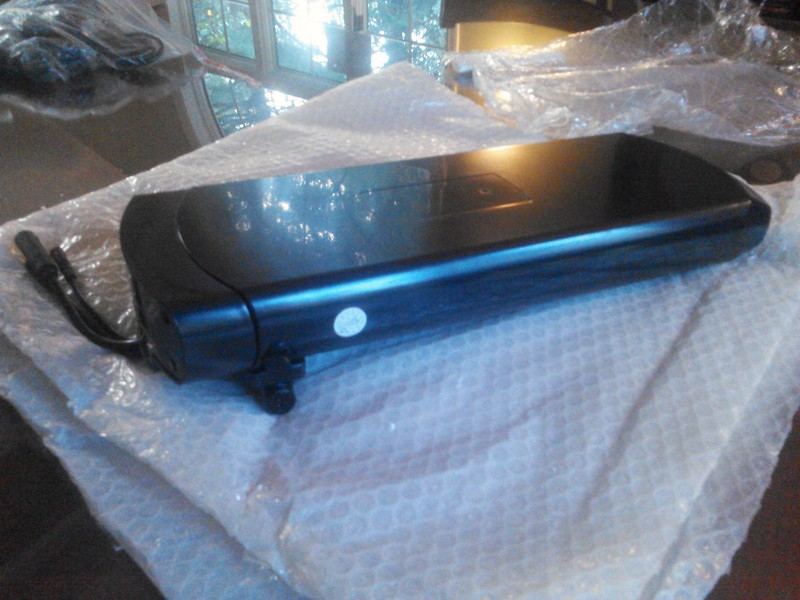
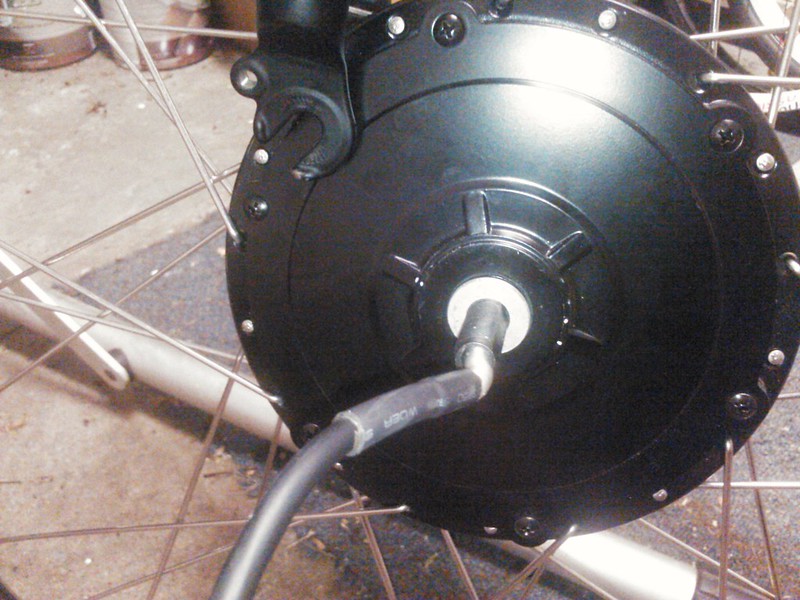
Newbie Build

TOC said:
So BMS tells me the 48V BPMIIs they are shipping are code: It is 26(code:13).

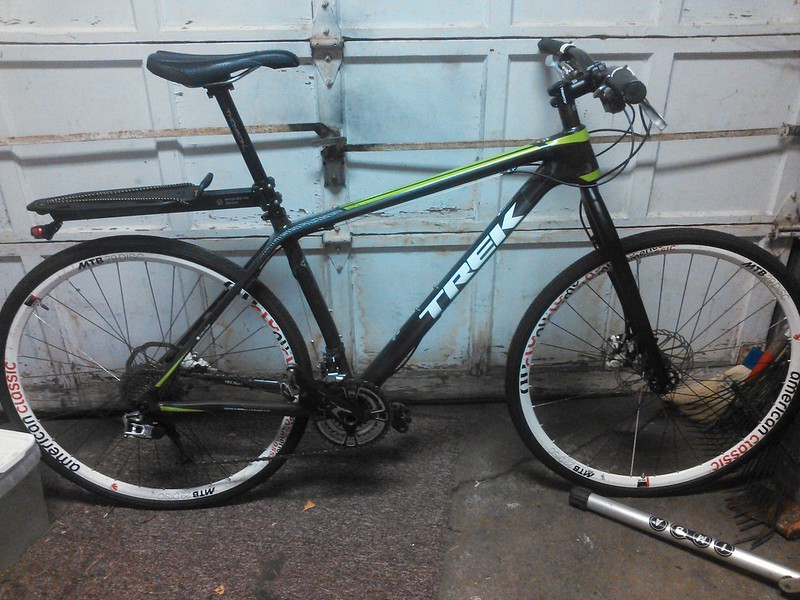
I have two priorities for my commute, a 1/2 mi 6% climb right at the beginning of the ride and an 18 mile bike path where speed is king. I know it is asking a lot.

EDIT: The 36V w/RPM 201=code:11

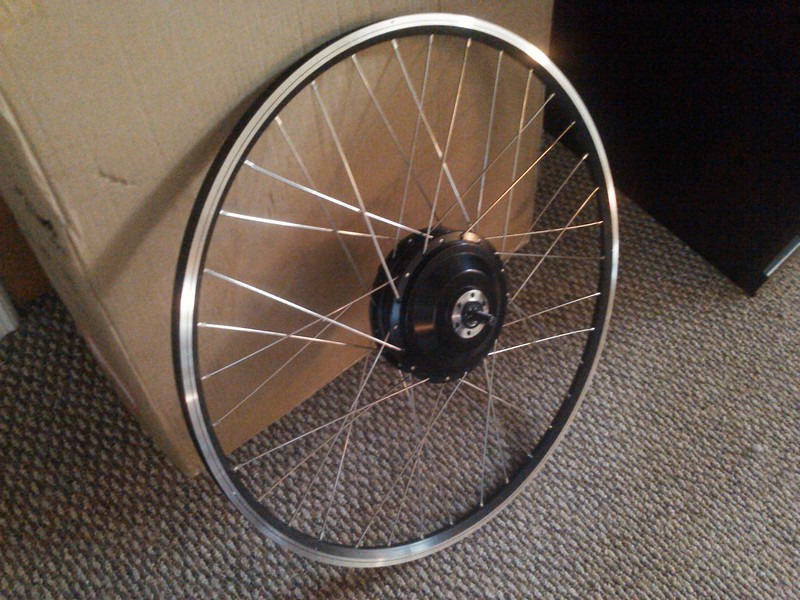
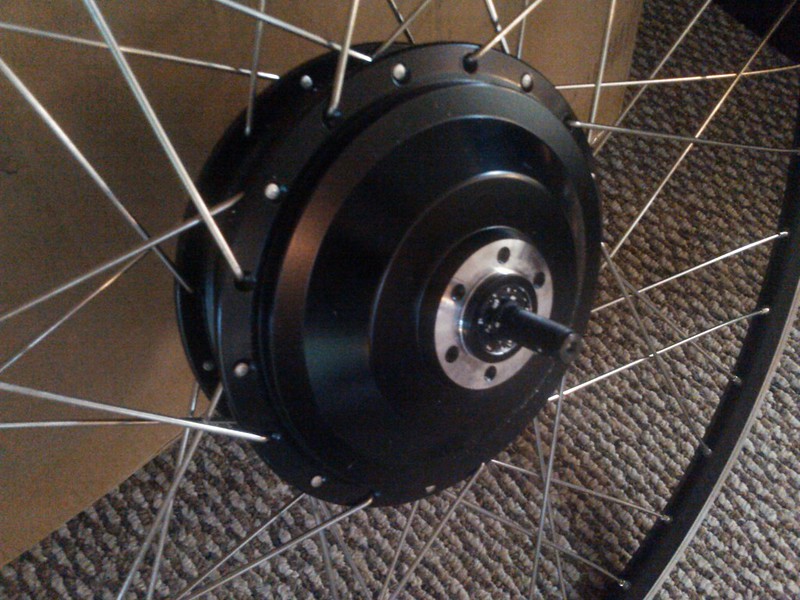
The Q128 is either 260rpm at 48V or 201rpm at 36V.

Not sure I understand the pros & cons of using a 48V batt with a 36V motor but it may be the way to go?

Thanks.

After some more reading it looks like the 48V BPMII code 13 is 235rpm which should be a nice speed for my needs.

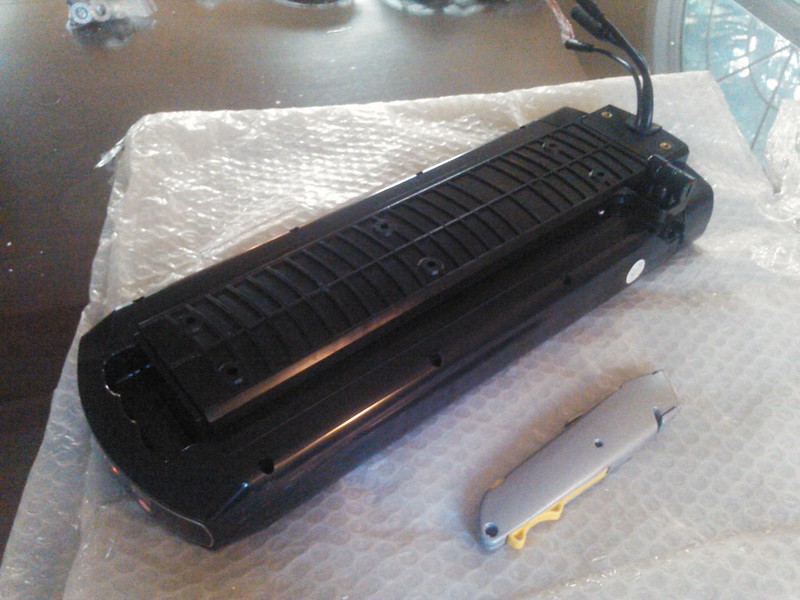
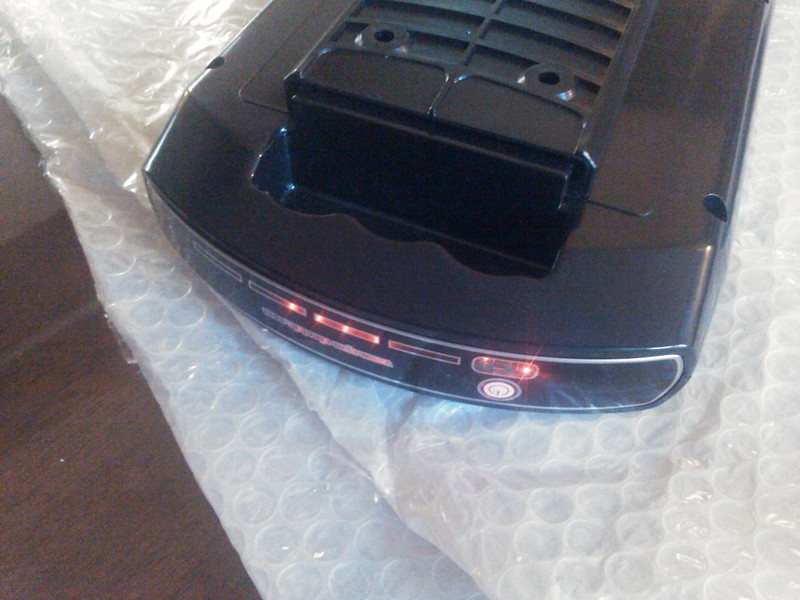
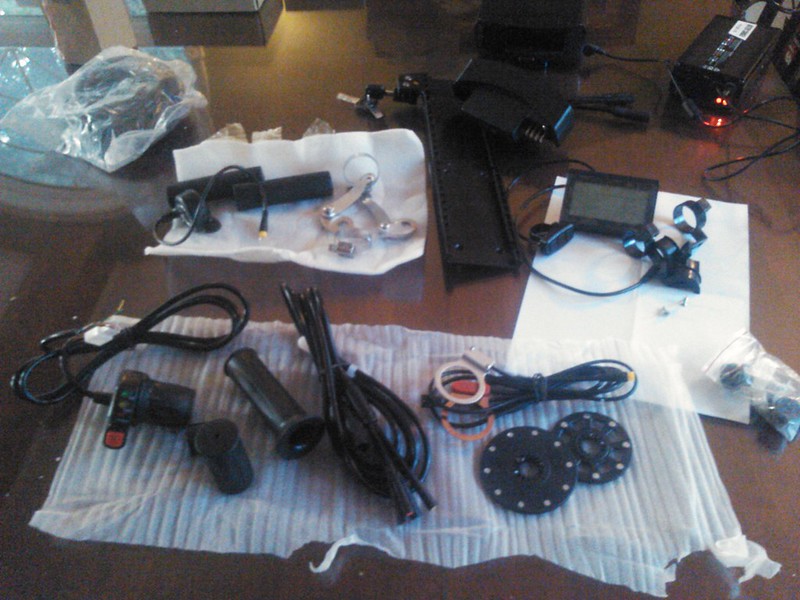
Think I'll go for that motor with the 48V11.6ah Panasonic battery with the built in 18a controller.
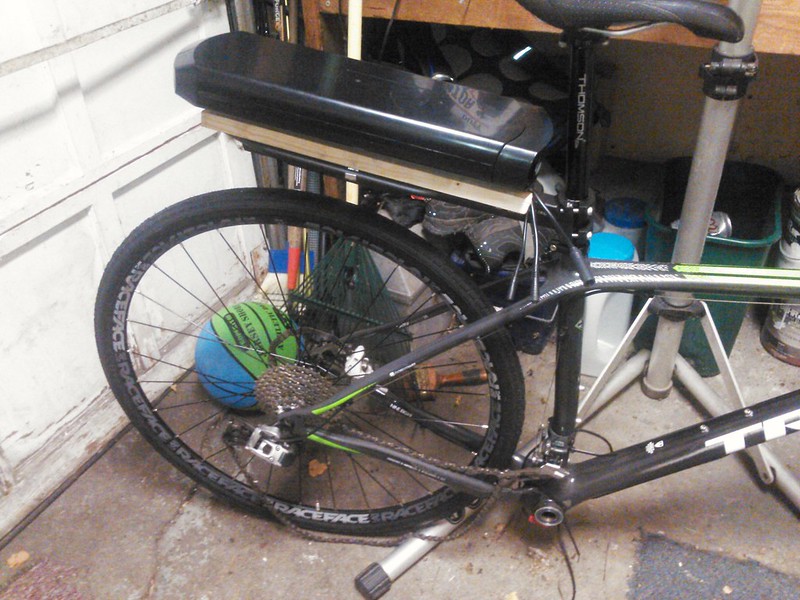
 
d8veh said:
Code 13 is 235 rpm at 36v. At 48v, its 313 rpm, which is about 24 mph in a 26" wheel.

I was thinking I want 235rpm at 48V. I figured about 20mph on the flats with decent torque for climbing. 313 seems too fast to have decent climbing. The code 11 is even faster.

I don't get it, if I go to the BMS site and pick the 48V BPMII which is listed as 201rpm, they will send me a 313rpm motor?
 
I ordered a 260 rpm 48V BPM from them and they sent a code 14, which has very good torque and a top speed of about 23 mph. I built it for a guy with only one leg. He had some fairly steep hills to get up and he couldn't pedal very well (obviously). He was very happy with the bike I built for him.
 
Thanks so much for all the help, I placed the order for the 48V BPM2 front hub with the back rack Panasonic 48V11.6ah battery. I hope it is not too much motor for me on front as you guys have warned. I feel I need the power if I ever want to make the long commute. Too nervous to put a rear hub in the carbon frame especially after it was mentioned on here. I am not the type to convert a clunker or I would have thought about getting another bike.

Here is my Trey Superfly 9.8. The frame was a warranty replacement after my Gary Fisher Hifi alum full suspension frame that broke last year. The frame is new but many of the components are from the 5 year old Fisher. The brakes will need an upgrade soon, probably the Shimano XTs.

20724408538_5fda7b3091_c.jpg


Here is my new steel VooDoo fork next to the Fox F29

20725604329_327c28f526_c.jpg


The fork swap saved some weight so after the swap she is weighing in at 23.8 lbs. Also got a Bontrager seat post rack for the battery that brings it back up to 25 lbs and ready for the install

20291340163_1b3cf50e54_c.jpg


Also put on a shorter stem to ease up on the riding position

20913785115_8eb4a51789_c.jpg
 
It should be OK with that steel fork, but wheelspin will wear out your front tyre fairly quickly. It would be a good idea to use the PAS sensor for normal riding because it doesn't spin the wheel like the throttle. You'll see what I mean when you try it.
 
d8veh said:
.. spin the wheel like the throttle. You'll see what I mean when you try it.
I have never had that problem but then my HUB has a max of 750 watts and the GM controler has 'soft start' (because I have not figured out how to disable it).
 
Can't believe my kit showed up from BMS Batt in under 2 weeks to NY :arrow: :lol: 8) 8)

It is indeed the code 13 motor as promised. Was surprised at the weight of the stuff, especially the wheel that is pushing 15 lbs on its own. Batt w controller 11ish.

20960487680_a809384bbb_c.jpg


20525939004_3ed67b2230_c.jpg


Put it in the truing stand and somewhat true but not dished, looks like they were cheating to make space for the rotor.

20965936319_21aef075e5_c.jpg


Not overly impressed by the construction quality of the battery, it says sym-electric.com, looks like I got their 'matrix' model

20962175008_21155ec34b_c.jpg


As long as it functions properly I guess, I told them to keep their metal rack but it comes with a plastic base to mount on my rack

20960720898_d1893b7fcc_c.jpg


I don't have a lot on confidence in these lights, whatever they are trying to tell me...

21139837622_cb704a3ebc_c.jpg


all the other stuff, in addition to the motor wheel and battery, I got an extra half-twist but I will probably start with the thumb throttle as it is plug and play, half-twist needs solder, xtra pedalec, 2 torque arms, the curly cue for the wiring and an xtra charger for the office. BTW, shocked by how loud the charger fan is, will be a problem in the office.

20960599848_cd90f744b2_c.jpg


Absolutely zero instructions, I'm glad you guys are here :arrow: 8)

I think I kinda have a game plan but I'm also open for any helpful tips. Thanks :wink:
 
TOC ,

Your local bike shop can dish the wheel for you, also have them correct any hop in the rim, and perhaps
the correct spoke tension as well adjusted .
Best to find a bike shop with someone who has been to school to learn how to build a wheel, or a mechanic that has been working enough years doing all three items
listed above , enough times to do a good job.
 
Before you dish the wheel, install the disc and freewheel. If you have a disc, you will need one extra washer on the axle on that side to bring the disc inline with the caliper. Depending on which freewheel you fit, you might need a washer or two on that side.

One more thing, which seems obvious, but I've recently had to fix a bike with this problem and I'm sure there's many more. Do not pull your zip-ties too tight on the cables because it can break the wires inside or short them out.
 
d8veh said:
Before you dish the wheel, install the disc and freewheel. If you have a disc, you will need one extra washer on the axle on that side to bring the disc inline with the caliper. Depending on which freewheel you fit, you might need a washer or two on that side.

One more thing, which seems obvious, but I've recently had to fix a bike with this problem and I'm sure there's many more. Do not pull your zip-ties too tight on the cables because it can break the wires inside or short them out.


Thanks for the replies. It is a front motor so no freewheel but I definitely plan on a dry run install before any dishing. Seems like there is space between the motor and the forks for a couple of washers.
 
Had a build nite tonite...installed the cockpit. Handlebar real estate a challenge, need a wider bar, and more rise to boot :!: Throttle blocked by shifter buttons...need to work that out

21269597321_0bc606f8cf_c.jpg


Tip is to wrap the button wire around the opposite mount and the length may work out, no zip tie needed here.

21073614218_9d466360f0_c.jpg


Battery set up a challenge, needed to dremel off a support bar to make a flat surface for my install

21251018662_63fe5ecaae_c.jpg


Planning to use a piece of 1x5 pine to mount the battery base and to screw to the rack.

20641872633_dbaa58c3f3_c.jpg


made cutouts for controller wires and key

21251011932_71cdefa228_c.jpg


have a bag on order to wrap around the battery.

Tried a test fit and these things do not work with each other:

20640388973_3fd07585b2_c.jpg


Seems like a lot of paint on the forks and I need to do some filing. Tip here is to not install the brake disc before a dry run install, the disc would really get in the way.

Do you guys all use really wide bars? My 660mm does not seem close :?
 
TOC said:
... Do you guys all use really wide bars? My 660mm does not seem close :?
The 'stack-up' can be challenging. You are fortunate in having the shifters combined with the brake levers. Also in being able to mount the display in the large MTB center section. Some units will only mount on 22.2mm sections of the bar.

If you rotate the throttle unit 180 degrees then you may be able to use your index finger rather than you thumb to control it. A twist throttle might be a bit less challenging. They also make throttles with levers that operate in a plane perpendicular to the bar rather than around it.Style B (1) mounted - right hand.JPGIn direct answer to your question: 540mm. I am building up a road bike frame as a hybrid and I do not like drop bars. I acquired a used RaceFace carbon fiber bar off ebay (for its light weight but I had come up with a solution to mount it on a 1 inch steerer as well). I have the advantage of no front derailleur. I am swamping the ratchet plates between Sunrace lever shifters to make a left hand shift unit for the rear. With the shifter on the left and trottle on the right I can cut the bar width back to 21-1/4 inches (well that is the plan).

If you have a dremel tool then a 1/4 sanding drum with fine sandpaper works well on the fork dropouts. You have a fork designed for a 9mm QD axle and a motor with a 10mm flats on a 12mm (or 14mm) diameter axle. Go slowly --- you need only remove a very minute amount of material.
 
There shouldn't be room for a couple of washers between the motor and forks. There are two special anti-rotation washers provided. They must be fitted on the axle inboard of the drop-outs. As I said before, you will need one plain 12mm washer between the left side anti-rotation washer and the axle to line up the disk with the caliper.

When you file the drop-outs, you should consider filing them about 2mm deeper to recentralise the axle.
 
d8veh said:
There shouldn't be room for a couple of washers between the motor and forks. There are two special anti-rotation washers provided. They must be fitted on the axle inboard of the drop-outs. As I said before, you will need one plain 12mm washer between the left side anti-rotation washer and the axle to line up the disk with the caliper.

When you file the drop-outs, you should consider filing them about 2mm deeper to recentralise the axle.

The space I was seeing is for the anti-rotation washers. Did not realize the one extra washer was a known fact, I thought it was trial and error, thanks.
 
Its good advice to go slow on the filing and the dremel works great but maybe a little too good, tough to go slow. Think I went too far on one side but I got two torque arms so I still feel OK. A tight fit width-wise to get the wheel in there, I lost patience and moved on.

20688508803_62b89f93b0_c.jpg


Wish I saw those sleek eyelet mounted torque arms before I ordered the cheapos from BMSB :(

Also surprisingly good advice on the upside down throttle :arrow: :idea: :!:

Thanks again Lew 8)

Looks funny but fits much better with my stuff, allows me to keep my fancy grips and the riding position is more comfortable, pinching it to full rather than pushing it down. Eliminated a concern and allows me to use the plug n play throttle.

20688502383_db195fe746_c.jpg


Handlebar real estate still an issue though.

21284588336_249ff57c48_c.jpg


Next up I went to the PAS install which is a problem.

The seal you see on the crank is a part of the bottom bracket that compresses into the bearing you see press fit into the shell.

21317796371_cb7b52d852_c.jpg


The granny ring mounts are inboard of the BB shell. Tough to squeeze it in, will need to take the sensor off the bracket and mount on the frame somehow.

The shell is also big around, I need to dremel out almost the entire inside of the larger one and mount somehow in place of the granny ring.

21309610775_694aca7f72_c.jpg


May just go throttle only to start :arrow: :idea:
 
Some electric motors (i.e. Delta variable speed grinder) use a toothed wheel passing a sensor to read the speed.
'Tis a shame someone has not built a similar unit to read passing sprocket teeth for E-Bike PAS.
 
You might get some idea from this. I epoxied the magnet sisk to the inner chainring and made a new bracket for the sensor to hold it on with a zip-tie:


Looking good so far! That rear rack likely won't hold up long with a battery on it. Consider going to a rack that attaches to the rack mounting points on your rear dropouts (assuming they are there but I can't tell from photo), and if you go with a larger battery ever, you may want to go steel (think Tubus cargo). You may be able to fabricate a support system in the meantime, but many people have had those seatpost racks snap off. Best option is to fit it in a triangle bag, since you don't have to work around rear suspension woes on this frame.
 
Had a hard time again trying to fit the motor wheel, almost seems like a 2 person job, what a PITA. And I don't even have to rotor on there yet.

Well I had to sacrifice the granny ring to fit the PAS ring. This thing is gonna work so good I wont need a granny right :arrow: :!:

Glued in on as suggested.

21346327021_0705396e2a_c.jpg


Still very tight against the frame, not way to fit the sensor on the mainframe, put a piece of tape on the frame, took the sensor off it's frame and was gonna glue it to the tape, but no way. Instead I bent the sensor frame and zip tied it underneath the BB, vulnerable down there I know...

21338119825_390c694fb4_c.jpg


I'll shape it around the frame a little better and tighten it up when I get the crank back on.

20715412754_8a6b6cf4d3_c.jpg


Plan to run the wire through the chainstays.

Also got my battery mounted. Thinking about adding some vertical supports but nervous about bolting onto the carbon stays.
Still waiting on my battery bag to show up.

21327375282_6abe5ccf97_c.jpg
 
striider said:
... the rack mounting points on your rear dropouts (assuming they are there but I can't tell from photo) ... many people have had those seatpost racks snap off.
TOC said:
Thinking about adding some vertical supports but nervous about bolting onto the carbon stays.

I am guessing "Superfly 9.7 carbon" and it appears from various pictures that they forego the luxury of any fender or rackmounts on the rear dropouts.
http://velonews.competitor.com/2014/07/mtb/reviewed-trek-superfly-9-7-mountain-bike_339069

Here is a thought:
My guess is that the seatpost is 27.2mm in diameter. I have a GUB 27.2 seatpost (bought by mistake). It has an oval ID but a section of 22.2mm aluminum handlebar fits inside (barely). I do not think anything would snap the GUB seatpost but I am fairly certain nothing would snap it where a section of aluminum handlebar was set inside with a bit of epoxy or other resin. So can you stuff something inside the seat post to reinforce it?

Can not speak to the ability of the rack clamp not snapping. Again hard to tell from the photos but it looks like a two piece, 4 bolt clamp. There should be a full penetration weld between the rack beam and the clamp. I would say the weak point would be the top two bolts.

From the side it looks like you have a lot of room under the down tube. I suppose that the battery is too wide to hang there without being a toe-knocker :?:
 
LewTwo said:
I am guessing "Superfly 9.7 carbon" and it appears from various pictures that they forego the luxury of any fender or rackmounts on the rear dropouts.

Yes Lew, mine is a 9.8 but close enough, and correct, no rack mounts, would need to devise something.

Both the post and the rack are good quality being a Thomson post at 27.2 and a Bontrager rack that I bought at full retail at a LBS. My concern is the rack breaking rather than the post, even though it does say 20 lbs max right on it and I am below that. Guess I am gonna roll the dice on this one for a while.

Is it common to have trouble squeezing the motor into the dropouts? Motor seems a few mm too wide. Tough to spread the fork and get it in there. Should I file down the directional washers? They seem very thick.
 
TOC said:
LewTwo said:
Is it common to have trouble squeezing the motor into the dropouts? Motor seems a few mm too wide. Tough to spread the fork and get it in there. Should I file down the directional washers? They seem very thick.

I have tried to avoid commenting on that as I do not have any experience with disk brakes. I have not had any problems with 100mm motor fitting between 100mm dropouts --- well no more than a mm or so either direction. I assume that the lateral position of the disk rotor is critical.
Thoughts:
Do the anti-rotation washers have to go between the dropouts?
You have Torque arms --- those duplicate the function of the anti rotation washers. Would thinner substitutes be an alternative?
 
TOC said:
My concern is the rack breaking rather than the post, even though it does say 20 lbs max right on it and I am below that. Guess I am gonna roll the dice on this one for a while.

More of a problem on how you plan to ride it. Worse case scenario is sudden deceleration from a drop. A three inch drop takes roughly 1/8 of a second. With wide soft tires you can hope for 1 inch of deceleration. Better to consider half of that. (1/2)/(3)=6Gs. That means a ten pound battery pack suddenly weighs 60 pounds. Bigger drop equals bigger problem :cry:

The rack should have been rated with some sort of 'G' force taken into account .... but only the manufacturer has that information and are not likely to share it.
 
Back
Top