Newbie Build

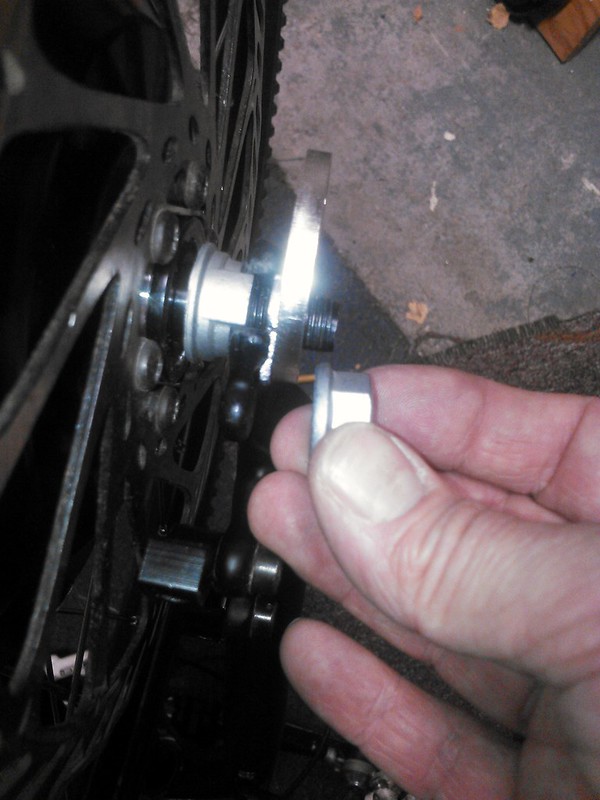
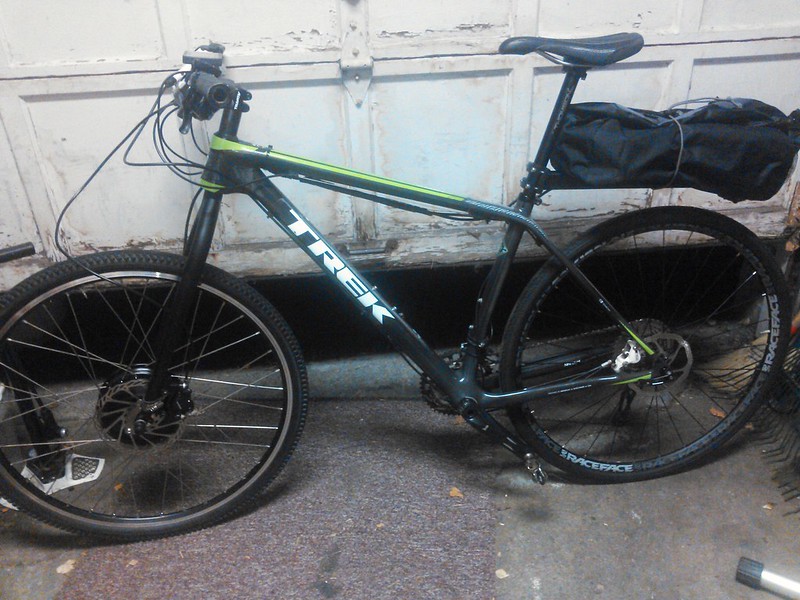
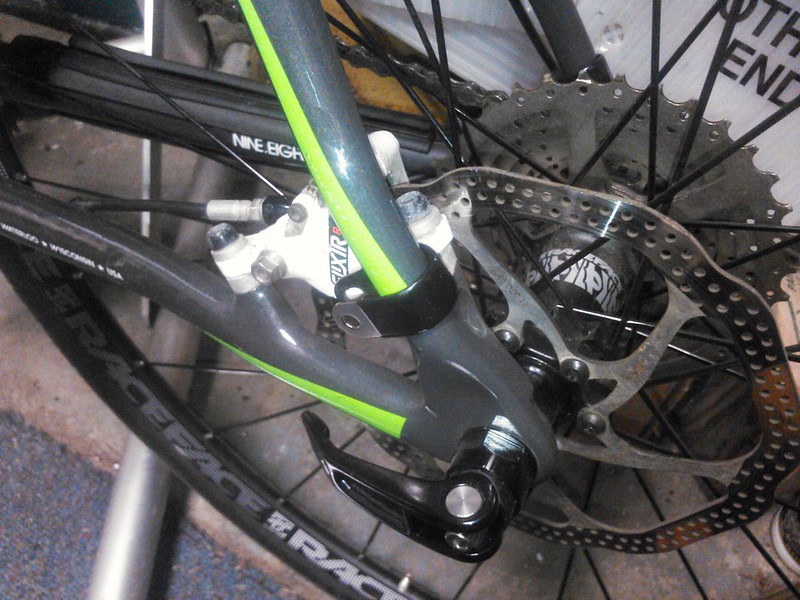
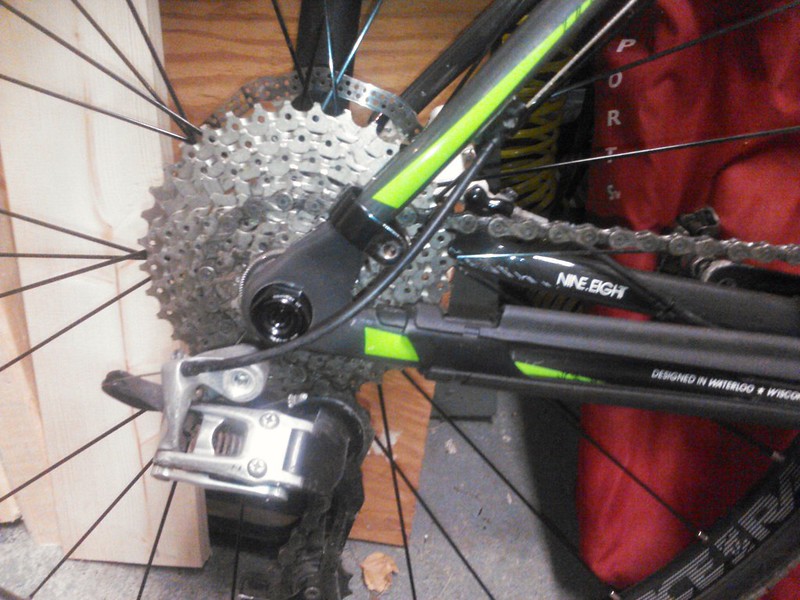
If there's not enough room to get everything between the forks, you can put the one on the non-brake side outboard of the drop-out. You can't change anything on the disc side because the disk has to line up with the caliper, which is why I said you have to add in an extra washer. Having said that, it's no problem to adjust the width of non-suspension steel forks. Just jack them open a bit.

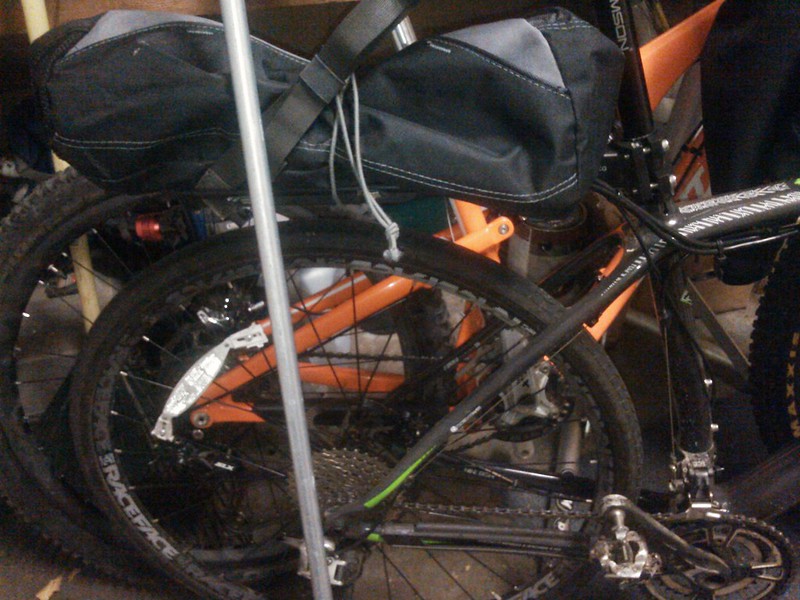
I too would like to see some support struts on that rack. Could you make a couple of small mounting plates out of steel strips? All you need is a hole for the axle and a hole for the strut. Fix them onto the axle with the wheel nuts or skewer.
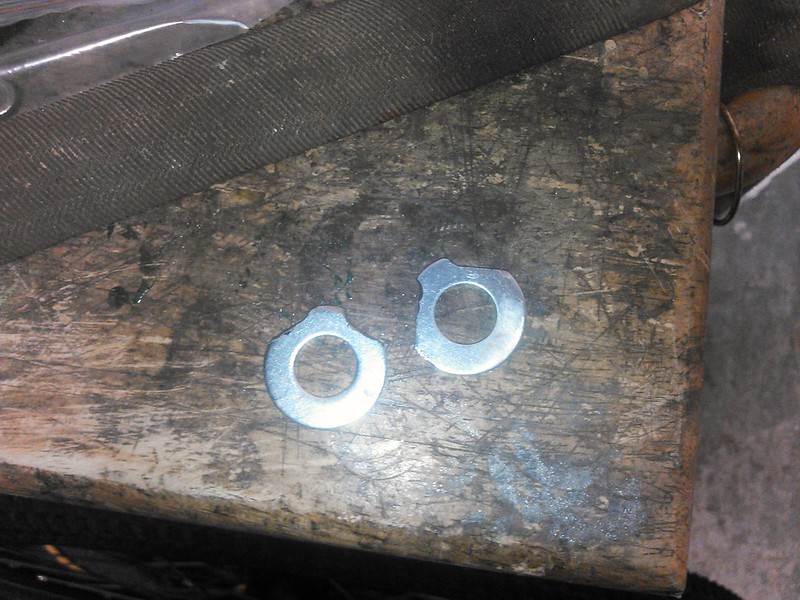
 
Ok, thanks for that, good to know the directional washer works on the outside. I think I am almost there on washers and spacing and such except that I have to deal with my lawyers lips under my double torque arms. Seems the easiest is to dremel some washers so they fit around the lips, next easiest is to file the lips off.

I know Dave mentioned to file the dropouts deeper to centralize the axle, and I suppose that would work but I'm too nervous to get back at that, think I went to wide on the one dropout already.

Probably easiest, but long time to wait, is to order the C-washers. Whaddaya think :?: :?: :?:

Also, for rack uprights, I got a good spot on the rack to bolt something on, there are some eyelets underneath. The problem is on the seat stays or axle. The bike has a 12x142 axle but also convertible dropouts, so these are screwed into really big holes in the dropouts:

TREK_427343.jpg


the bearings are for full suspension models.

bicicleta-trek-superfly-9-8-xt-2015.jpg


I could try to tie in the supports here but they are fat and short threads that I working with. What have you used for raw material, looking for that best compromise of strength vs weight?

PS - Its really nice that the owners host the pics directly on here, its a pain on our mtb forum to hosts pics elsewhere...
 
TOC said:
Also, seems clear that once I get the spacing right I will need to dish, I guess that's pretty common.
I would same it is a pretty poor build quality on the part of the vendor. Regardless of the type of brakes, front or rear location, or the price of rice in SEA the rim is supposed to be centered between the OLD (over locknut-dimension) which should be 100mm for a front rim. It is not uncommon to have to tune a wheel after shipment. However it looks like the vendor in this case only 'assembled' the spokes, nipples, rim and motor without regard to anything else.

There are rare exceptions such as "Specialized Demo 8 frame ".

TOC said:
Lawyers Lips Washers...Pat. Pending...
I think those may be more properly called 'warts' rather than 'lips'. Their only purpose is to protect the manufacturer from a law suite if the person maintaining the bicycle fails to properly tighten the nuts holding the front axle. It is assumed that if the nuts become loose then the front wheel will begin to misbehave (wobble, etc.). Thus the rider will stop and correct the problem before the nuts come off completely and wheel separates from the fork. That may not be a valid assumption if they failed to tighten the nuts in the first place. Since you are installing torque arms that function is duplicated.LawyerWarts.jpg Personally I think wart removal :) might be the preferred treatment but your pat. pending washers should work.
 
That bicycle frame is just not very conducive to being converted to a E-Bike.
However you have come very far so ….
How comfortable are you with working with resin and fiber?
I tried to find a picture of the rear brake on your Superfly … this is as close as I could come.newbie00.jpg
It occurs to me that one might be able to install a “T” nut in the inside corner of the triangle between the seat and chain stays. Done correctly it would strengthen the frame rather than weakening it.newbie00-1.jpg

Of course you can do the same thing with glass or basalt fiber.
E-Glass is easier to come by and lot less expensive.
Basalt is almost as strong as carbon-fiber and considerably cheaper.

Reference:
Carbon fiber tape 2" wide 15 feet long (woven)
http://www.amazon.com/dp/B00XTLSL3A

Carbon Fiber Tape, 3/4" x 12' (bundled strands)
http://www.amazon.com/Dave-Brown-Products-Carbon-Fiber/dp/B0006O8QK6

Clear Epoxy Resin System Kit For Carbon Fiber, Kevlar, Fiberglass - 6oz
http://www.amazon.com/Crystal-System-Carbon-Kevlar-Fiberglass/dp/B00RDFTD12

6mm Diameter T Nuts
http://www.amazon.com/10Pcs-Silver-4-Claw-Diameter-Screw/dp/B00MJU7KSY
 
Thanks for those ideas Lew, I may just get a pair of clamps and strap them onto the seatstays down close to the dropouts.

http://www.ebay.com/itm/Bike-Rear-R...-16mm-Frame-/301318032134?hash=item4627f44b06

For now I'm still working on getting my fork dropouts figured. Looks like I may need to file the lawyers lip off the disc side after all. The stack does not leave much room to get the nut on there. The torque arm is pretty wide.

21416098662_24db1bf577_c.jpg


Also, looks like the axle is not getting all the way in, need some more filing in there.
 
Almost there...got the PAS figured (hopefully) and the dropouts figured.

21476191616_fd76fdf967_c.jpg


After I hatched the 'sensor under the BB idea' I realized that I could prob keep the granny and just move the sensor back. Too late, I had already glued the mag ring.

Dropouts :arrow: :arrow: :arrow:

20879693644_1afce225df_c.jpg


21314631258_d0142af2c9_c.jpg


Thanks for all the help on the build, now looking to program the LCD3, saw a post by D8veh that said default settings are pretty good, so think I will start there.
 
Almost ready for the road. Went out for a quick test drive in the dark and it felt awesome. New front brake lines needs adjustment at the LBS. Batt bag turned out to be a bit bulky but whatever.

I wrote down the default LCD3 settings, may start another thread. Wheel size seems drastically off, pre-set at 700c, as I clocked 4 miles in a 5 min ride on my block.

No PAS, not sure if its sensor placement or software settings, will have to figure that out.
The throttle worked great :lol: :lol: :lol:

20906795513_c9690c637f_c.jpg


21536638491_8995b9f279_c.jpg


She's weighing in at 44lbs. Will get better pics in the daylight.

Thanks for the help 8) 8)
 
Maiden voyage...will need to make it private soon since it has a KOM on a major bike path that is inaccurate due to my use of a motor. Improved my time on that segment from 6 min to 4 min but took a KOM from a guy who earned it with his legs, over 1500 attempts on the segment.

Averaged 20mph for this 15 mile ride, perfect for me, did not try many hills but hit one at the end and the motor was whining. Little bit of a weird noise coming from the motor also after a prolonged constant effort, almost like something stated rubbing after it got hot.

Very much fun running the bike with this motor, I ran it pure throttle for this whole ride. The computer/controller is holding it back as the speedometer was pinned at 46 mph the whole time.

Reduced wheel size in the settings from the default at 700c to 24 in...I think it had a difference but 46 mph was still pinned the whole way.

https://www.strava.com/activities/395797192
 
Download and/or look in the manual for the S-LCD3 from BMSBattery. There's a setting for how many magnets in the speed sensor. Did you fit the external speed sensor? If not, the controller will use the hall sensors. You will know if it's using the correct signal because it will show zero speed when you're freewheeling if it's using the motor halls. Without a separate connector for the speed sensor, you need to do a small hack to wire it to the controller.
 
I have the manual but I did not get a separate speed sensor, did not think I needed it.

I reduced the wheel size down to 10" and it gave some readings but still twice the speed I was actually going (checked with my Garmin). The LCD3 says I went 45 mi when I really went 24, which is a range I am happy with considering I did a lot of hills, 1,400 feet of ascent.

It displays the speed when freewheeling. Max is 46mph.

The motor is getting me up to 21 or 22mph on the flat with no pedaling which is what I expected.

Glad I went with the more powerful motor as it bogs down on the hills and needs some pedaling.

I need to get the PAS going as the motor seems really happy when you pedal along with it. I tried changing the C1 parameter from 02 to 00. The manual says that gives higher sensitivity so I thought that might help but no go. Will try repositioning the sensor.

Motor cut out on me twice, just weird that the throttle had no response at all, after a minute of rest it came right back both times, not sure what that is all about. Still making that clunking noise as well.
 
LOVE the new eBike conversion, way fun :lol:

A few blips but...worst was battery noise bouncing around on the back, OK, I did hit a few fireroads and it did not work out, this is truly a road machine, but...I can put my 29 x 2.2 nevegals back on at any time.

Built a new retention system with an old camelback strap, nice thick ends are screwed into the pine underneath the battery, will surely take some pressure off and hopefully help with any big hits and at a minimum is a breakaway tether.

21650108071_85d0302113_c.jpg


I did get the seat stay clamps which are nice. Sticky rubber helps to smooth out the hits. Fit nicely around the lower end of the seatstay.

21629690882_41aec82db2_c.jpg


21453089720_35c3d5c4c7_c.jpg


Would still need to figure the uprights for this, I figure I need a 16" support.

Some kind of tent pole or something I guess.
 
Figured out the problem with the speedometer on this great thread for LCD3 info. The preset for parameter P2=1, which says 1 pulse per revolution when, in fact, my bpm2 sends 6 pulses so the controller thought I was going 6 times as fast. I set P2=6 and I got 29mph in an unsprung speed in my garage on the LCD3. Thinking that was a somewhat accurate speed.

I saw it all in this thread: https://endless-sphere.com/forums/viewtopic.php?f=3&t=71031&start=25
 
TOC said:
Would still need to figure the uprights for this, I figure I need a 16" support.
Some kind of tent pole or something I guess.

Another possibly:
1/2 EMT (Home Despot steel electrical conduit)
Might be a tad large: OD = 0.706, ID = 0.622 (inches)
$2.00/10 feet
 
I'm wondering about these connectors, seems like they are proprietary to this BMSBatt set-up. These red ones are for the brake cut out connectors that I will never use. Is there any other reason I should keep them? Is there anything else that I could use them for? I would prefer to cut them off and get rid of them. Thanks.

21924183356_31528dac4e_c.jpg


While we are at it, if I wanted to connect a twist throttle and use the button for a motor cutoff, how would I do it with the BMS Panasonic rear rack 02 case batt with the built in controller?

I've got this throttle-
21969261902_2a2e8a4258_c.jpg


Thanks again :!: :!: :!:
 
LewTwo said:
TOC said:
Would still need to figure the uprights for this, I figure I need a 16" support.
Some kind of tent pole or something I guess.

Another possibly:
1/2 EMT (Home Despot steel electrical conduit)
Might be a tad large: OD = 0.706, ID = 0.622 (inches)
$2.00/10 feet

BTW, I did get a piece of this and it looks perfect if I had a metal frame, nice and sturdy, if anything a bit too heavy duty. Too nervous to clamp onto my carbon stays...

21793816660_49e1868c7e_c.jpg
 
You already have a cut-off on the LCD. Whenyou switch it off, the controller is isolated from the battery because its power goes through the LCD switch. The motor is isolated by the MOSFETs in the controller until it's active. If you wsnt to kep everything switched on to ride without power and still record your speed and miles, you select level zero.

You can dispose of those connectors, but make sure that the wires can't touch afterwards. Some time in the future, you might discover why ebikes need brake cut-offs, so you might want to think about keeping them for now.
 
Three possibilities i can think of: pedal harder, chuck it off a cliff, or get a new controller and battery with more volts.
 
d8veh said:
Three possibilities i can think of: pedal harder, chuck it off a cliff, or get a new controller and battery with more volts.

Great ideas :roll: I'm good at pedaling faster and that's the only one I could think of.

Maybe I'm wrong but I thought I had read a mod to increase the amps that the controller gives, mine is 18a but if it was 20 or 22 wouldn't that increase speed and/or power.
 
John in CR said:
An increase in current increases torque, which generally won't increase speed except on hills. An increase in voltage increases rpm and in turn speed.

No need to reply D8veh, and thanks for the replies. I found the answer regarding the shunt mod. I'm actually happy with the torque/speed mix of the set up I have. Plus I need to conserve battery as I am just making it on my 25 mi commute that I tried on Sunday. In fact, I needed to pedal a little more than I would want to on a regular basis, I really wanted to motor all the way in to work and pedal on the way home. I will look to get a bigger/better battery at some point to eliminate the range anxiety. I will also look to get a triangle battery next time around, at first that was my third choice but now I realize it is the best for my bike :arrow: :idea:
 
Just in case other people are reading, I'm seeing mord and more of these modern controllers with solid state shunts that can't be soldered, so don't get too excited about more torque until you look inside.
 
Back
Top