
Stevil_Knevil
10 kW
NICE work, Reid. Looking forward to seeing you and your machine drop into the deep end of the previously mentioned pool for an underwater, board-track style victory lap!
God dam, it's great to hear from you again after all this time.Stevil_Knevil said:Of coarse, if you had access to a SCUBA.. you might stay under water for ~18 miles (?)
Just a guess.
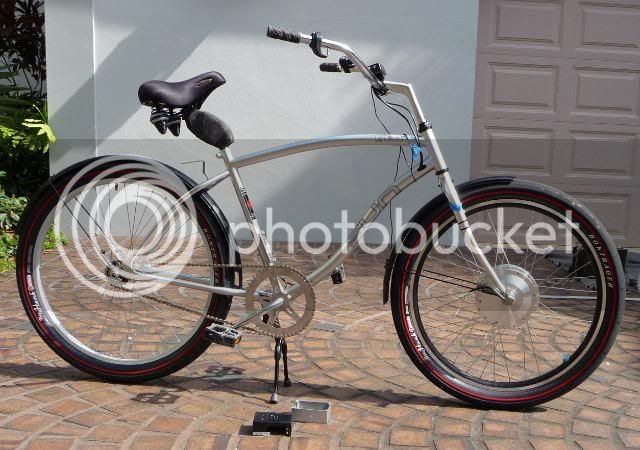
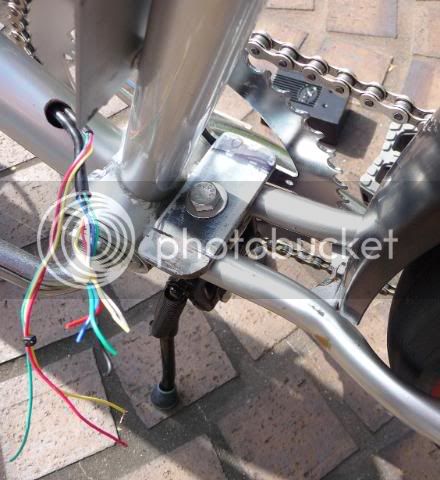
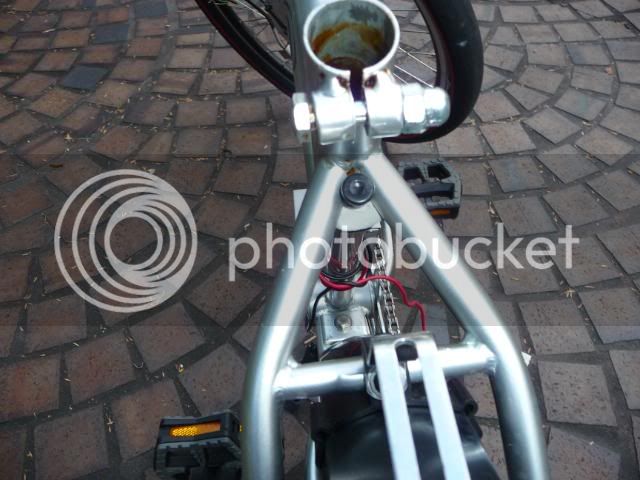
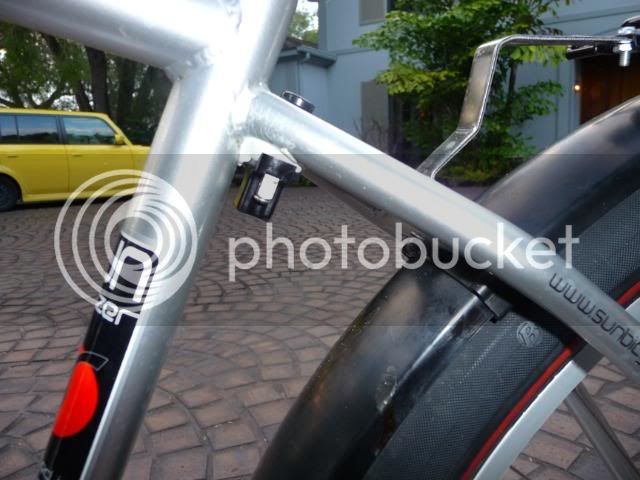
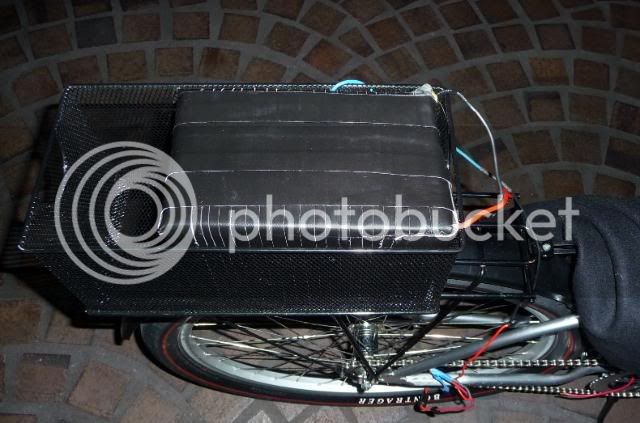
recumbent said:Nice bike Reid, and huge bonus for hiding the wires through the tubing like you did, I hid most my wires also.
You can adjust your seat more forward if you loosen the clamp underneith. Might have to get different design but can be done, just so you know.
")
Reid Welch said:off to drown kittens at the animal shelter (kidding!)
"not kidding" I hate catz 


Your partner may not appreciate that you're still a "hunt'n pecker". Sorry, just couldn't pass up your straight line.i cannot even hunt and peck successfully
What kind of twisted mind does it take to come up with that! :lol:Rassy said:Reid wrote:
Your partner may not appreciate that you're still a "hunt'n pecker". Sorry, just couldn't pass up your straight line.i cannot even hunt and peck successfully
Have been AWOL due to illness. Now back on track.The Stig said:It's been a while since the last update. 15 days... Still haven't found a good keyboard Reid?
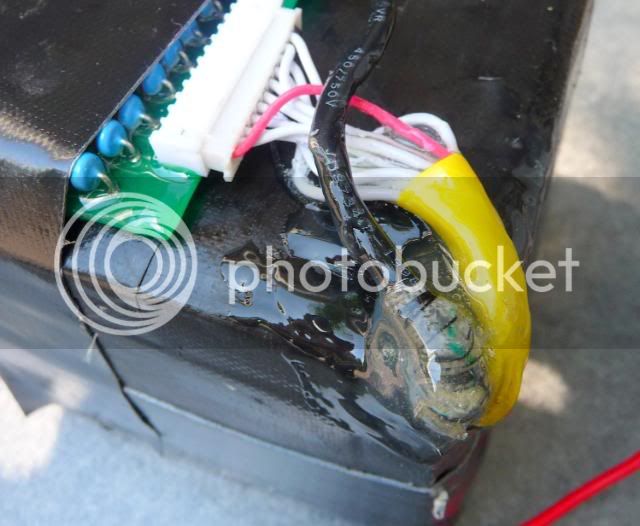
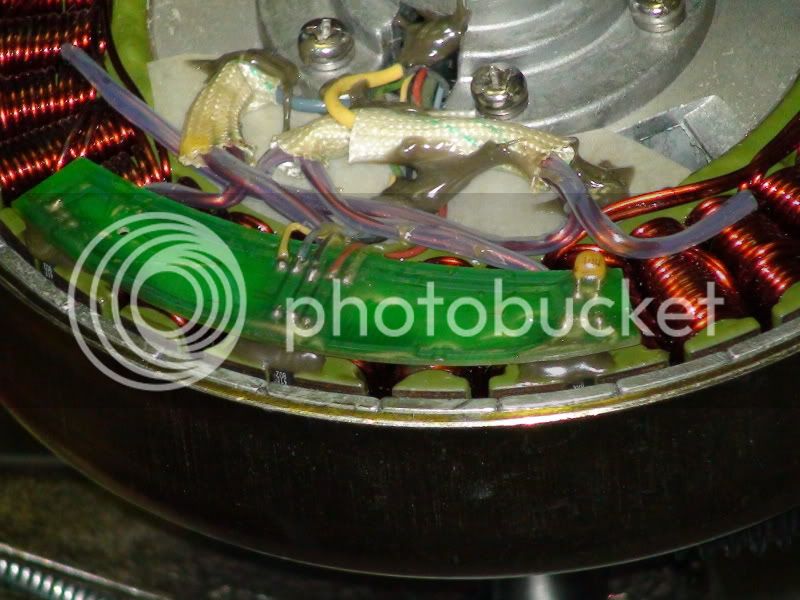

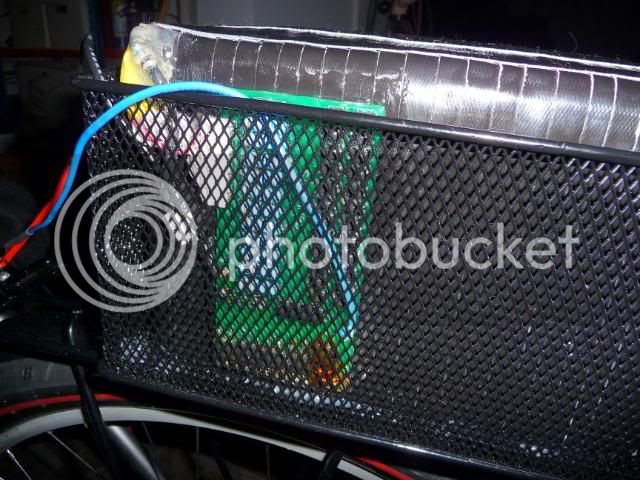
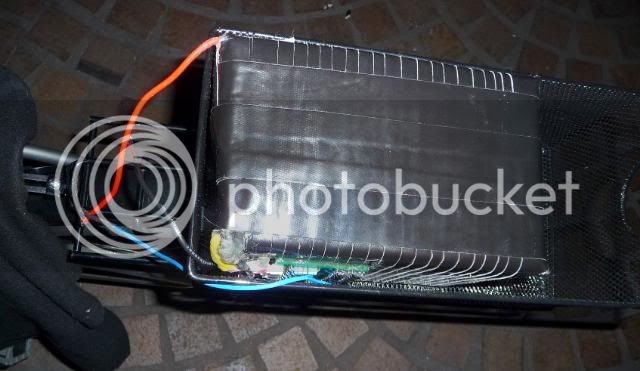
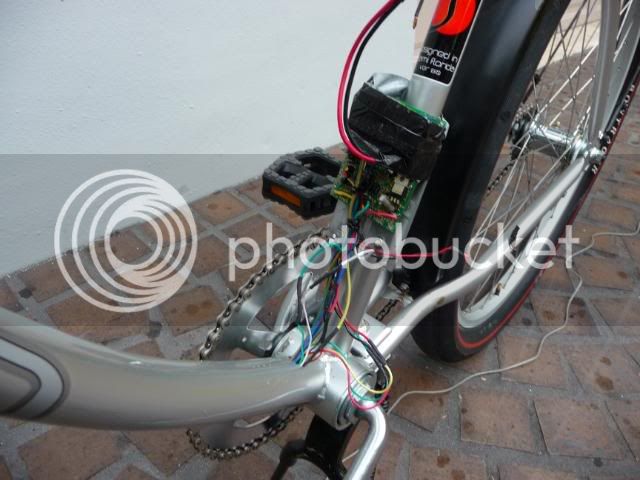
Hi Kurt!. The Ping BMS only heats when it is in balancing mode of the charge cycle, and it only heats the resistors,Kurt said:I am not sure if you have it covered but does the ping BMS get hot when charging/balancing or when discharging?
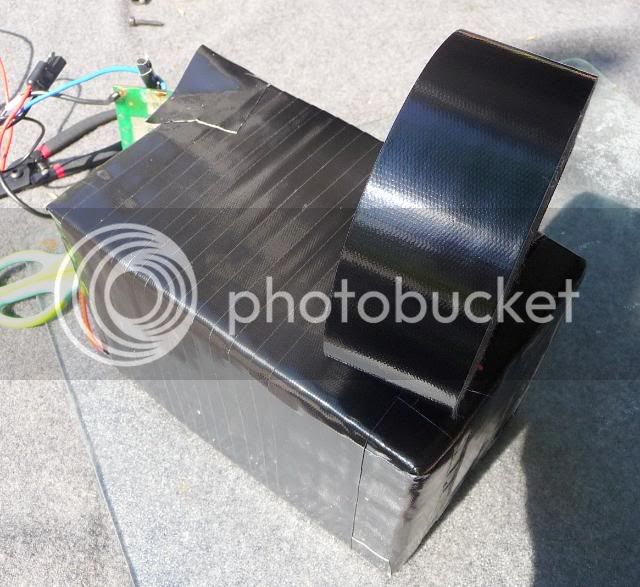
How will it go now that its covered in epoxy?
Kurt.
I was just thinking of starting an abortion thread instead of a build thread but I'd not want it to end up in the cesspool.Reid Welch said:. . .
If I ever do this sort of project again it will be a breeze, having learned by trial and a lot of errors
what works...and what fails. Noobs: gotta put up with them. They blow like the wind. :lol:
. . .
Zoot Katz said:I was just thinking of starting an abortion thread instead of a build thread but I'd not want it to end up in the cesspool.
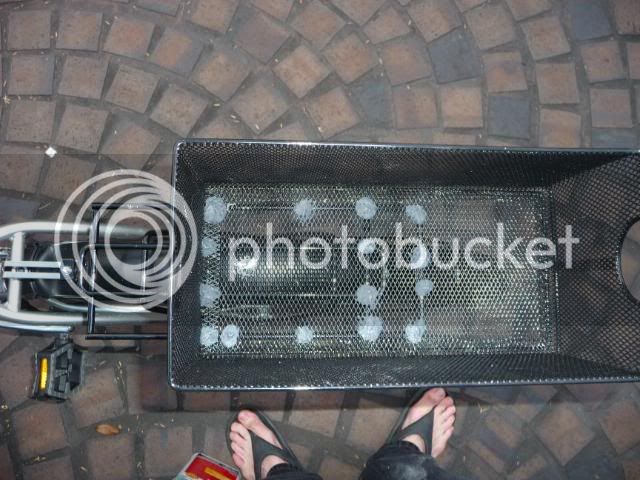
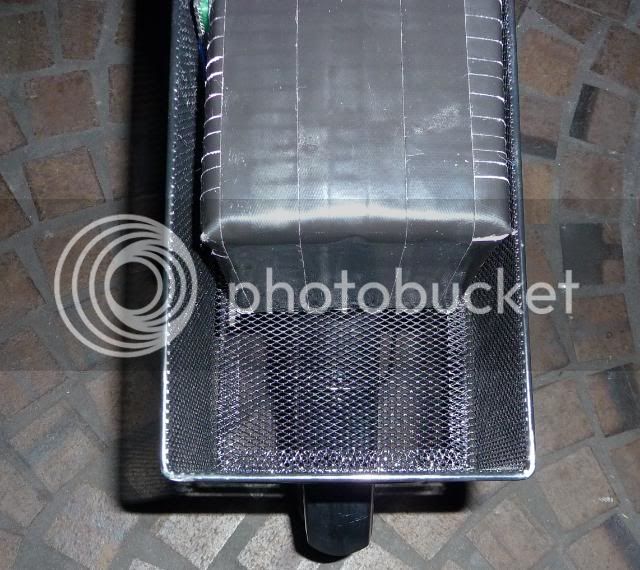
It would be about how to not house batteries.
I want to know. Reid Welch said:It would be about how to not house batteries.
Put your thoughts here if you like. I'm all ears and thumbs, eager to learn.
How not to house batteries
(elucidate here, or a new thread, your call, thanks!).
Do you foresee trouble brewing here? What would Bugs Bunny say?
Bugs on Reid: What a maroon!
:wink: