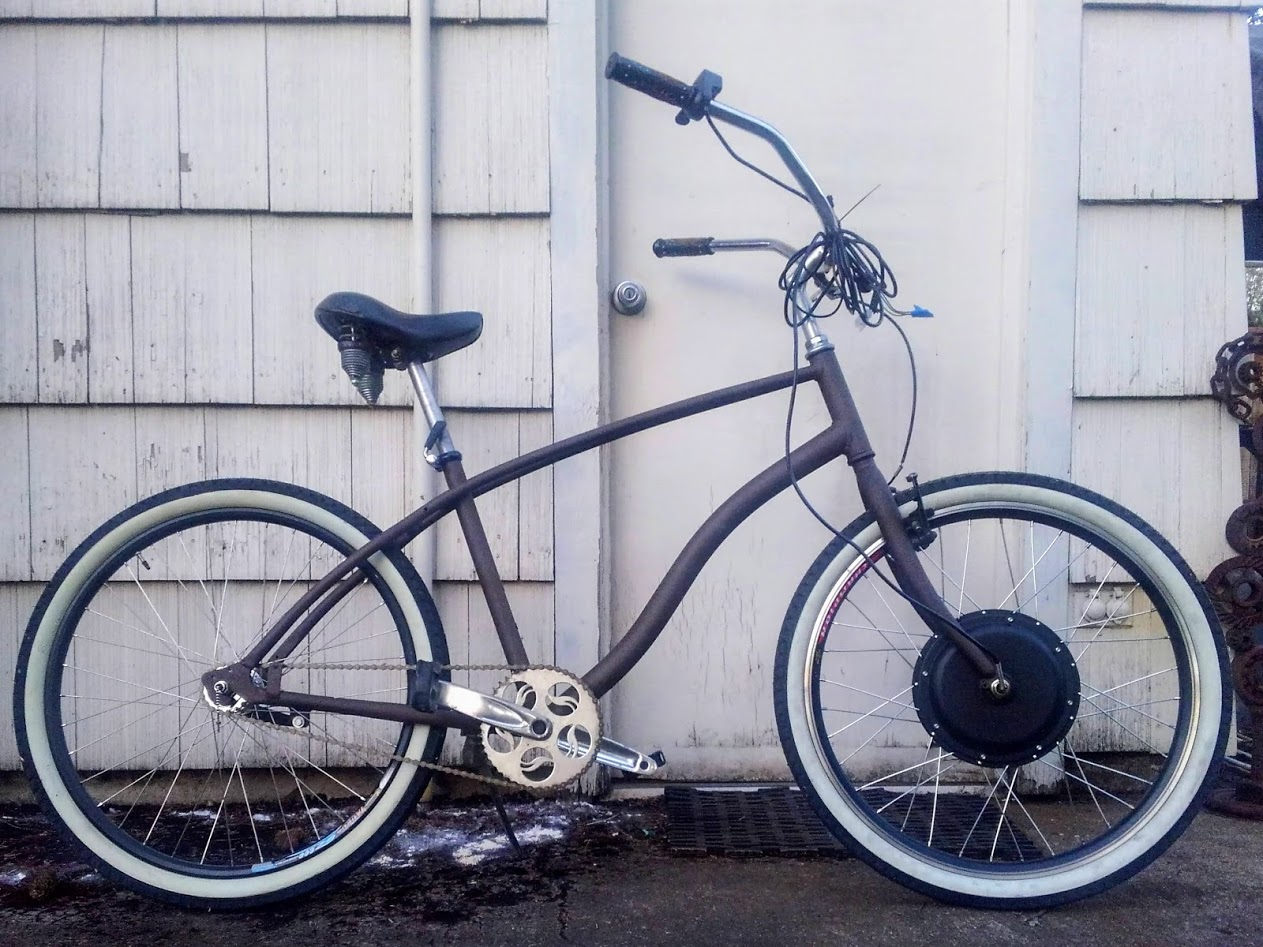
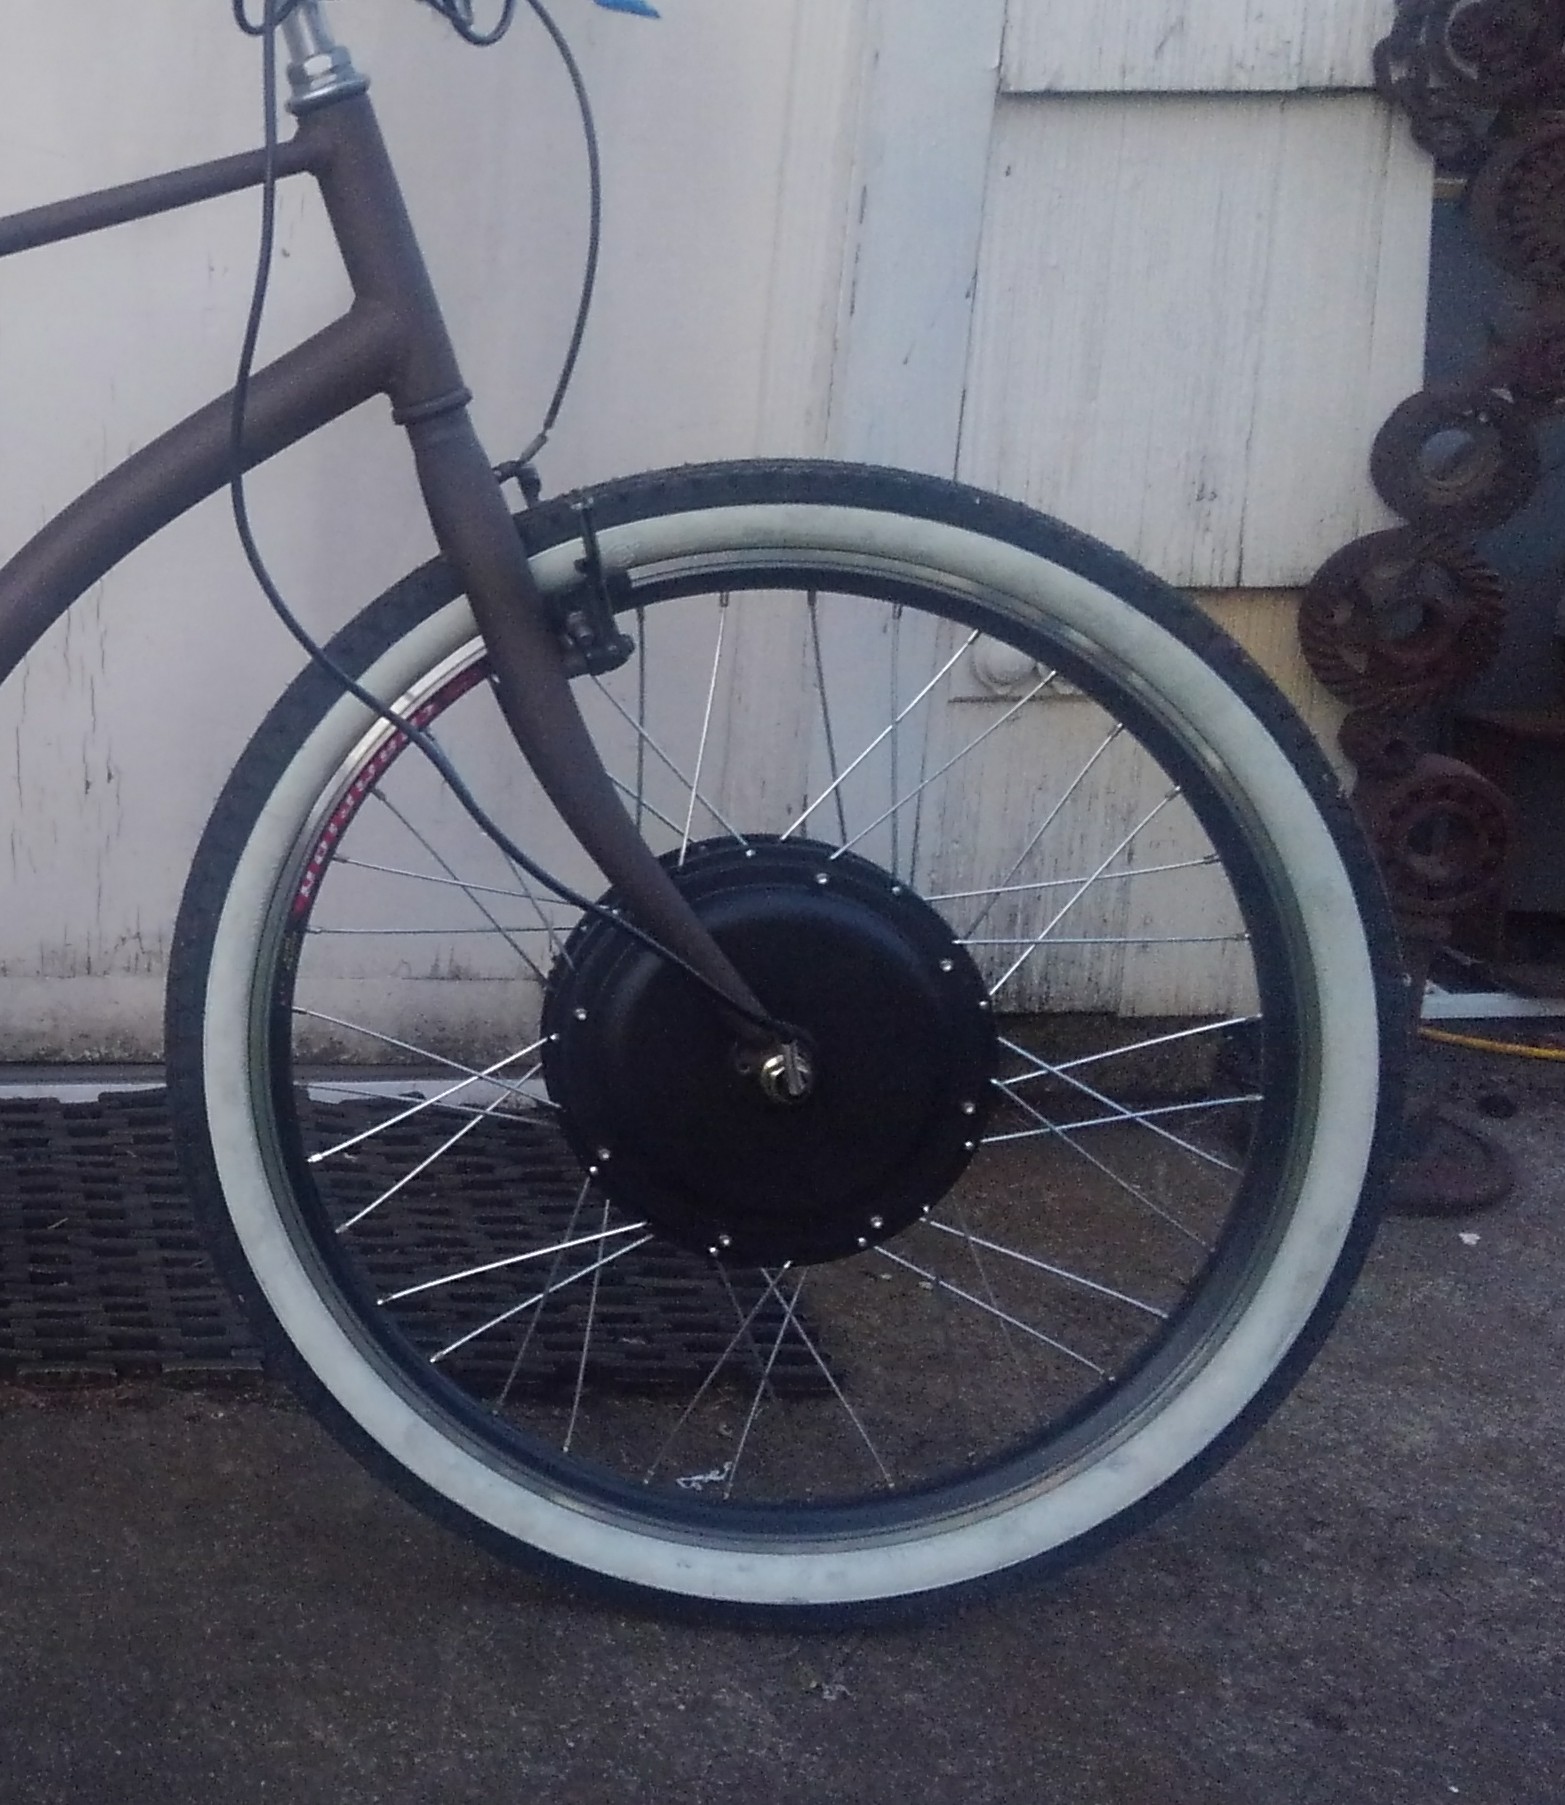
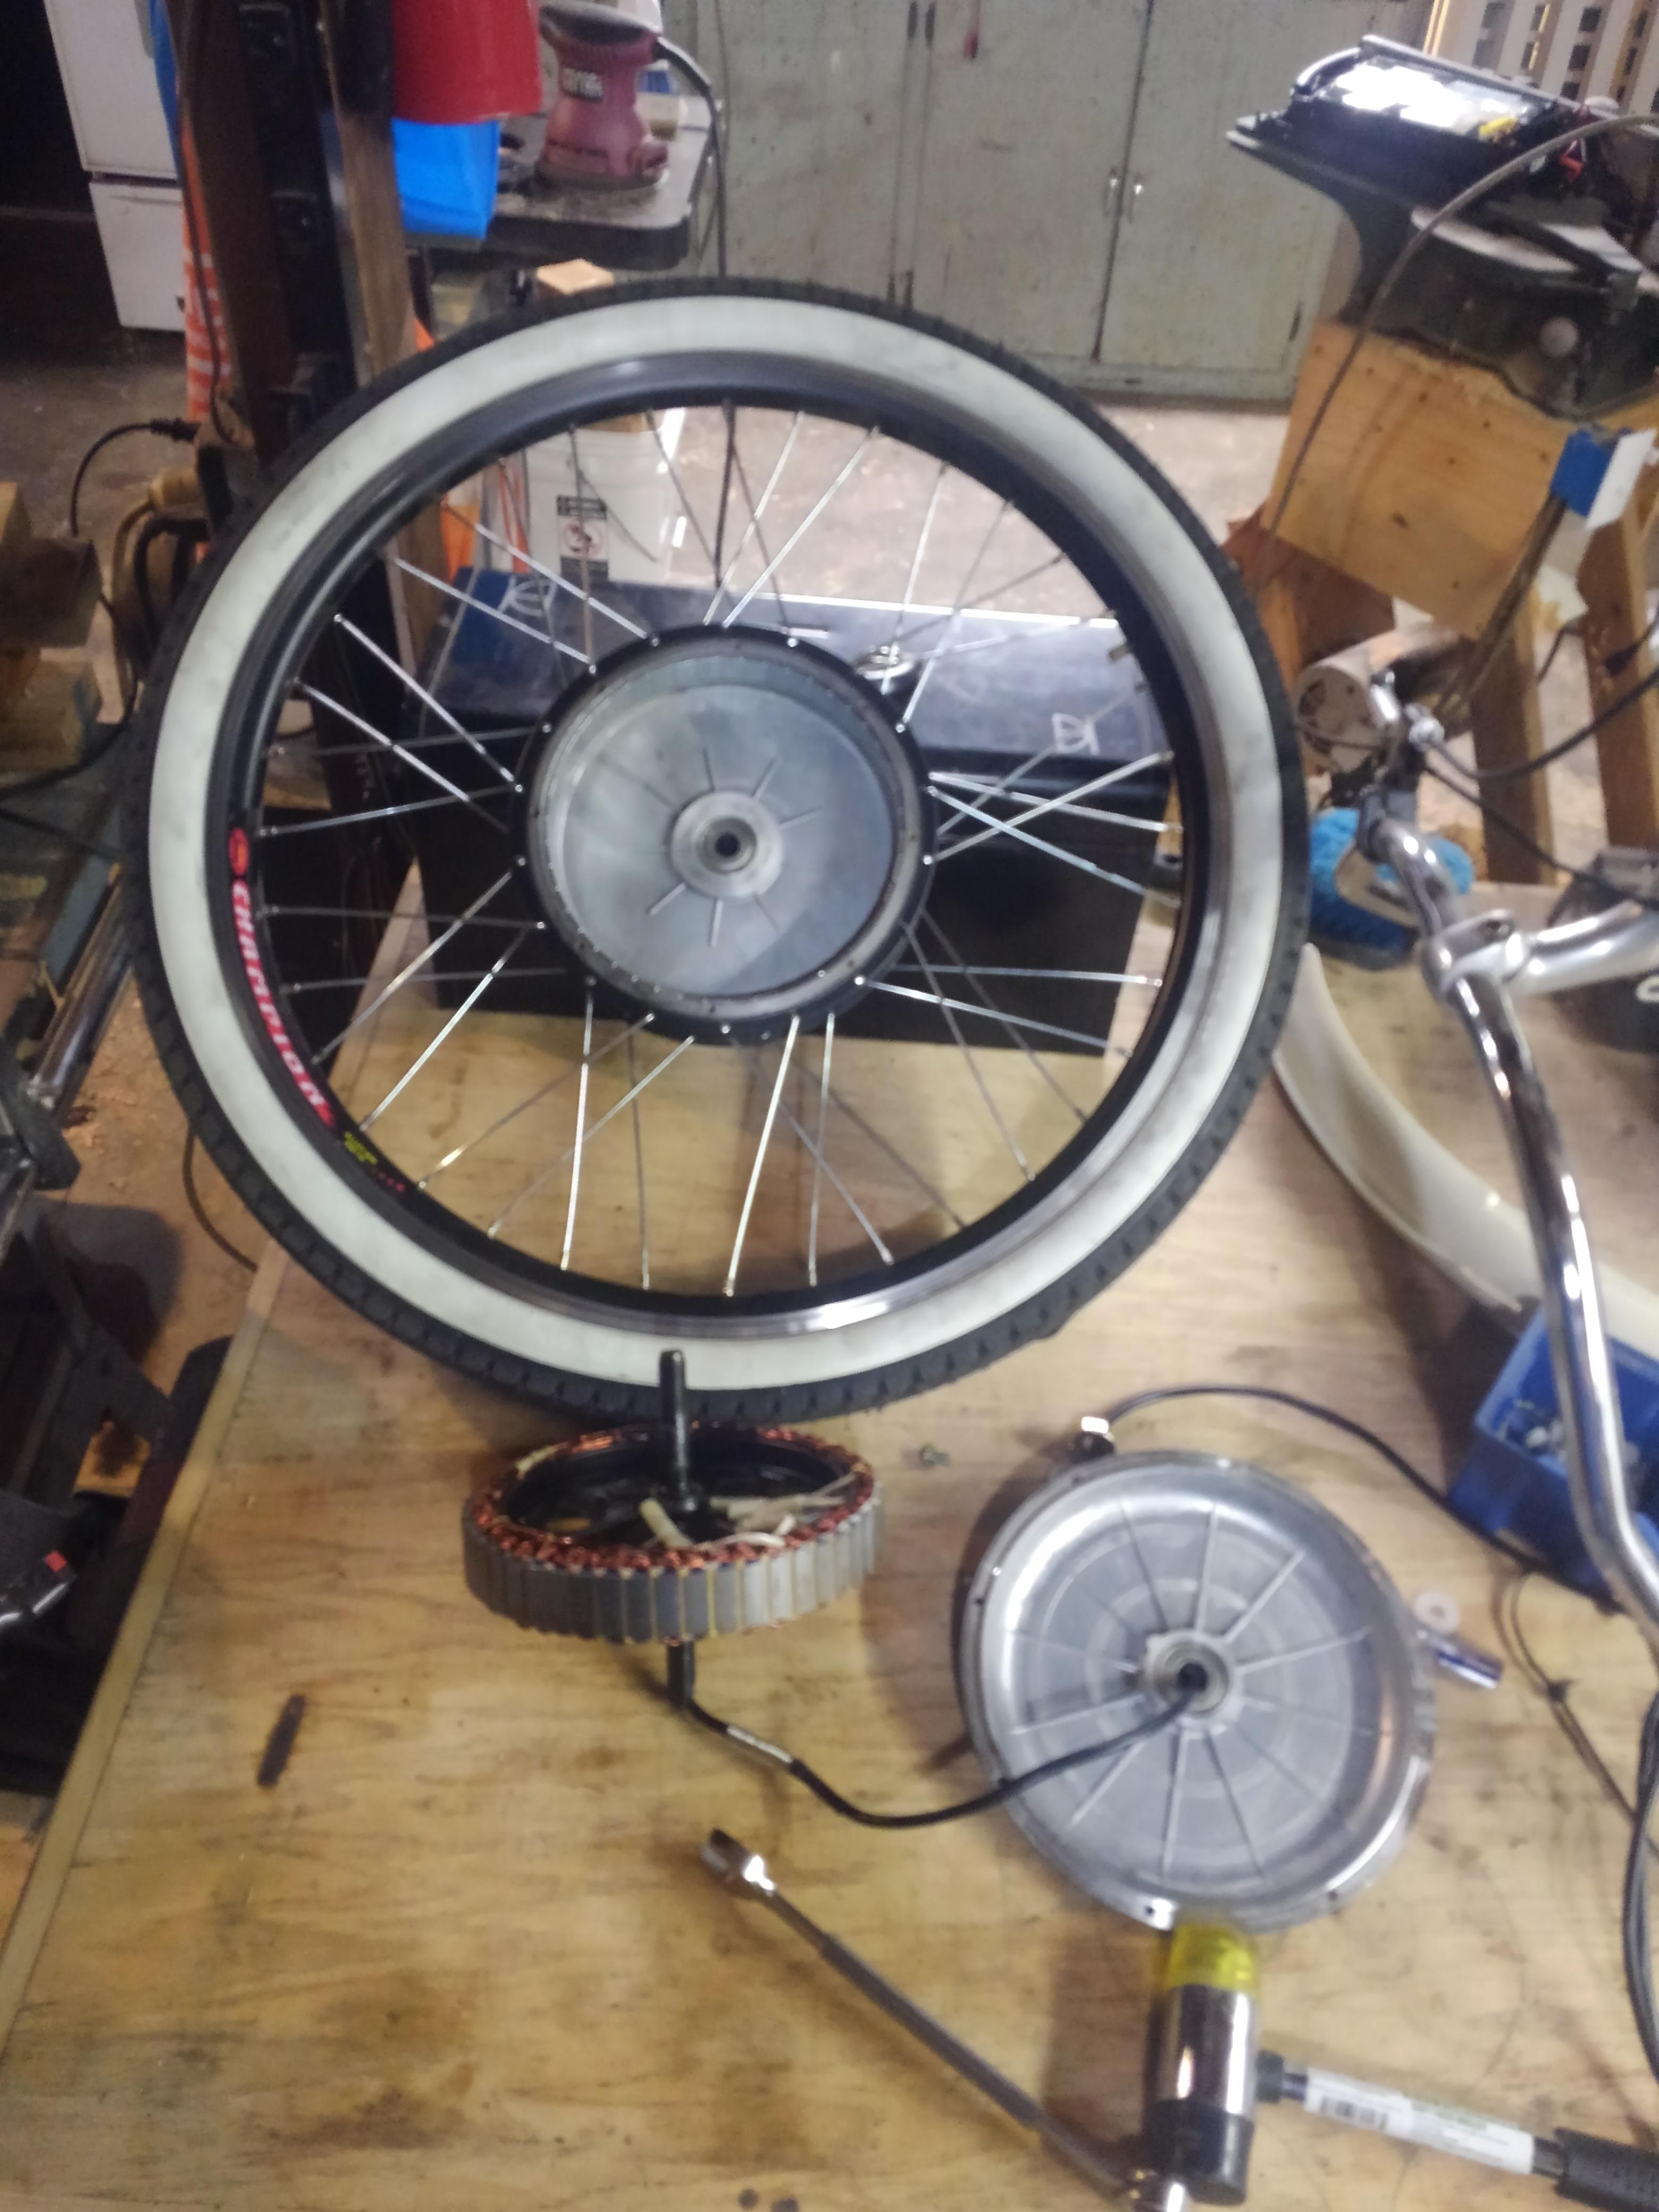
Giant cruiser budget build

Oh I plan to get a little use out of them at least after all that work! I knew it would be an uphill climb putting that all back together, but it was worth the learning alone. I hadn't ever worked with pouch cells before, so it was a good experience at least. I still have the other battery to go through too!

I will check the charger's output voltage... it should be about 57.6V is that correct? 3.6v per cell?

Rassy said:
Sounds promising. I have had chargers that have their total voltage output drop a little, ... I hope you get some good use out of those old cells after all the work you did to get to this point. :D
 
I think 57.6V may be on the low side. I checked the three chargers I have and they are at 57.7V, 58.4V and 58.8V. The one I have that's on the low side sometimes has a problem bringing all the LED's on solid, but then when I switch it out for one of the others all the LEDs come on solid right away. It seems like my chargers vary a little depending on temperature and moisture, etc., but maybe it's really the batteries that are being affected.
 
Last night was cold. But the battery has settled around 54v after a day off the charger.

I haven't checked the charger supply voltage yet, but might be a good idea to pull a cheap one off eBay. The pricing isn't bad.

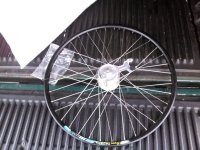
I took her out for a ride last night and topped out at 28mph on a flat accordinging to gps. Not bad... then the rear wheel started making noises and wobbling again so I decided it was time to pack it in! I think the adjustment on the cone slipped so the wheel got loose. I'm not sure if I just didn't tighten it enough, or if it's shot. I found a nice wheel that matched the motor wheel and has a drum brake and an IGH (Sachs) at the CAT here on town, but will have to find my own click box and shifter for it. If it's still there I'll grab it.
 
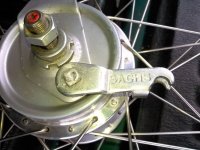
Shifting my attention to the back wheel ...inadequacies... (brakes are locking up and the wheel is loose as **** despite me having rebuilt the coaster hub), I picked up a Sachs IGH. Now I have to find a shifter and "click-box" for it.

KIMG0914.JPG
Have to figure out the drum-brake cable as well... though I think that part is pretty simple.

KIMG0915.JPG

KIMG0916.JPG
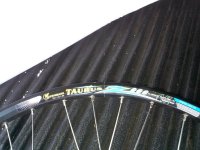
Decent rim on it I think, we'll see if it will fit the white-walls I have.

KIMG0910.JPG
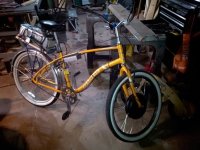
The bike as it is right now.
 
Ok after a busy holiday and ludicrously full January at work (who knew people still bought hunting bows in January??), I'm back on working on my cruiser build.

I need to get a new back wheel together and could use help:

I need a rear wheel with a 110-112mm wide hub, 26" diameter, and a single speed freewheel. I'm having a hell of a time on Amazon finding one that's not coaster brake, and isn't 6-7 speed. I was thinking something like a flip flop hub without the flip flop and just the freewheel.

Any thoughts folks?
 
Is there a reason not to get a 6 or 7 speed then replace the freewheel with a single speed?
 
Not if the hub fits... In fact I would not mind adding a couple speeds, but have kinda been assuming the dropout width isn't there for it.

I'm at 112mm, the bike came with a coaster brake...

After your comment I looked a bit deeper and the cone to cone distance on some of these 6-7 speed wheels is 91ish mm, so perhaps with the nuts this would fit.
 
I've decided on a solution to this hub problem: BMX hub, 36 hole.

I've decided to pull the Sachs hub out of the wheel it's in, and build a 36 hole BMX hub for it with a freewheel.

Comments are needed. I think this will work, but my experience building wheels is nil.
 
Guess I'm on my own. I'll figure it out, was just hoping to save a bit of shopping time by narrowing the field.
 
Finally found a hub that I think will work. I'm going to go with the sturmey-archer S30 3 speed coaster brake. I'm not a fan of the coaster brake, but it will work in combo with the front V-brake in this case. I have to build the wheel, but that will be a good learning experience.

Yesterday I tore down the entire bike to frame/fork for stripping and powder coating.

Rather than upload a series of images, I'll keep a photo-journal of the rest of the build on this imgur link: https://imgur.com/a/6Uk7F79
 
**EDITED to display pictures directly in post.**

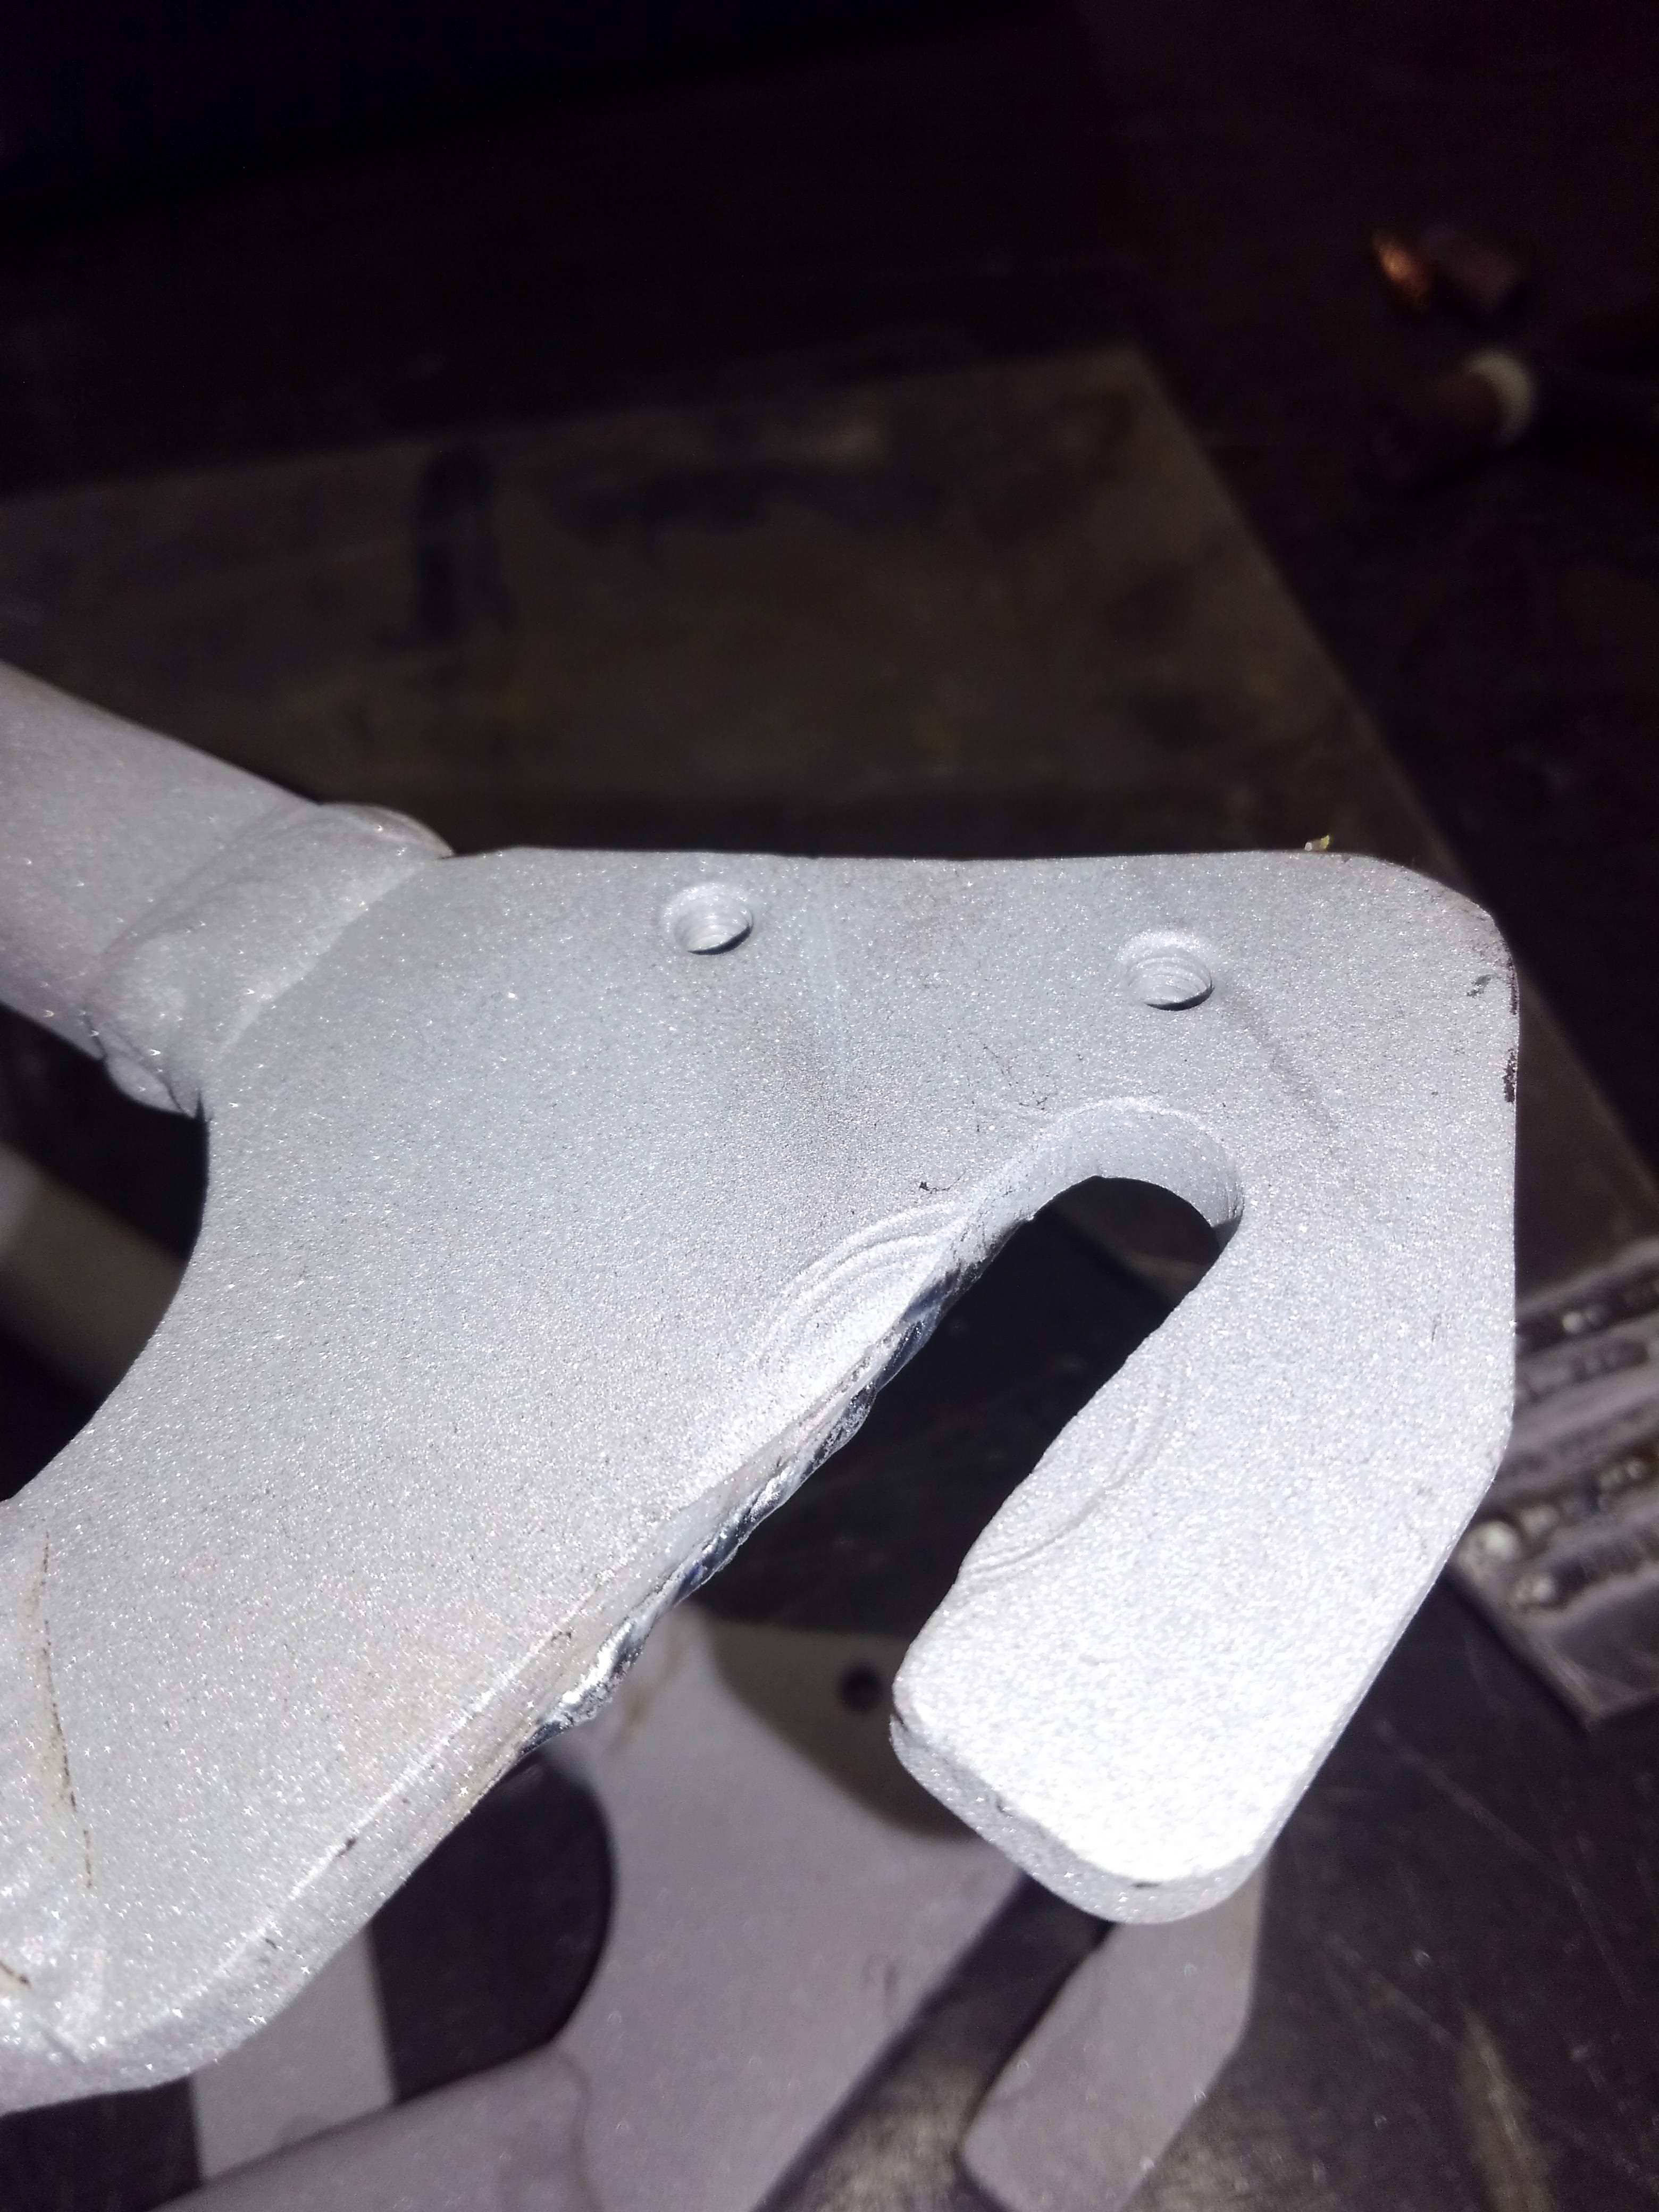
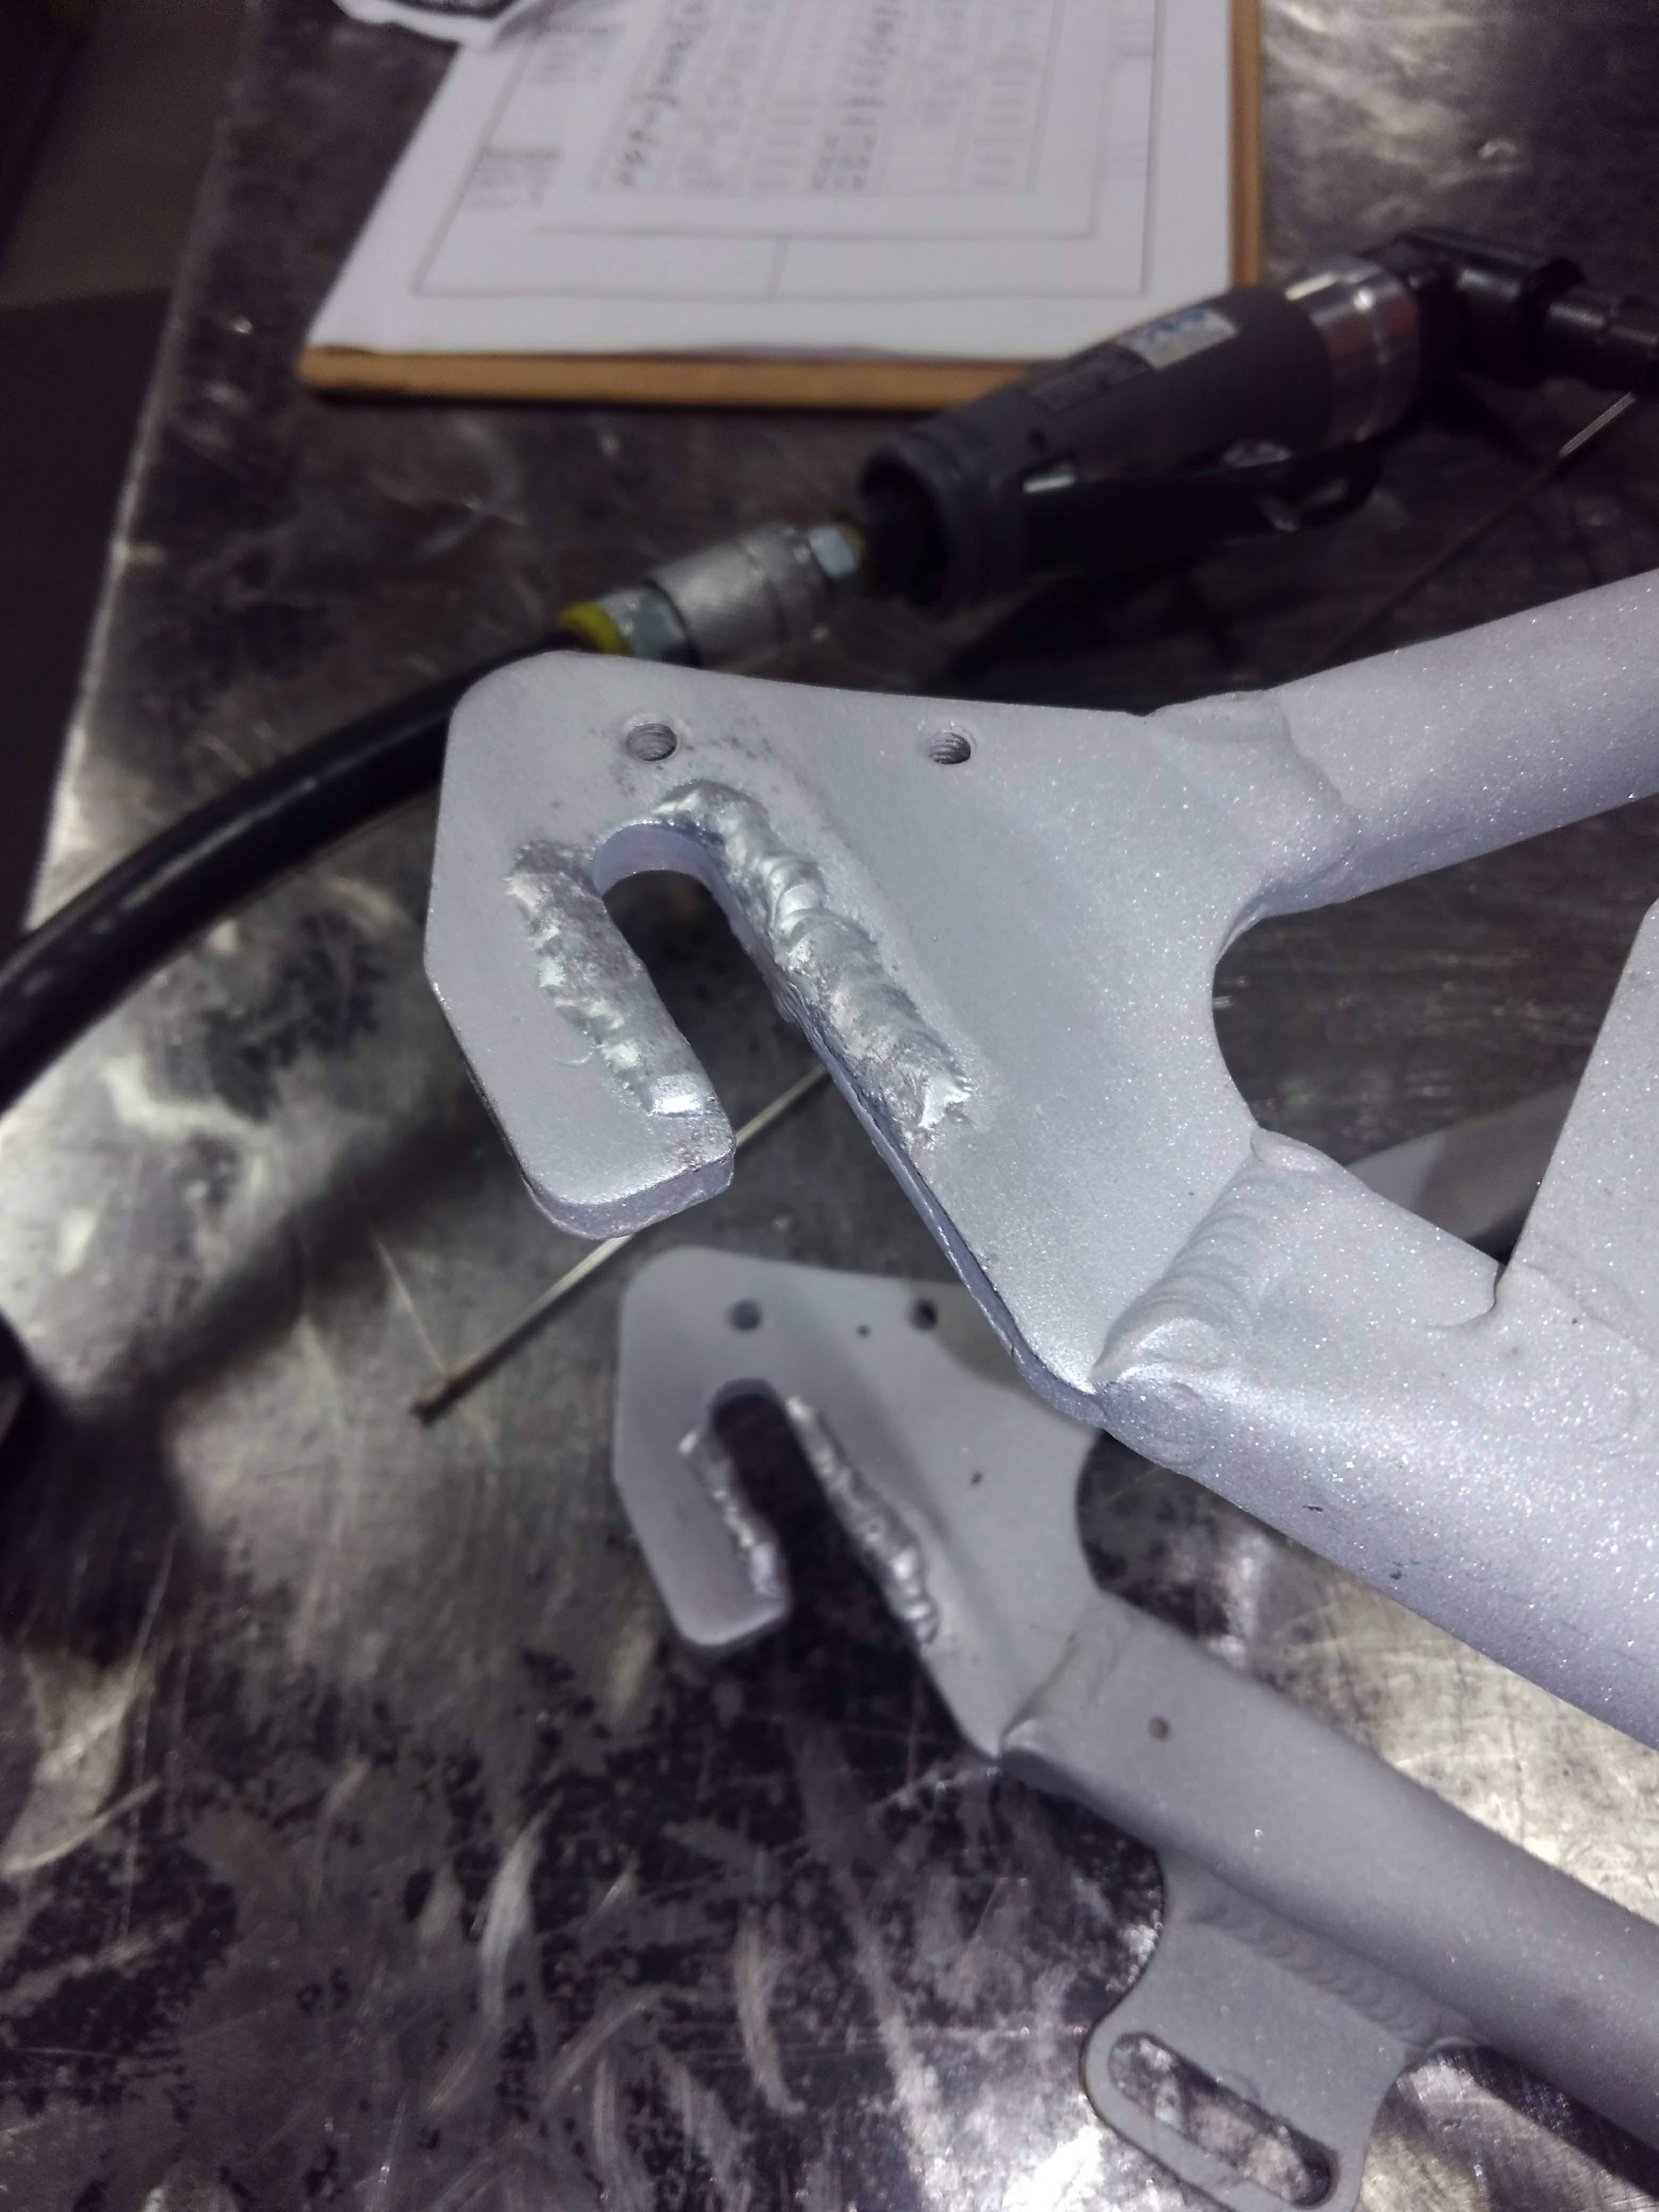
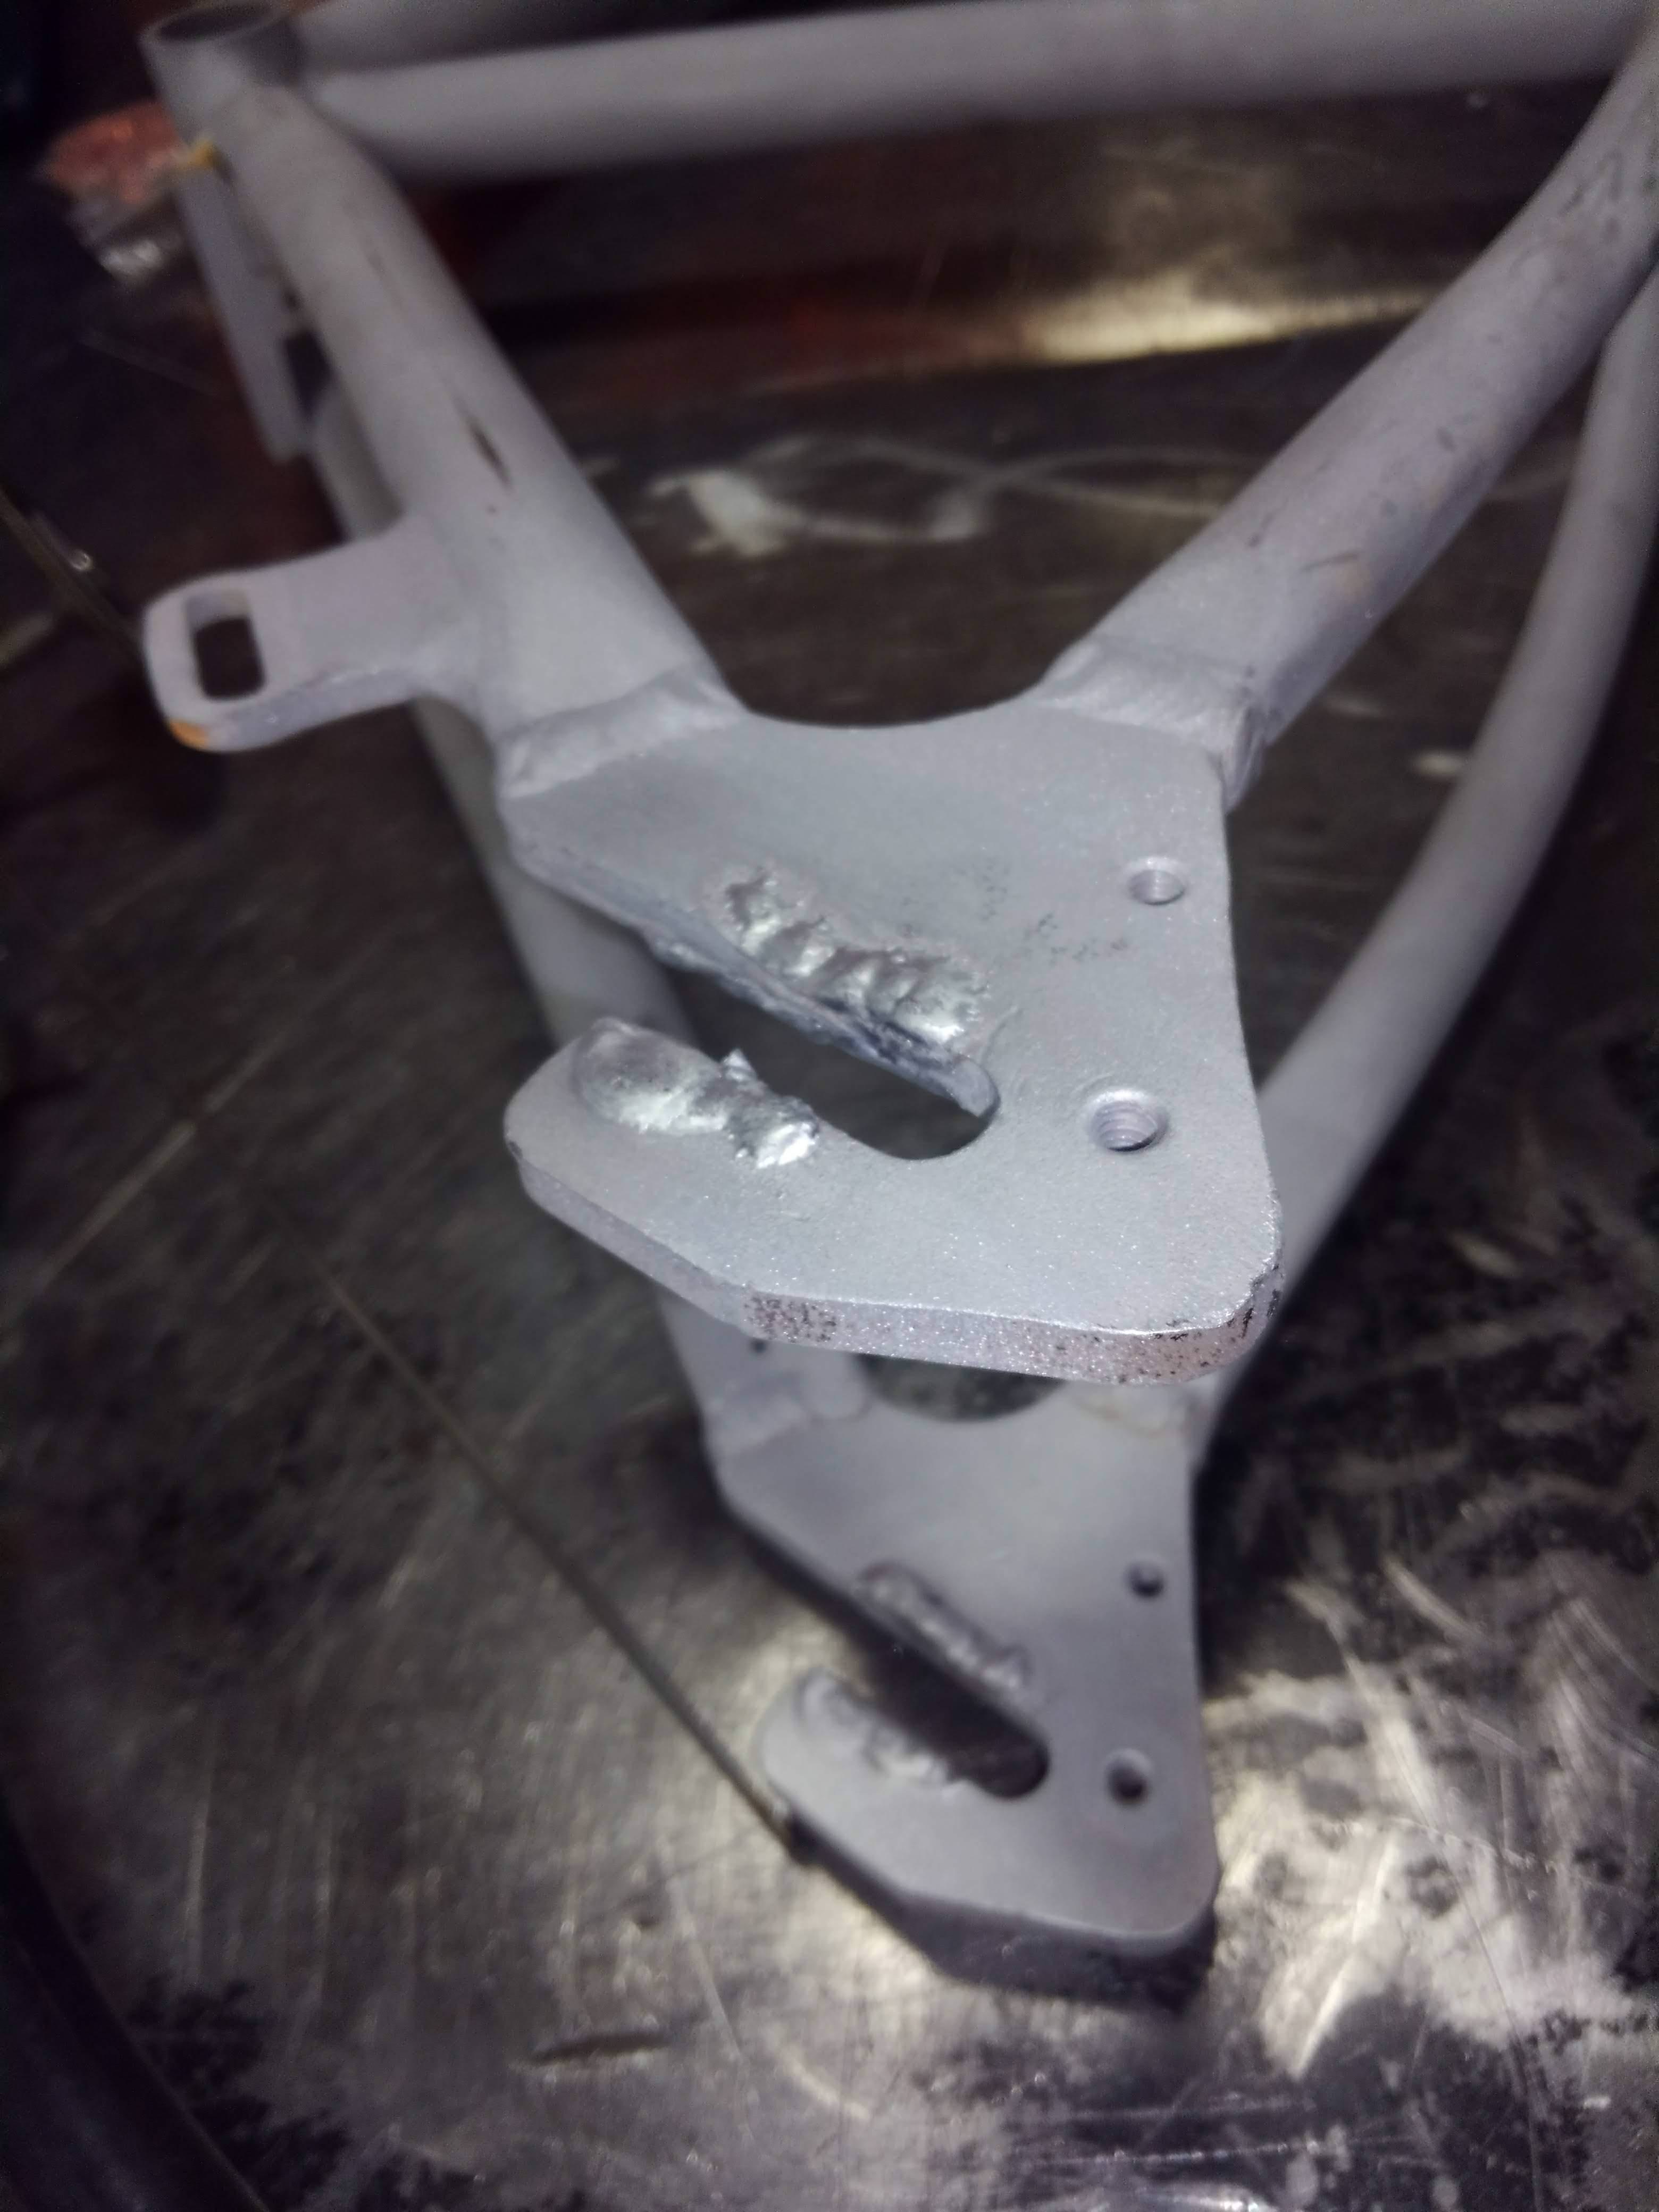
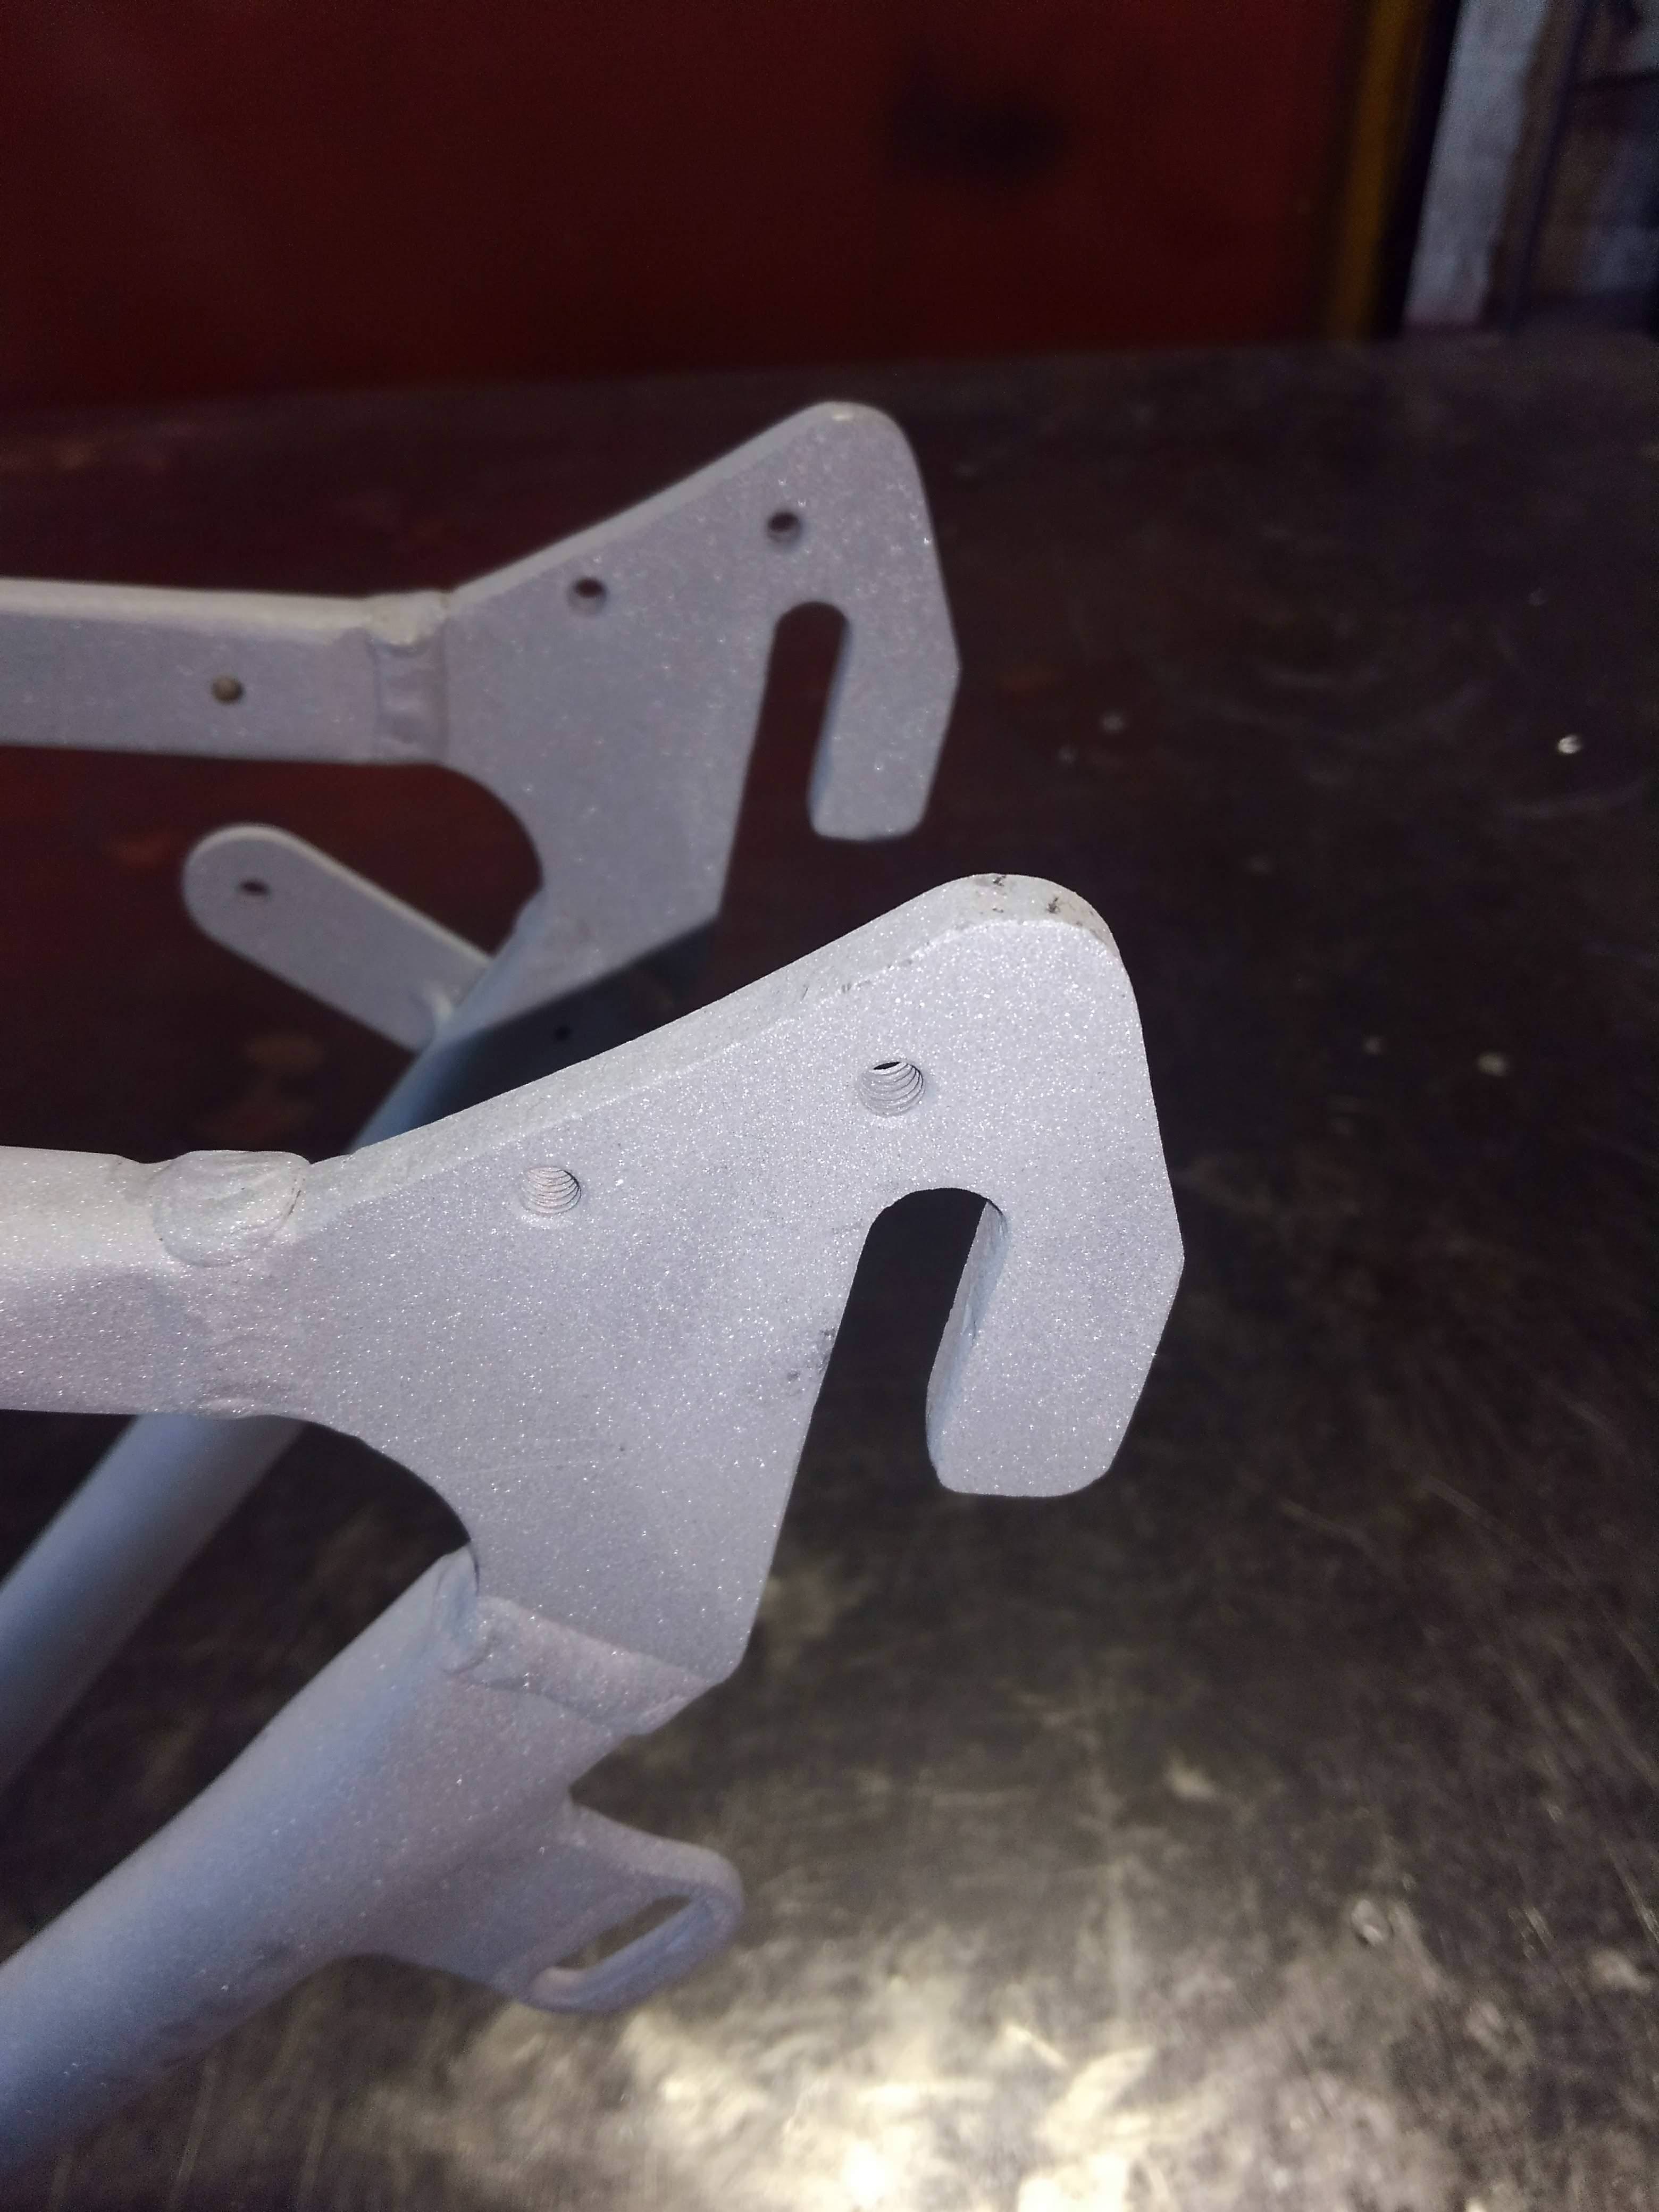
The rear dropouts had some damage due to over-tightening or slippage of the axle nuts, and before I dug into it I hadn't figured out why my rear wheel would keep slipping forward and not staying tight. Now I know why...


YNa0rpk.jpg


I welded the dropout area to build up material, then sanded and filed them back to shape:
K0HQCp8.jpg

7cx8IU8.jpg

6uXsVNW.jpg

https://imgur.com/yNctwMU

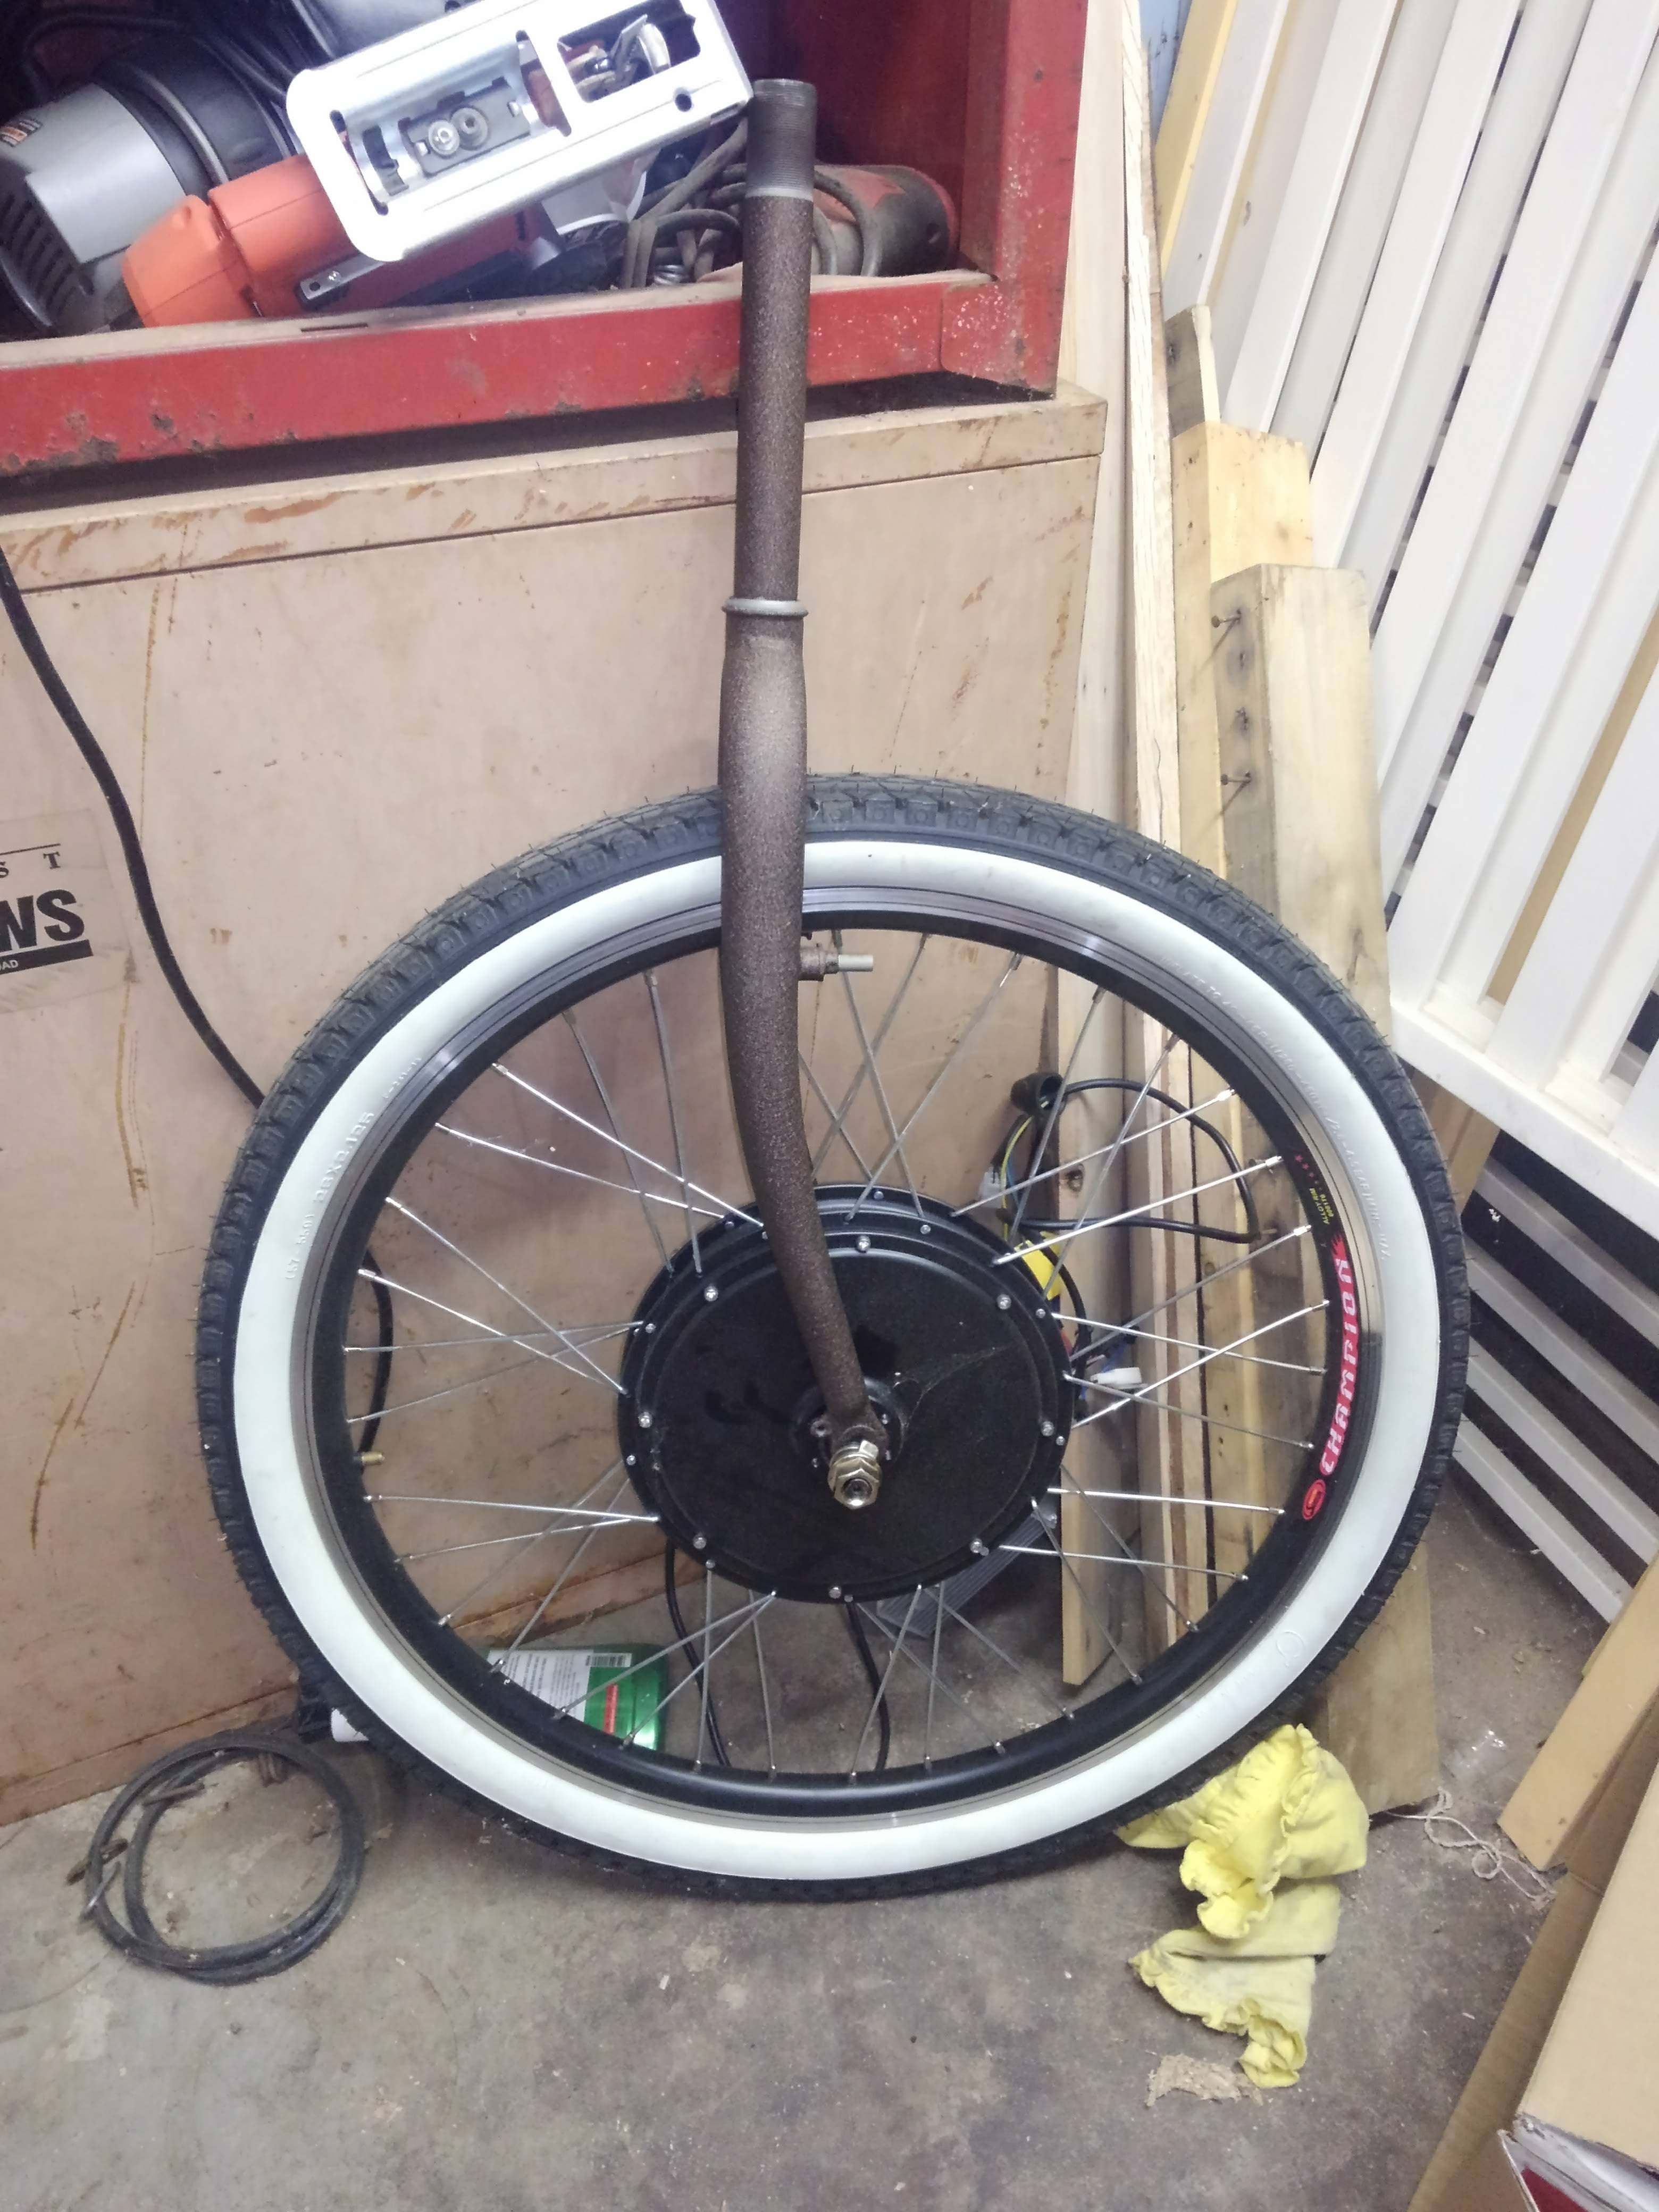
I blasted, cleaned, and powder coated the fork ahead of the frame to make sure I liked the look (steel is easier to powder coat again and again than aluminum...).
nCgK25I.jpg


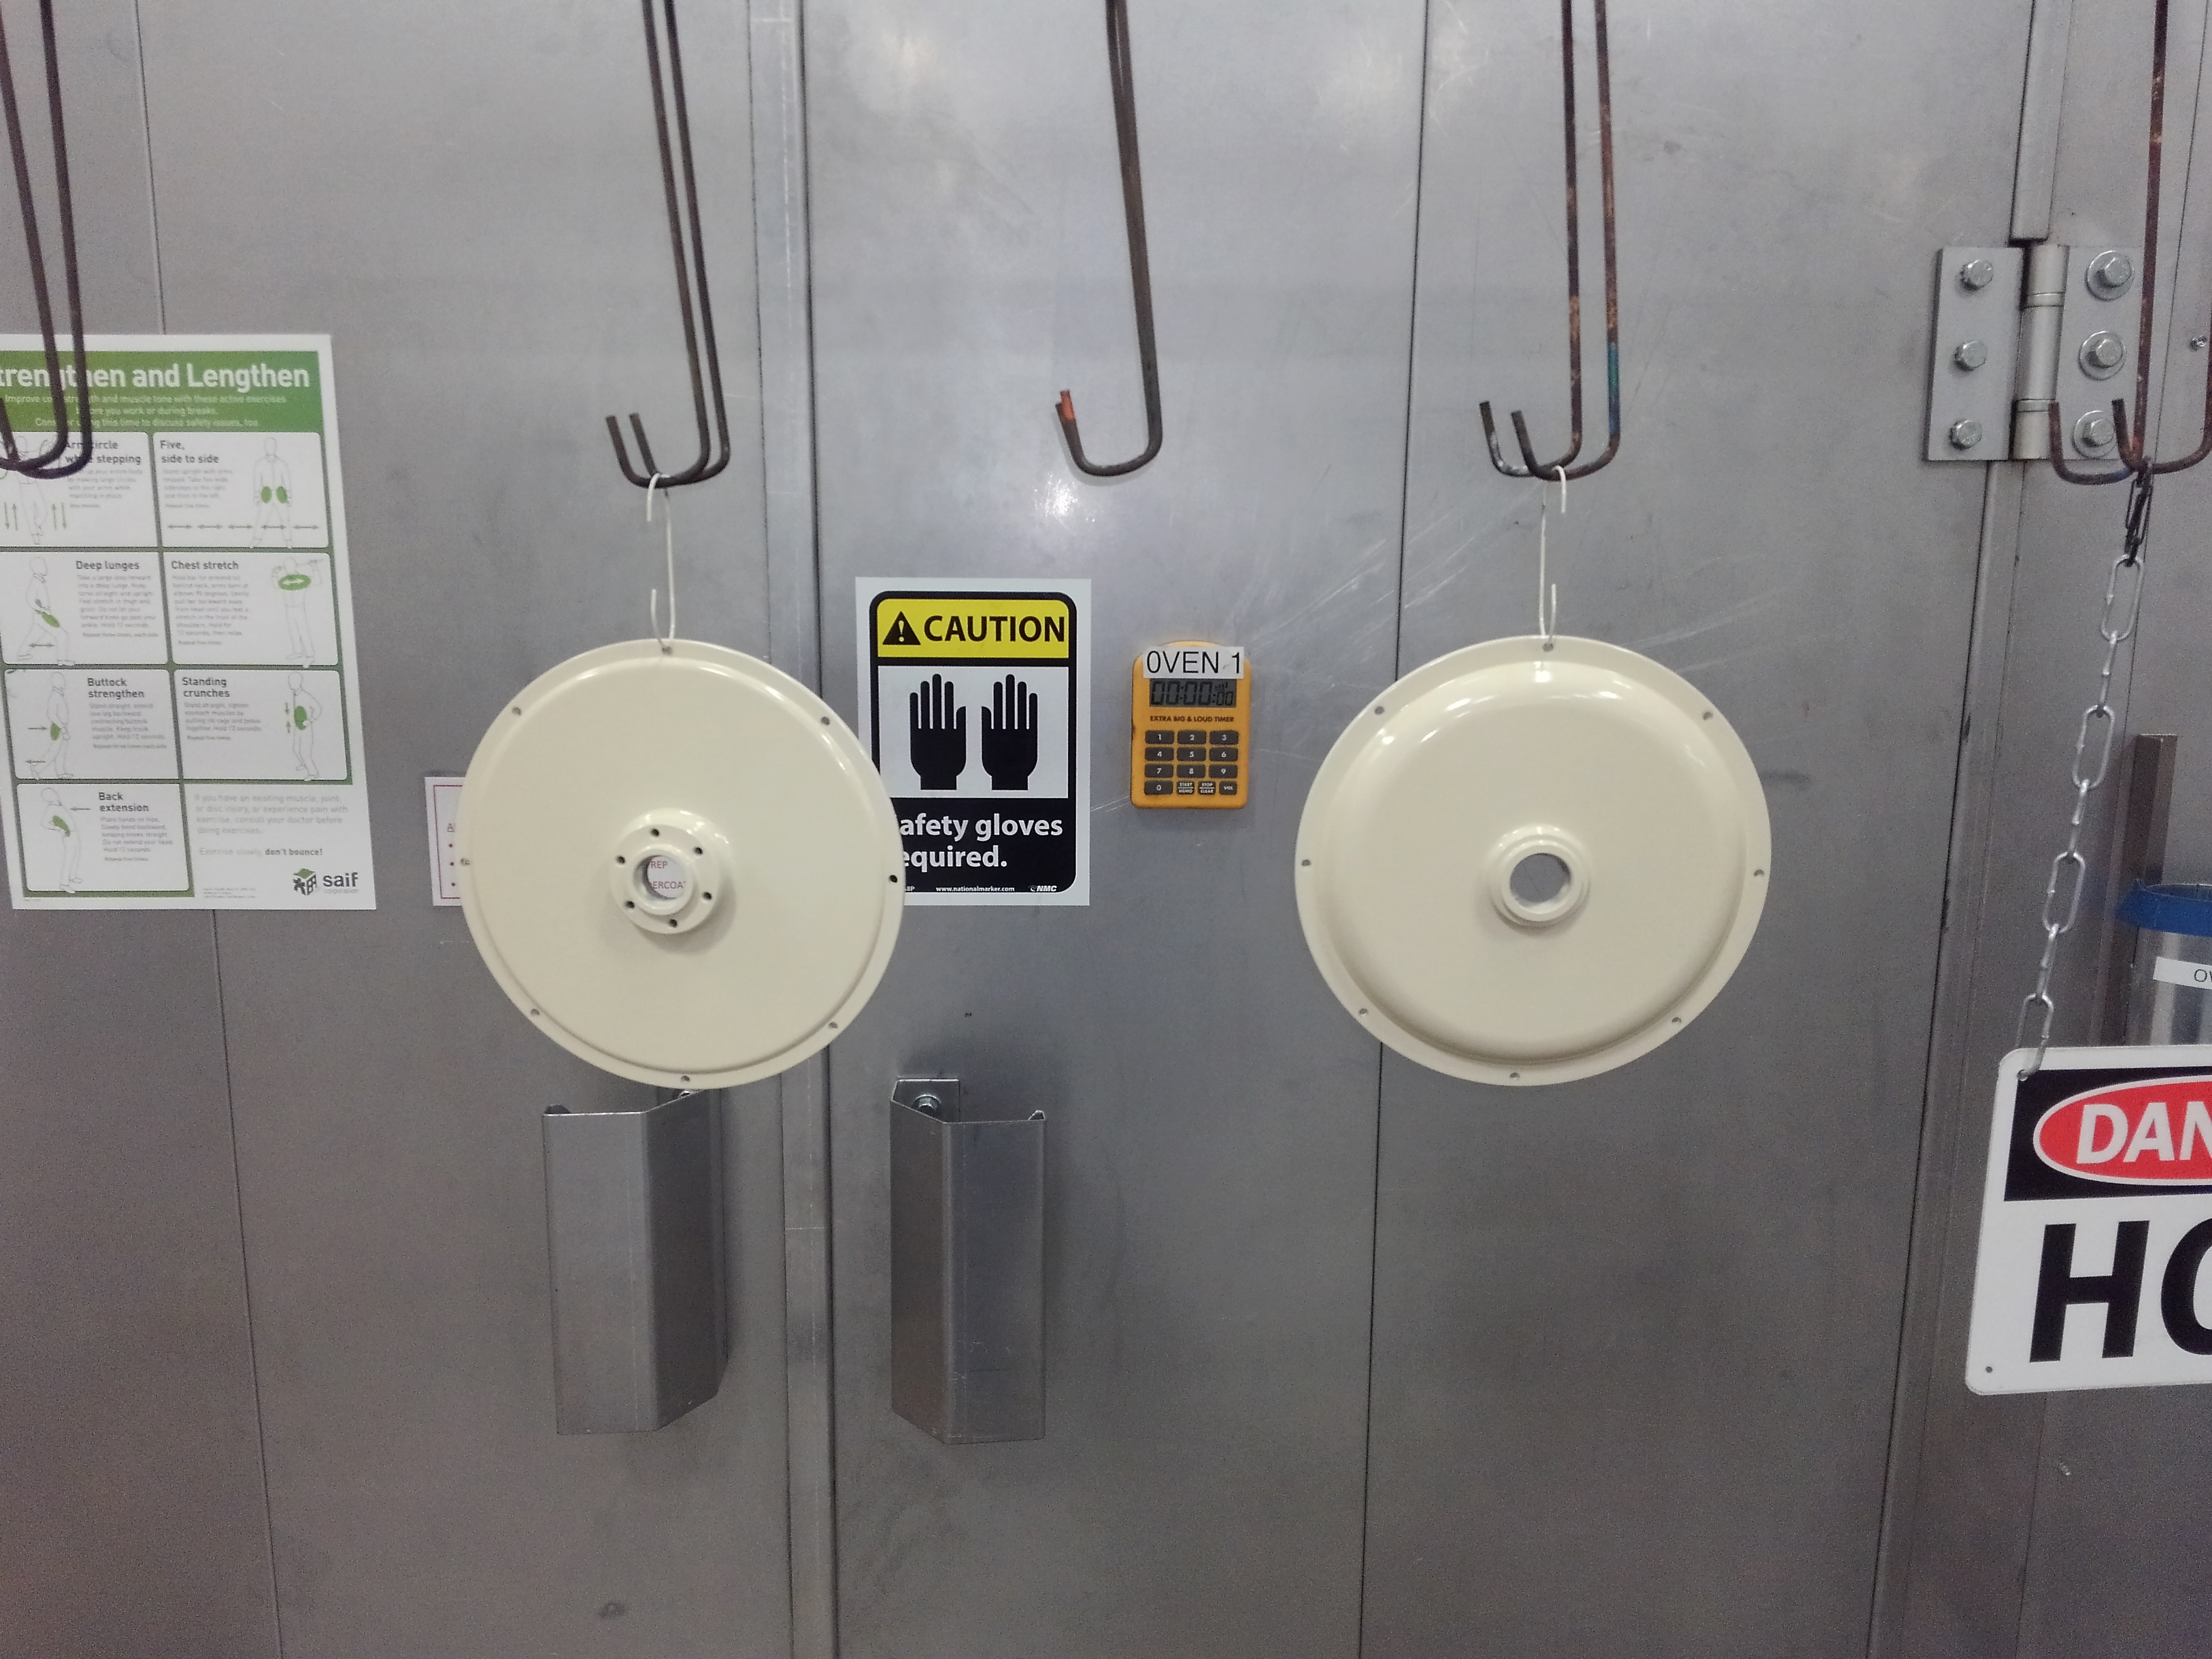
The frame is getting cleaned today, and if I get a decent stretch of "free time" at work I may be able to squeeze it in for the rest of the powder coating. Next will be the fenders, and maybe the hub motor caps. I'm thinking of an off-white or almost cream color.

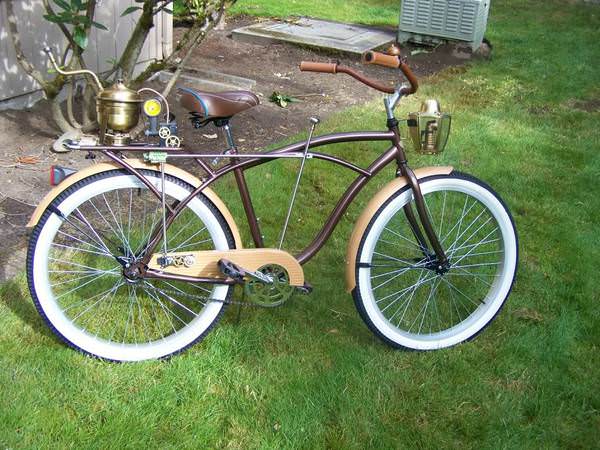
The look I'm after is something like this:

xHo6Ypf.jpg
 
Now I'm working with a 3D printer (Tevo Tornado, basically a discount CR-10), and have that tool at my disposal. I am designing my battery box to be a 4-piece set of "battery jars" modeled after old-school batteries such as "The Sampson Battery" or this farm lighting battery. So far this is what I have, but I may tweak the design to look more like it has a ceramic (brown) or something like micarta.

View attachment 1

The jar and top will be 3D printed... I'm working out what filament to use for the semi-transparent look I want on the jar. I've had a few mild successes with just PLA clear, but I think there are better options out there.

So far the bike looks something like this:
ebike post powder (net).jpg

I'm going to powder coat the fenders cream or off-white I think, and I still haven't decided what to do with the handlebars and misc chrome.
 
For a retro type bike, it might be fun to disguise some Lithiums cells as either one of these:

s-l1600.jpg


or one of these:

$_20.JPG


... which were the big consumer batteries that we had in the hardware stores back in the 60s and 70s.

I had a lot of fun messing around with those no. 6 dry cells.
 
Your rack is not going to last long.
Zip tie it to the underside of the top bar, if its not too wide.
That is what I do, same with the controller. My battery is zip tied to seat tube + top bar, and my controller is zip tied to front fork tube.
 
Cool project.

The trick to getting nice clear prints with most transparent filaments is to make sure it is extremely dry before printing.

Most filaments are hydroscopic and absorb moisture from the air. Even the tiniest amount of moisture in the filament will be superheated in the hotend and the opaqueness is actually tiny steam bubbles trapped in the finished print.

Bake the filament before use (40-50c usually but depends on the filament used) and store it in an airtight container with a decent amount of desiccant in the bottom.
 
wturber said:
For a retro type bike, it might be fun...
... those no. 6 dry cells.

Yeah that would be a good aesthetic for the next project, I like those style of batteries and thought a cluster of them in a crate would look good on a frame from the 70s. This bikes going for an earlier and quasi steam punkish look... Obviously no steam involved so maybe retro-e-punk would be a better term?
 
markz said:
Your rack is not going to last long...controller is zip tied to front fork tube.
If you're referring to the tack on the early pictures when where the bike is still orange, then no, I'm not using that rack thank goodness. Is was far too wobbly. I'm going to build something a little more stout, and the battery will likely be under the top tubes as you suggest.
 
lionman said:
Cool project....airtight container with a decent amount of desiccant in the bottom.

Thanks for the tips, I've been using filament then bagging it in a Ziploc with the dessicant. Seems to be ok so far, haven't been hearing the little bubbles popping at the nozzle like I have with moist filament. This is how the battery jar came out:

KIMG4135.JPG

This was the result after some picking at the corner though lol:

 
Finally got my rear wheel figured out. The SA 3 speed is pretty quiet compared to a Nexus. Anyways it's run the cable, hook the shifter up, place a new front brake line and cable, figure out my finish for the chain guard and fenders, and the battery configuration.
View attachment 1
I'm probably going to be hanging the battery from the top tube in these 3d printed canisters once I figure out how to fit them properly.
From there I will be designing and fitting a headlight and tail-light with a steampunk aesthetic, and then moving on to accessory pieces like mirrors, gauges, etc.
 
Still on this build, last things I did were install the SA 3-speed (partially) wheel, and powder coated the fenders cream white. I'm still trying to decide what to do about the battery. I've to to get the fender mounts powder coated as well. Trying to decide if to match the cream or go with some kind of chrome/gold configuration.
 
Ok just a quick update on this build:

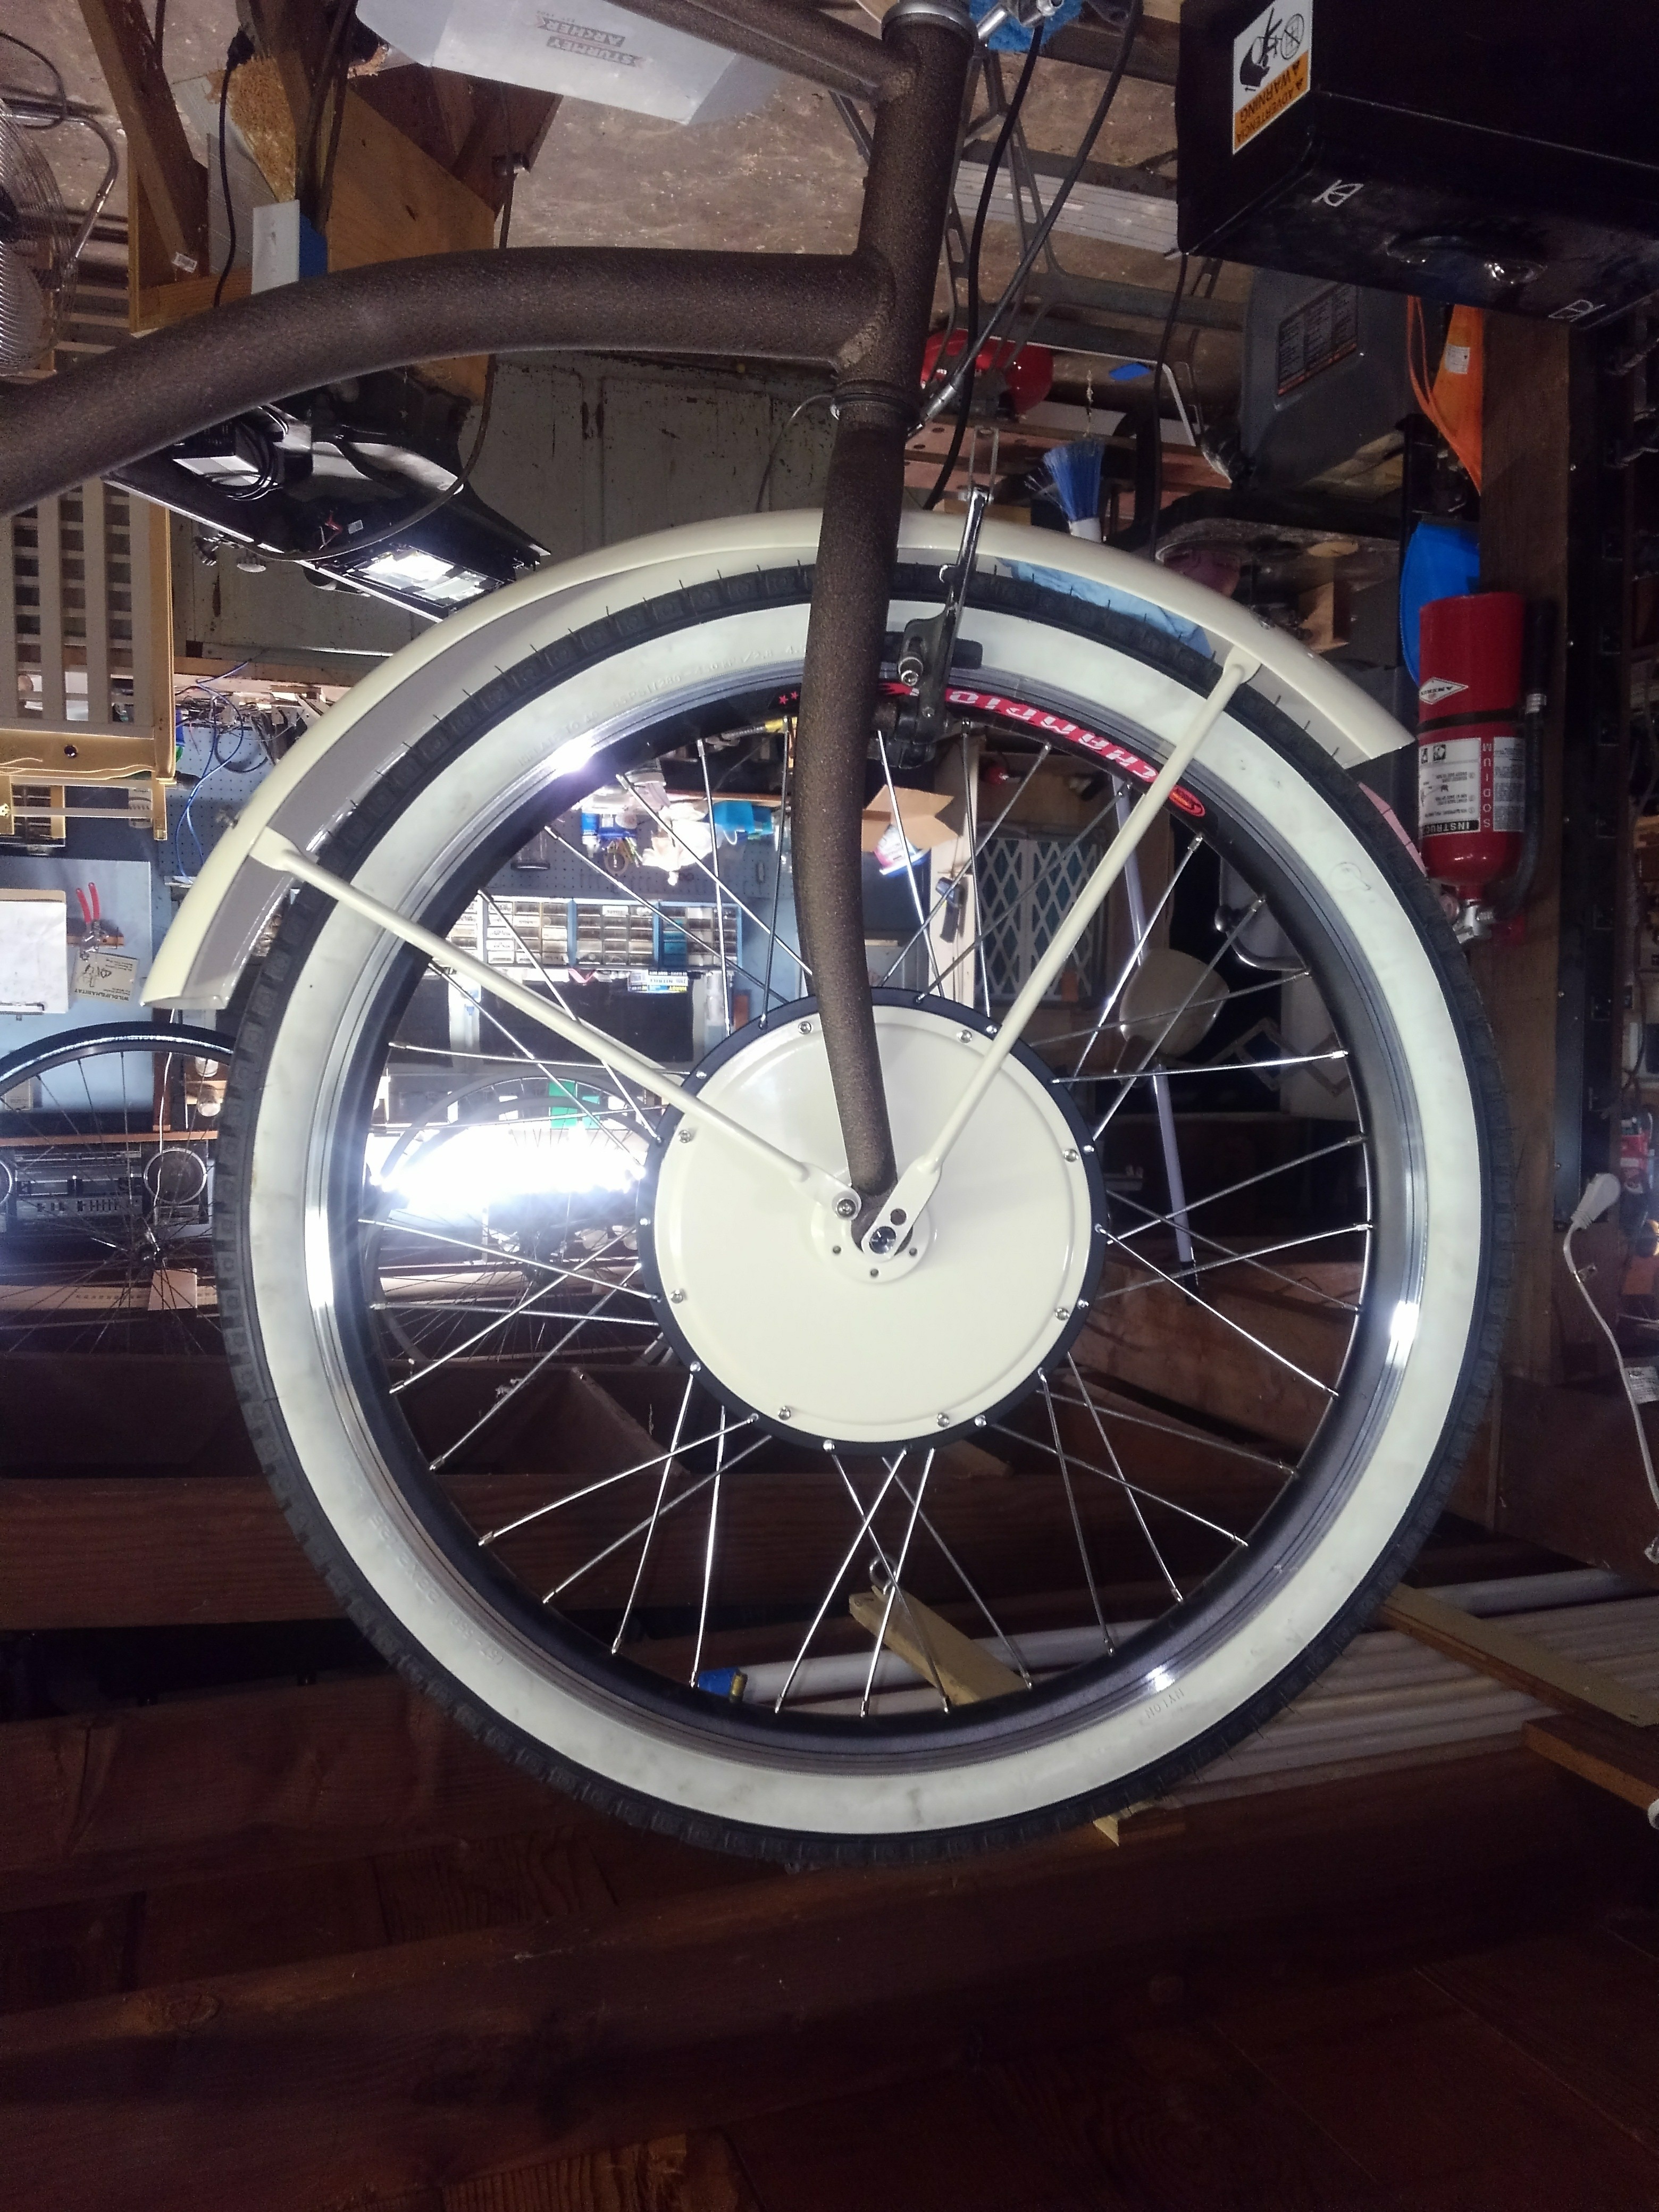
I've powder coated the fenders a cream color, which I think goes pretty well with the rootbeer wrinkle color and the whitewalls (it's a little off but I don't mind). I've got to do the fender... stringers? supports? legs? next. Was trying to decide if I wanted them chrome-on-cream or not. Decided not, so I'll put some pictures up once I get that all sorted.

I still need to re-do the front caliper brake with the correct length of cable and new housing. I need to also finish installing the Sturmey-archer 3-speed I bought.

All in all, considering how much time I have and how easily I'm distracted by my other hobbies (recently built a new forge and busted out my hammers and anvil), it's amazing I've made it this far!
 
Here's a proper upright photo, one with the fenders coming soon. I am starting to realize that this "battery jar" idea just doesn't fit the frame space or aesthetic. I'll the moving on to another possible design later, but for now will rear rack the battery and move on to building the rest. I've got a lot of ground to cover after all...

+Front brake
+Chain guard fab
+Rear hub install & cabling
+Fenders install
+Rear rack fab, powder coating, install
+Controller mounts, possibly powder coating controller casing, or anodizing.
+Powder coating the hub covers
+Head and taillight designs, fab/sourcing, install
+Instrumentation design fab and install

Phew, ways to go yet...
 
Wednesdays' progress:
3yiZcry.jpg

Close up
DCucqA6.jpg

Ooops
NuWoDX0.jpg

Oooohhhh
DlrYvvY.jpg

Aesthetics evaluation...
zRFdOPF.jpg
 
dequinox said:
Aesthetics evaluation...
zRFdOPF.jpg

Need a full bike shot to see how the painted cover looks, but seems like it would lighten up to look (no pun intended), visually. But, in any case, the paint scheme looks great. :thumb:
 
Back
Top