Vespa PX125 (Large Frame) Electric Conversion.

mannydantyla said:
JimVonBaden said:
I have friends who say it will not be strong enough.

If your friends have any doubts about it handling the motor torque, you can show them this: https://amzn.to/2LFrQ6K

No doubt. Mine is 10mm thick, and I will pinch it wit a bolt. Should be good for 4kw
 
Sealed up the battery bracket and rust treated the inner fender. It will also get undercoating.


Test fit the swingarm, fits perfectly.

Started front end disassembly for cleaning, lubing and painting.


New shocks on the way.

I think I am going to fully box the swingarm, more to keep dirt out than anything.


Almost all parts are in, except the motor, controller and rear brake. I need them to move too much further on the electric side. Still a little bodywork and fab for the handlebars to do.

Making the clean shop messy again.

 
Yeah! My motor and controller came in. Not bad at all.

Boxes were heavy and protected the parts well.


Useless, to me key switch. Nice quality, but I am using my stock switch.


The throttle looks like it will work, despite the ding in one of them.


Brakes came all in one piece, prebled. I will have to take it apart to install them.


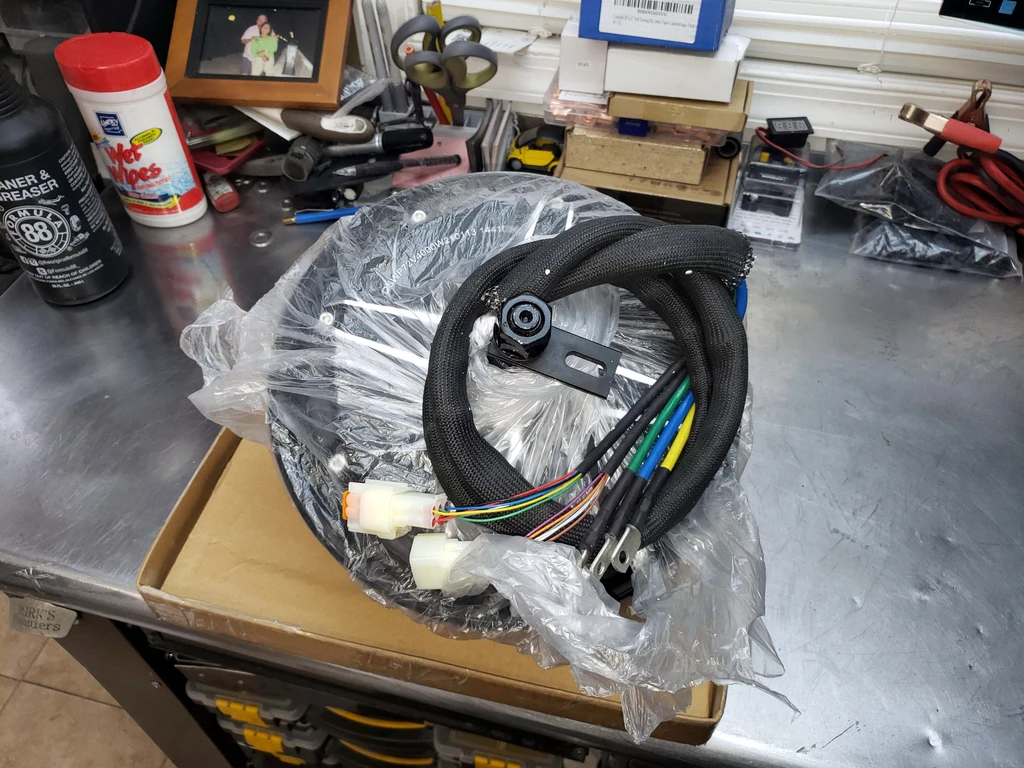
And, of course, the huge, but stout Kelly Controller. I am looking forward to setting this up:


Next the QS 205 4KW 10" hub motor. Well boxed, very well.


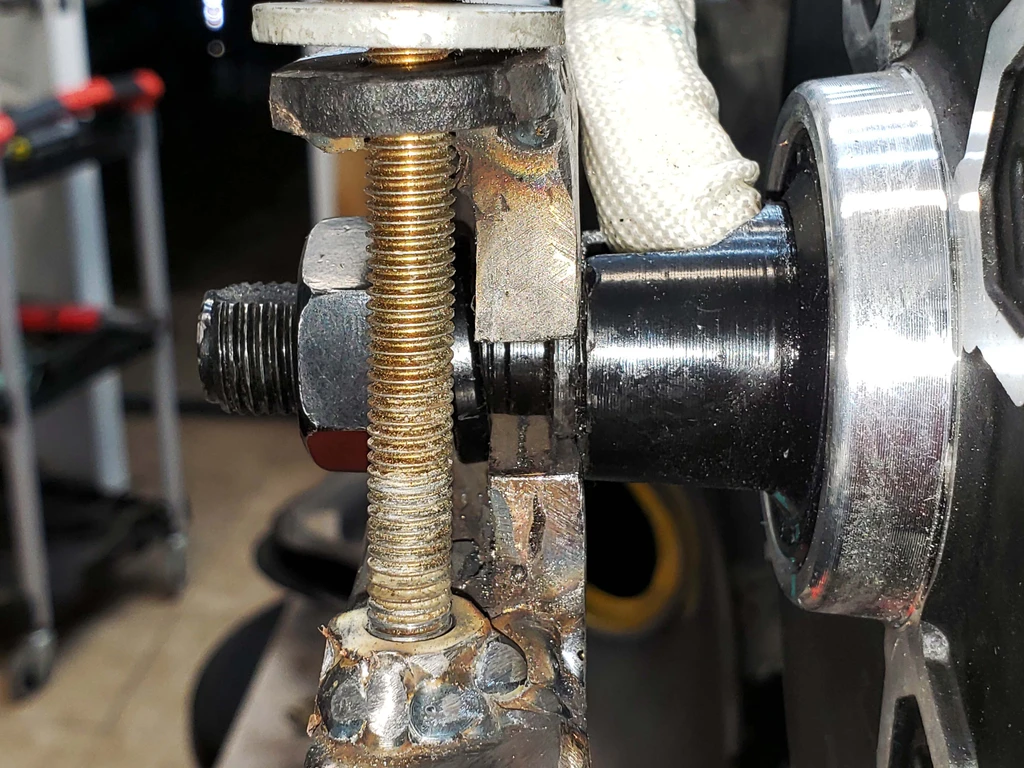
In perfect condition, brake rotor preinstalled.


I took a few minutes to see if the brake kit would work well, and it appears it will:


This guy struggles with it:
https://youtu.be/jzZcTjpcqiU

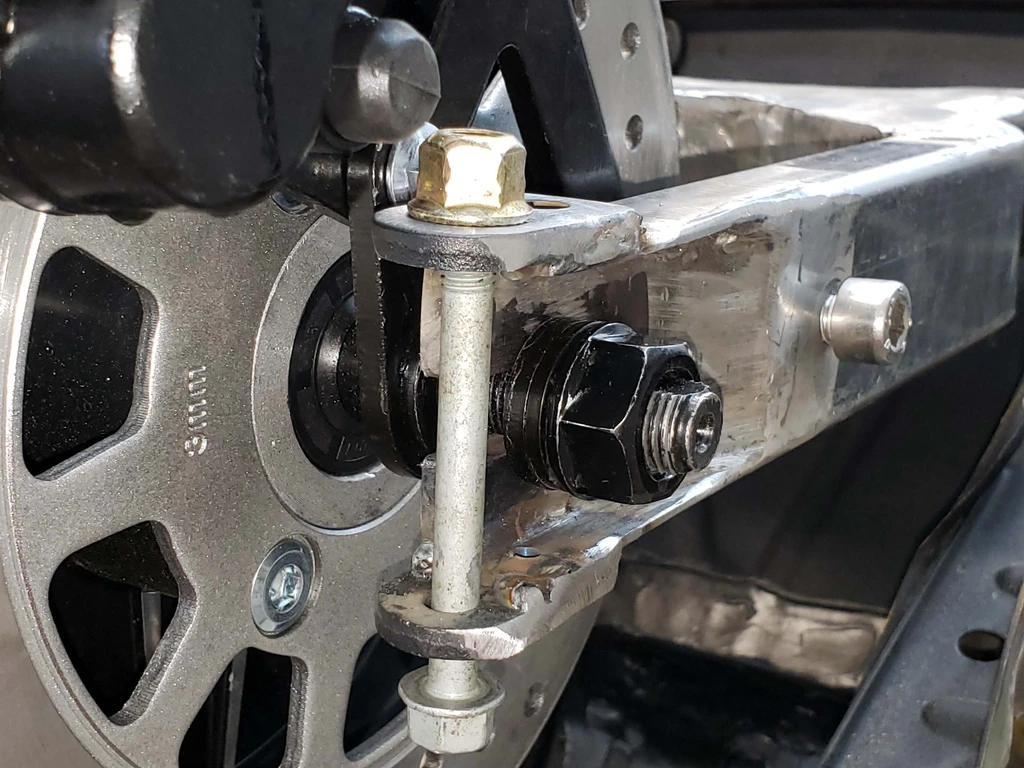
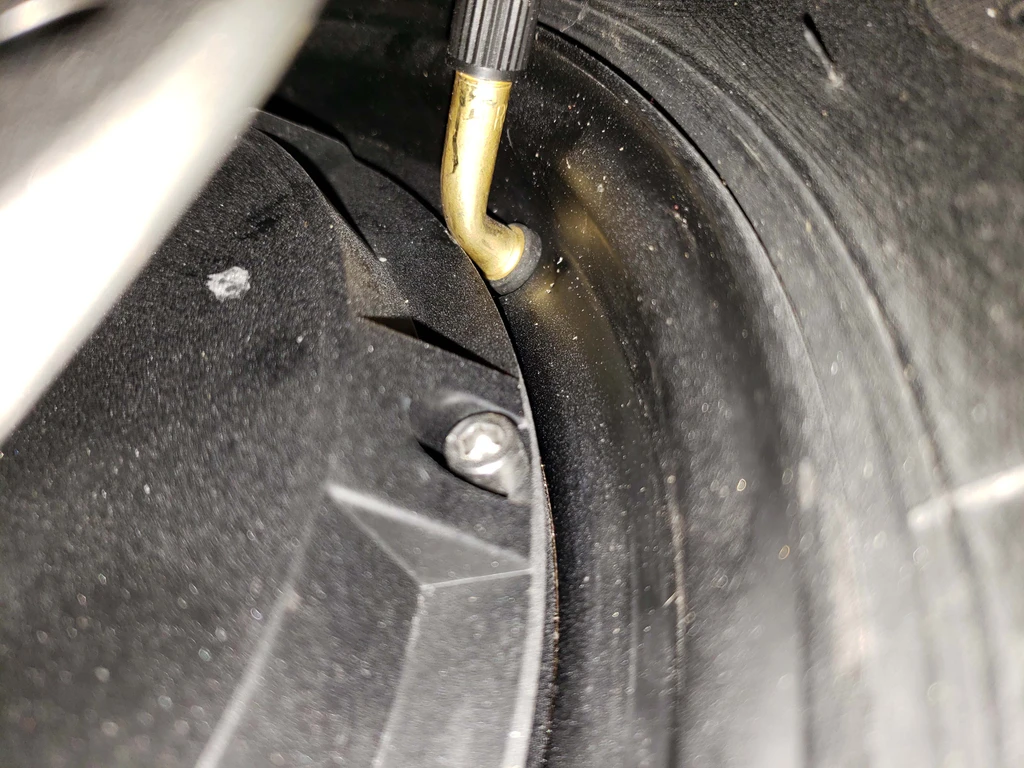
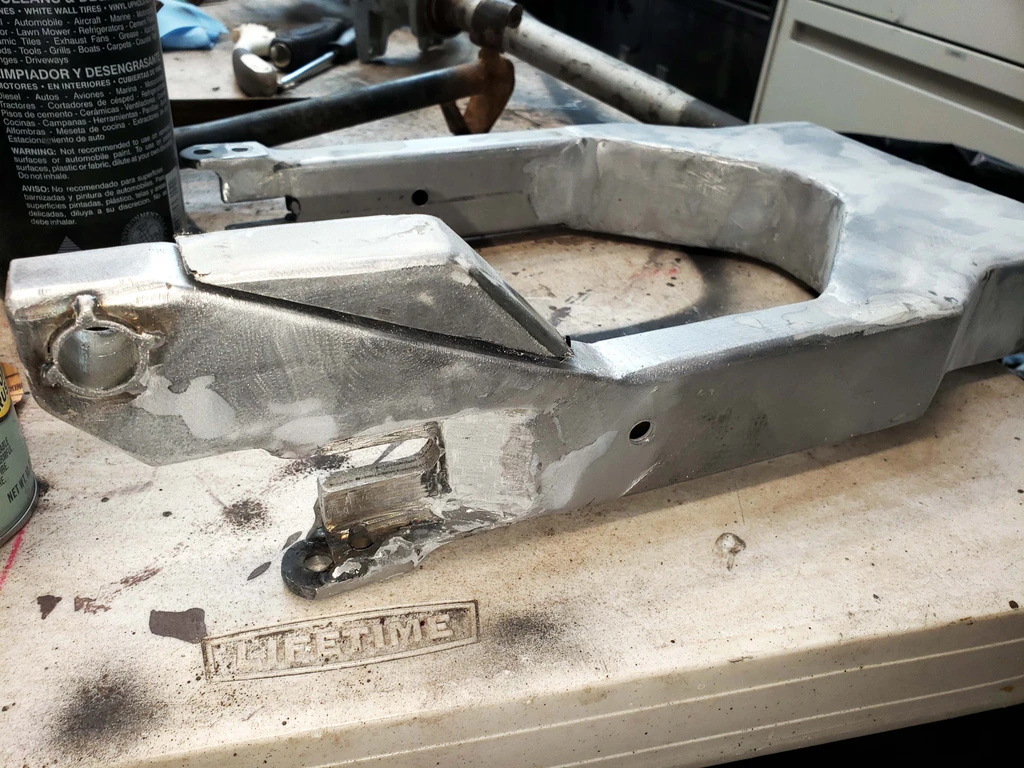
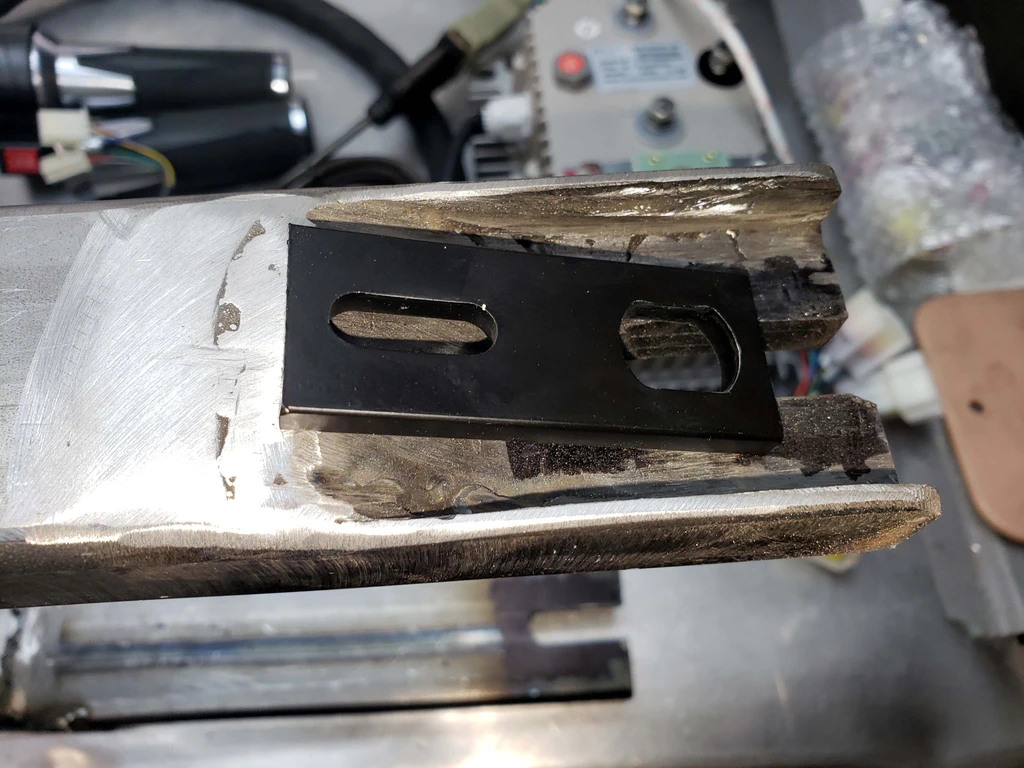
Lastly, a question: The torque arms are very loose, moving 1/4" at the tip. You can see the slot has a significant gap:


It is barely over half the thickness of my swingarm dropouts, and they are very snug, plus will be pinch bolted. Should I still use them?

If yes, is there any reason why I can't curve them to fit my swingarm, then drill and tap it for a bolt?


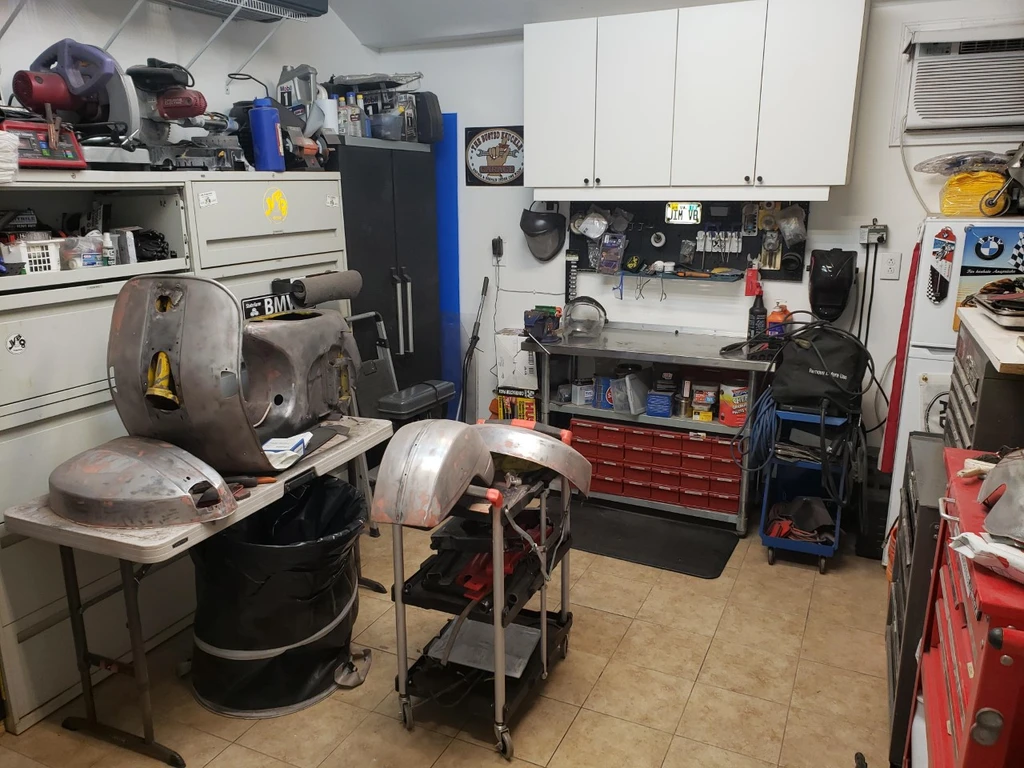
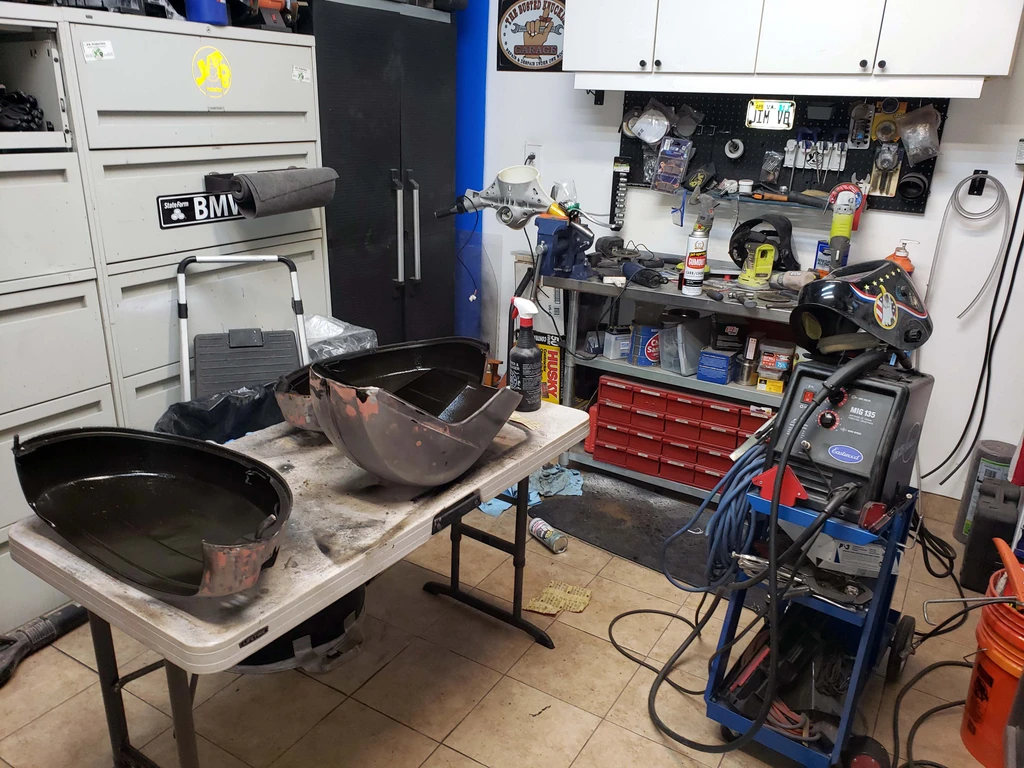
Anyhow, here is today's haul, plus many parts behind them. I will lay all my parts out and label them in a future post when the last remaining pieces come in.


I don't really do unboxing videos, but this guy did one. (Same guy who had trouble with the brakes.

https://youtu.be/ndclc4ZgXlA
 
Awesome! How long ago did you place your order? They haven't given me a tracking code yet and it's been 10 days. I asked them for an ETA on when it will ship and he said they're still making it. I guess I just need to be patient!
 
For the torque arm, yeah I think that tolerance is way too much. I'm not an engineer but I wouldn't use those torque arms. I will be interested to see what others say though.

I just learned about this company - https://sendcutsend.com/ - it looks like it would be a good option for making two torque arms to the correct size, and they can even do bends. I've heard that turnaround time is about a week. $29 minimum order.

Or maybe you don't even need torque arms with your thick swingarm drop outs! Or maybe just tighten up the tollerances in QS's torque arms by welding on some mig filler metal and then milling it to the right size with a dremel. That's probably what I would do.

At least they fixed the brake bracket so that it actually fits over the axle.
 
mannydantyla said:
Awesome! How long ago did you place your order? They haven't given me a tracking code yet and it's been 10 days. I asked them for an ETA on when it will ship and he said they're still making it. I guess I just need to be patient!

January 4th. Pretty fast. I didn't expect it for two more weeks.
 
mannydantyla said:
For the torque arm, yeah I think that tolerance is way too much. I'm not an engineer but I wouldn't use those torque arms. I will be interested to see what others say though.

I just learned about this company - https://sendcutsend.com/ - it looks like it would be a good option for making two torque arms to the correct size, and they can even do bends. I've heard that turnaround time is about a week. $29 minimum order.

Or maybe you don't even need torque arms with your thick swingarm drop outs! Or maybe just tighten up the tollerances in QS's torque arms by welding on some mig filler metal and then milling it to the right size with a dremel. That's probably what I would do.

At least they fixed the brake bracket so that it actually fits over the axle.
Yeah, I am waiting, but I am also considering making my own out of 3/8" plate. I can drill it and then cut it out. I will look into your link though. For the price it would be worth it.
 
At this point I would be better off paying a pro to build this to my spec. I have at least 15 hours in fab, and another 10 in design.

Nonetheless, I am pretty happy with it, and learned a lot. My welding is steadily improving. It is STOUT!

The addition of the shock mount was problematic. Angle and clearance. I will have to mod the new shock when I receive it. Yes, single sided.


Then the brake mount messed with me. I ended up with the caliper upside down. Not ideal. I will be looking at it more tomorrow. Note the bolt threaded through both sides of the swingarm, and into a bushing on the caliper mount.


Lastly I made a small error in building the swingarm and did not leave enough meterial for the pinch bolts, so I added it.


Also my paint came in, Green and off white. That will, maybe, be next weekend.


Tomorrow I start working on the hydraulic brake mount and positioning of the components.
 
Great progress again!


JimVonBaden said:
The addition of the shock mount was problematic. Angle and clearance. I will have to mod the new shock when I receive it. Yes, single sided.


Why not cut the bulky shock mount and weld a plate/strip on top. Much cleaner and no need to mod the shock:


Vespa.jpg
 
SlowCo said:
Great progress again!


JimVonBaden said:
The addition of the shock mount was problematic. Angle and clearance. I will have to mod the new shock when I receive it. Yes, single sided.


Why not cut the bulky shock mount and weld a plate/strip on top. Much cleaner and no need to mod the shock:


Vespa.jpg

Now you tell me. I would have to mod the shock anyhow, to keep it from being sloppy, but at least I haven't painted it yet. So stand by. :D
 
Modded the handlebars to fit the rear brake lever and master cylinder, and the electronic throttle. The Vespa had a shifter that you activated by rotating the left bar to select a gear, while pulling the clutch at the same time. Kinda odd, but you get used to it. The throttle was a cable, and the bar was too large to fit the electronic throttle, so I had to fit a smaller bar. Then both bars needed to be staked into the headset to the would not move or come out.


Then I rubber undercoated the inside of the fender and underside of the leg shield.


Next I started working on positioning of the major components. I think the Kelly Controller will fit perfectly where the battery was, and the 12V DC/DC converter will fit next to it. Most of the other components will go inside the fuel tank area.

Finally I installed the tire and tube on the hub motor. It was a bit of a pain. I would not want to do this on the road. My only concern is the valve stem is contacting the hub. I need to find a way to move it so that it doesn't wear through and cause a flat.

 
Nice work! My only suggestion is, ideally, the captive nut you welded to the right swing arm should be on the other side of the metal, so that you're not relying on the welds to hold. But your welds look good enough, and with the shock mount where it is, that might not have even been possible.

And now that I have a better look at the dropouts, I don't think you *need* the torque arms that came with the motor. Especially if they leave a gap around the axle! I wonder if anyone else has an opinion though.

As for the valve stem: first thing that comes to mind is remove the hub's cover and grind that spot down just a little, but I don't know how easy it would be to remove it and reinstall. Are you worried about it causing an air leak?

And thanks for sharing photos of the brake kit and the twist throttle, I'm sure that is what I will receive as well so now I know for sure what to expect. I think I'll start looking for something that little more fitting for my bike. Also, I think I want the rear brake to be on the right side of the bars, just like a bicycle.
 
Fixed a couple of issues. Shrink wrapped the valve stem. It isn't really tight on the hub, so this should be good. I also chopped off a bunch of the shock mount to make it less bulky, then boxed it in.


Used rust reformer on the inside of the side cowls and front fender.


Received and checked the fit on the new LED headlight.


Cleaned the front axle, brakes and centerstand.


And from now on I am working towards paint next weekend, so lots of sanding, cleaning, sanding, touch up spot putty, sanding, and then primer, sanding, and paint.


Parting shot:
 
Nice job on the headlight. For any resto-mod project, converting the headlight to LED is like a sacramental rite. Much like painting the valve cover after rebuilding a 4-banger.
 
mannydantyla said:
Nice work! My only suggestion is, ideally, the captive nut you welded to the right swing arm should be on the other side of the metal, so that you're not relying on the welds to hold. But your welds look good enough, and with the shock mount where it is, that might not have even been possible.

And now that I have a better look at the dropouts, I don't think you *need* the torque arms that came with the motor. Especially if they leave a gap around the axle! I wonder if anyone else has an opinion though.

As for the valve stem: first thing that comes to mind is remove the hub's cover and grind that spot down just a little, but I don't know how easy it would be to remove it and reinstall. Are you worried about it causing an air leak?

And thanks for sharing photos of the brake kit and the twist throttle, I'm sure that is what I will receive as well so now I know for sure what to expect. I think I'll start looking for something that little more fitting for my bike. Also, I think I want the rear brake to be on the right side of the bars, just like a bicycle.
Yeah, the nut on the inside would have been ideal. I should have done it before I boxed the shock mount.

Mostly on the valve stem I am worried about wear through. I would not be comfortable removing the cover. Mostly because of warranty. I will be keeping an eye on it though.

Since I am a motorcycle rider, I prefer to keep the front brake on the right, and the rear on the left like my ebike. I swapped them too.

Thanks,
 
izeman said:
Nice progress, and great to read/watch.
One question: Are you really gonna keep the drum brakes for the front? There are disc upgrades ready available. I wouldn't trust this crap as it is now ...

I am for now. The drum brakes on the Vespa are pretty good. Besides, other than initial acceleration, the bike will not go faster than it did with the motor in it, and will not be heavier. Later, if I feel I need it, I will go for the disc brake conversion.

Thanks,
 
Back
Top