Dui ni shuo de dui
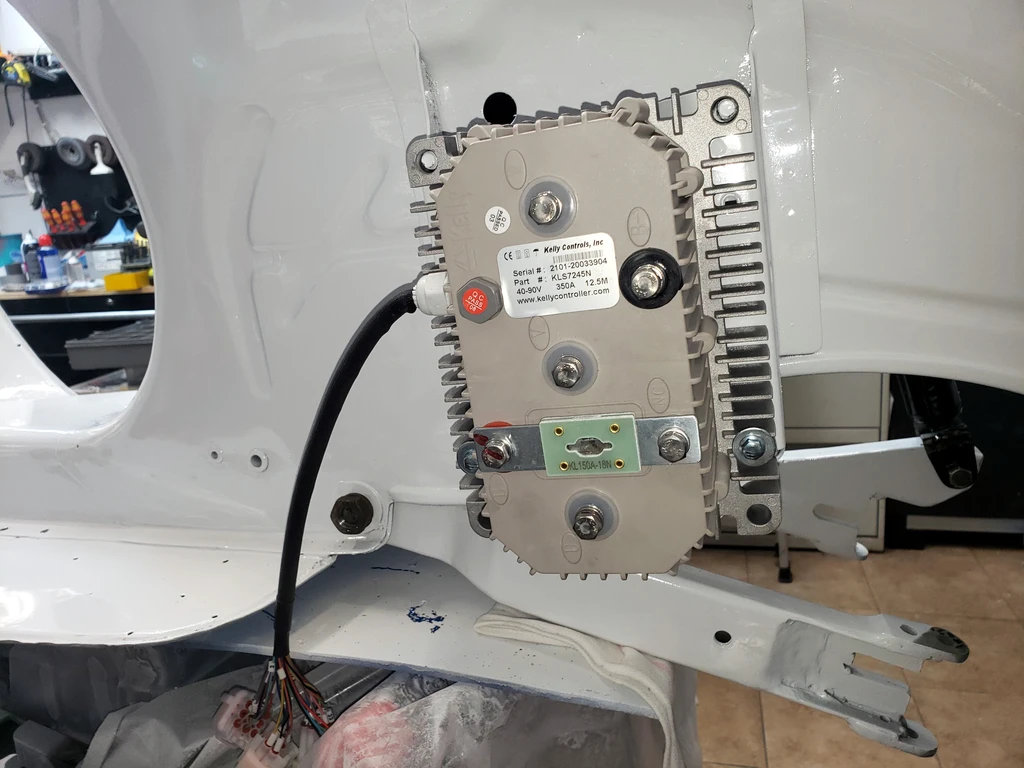
10 kW
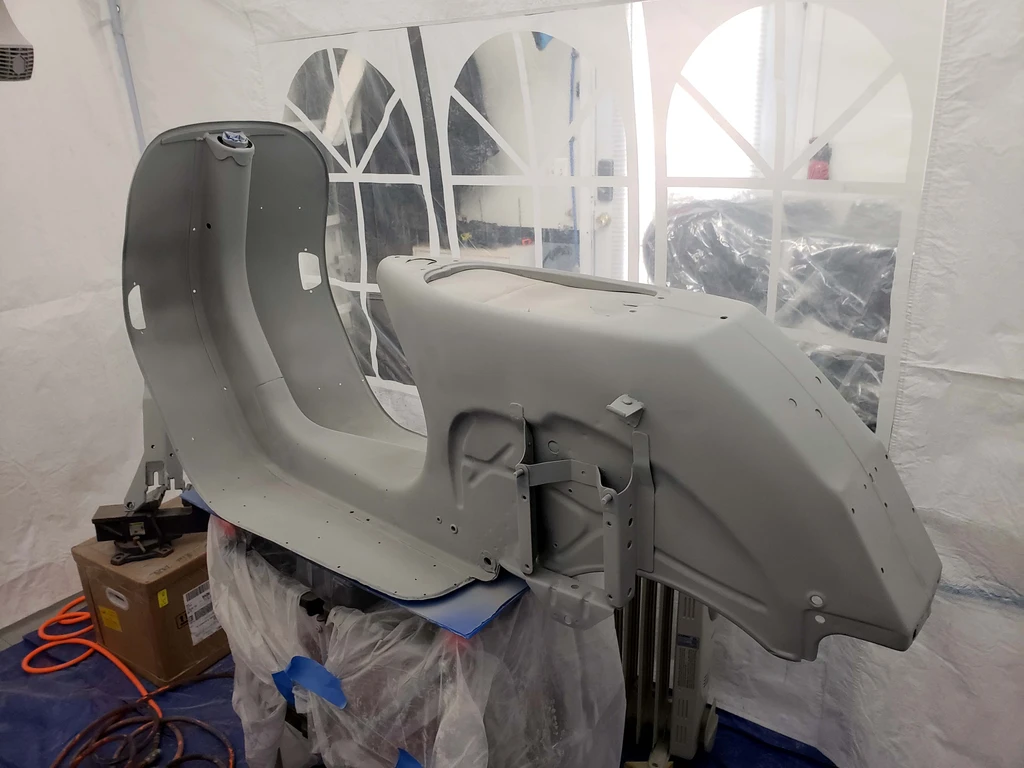
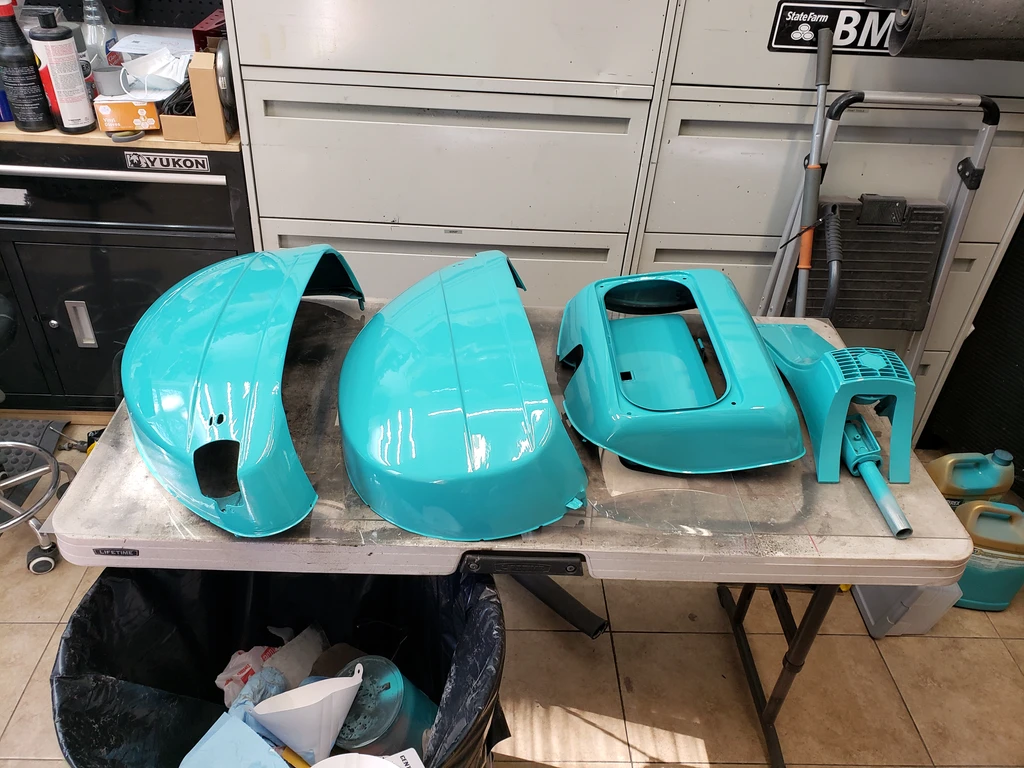
Great build, lots of very nice work!
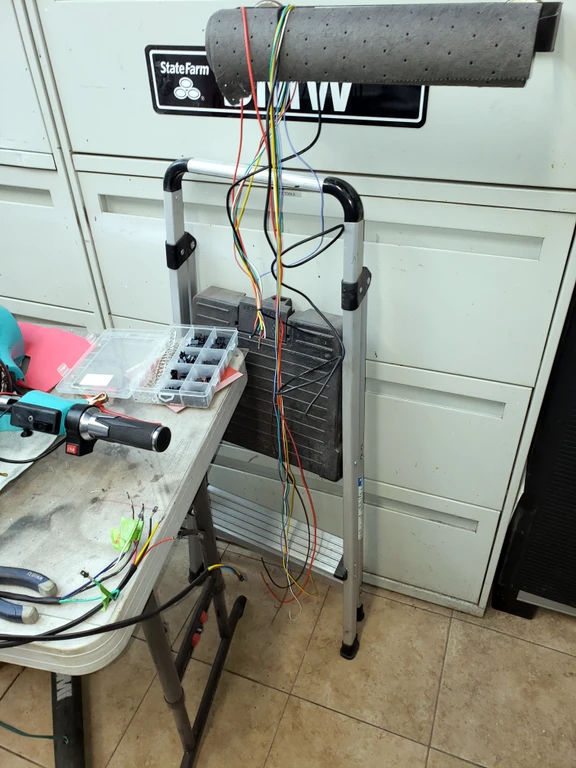
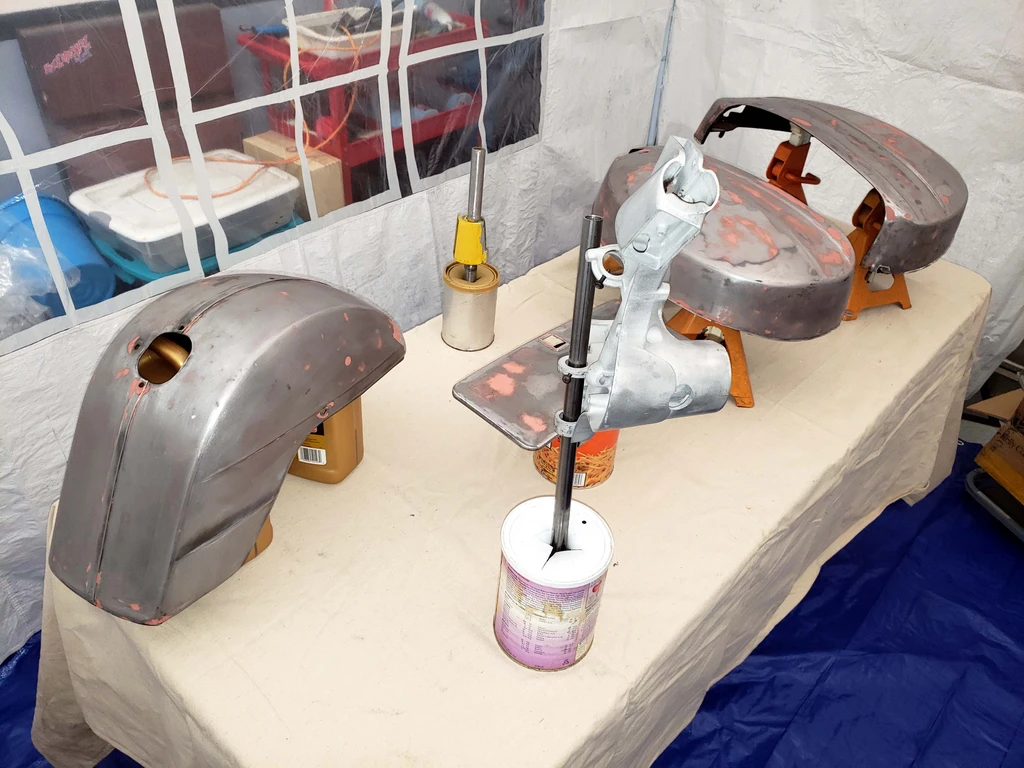
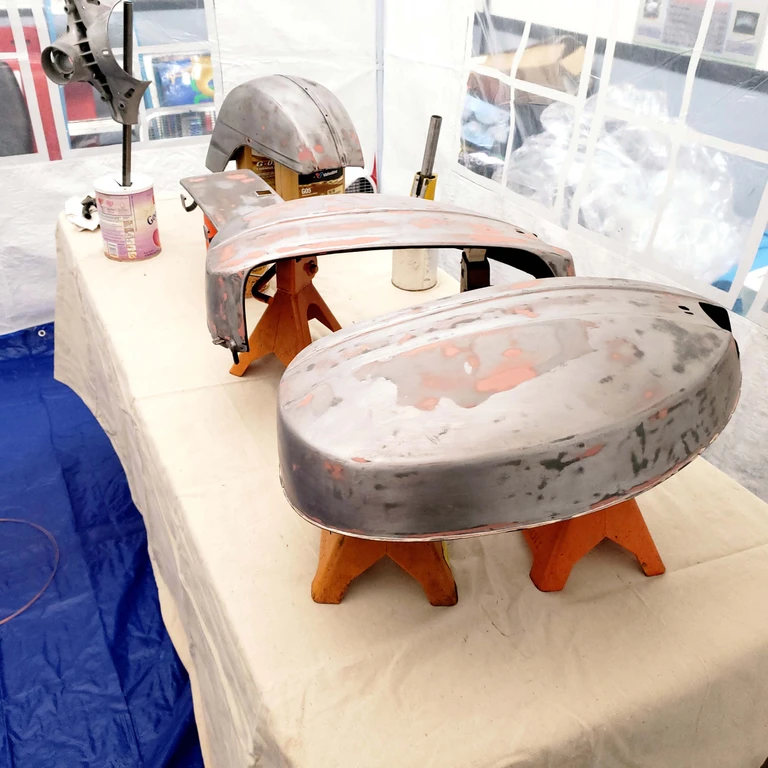
I absolutely love the paint booth idea, it's brilliant. I'll buy one right away!
I absolutely love the paint booth idea, it's brilliant. I'll buy one right away!
Dui said:Great build, lots of very nice work!
I absolutely love the paint booth idea, it's brilliant. I'll buy one right away!
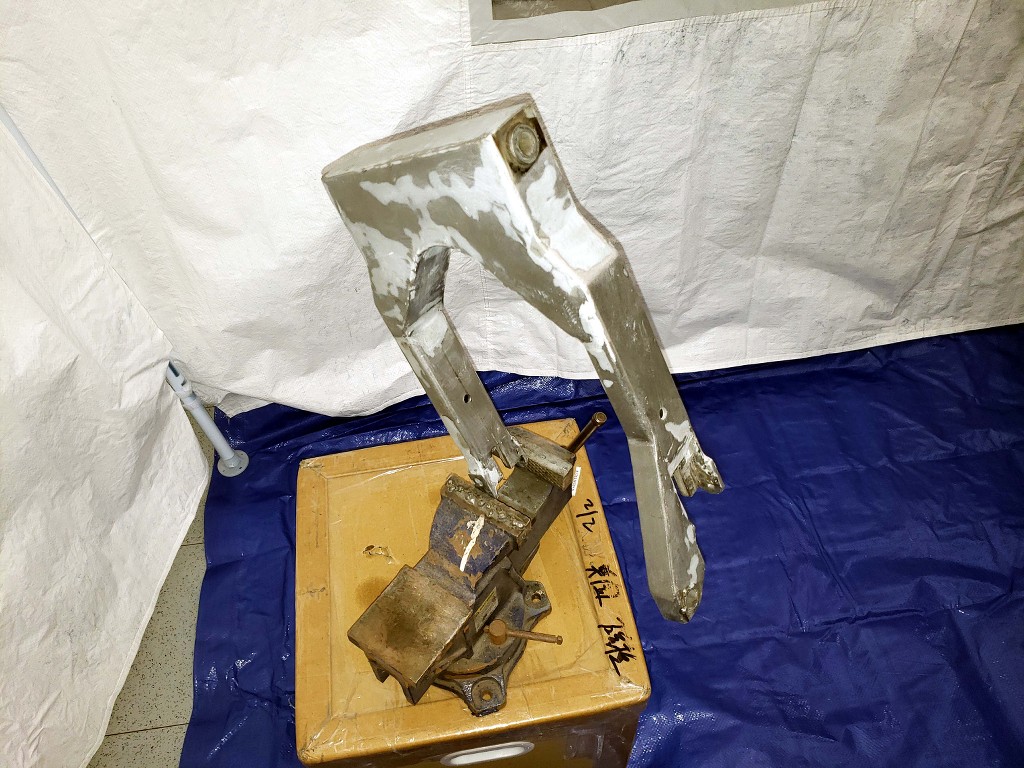
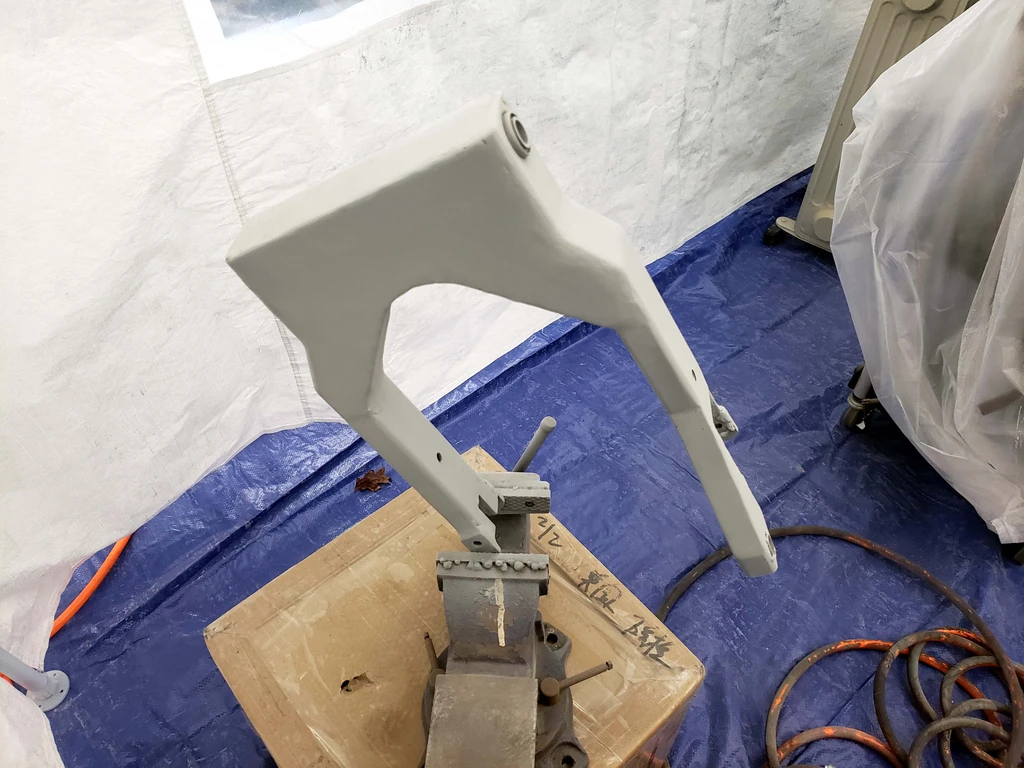
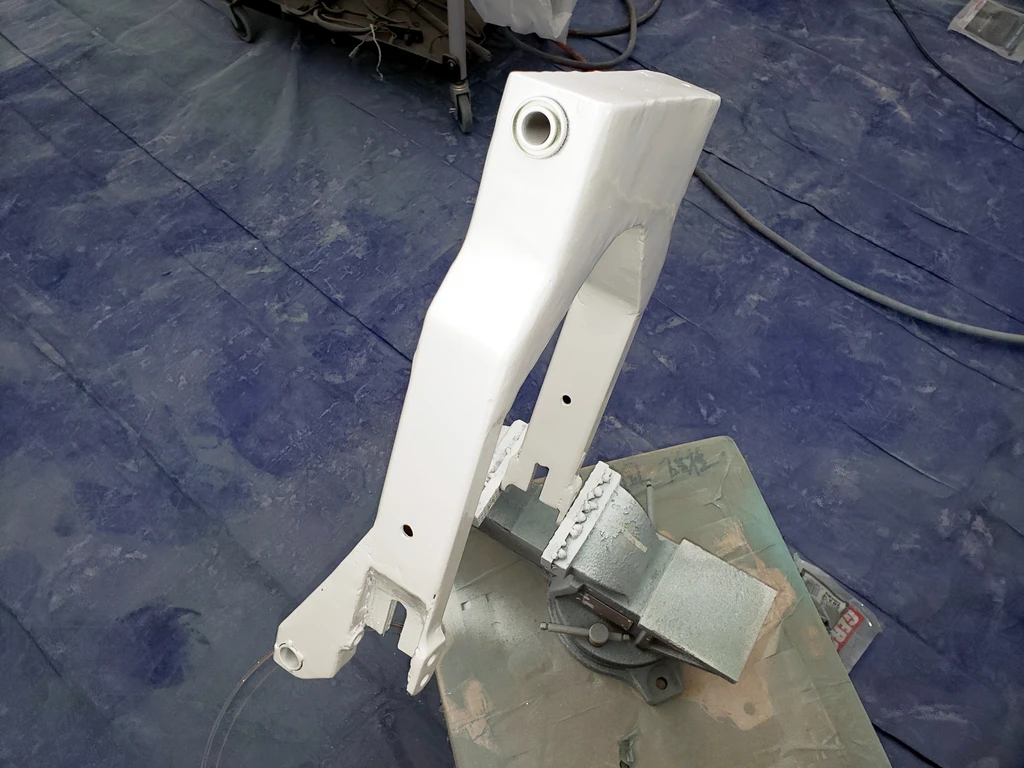
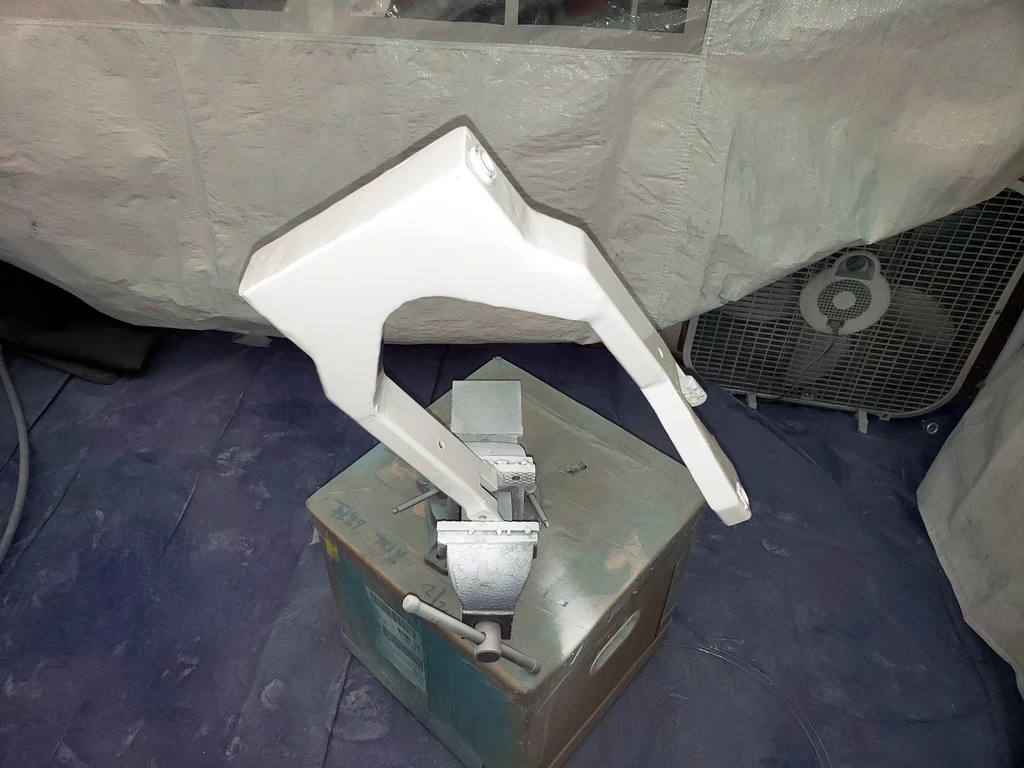
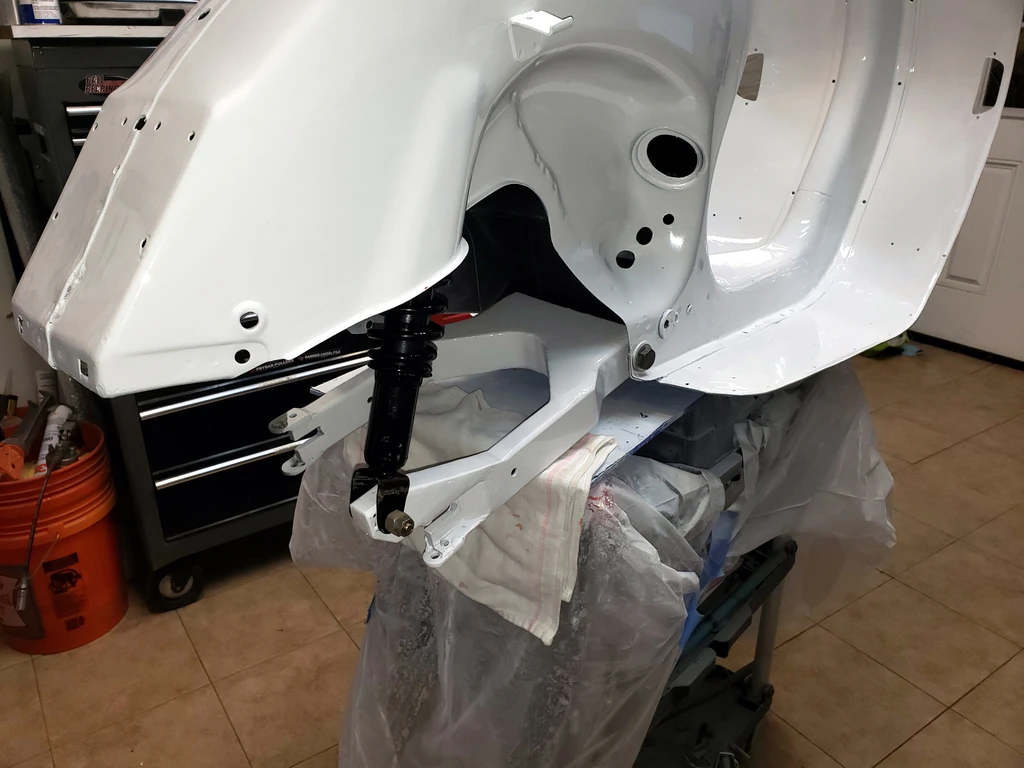
JimVonBaden said:I added another internal crossbrace, drilled and plug welded, plus perimeter welded. Then I boxed in both ends. It weighs 28 pounds. If this isn't strong enough, nothing is.
Dui said:JimVonBaden said:I added another internal crossbrace, drilled and plug welded, plus perimeter welded. Then I boxed in both ends. It weighs 28 pounds. If this isn't strong enough, nothing is.
whuuut?
Are you sure it's right? That would mean that your swingarm is heavier than the entire frame of my motorbike?!?
That sounds crazy.
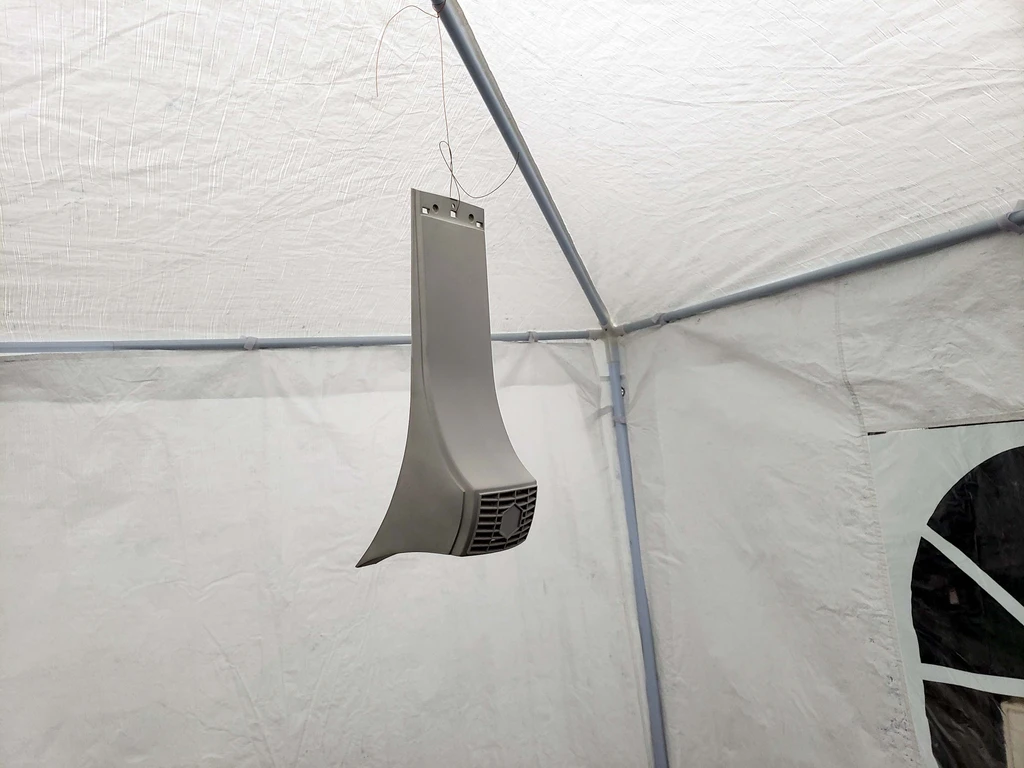
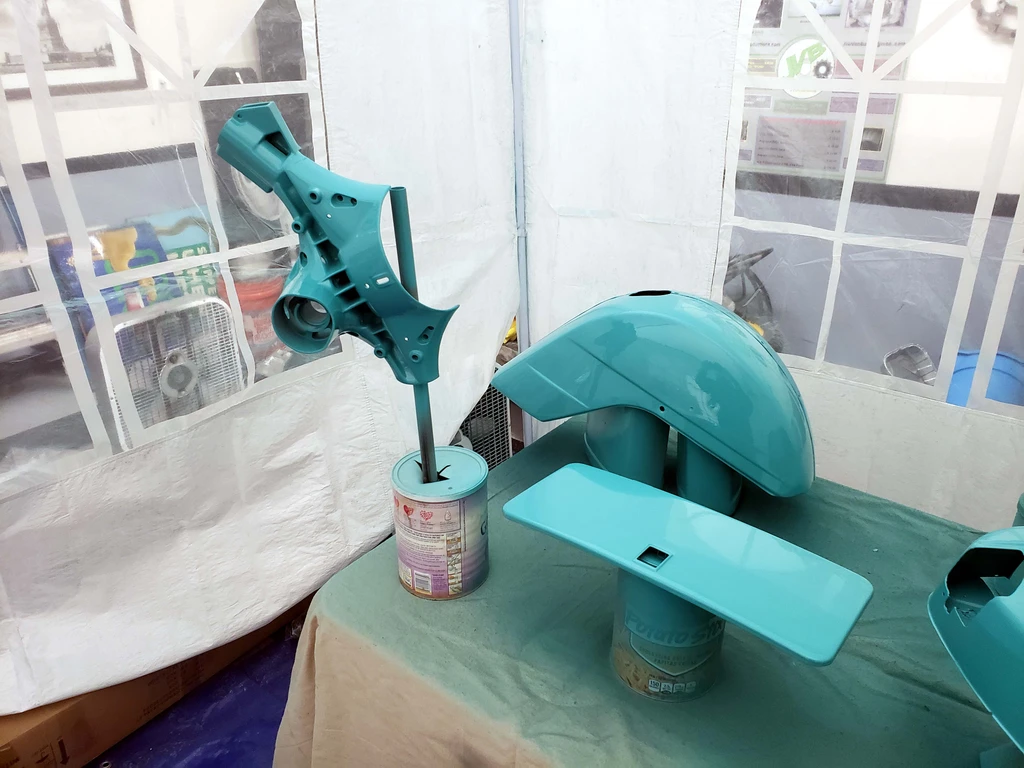
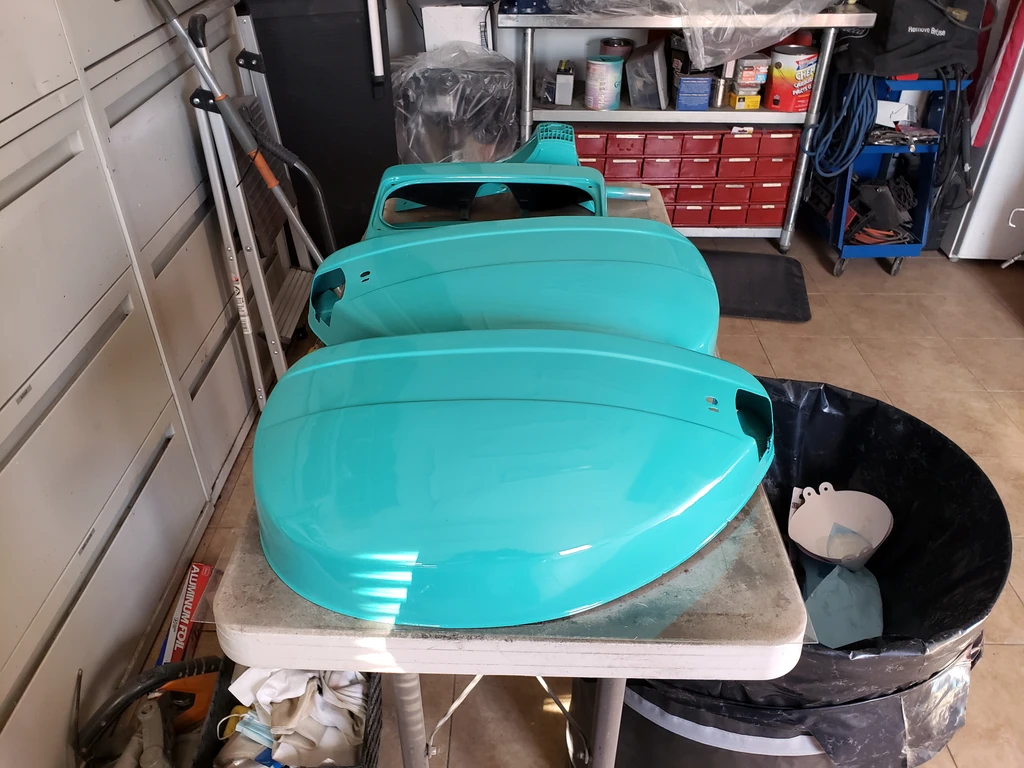
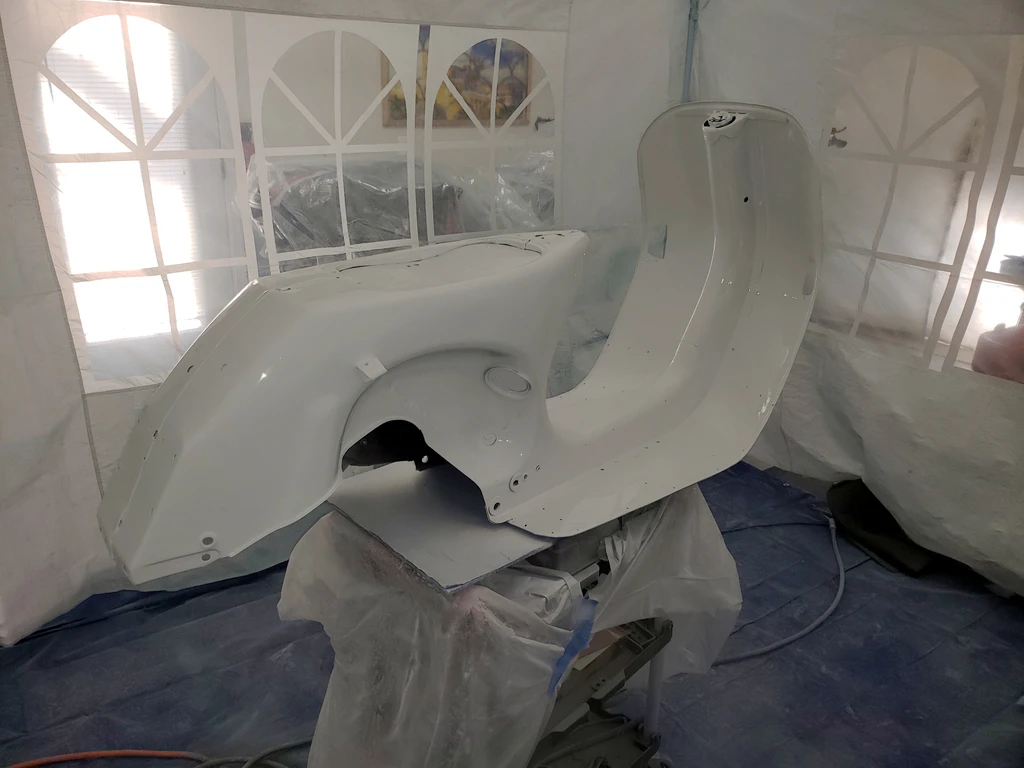

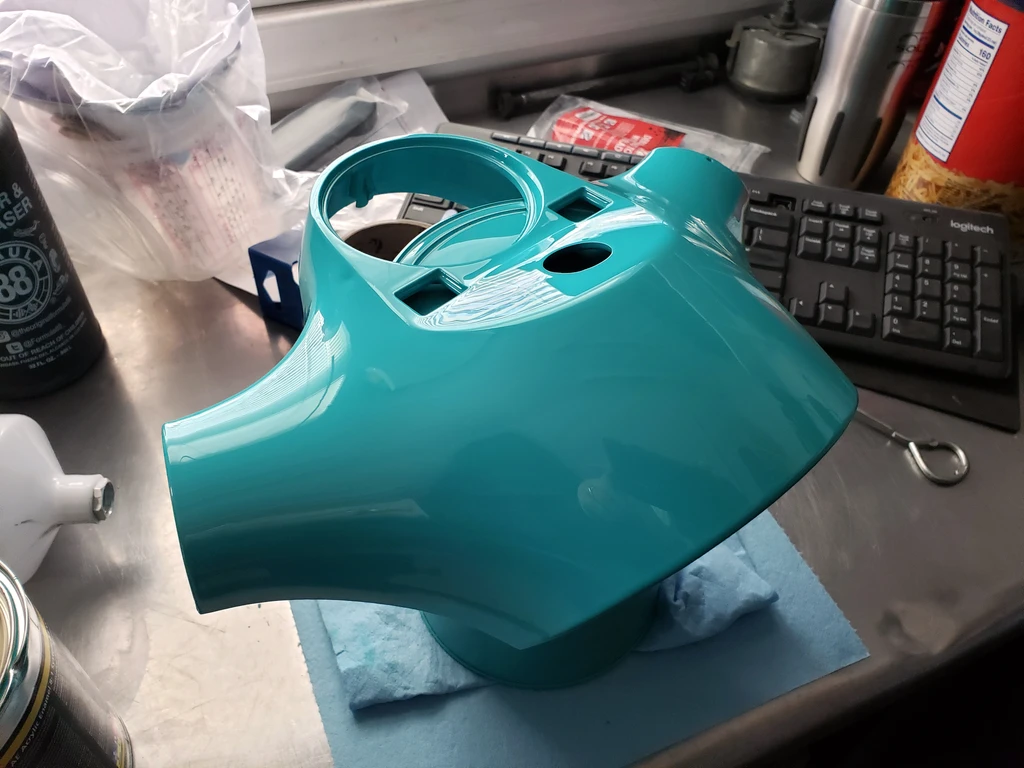


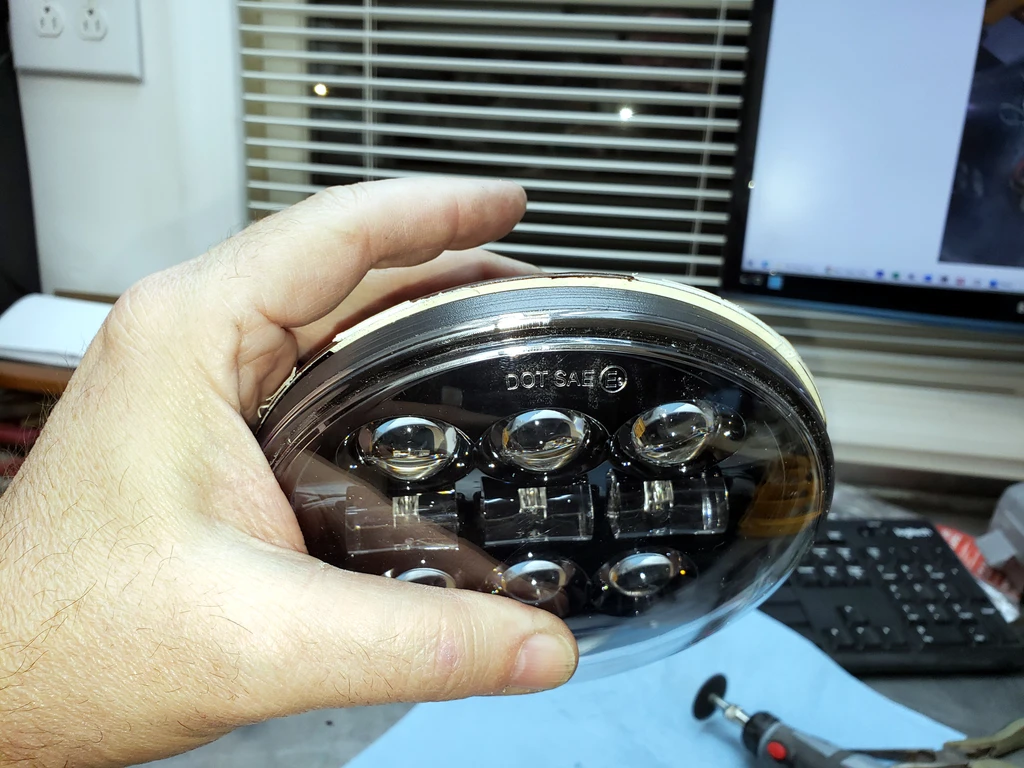
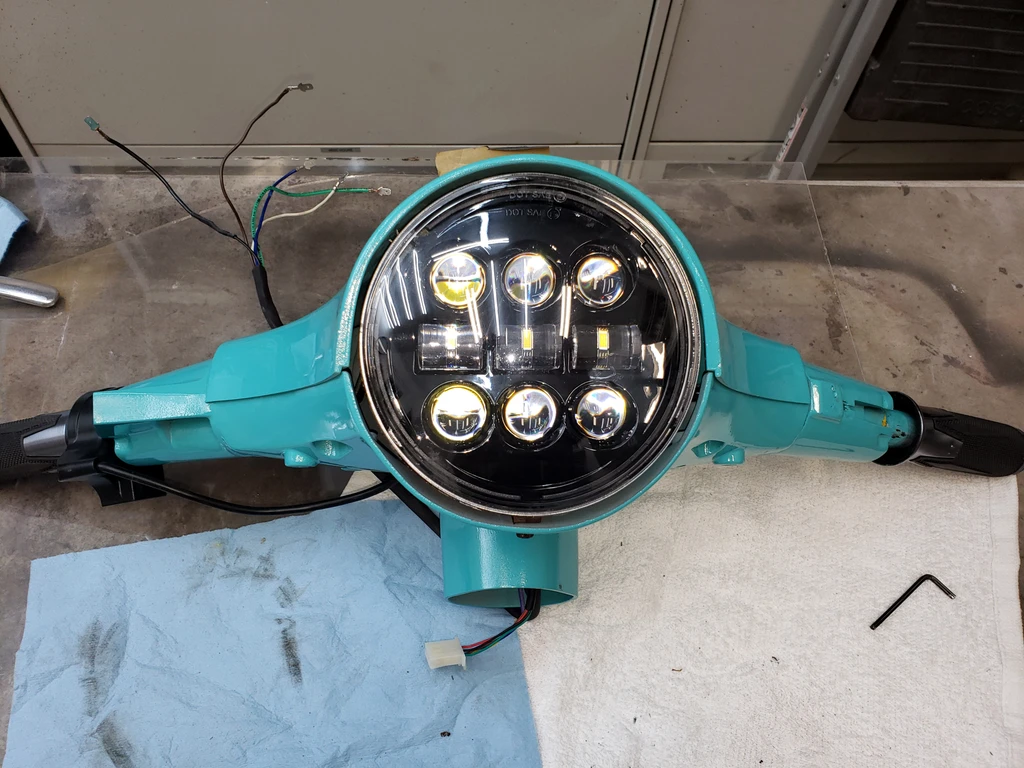
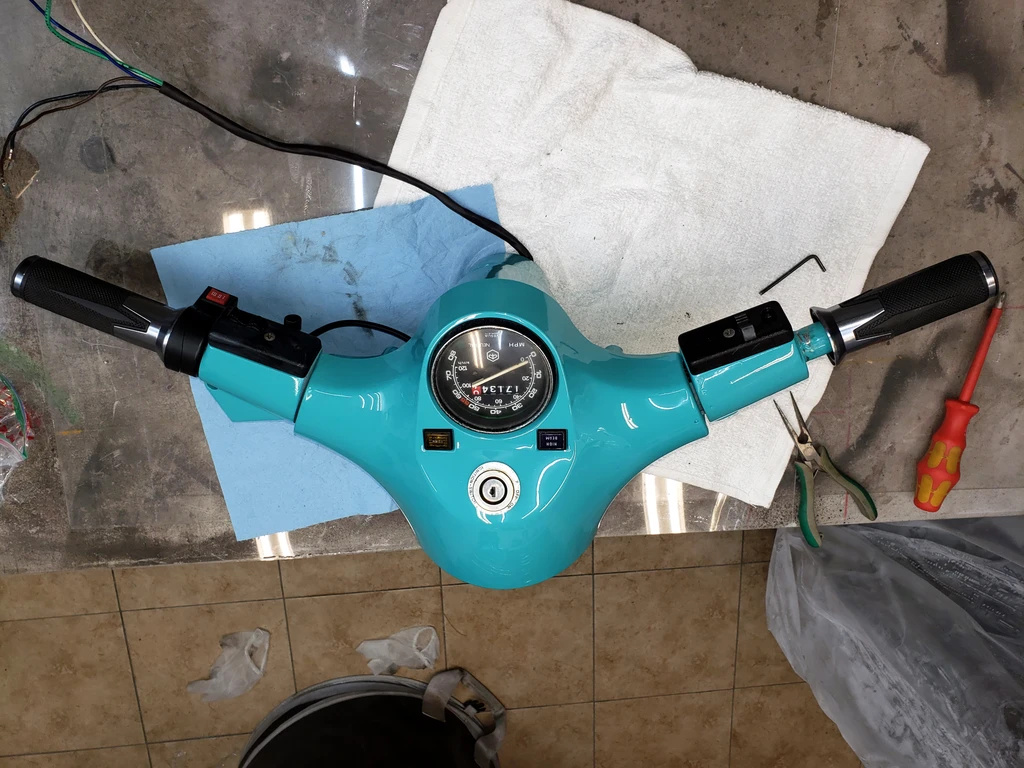
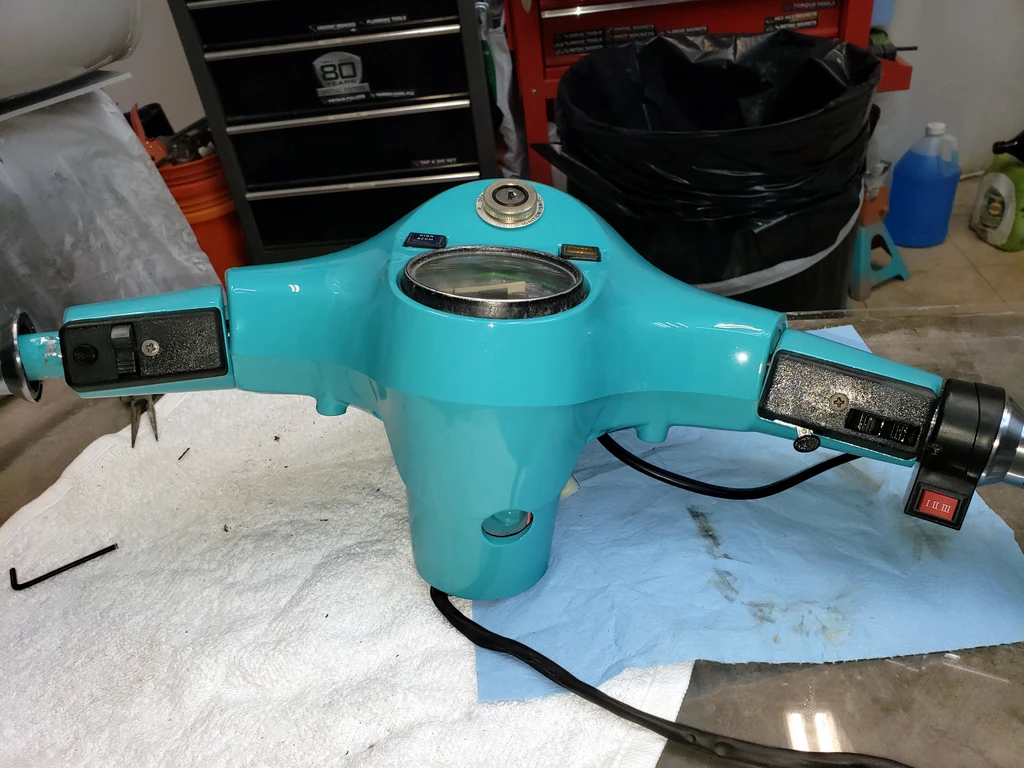
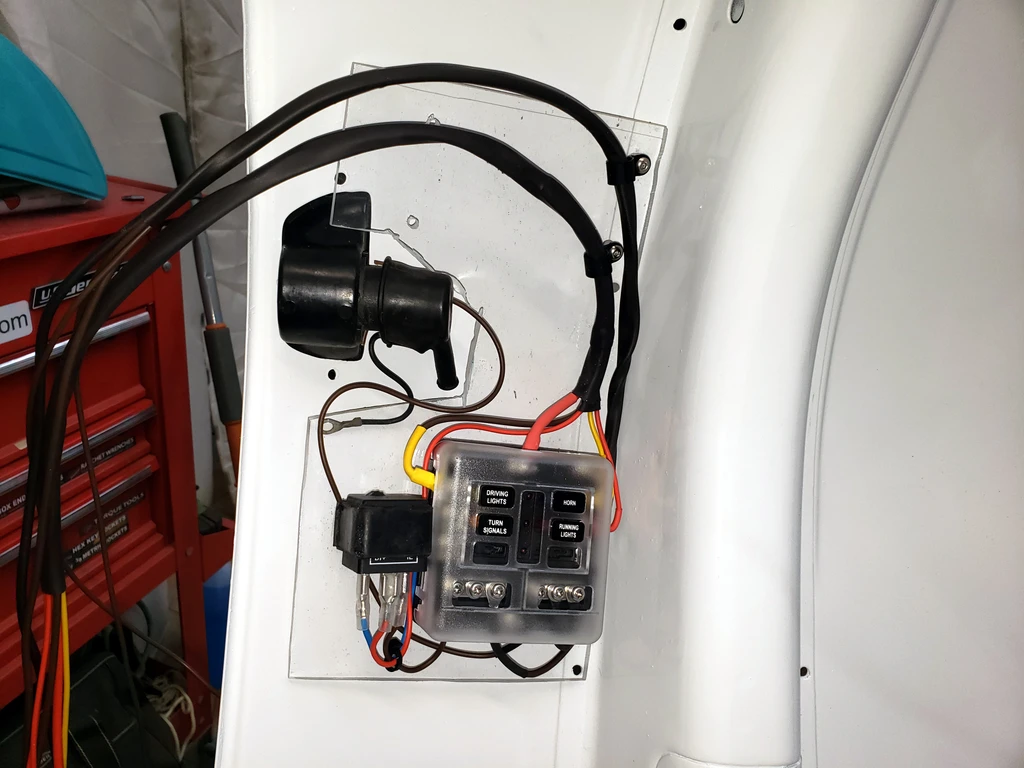
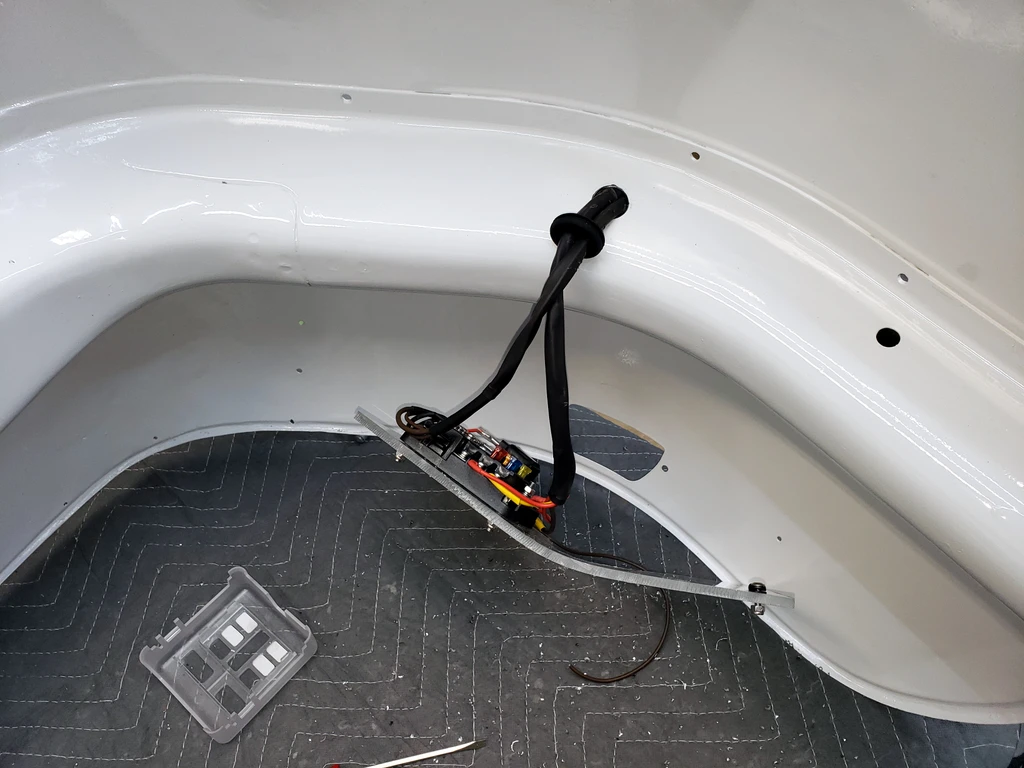
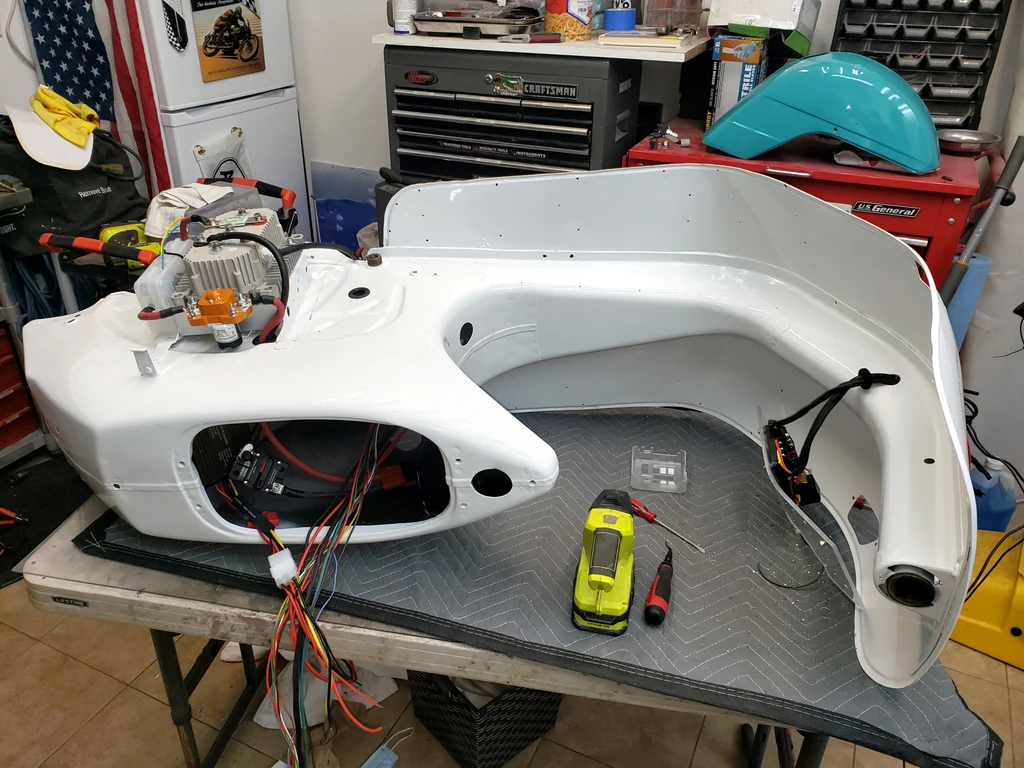
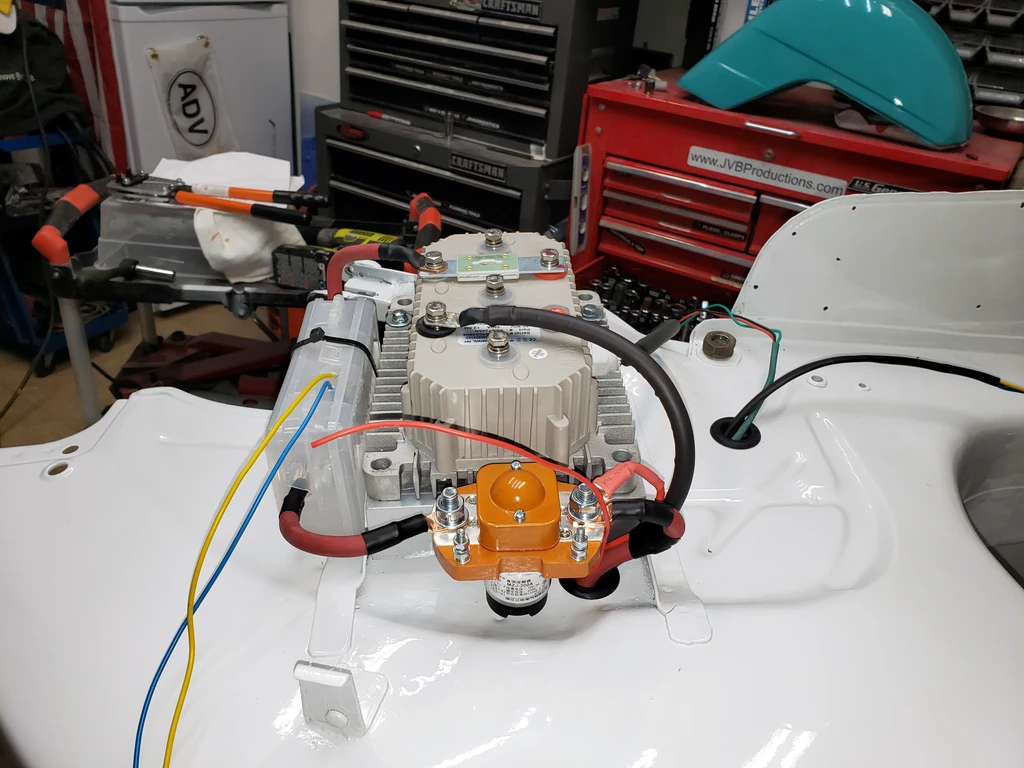
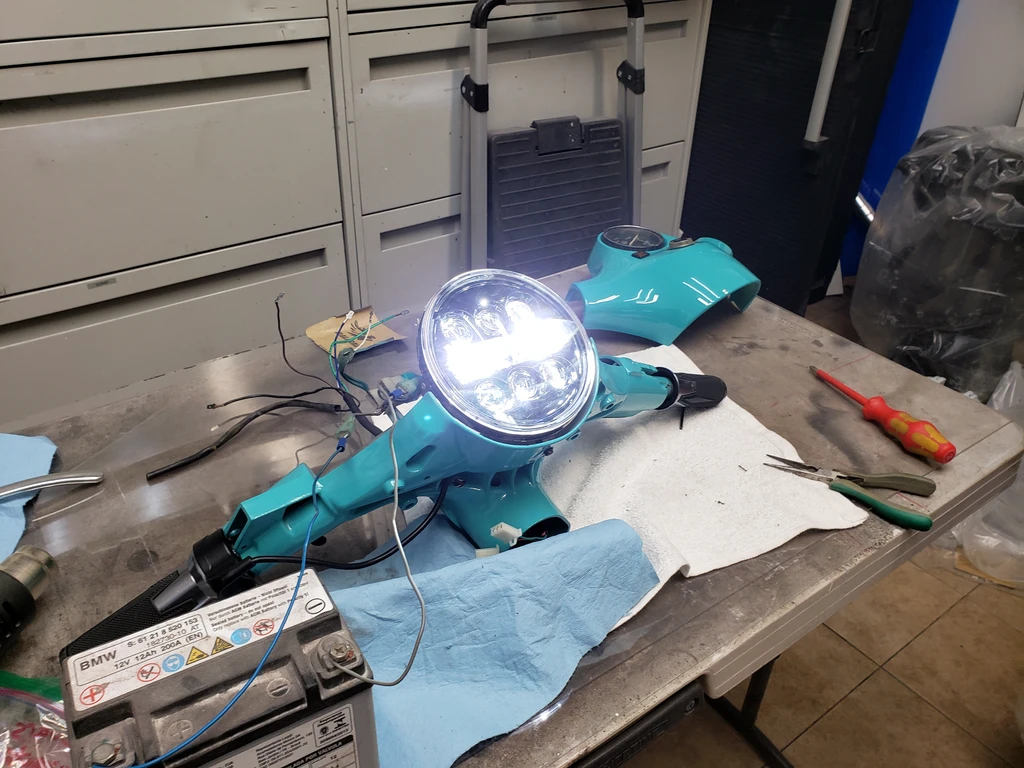
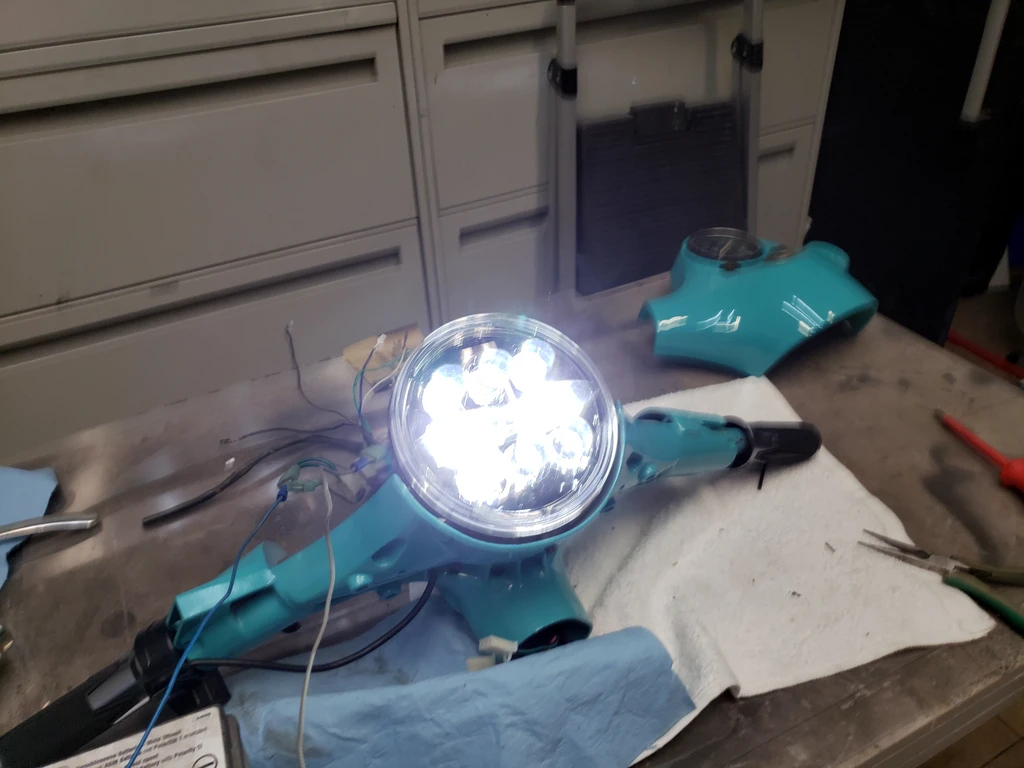
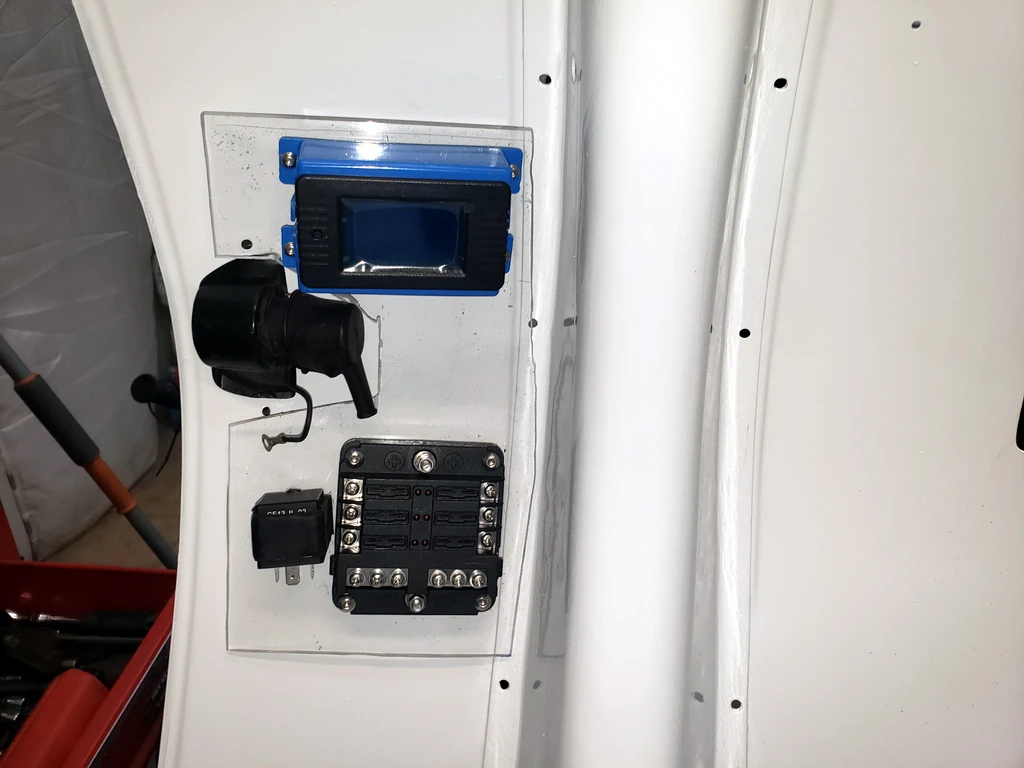
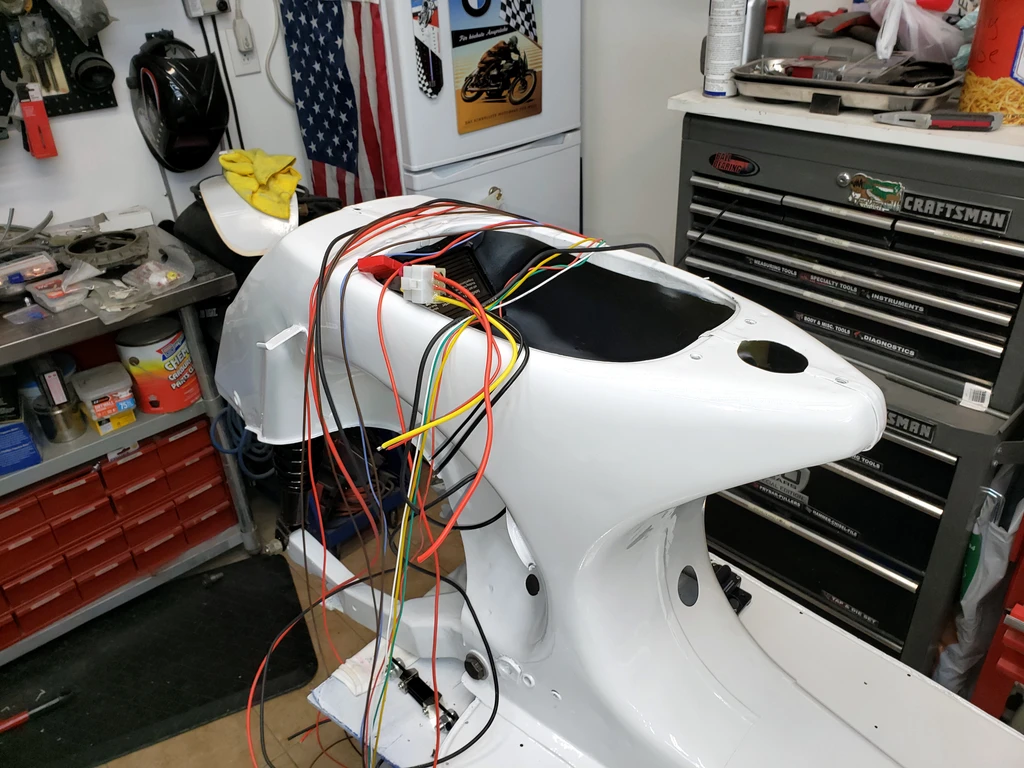
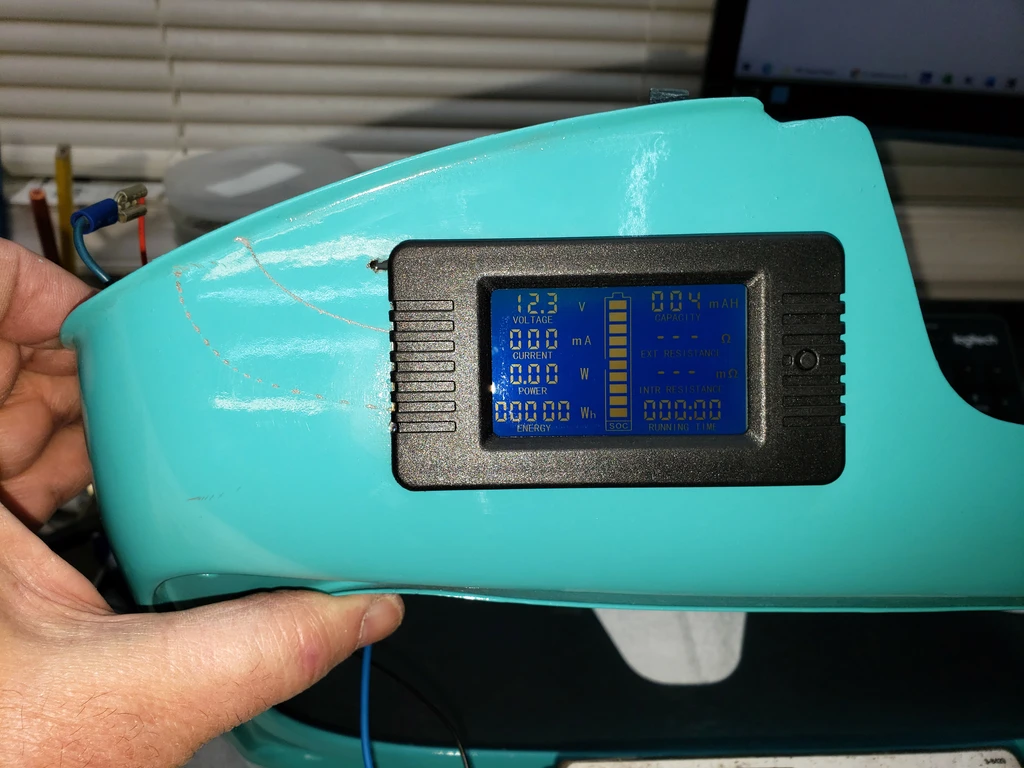
mannydantyla said:That looks fantastic!
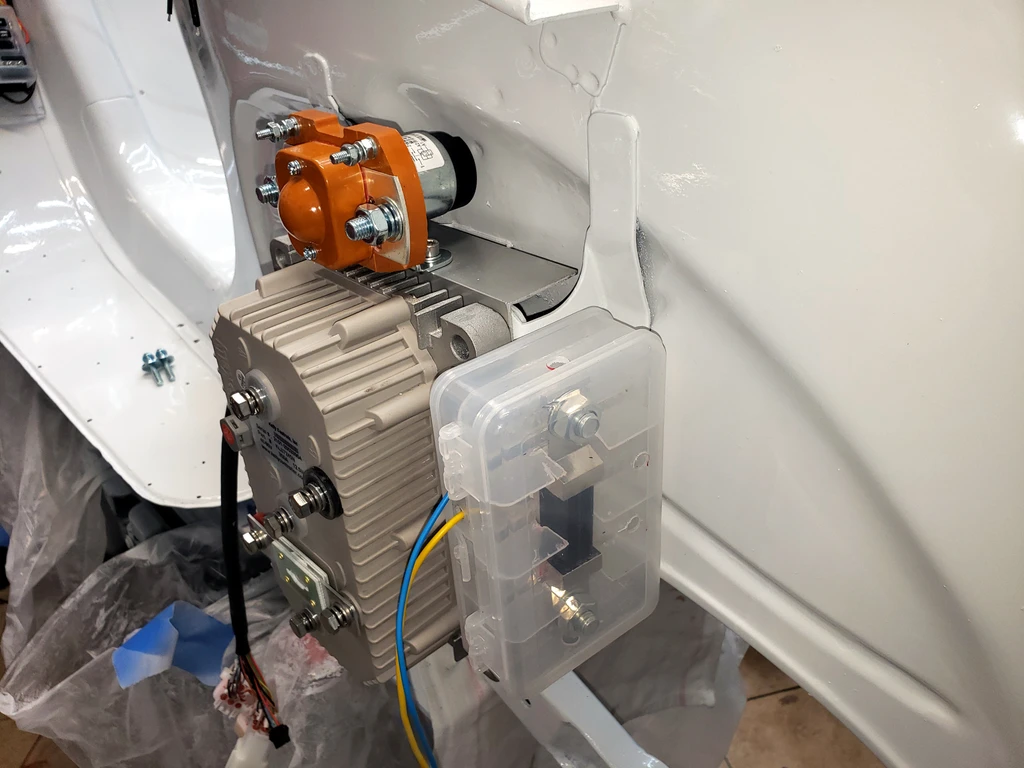
Do you know what size BMS you're using? how many amps?

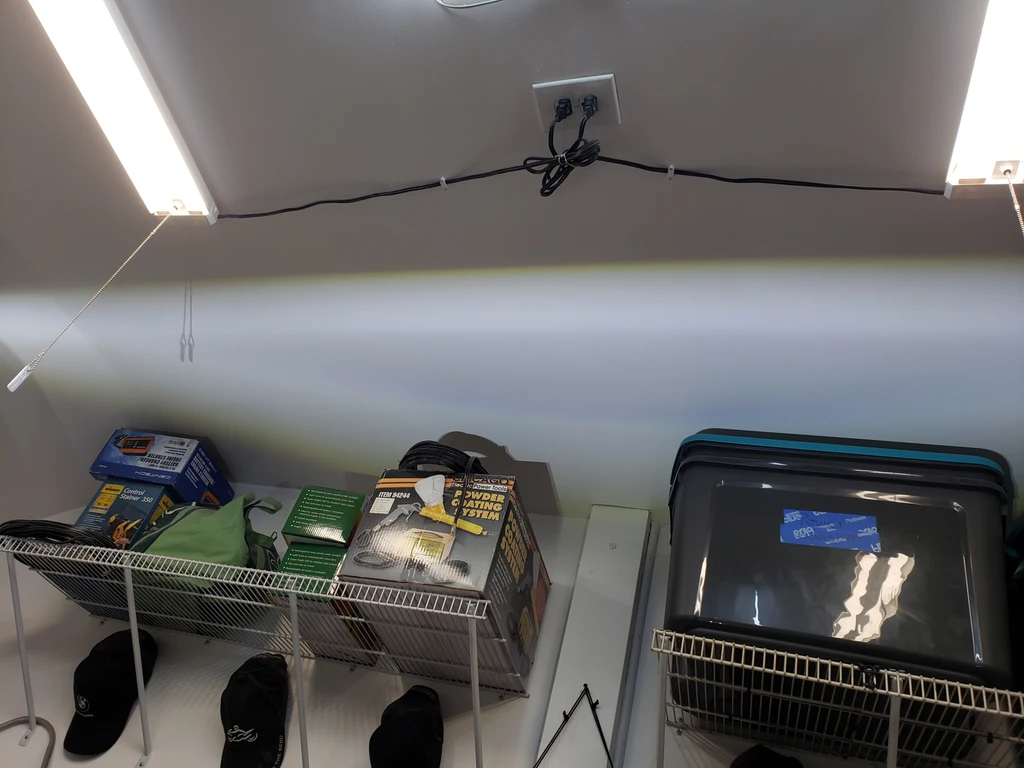
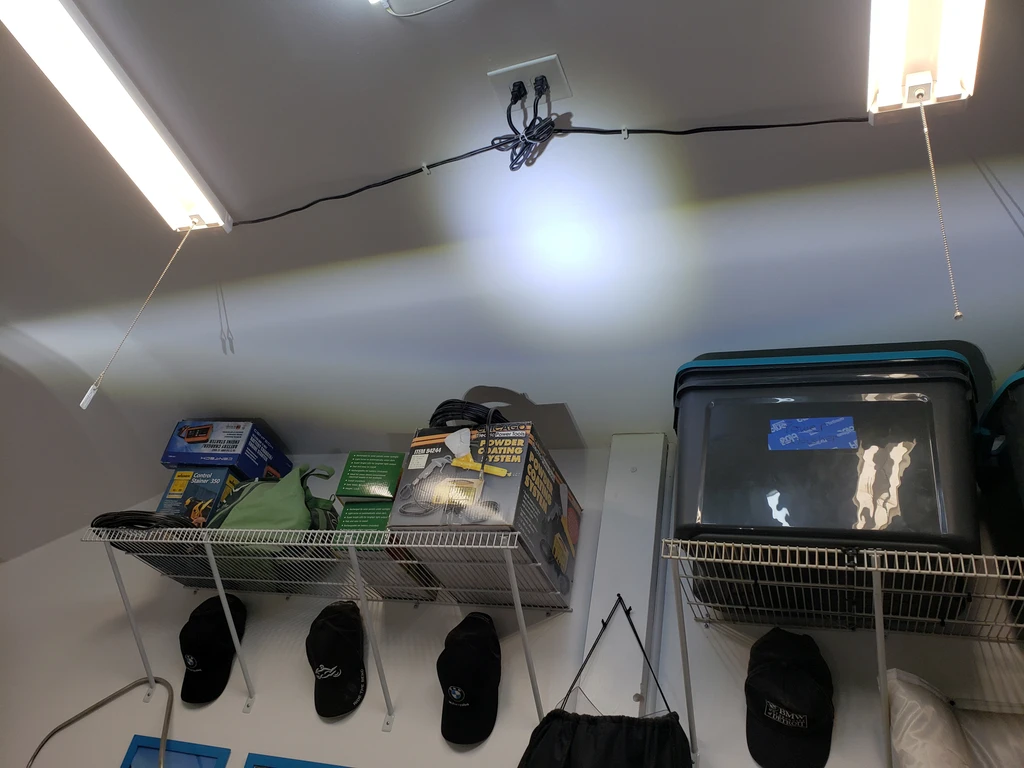

mannydantyla said:I'm going to need one of those for my garage too (except I'm getting to ready to demolish it and build a new one, I just sent my plans to the city a few minutes ago)
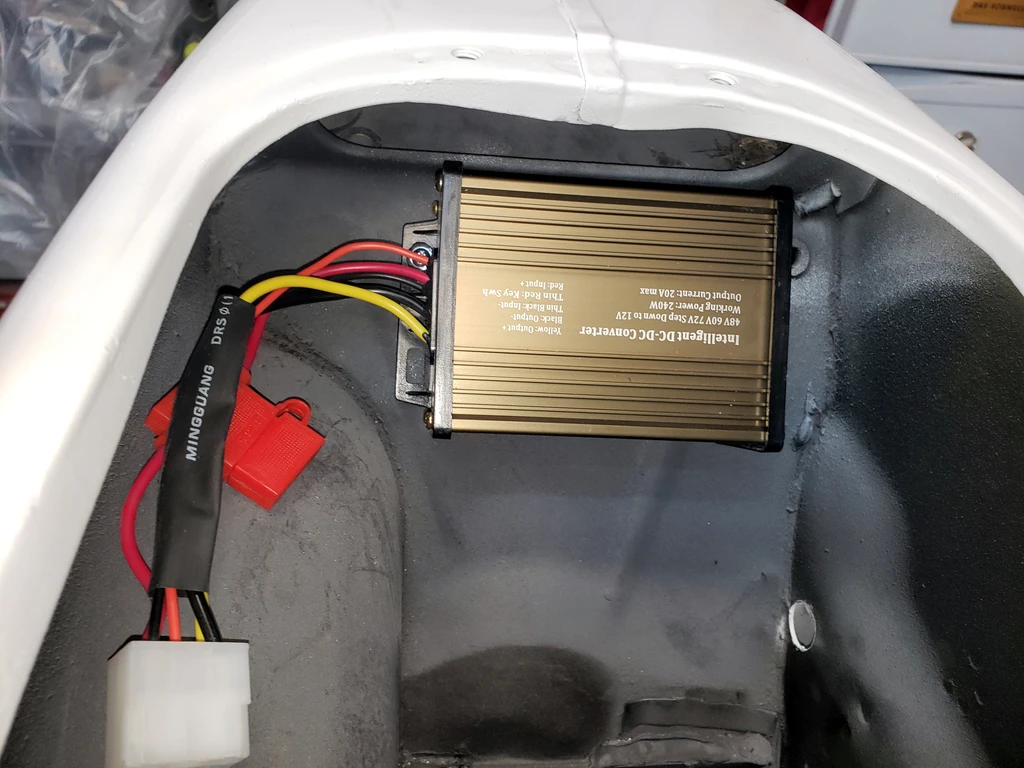
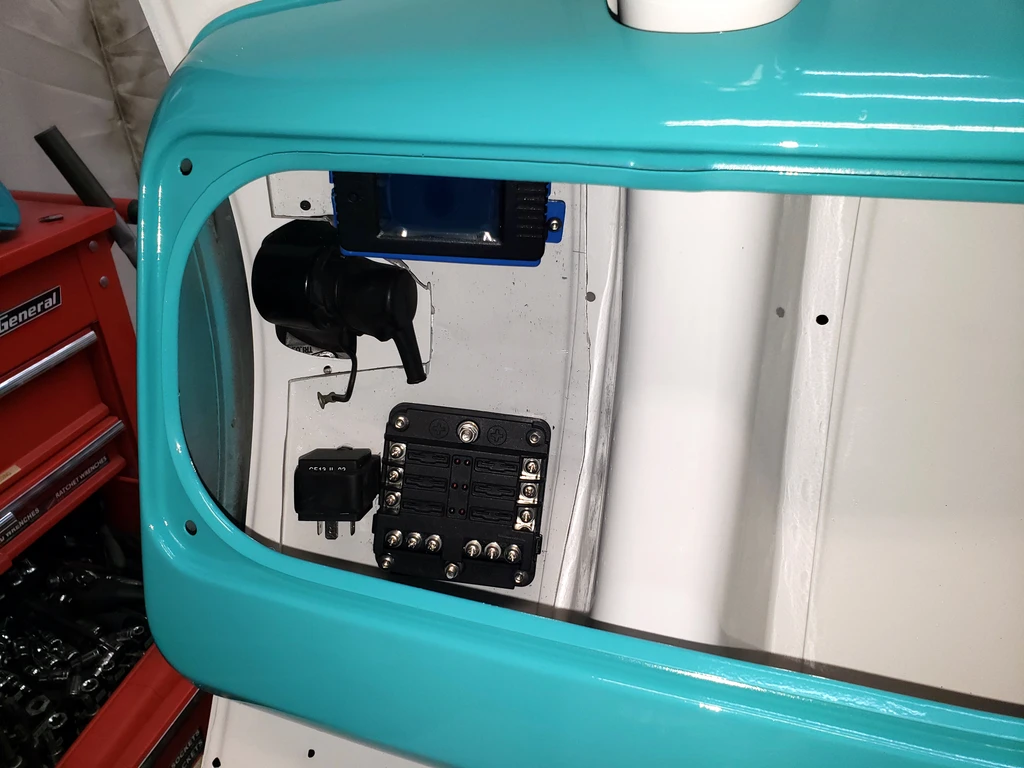

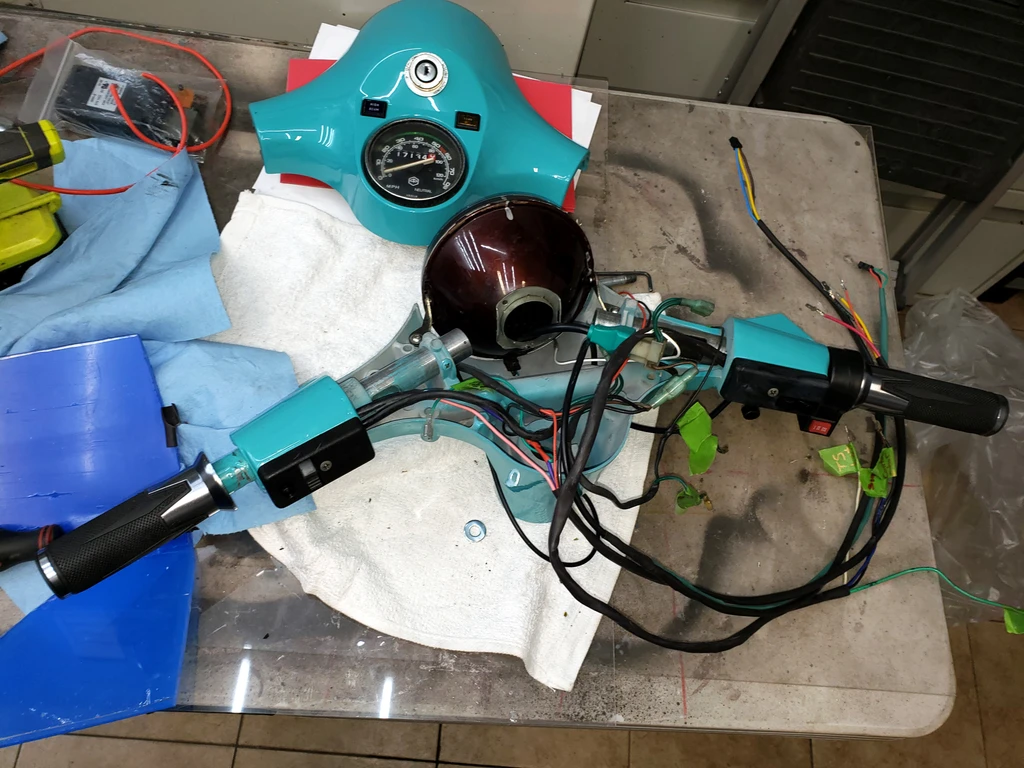

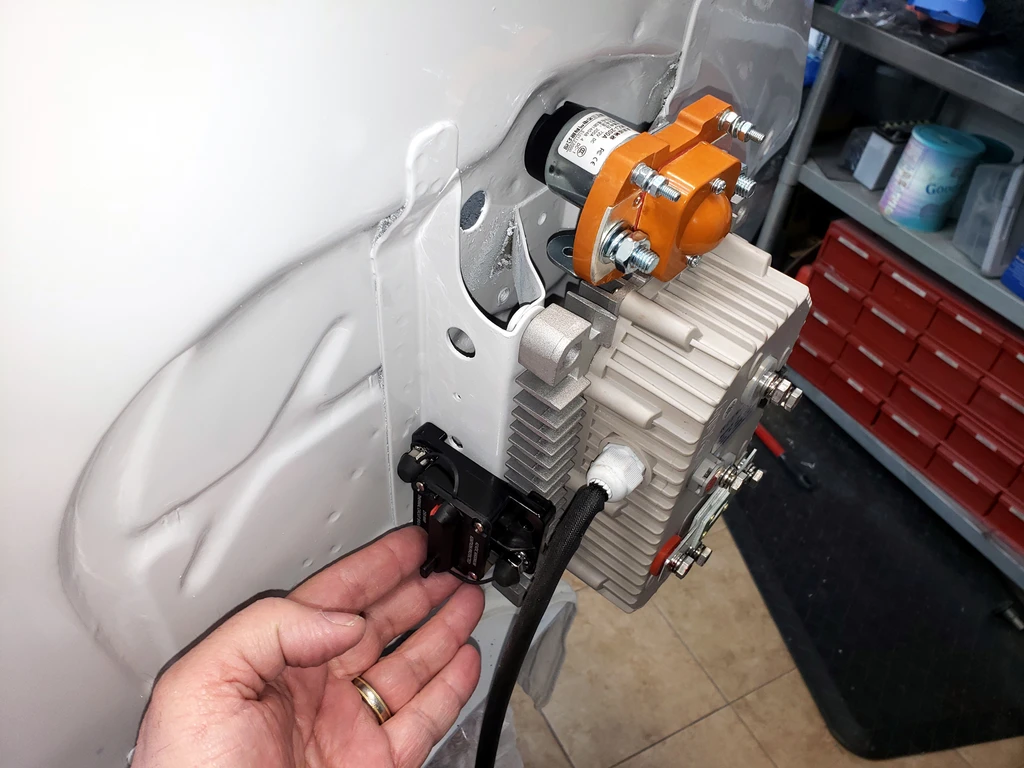
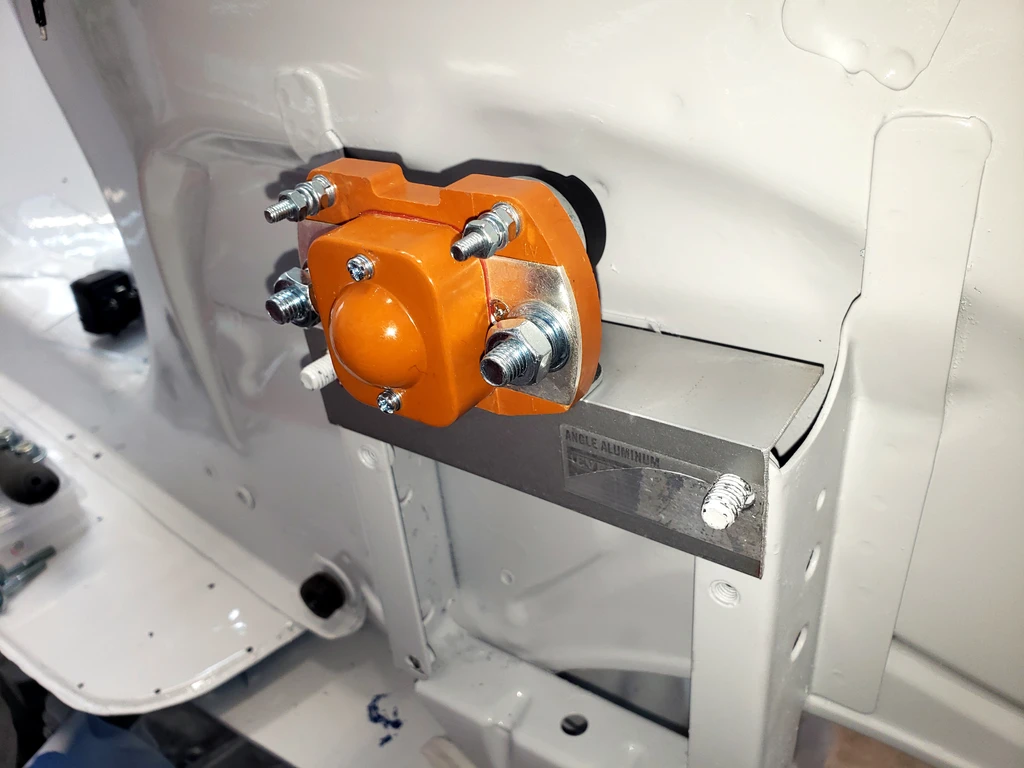
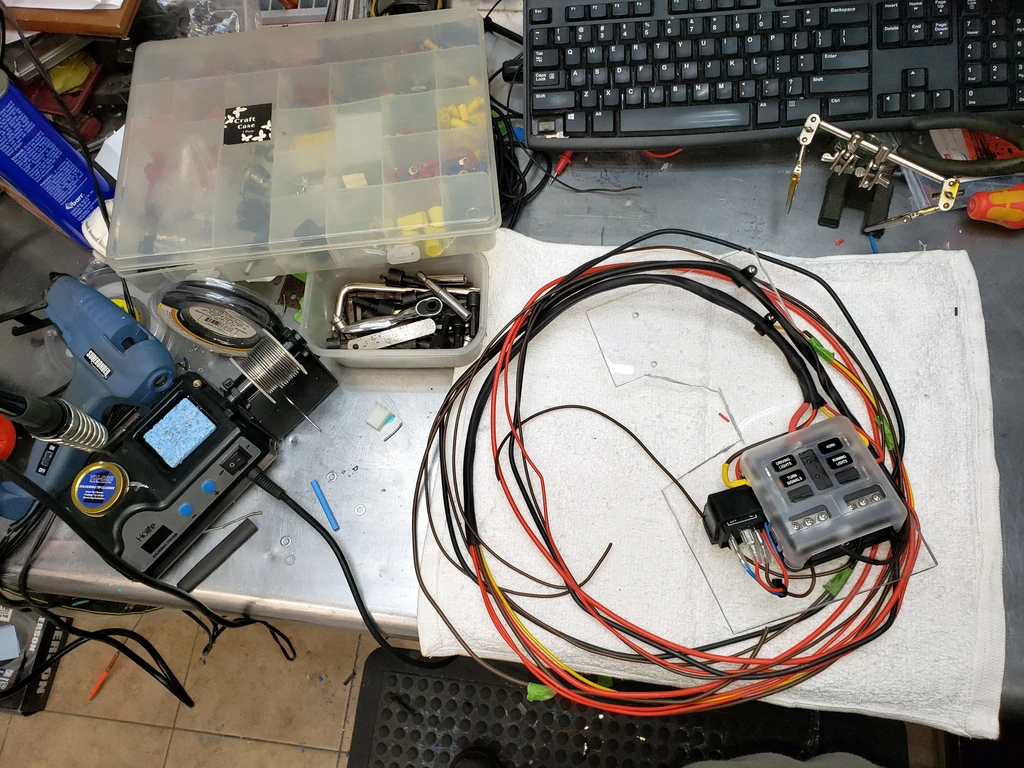
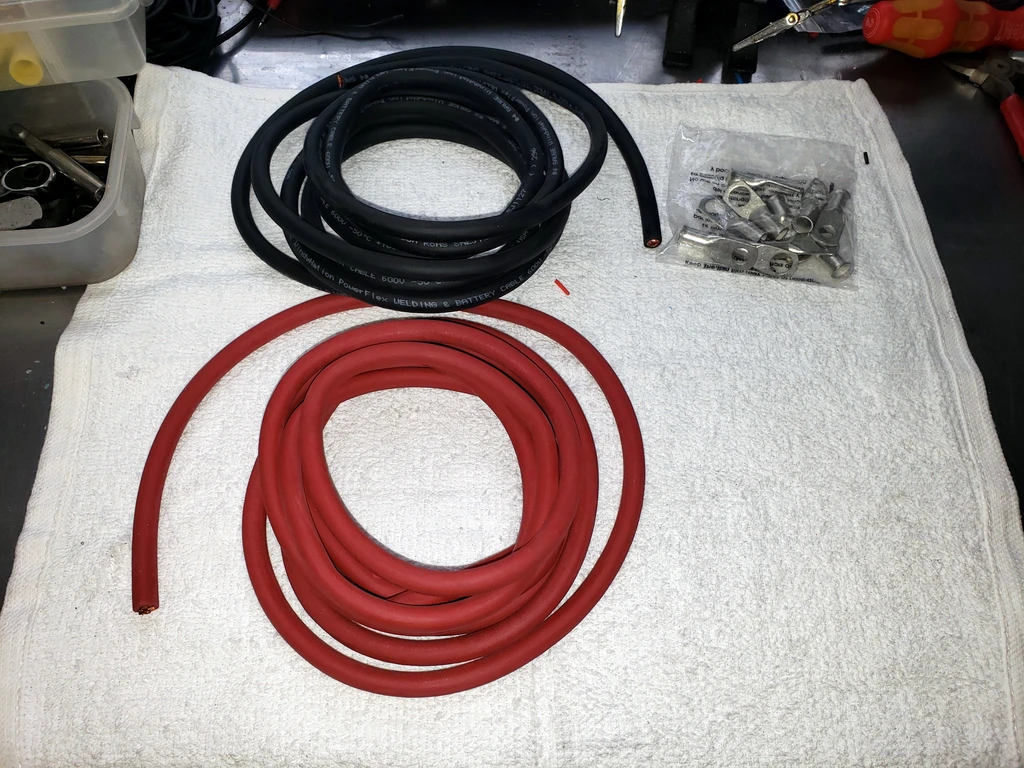
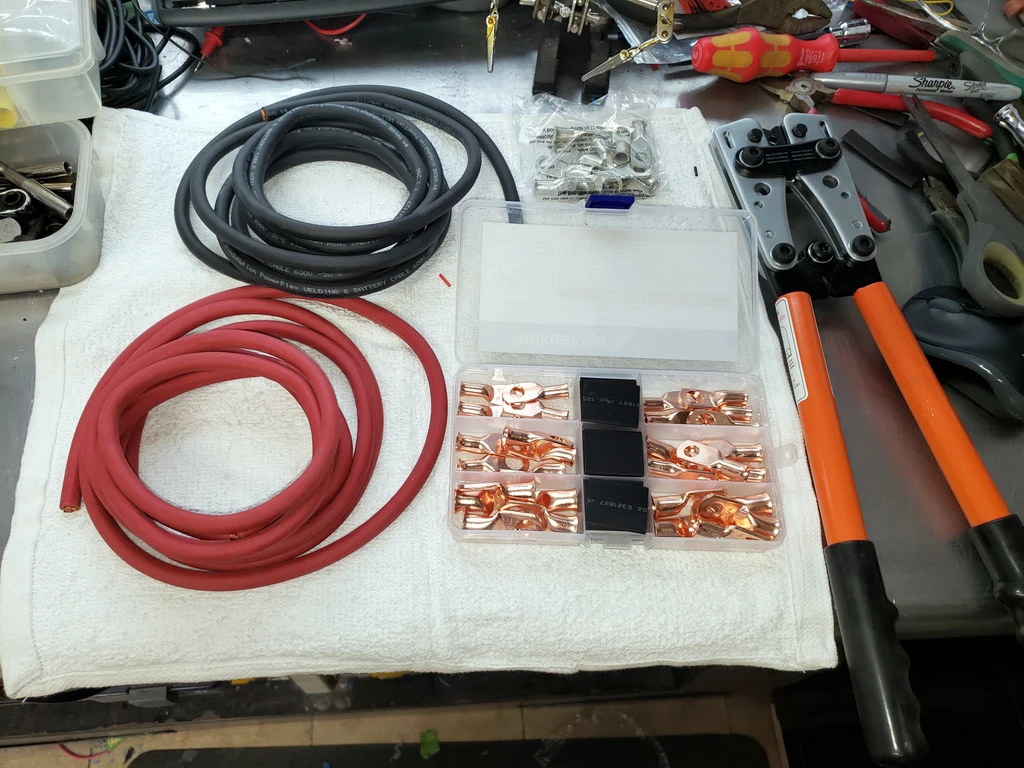
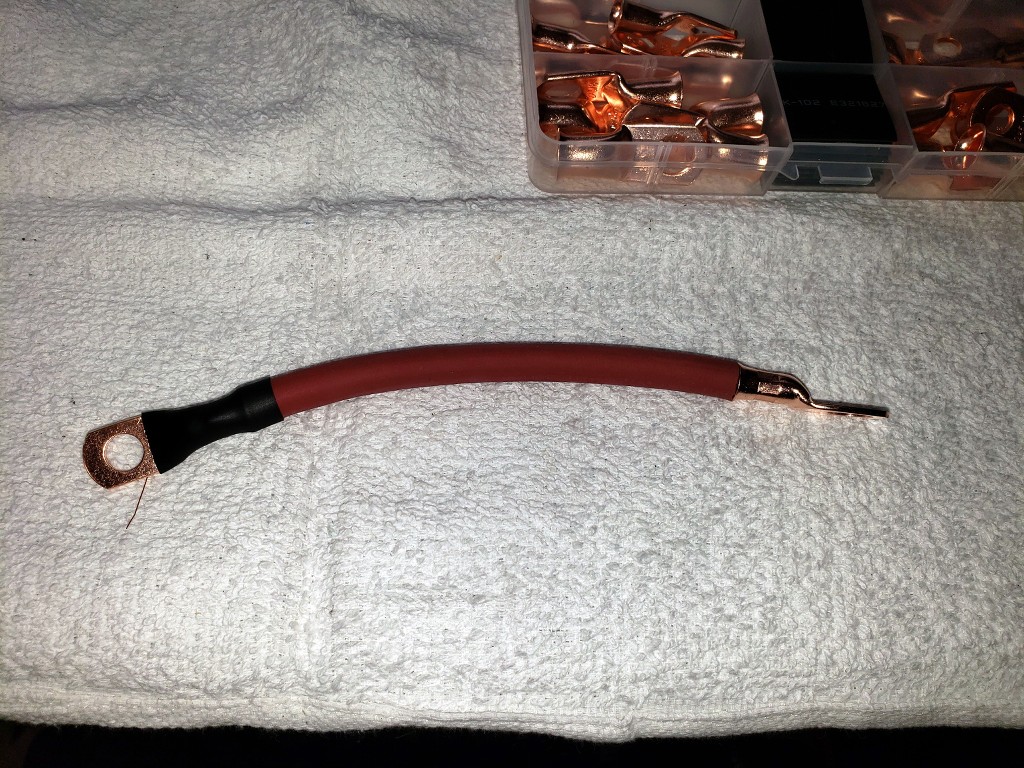
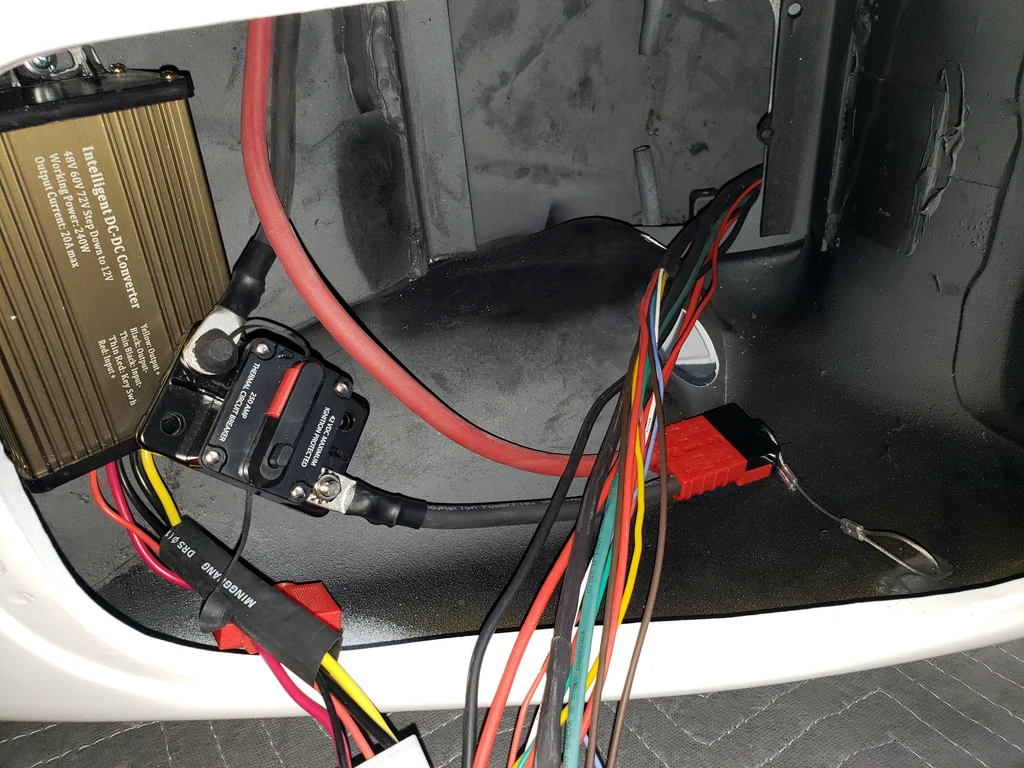
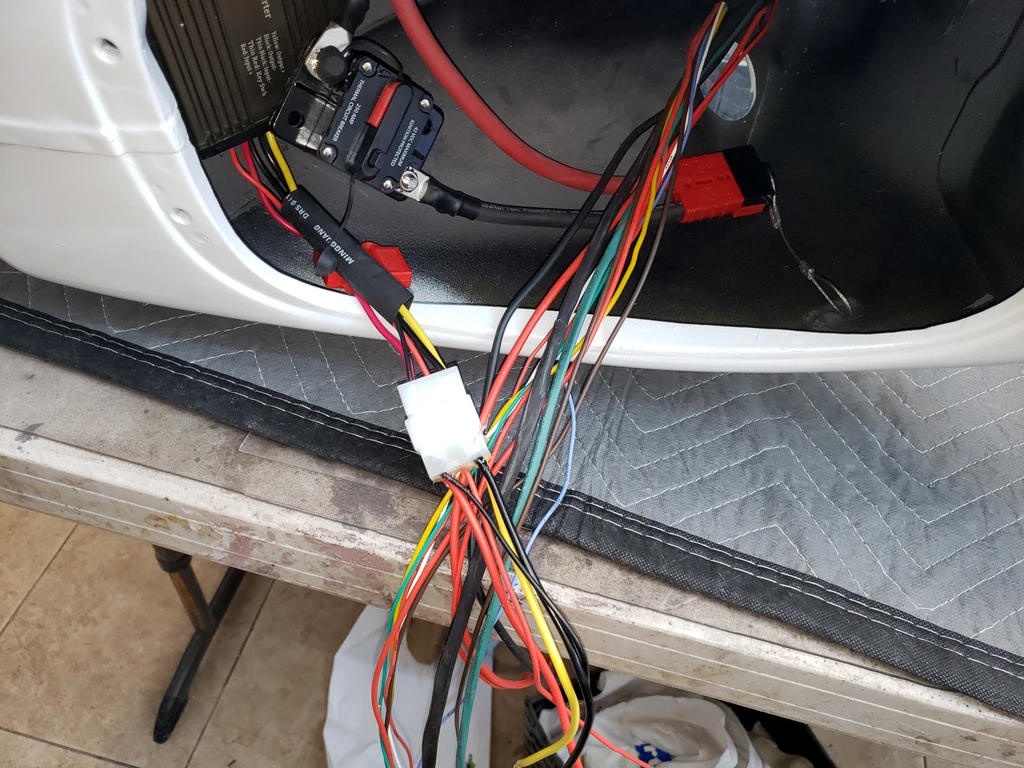
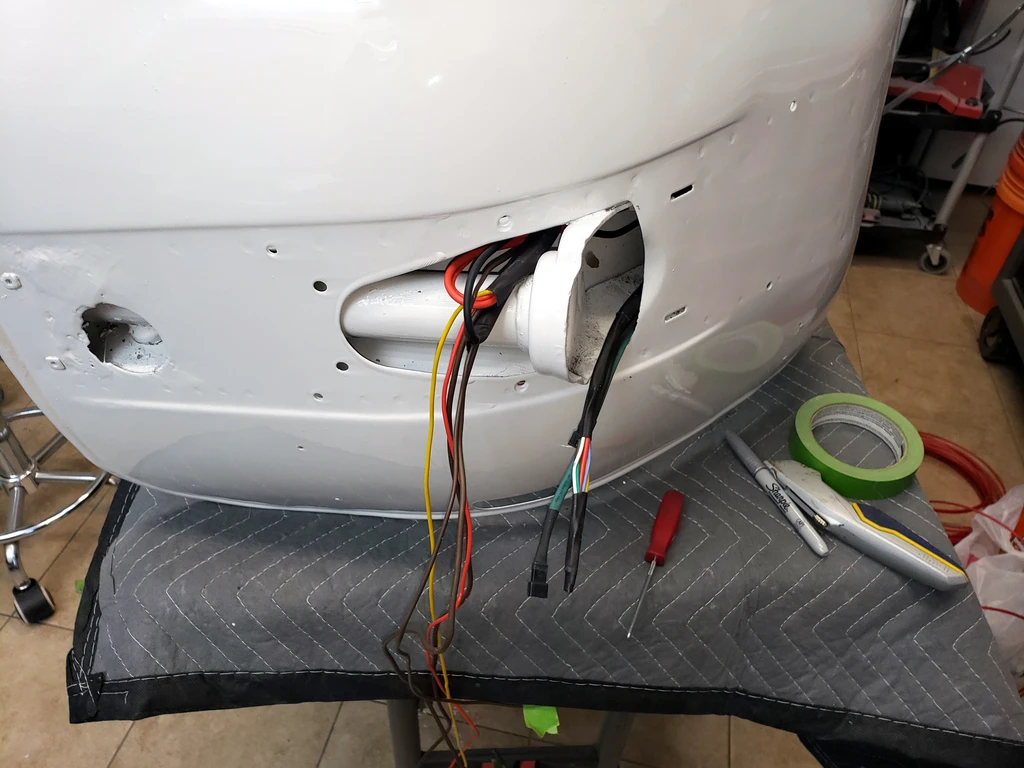
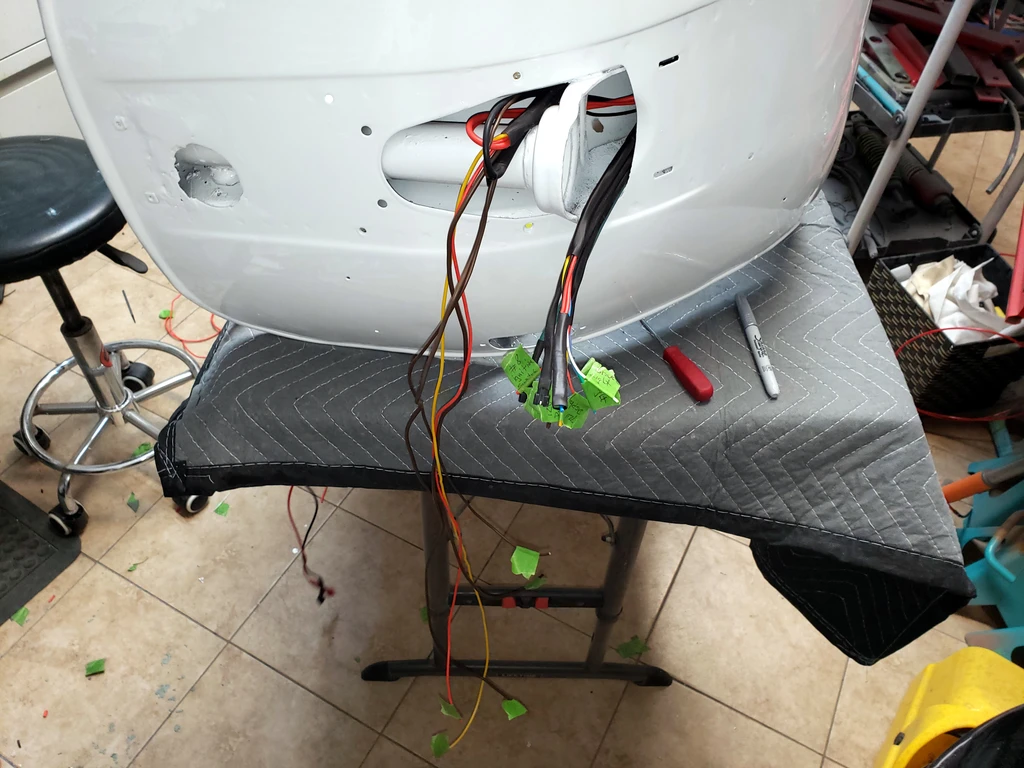
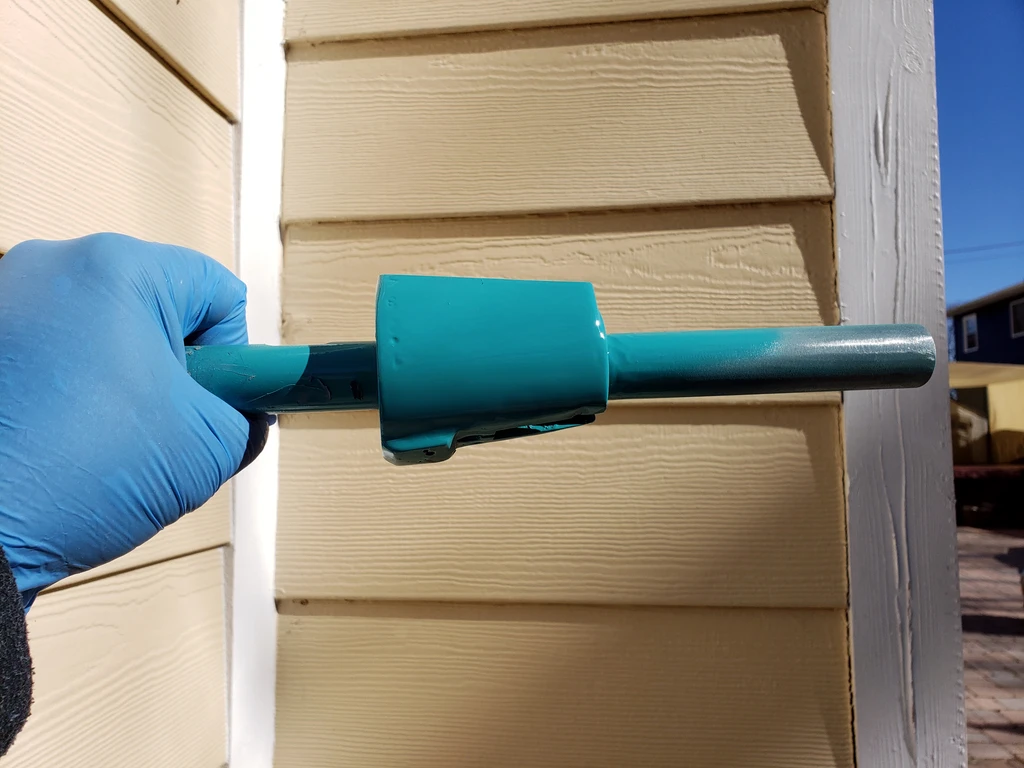
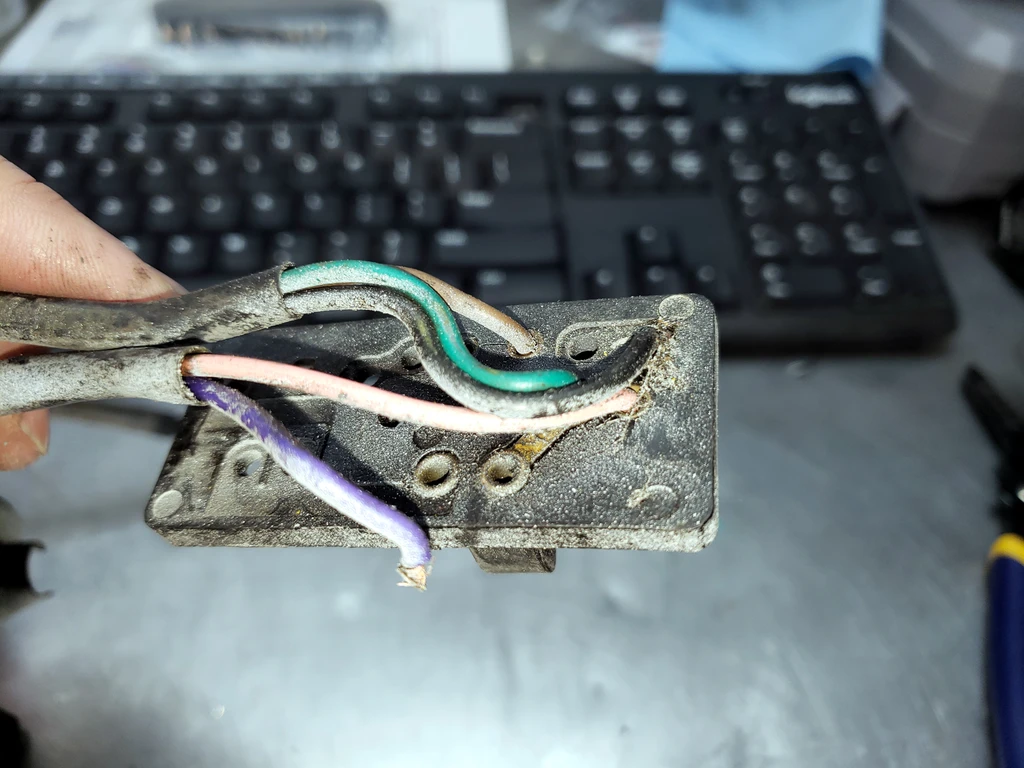
Dui said:My suggestion if I may: do not cheap out on the plugs/connectors quality. That makes all the difference between a reliable setup and an unreliable one.
Try using only waterproof connectors, and if possible weld the wires. Takes longer, cost a little bit more, but that saves so much time and money later...
That's what I'f done on my last motorbike, litterally never had a single issue with it in three years, despite riding under any kind of weather.